Lighting
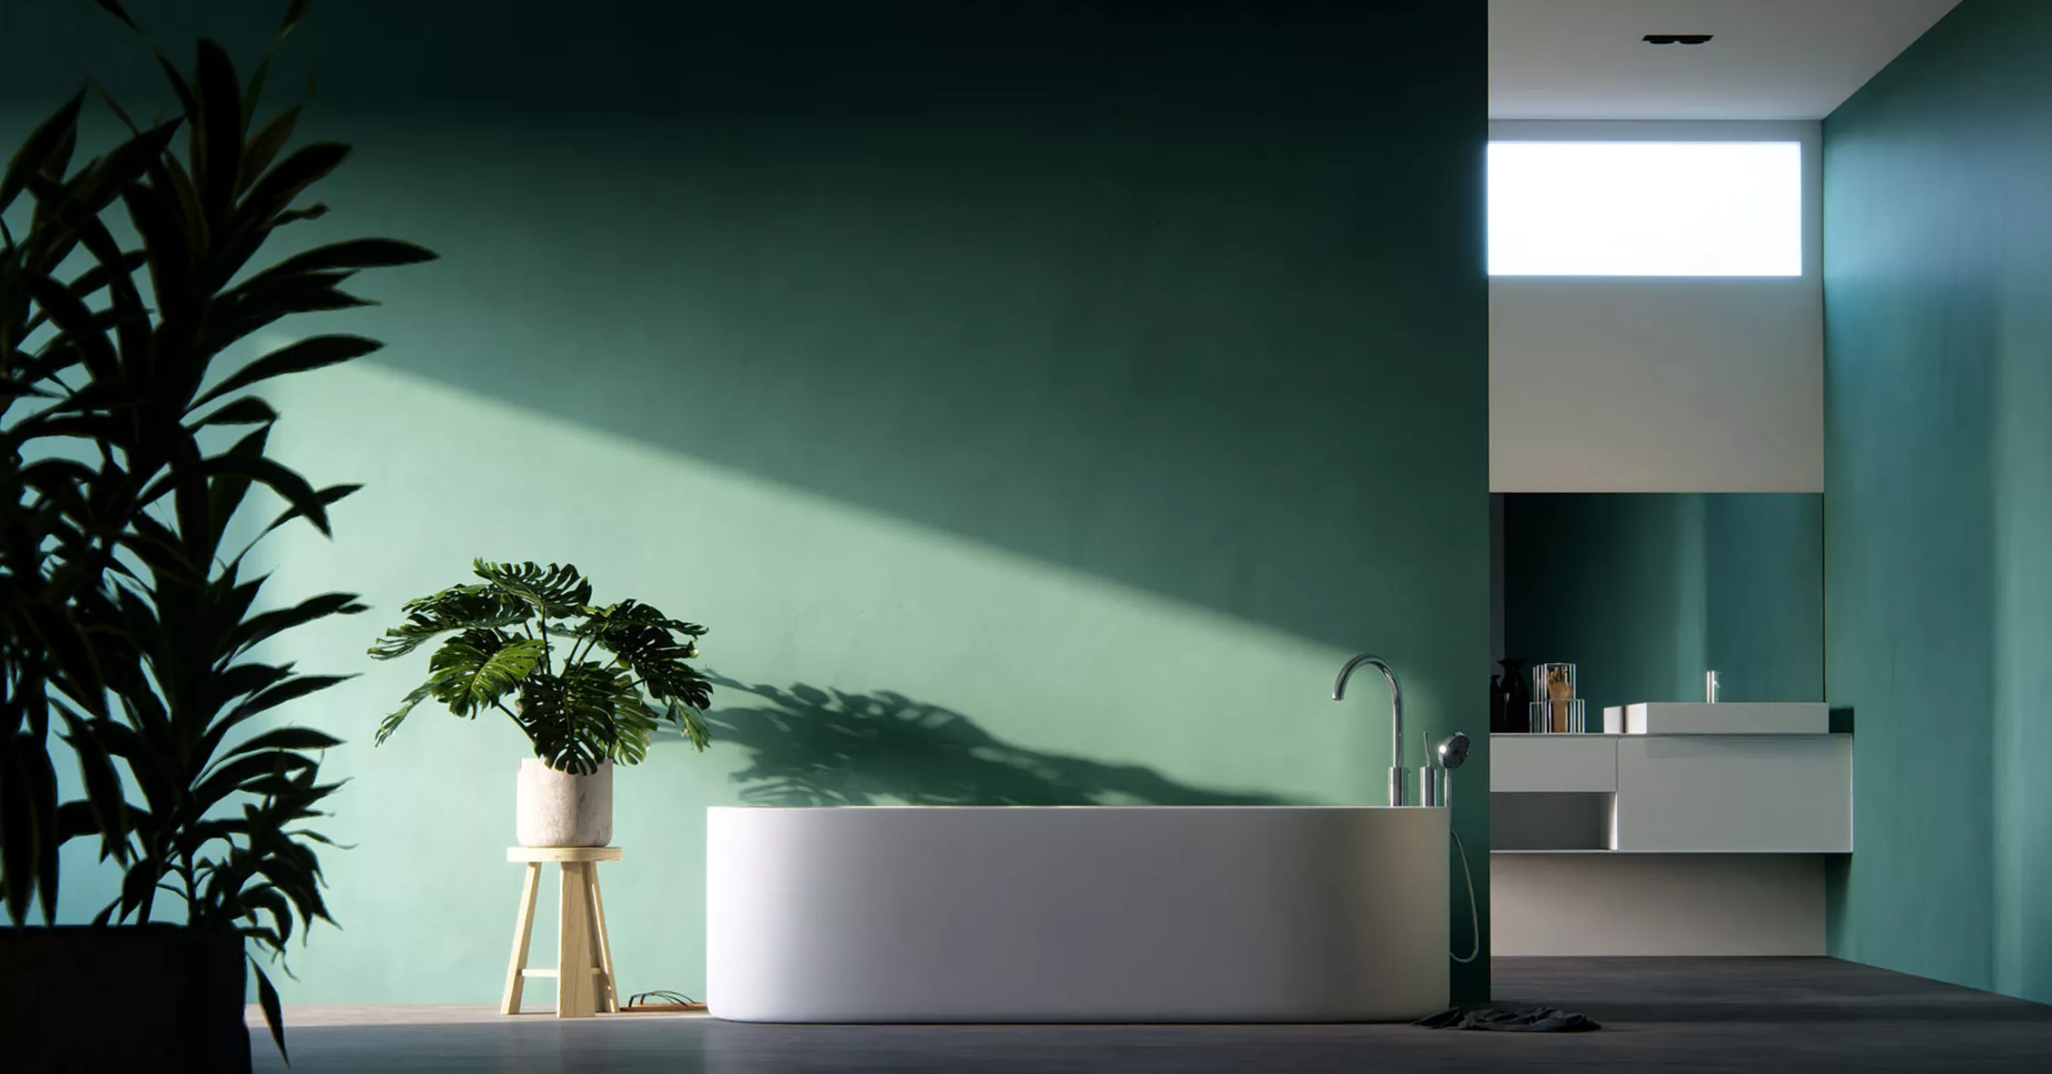
In the world of Architecture, lighting is a crucial aspect of design expression and effective project communication. It sets the mood, accentuates design features, and shapes the overall atmosphere of a space, playing a key role in how people will experience and understand your designs and ideas. This is why it's important to get it right for visualizations.
Fortunately, Lumion offers a comprehensive suite of tools that provide a high level of control over lighting. Whether you are crafting the warmth of the Morning Sun, simulating the diffused skylight of Cloudy Environments, or refining Interior Ambiance, this guide will equip you with the fundamental knowledge to achieve the ideal lighting for your project.
Let’s start by exploring the various types of light sources and their functions:
Light Sources
There are different types of light sources available, and understanding how they work together is crucial for mastering the lighting system. Each system is explained in detail below:
Natural Light

Lumion provides a high level of control over the natural lighting in your scene. Configuring the Sun and Sky allows you to create various lighting scenarios such as Sunsets, warm Sunny Mornings, Cloudy Days with overcast lighting, and other compelling scenes and moods.
The two natural lighting sources are explained below:
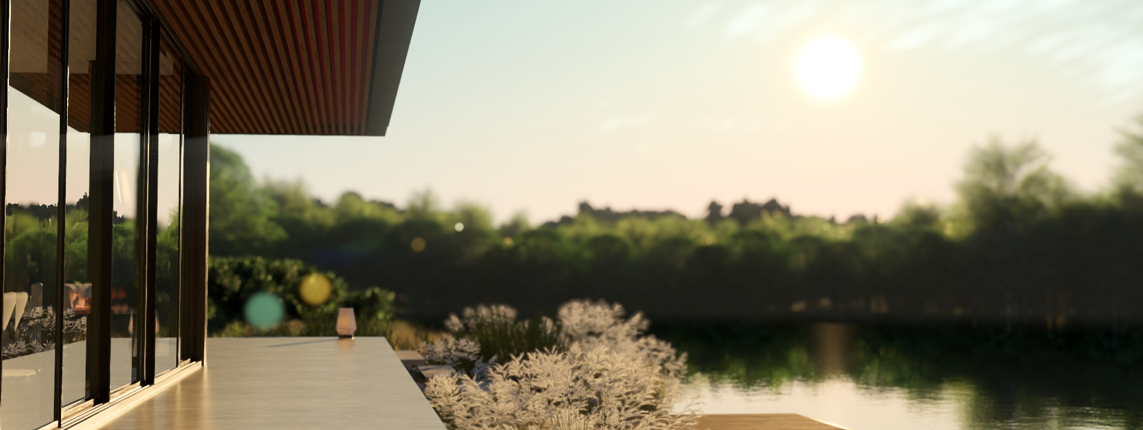
The lighting cast by the Sun is directional and can be adjusted according to the scene's conditions to set up all kinds of authentic daylight renders.
Sun Position and Shadows
In the Weather tab in Build Mode, you can adjust the Sun's position, as well as the Intensity of the sunlight, which gives you control over the overall lighting strenght, shadow depth, and the warmth or coolness of the scene.

The color of the sunlight depends on the Sun's position in the sky. As the Sun moves closer to the horizon during sunrise or sunset, it takes on a reddish hue, casting warmer tones and affecting the color and intensity of shadows. When the Sun is higher up in the sky, the light is more neutral, producing more neutral colors and sharper shadows.

Adjusting the Sun's position is crucial for achieving the desired light angles in renders, highlighting specific parts of a scene, or directing sunlight into an interior through a window.
For control over sunlight in individual camera views, the Sun and Sun Study Effects can be added to a Photo, Clip, or Panorama, enabling precise adjustment of sunlight settings, with the latter allowing you to select a geographic location and specific time and date, facilitating accurate real-world sunlight and shadow simulations.

Using these Effects, the Sun can also be animated to create time-lapse animations, where the scene transitions between day and night.
Besides providing positional controls, the Sun Effect also has the two following settings:
Sun Brightness
Adjusting this slider can significantly impact lighting:
- Increasing the Sun Brightness results in more intense sunlight, creating brighter-lit areas with high contrast and darker, sharper shadows, giving the image a warmer appearance.
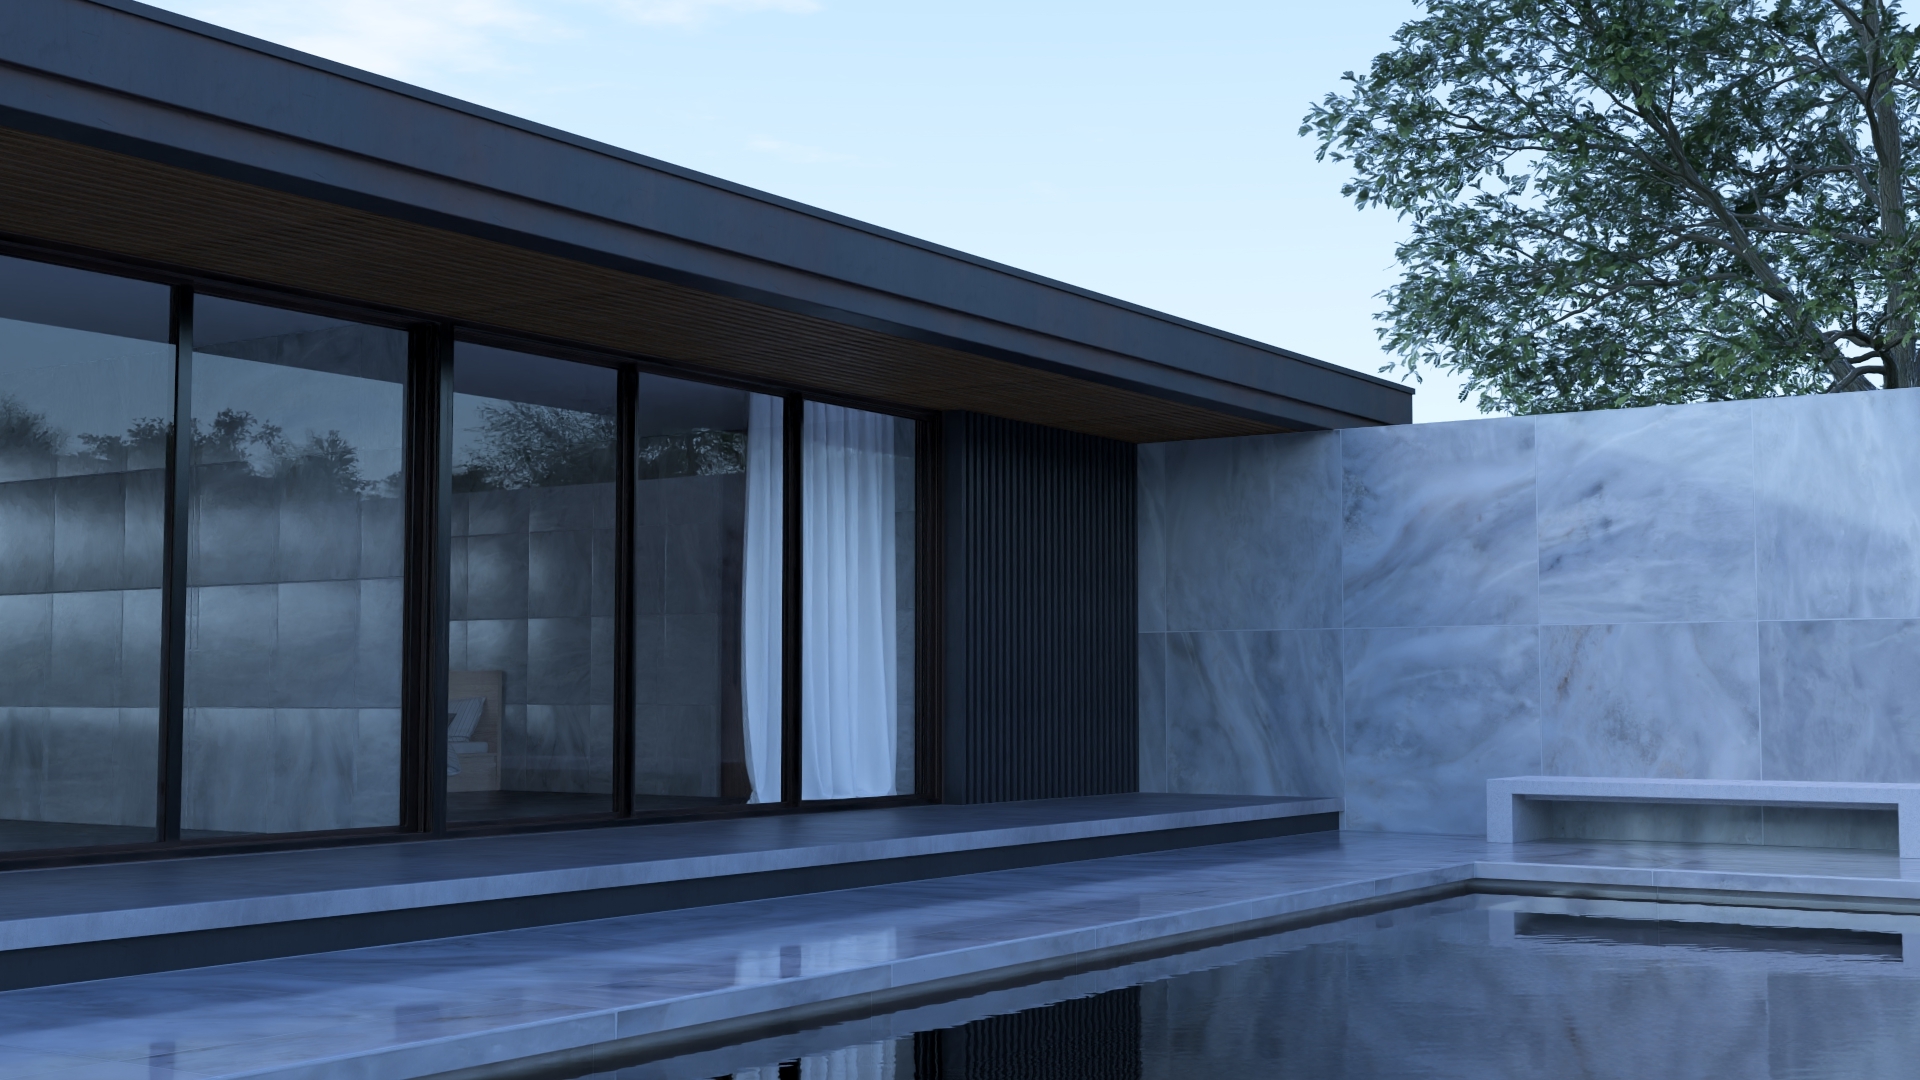 Low Sun BrightnessHigh Sun Brightness
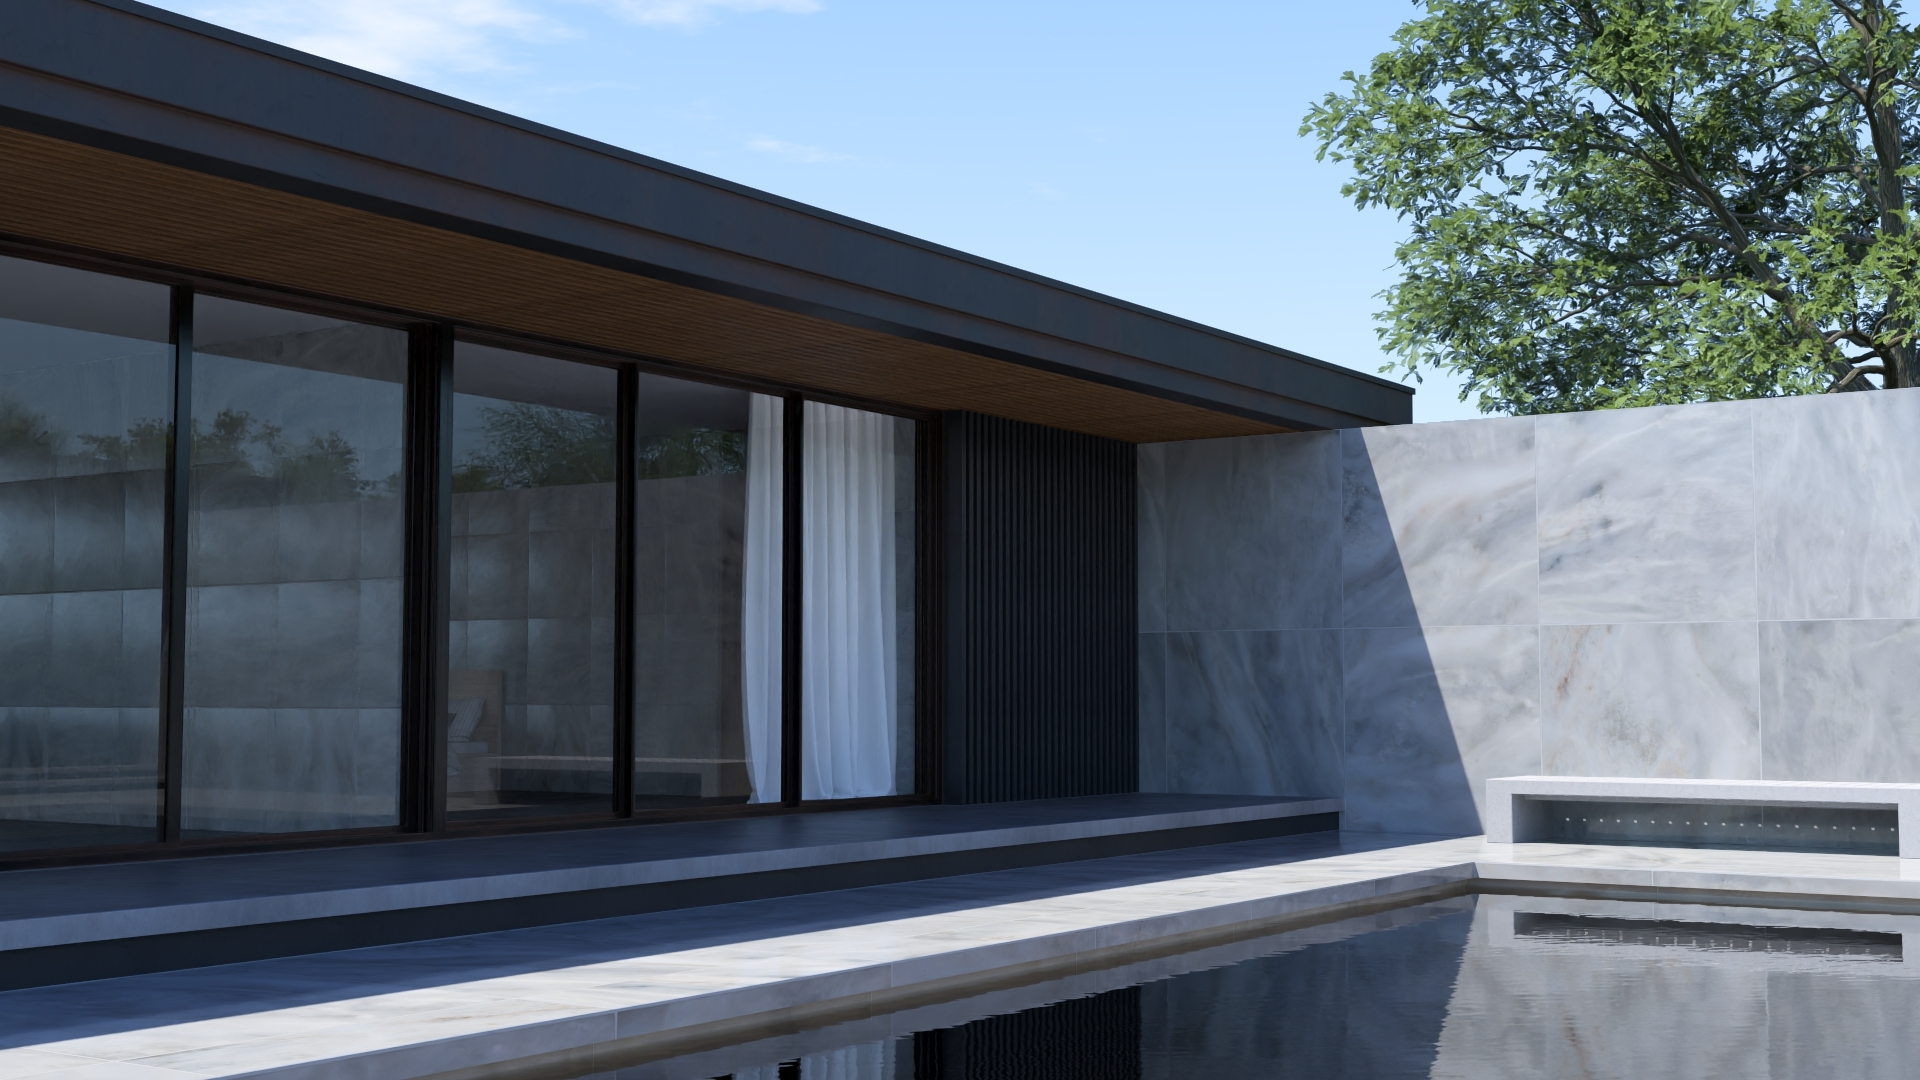
- Conversely, decreasing Sun Brightness will soften shadows and diffuse the sunlight, resulting in cooler images with less pronounced lighting contrasts.
 Low Sun BrightnessHigh Sun Brightness

This setting can also be used to control the amount of sunlight in interiors.
Sun Disk Size
In Ray Tracing, this setting not only resizes the Sun but also controls how direct or spread the sunlight is.
- A smaller Sun Disk Size results in sharper shadows.
- A larger Sun Disk Size results in softer, scattered, and diffused shadows.
 Small Sun Disk SizeLarge Sun Disk Size
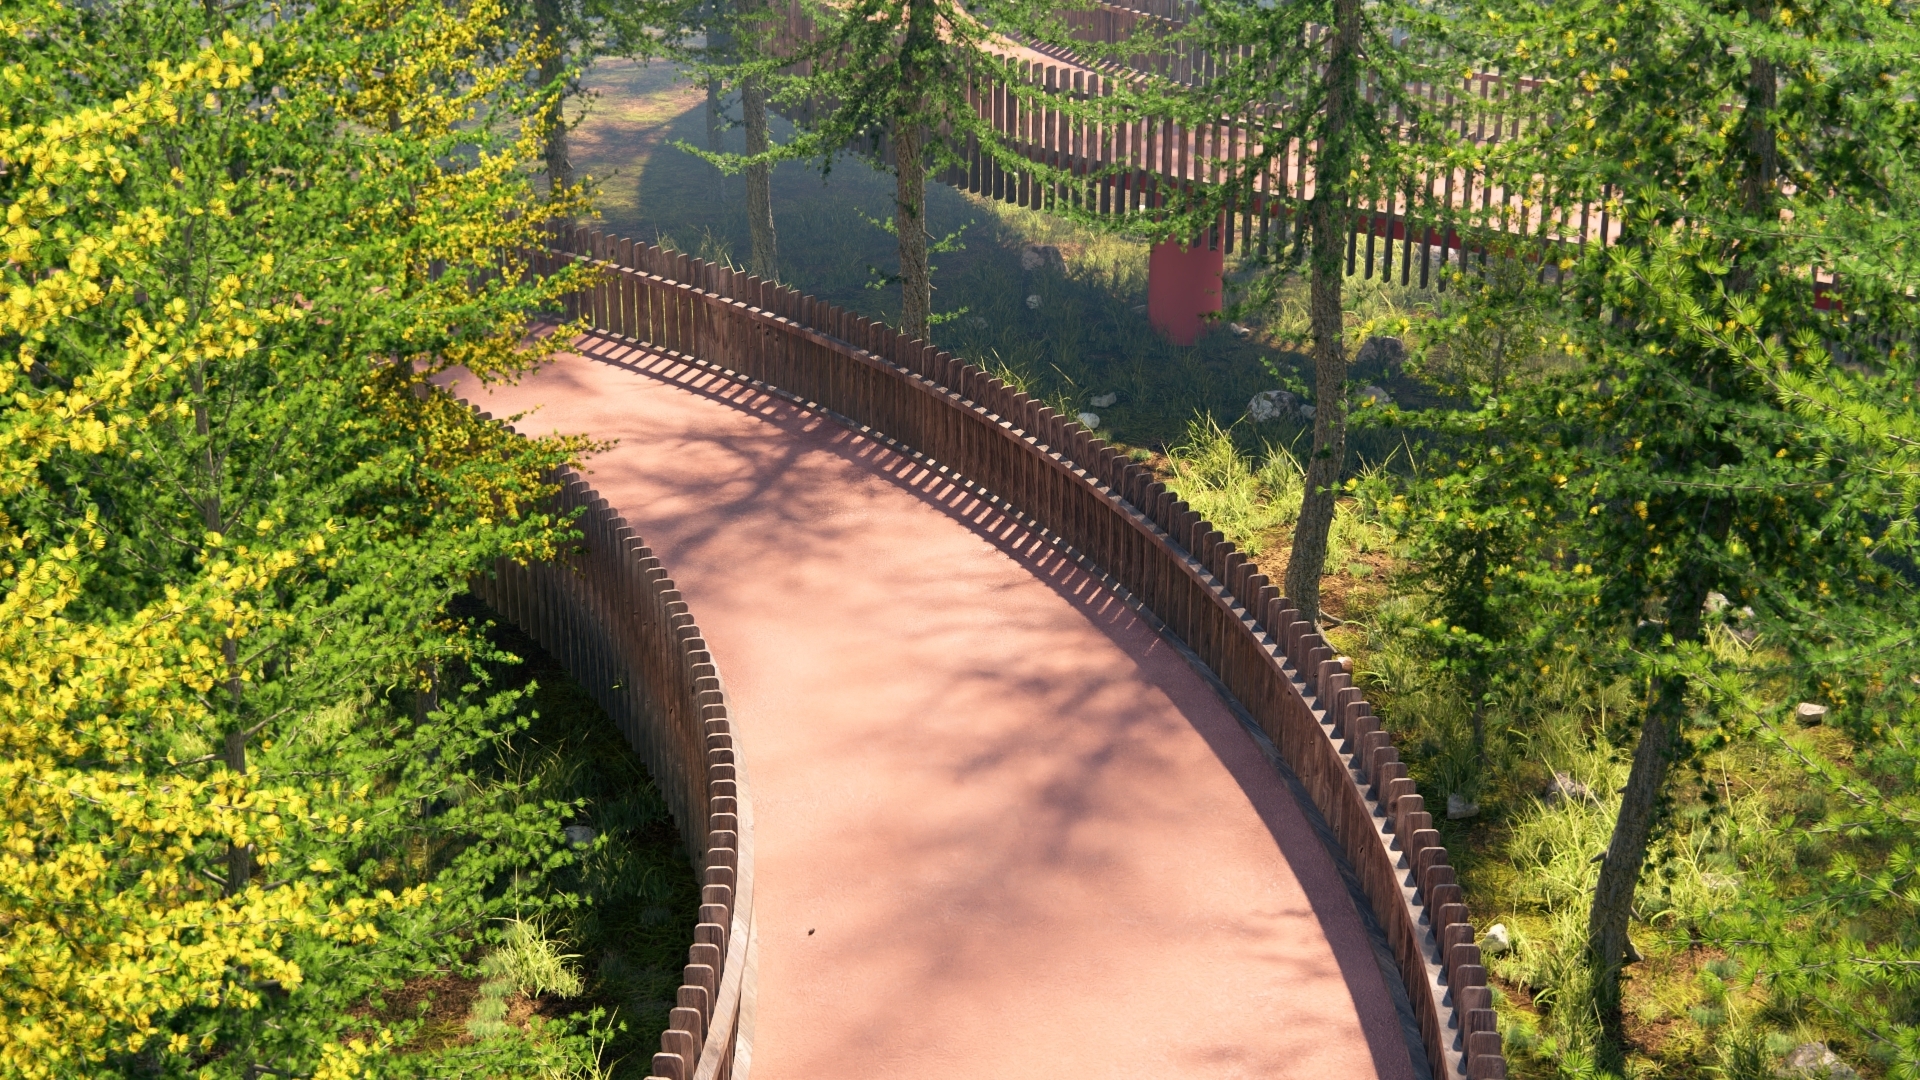
Note that this doesn't affect the Intensity of sunlight, only the aspect of shadows.
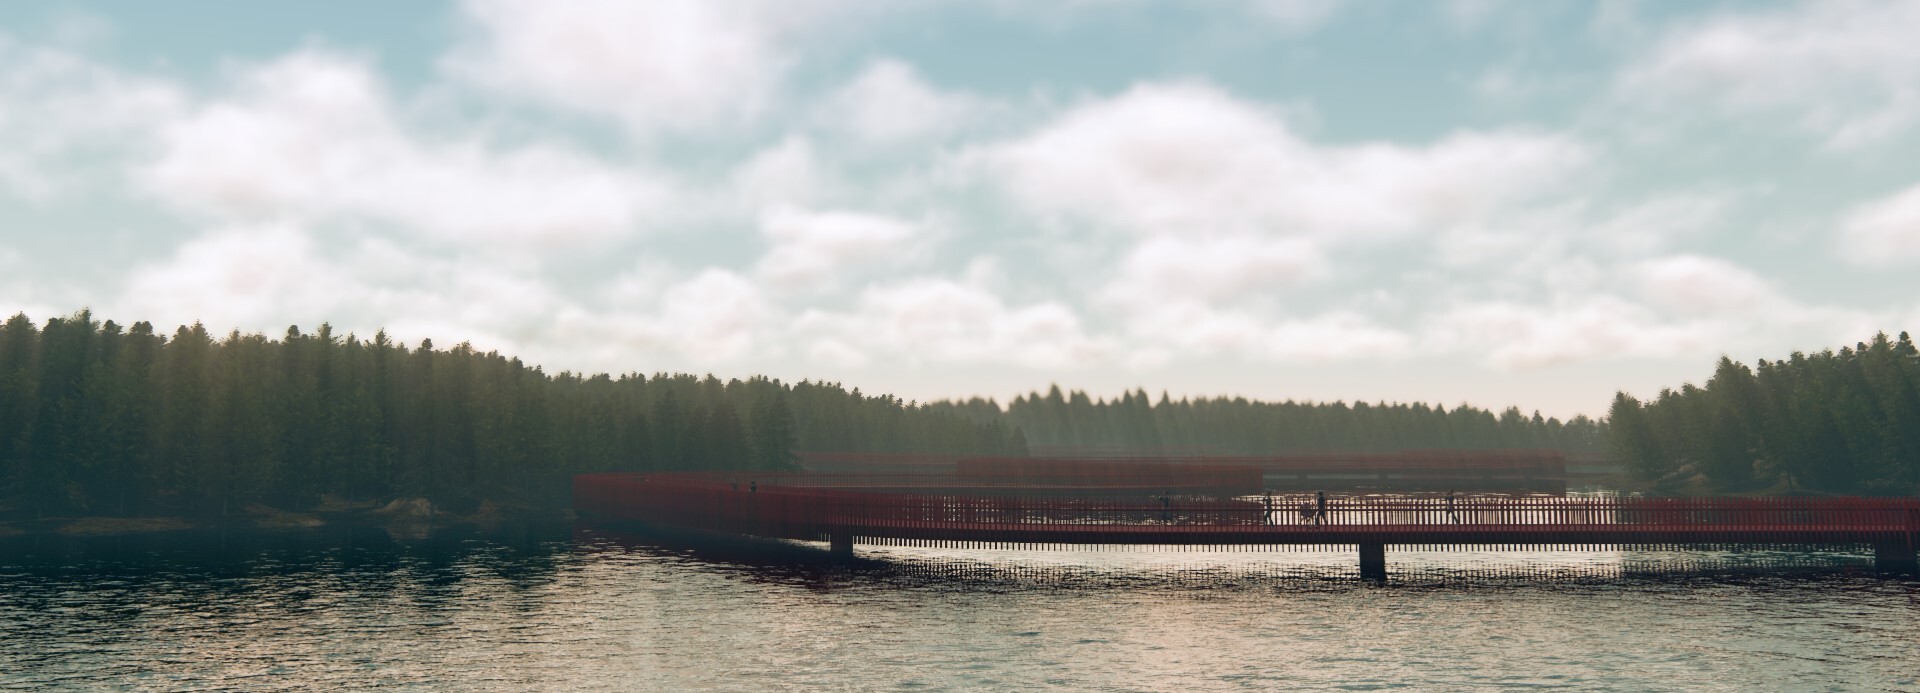
Sky light (not to be confused with the Skylight Effect) refers to light emitted from the sky itself. This type of light is cooler, smoother, and non-directional, meaning that it is scattered and diffused. So rather than casting sharp shadows like sunlight, they are softer and spread out.
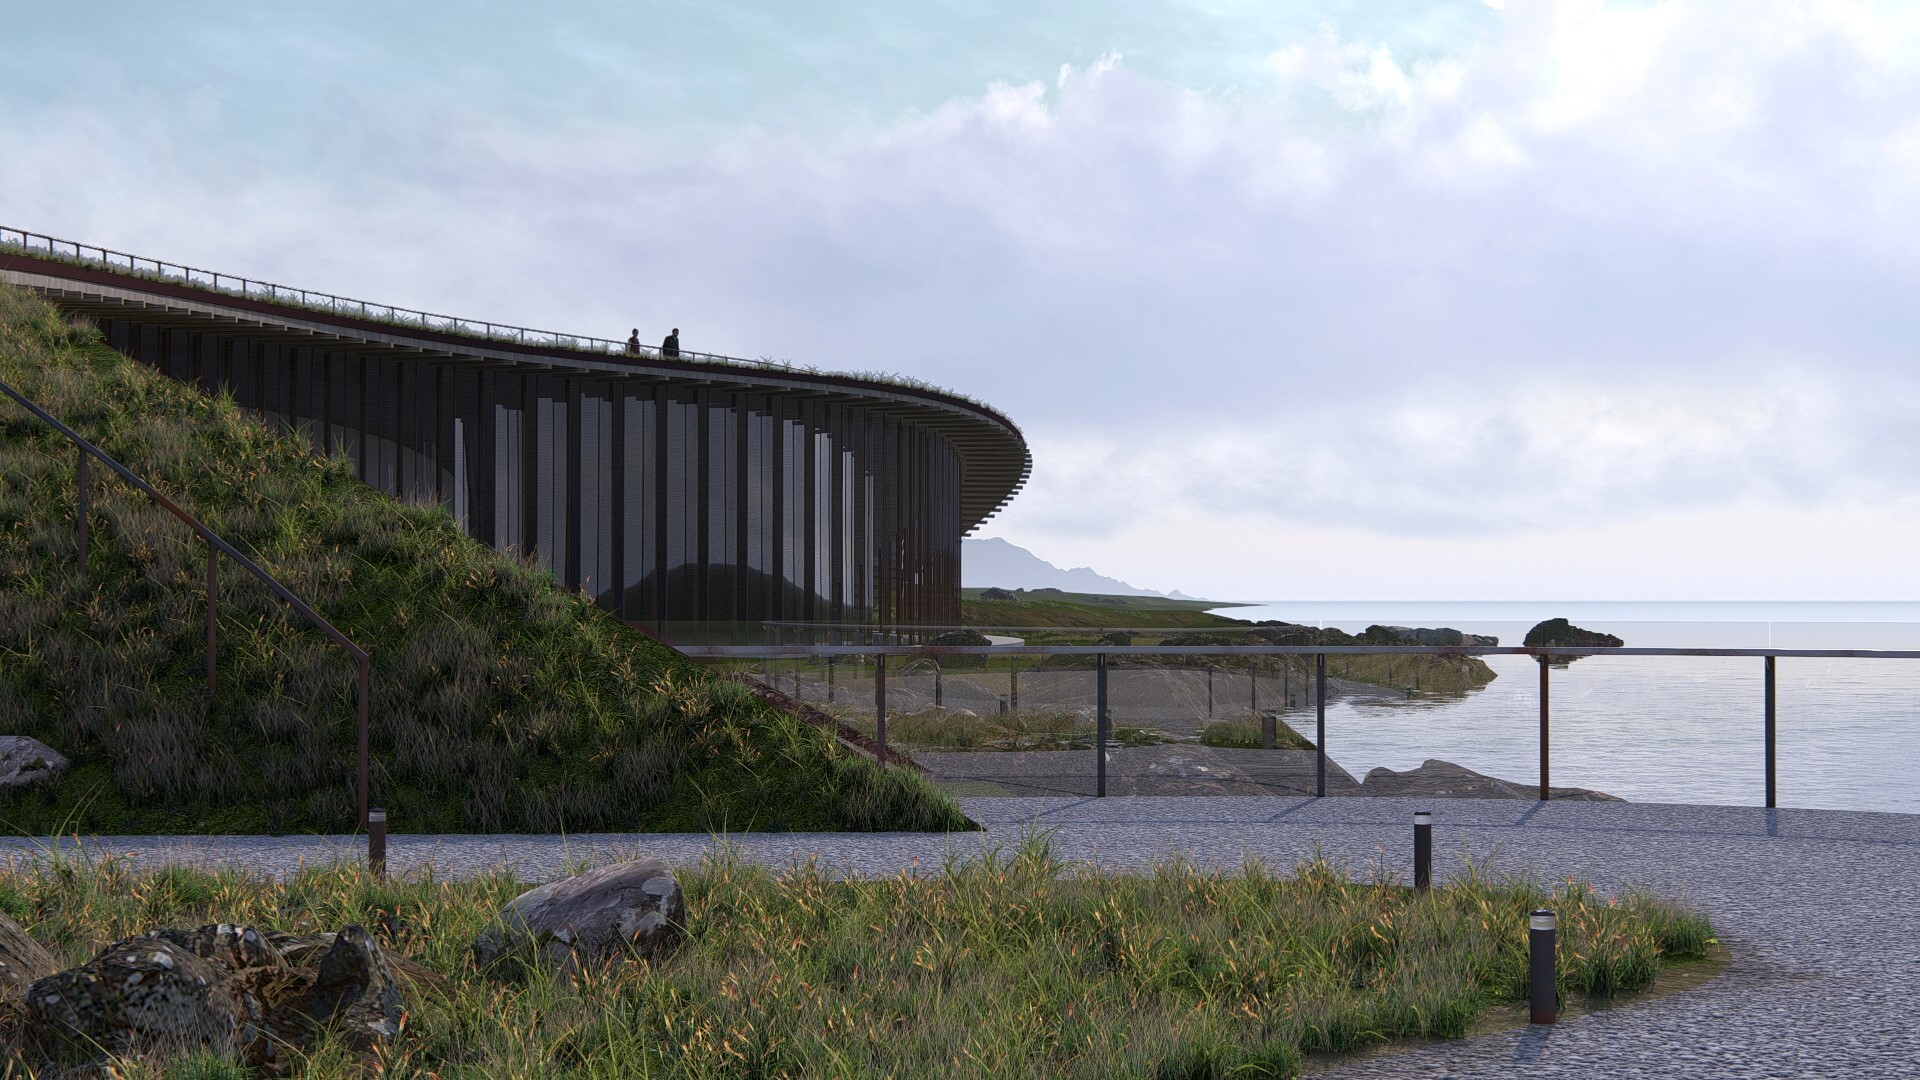
The intensity of the sky light can be controlled via the Sky Brightness slider in the Sky and Clouds or Real Skies Effect in Photo/Movie/Panorama Modes:

- Increasing the Sky Brightness will result in a brighter, cooler image with smoother shading, akin to a cloudy day.
- Reducing Sky Brightness will allow the sunlight to be more visible, resulting in a warmer image with more pronounced shadows.
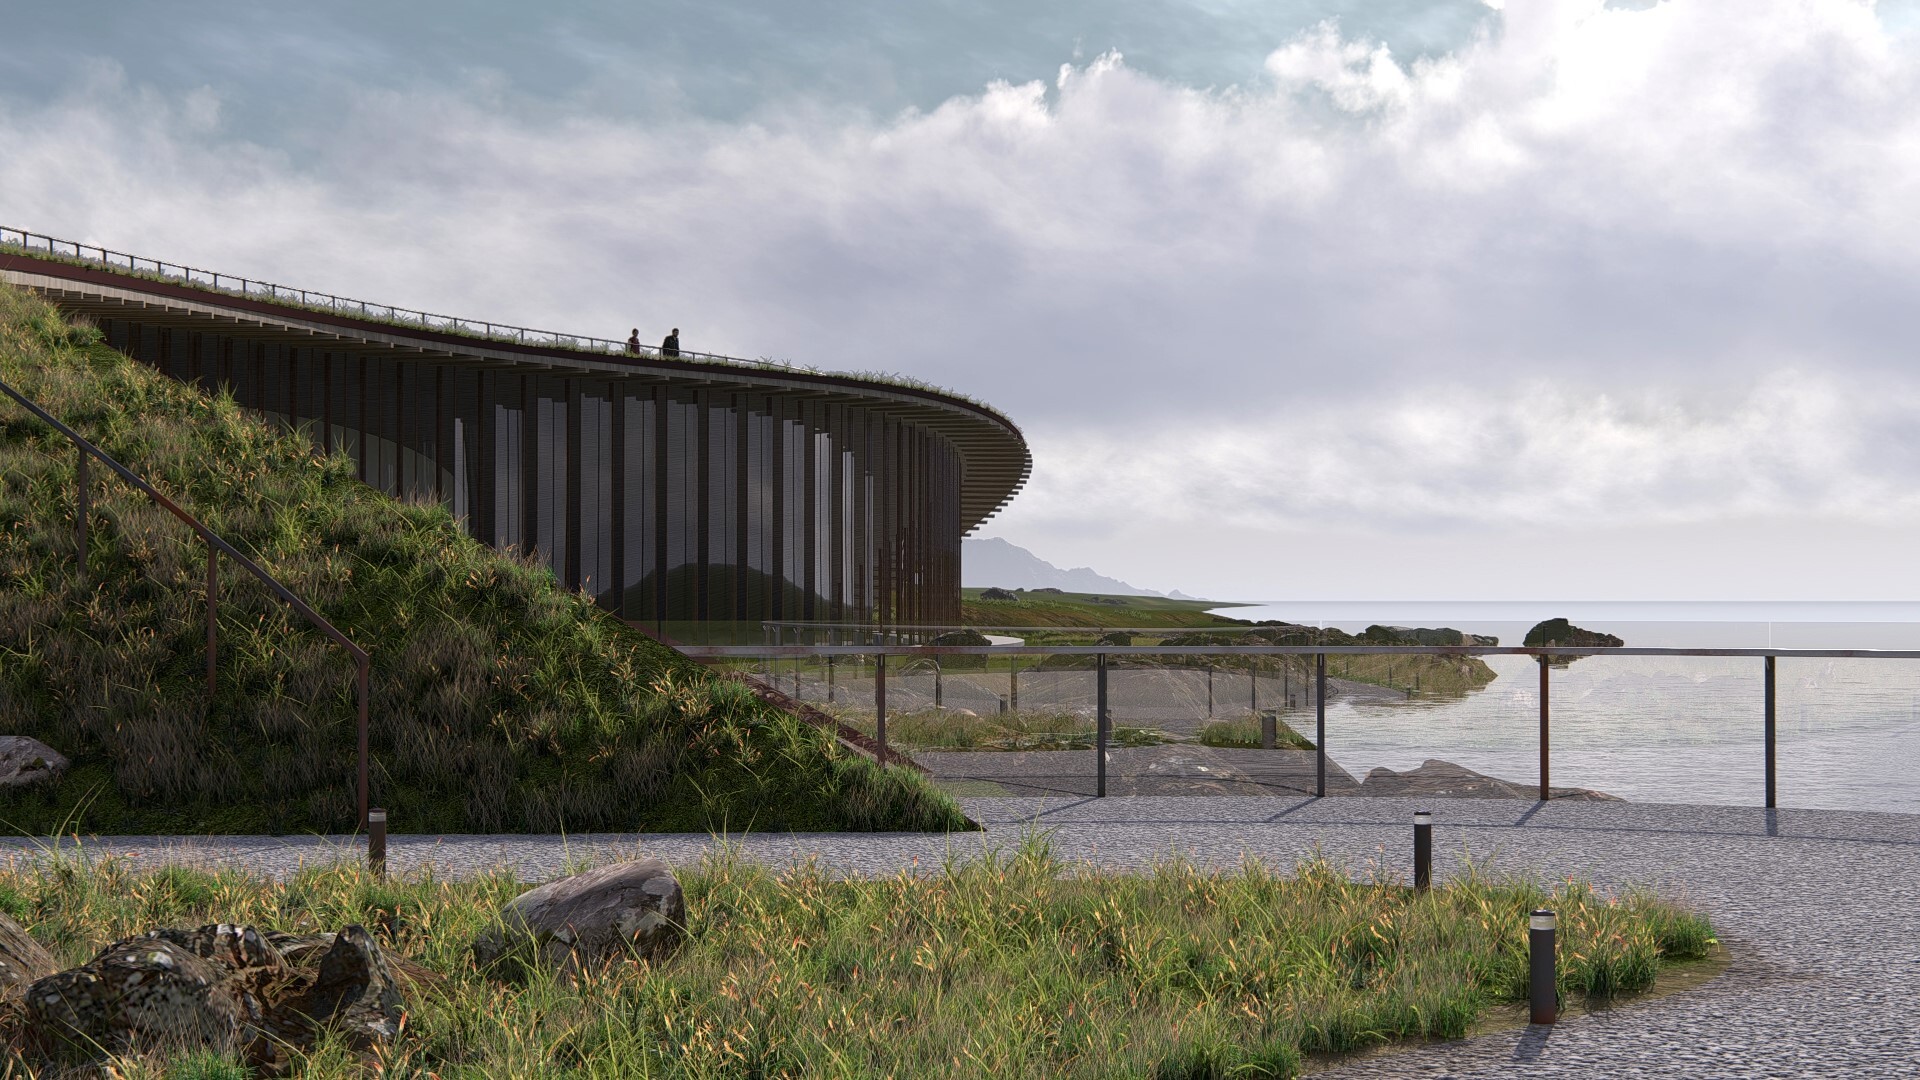 Low Sky BrightnessHigh Sky Brightness
The impact of this setting is also noticeable in scenes where there is no direct sunlight, for example on indoor scenes.
An increased Sky Brightness will introduce more lighting and cooler tones:
 Low Sky BrightnessHigh Sky Brightness

You can also control the Background Brightness individually without affecting the lighting on the scene itself. Adjusting this slider will only affect the Sky Map:
 Low Background BrightnessHigh Background Brightness

This is great for balancing the Sky Map's Brightness and tone without directly impacting the lighting that you've already set up.
While the Sun and Sky can be configured individually using their respective Effects, you can also add Real Skies. These are HDR Sky Maps included with Lumion with preconfigured Sun and Sky lighting settings that can be adjusted in a single Effect:
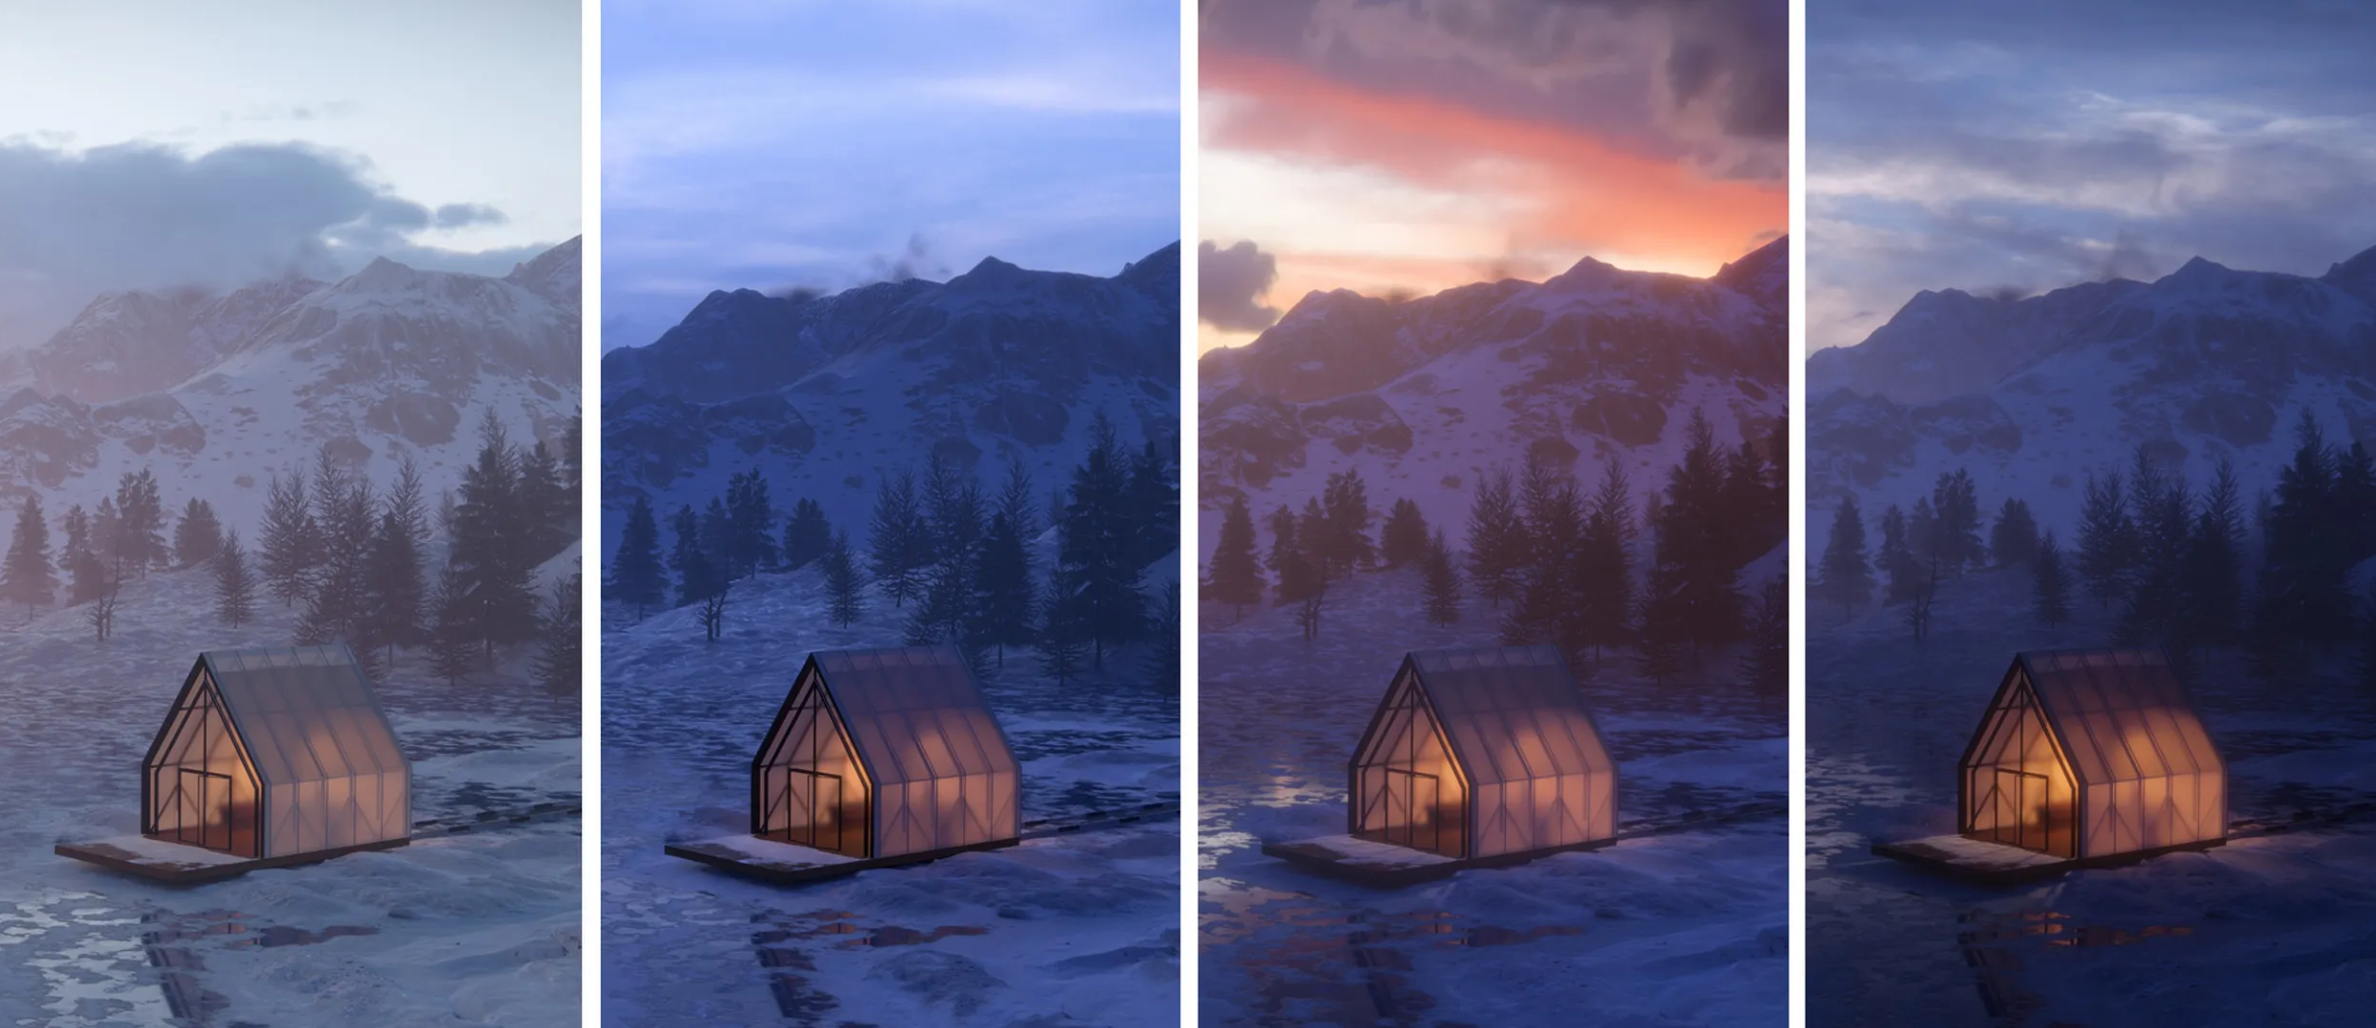
Real Skies is an Effect in Lumion that allows you to choose from a variety of Sky Maps at different times of the day: Morning, Evening, Cloudy, Overcast, Clear, Sunset, and Night.
The Real Sky you choose will directly affect the shading, color, diffusion of light, and overall ambiance, as it will take information from the Sky Map to generate the lighting. It's a quick and easy way to set up and experiment with different scenarios:

Given that Real Skies are essentially 360-degree Spherical Photos, the Sun position, and Cloud formations are fixed. However, you can animate the movement of the Sky Map, flip it, adjust the Sky Brightness, Sun Brightness, and the Background Brightness individually:
 High Sun/Low Sky BrightnessHigh Sky/Low Sun Brightness

 High Sun/Low Sky BrightnessHigh Sky/Low Sun Brightness

Lumion comes with over 59 different Real Skies but you can also load your own HDR Sky Maps. Here's how to do that:
- Knowledge Base: How do you replace the sky with a photo?
It's also worth mentioning that the Sun Effect can be used together with Real Skies. This is explained in this article and tutorial video:
- Knowledge Base: How do you change the Sun Effect settings when you use the Real Skies Effect?
- Lumion Tutorials: Using Real Skies with the Sun Effect
To learn more about Real Skies, check out our Blog Posts:
Artificial Lighting

Lumion provides designers with highly detailed control over the intensity, color, and direction of artificial light, allowing for the creation of realistic and finely tuned lit-up environments. Brightness can be adjusted using units like Lumens and Nits, while Color Temperature is adjustable in Kelvin Degrees, enabling precise replication of real-world lighting conditions.
This level of control ensures that lighting setups can closely match the specifications of actual lighting devices, with the added capability to import IES Profiles for even greater accuracy.
The different types of artificial lighting are listed below:
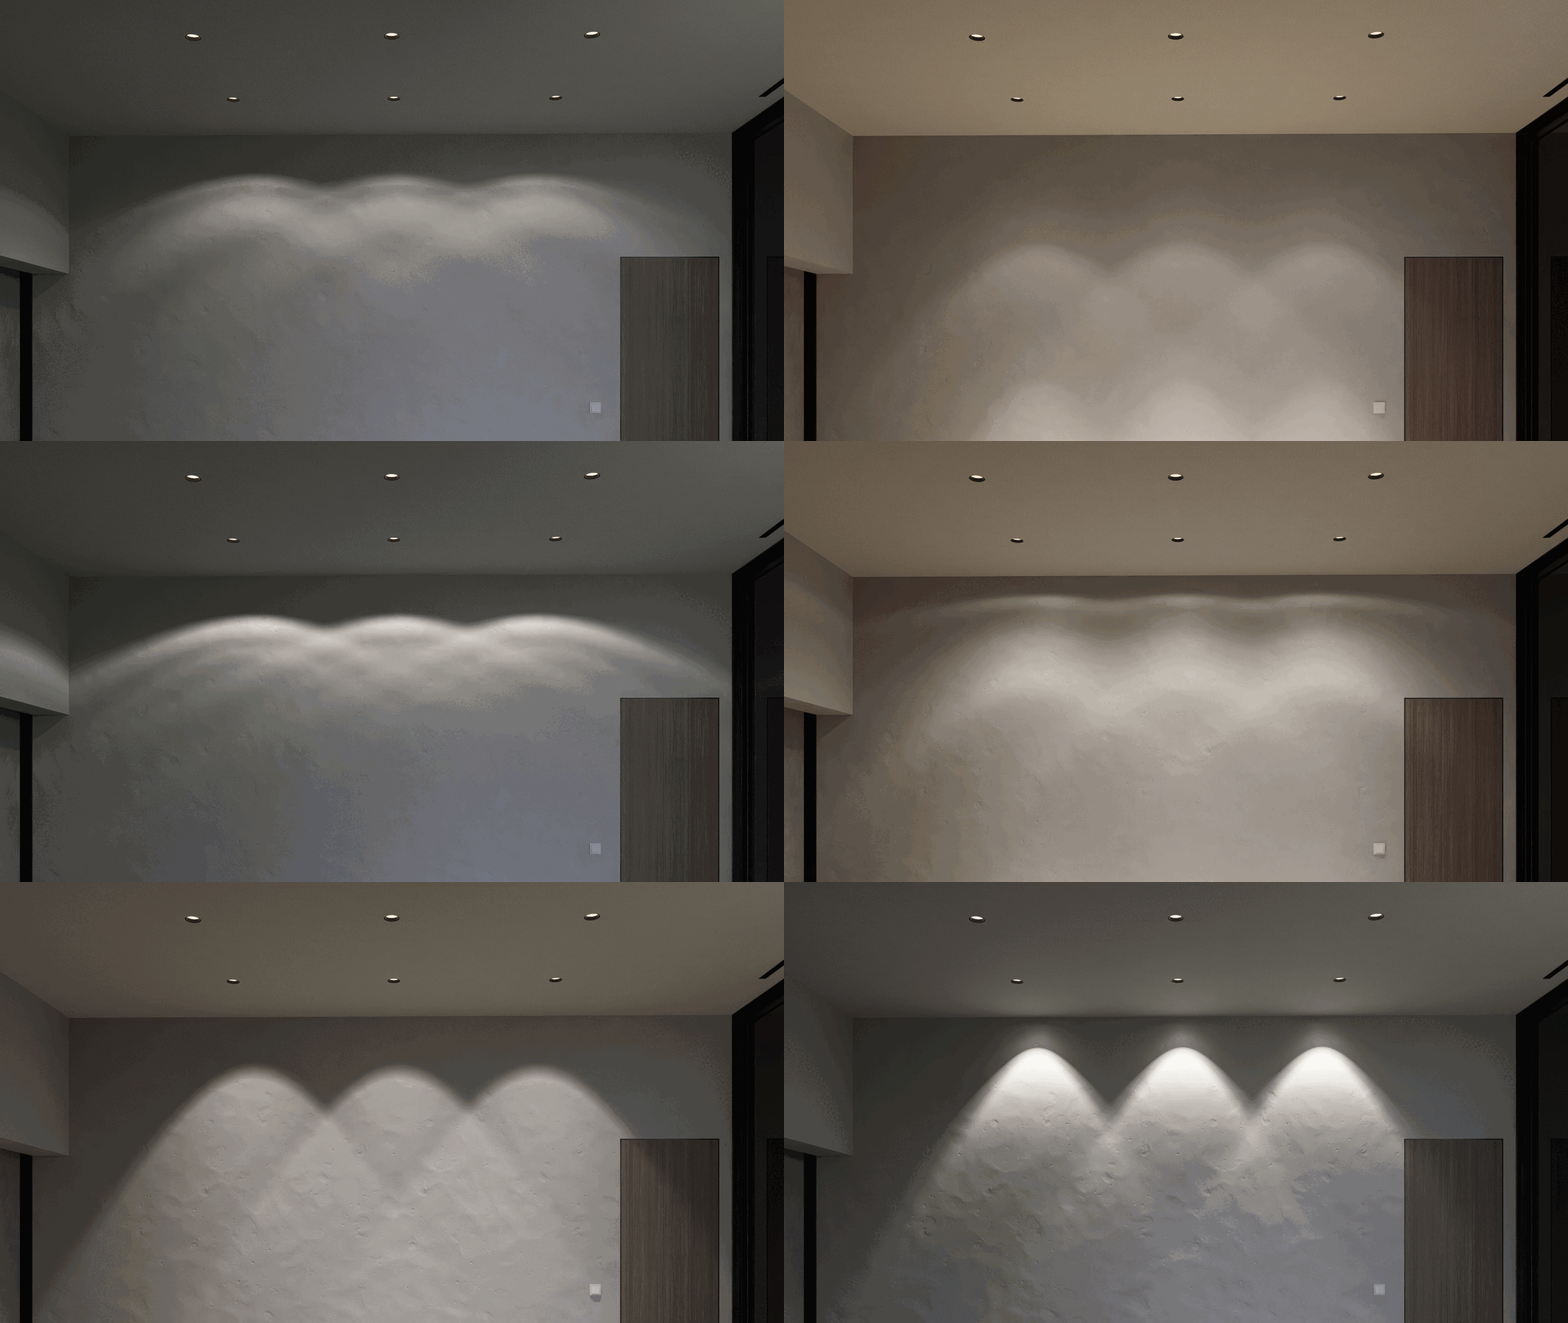
Spotlights spread light in a cone shape towards a chosen direction. Great for ceiling spotlights, streetlights, car headlamps, and other directional lights. The Brightness units they use are Lumens and the light Cone Angle and light direction can be adjusted within the Spotlight settings. Lumion comes with 30 Spotlight IES Profiles but you can also import your own.
Follow the links below for more information on how to set up Spotlights:
- Knowledge Base: What do the sliders and buttons in the Spotlight properties do?
- Lumion Tutorial: How to add Lights to your Design
- Lumion Tutorial: Targeting Lights
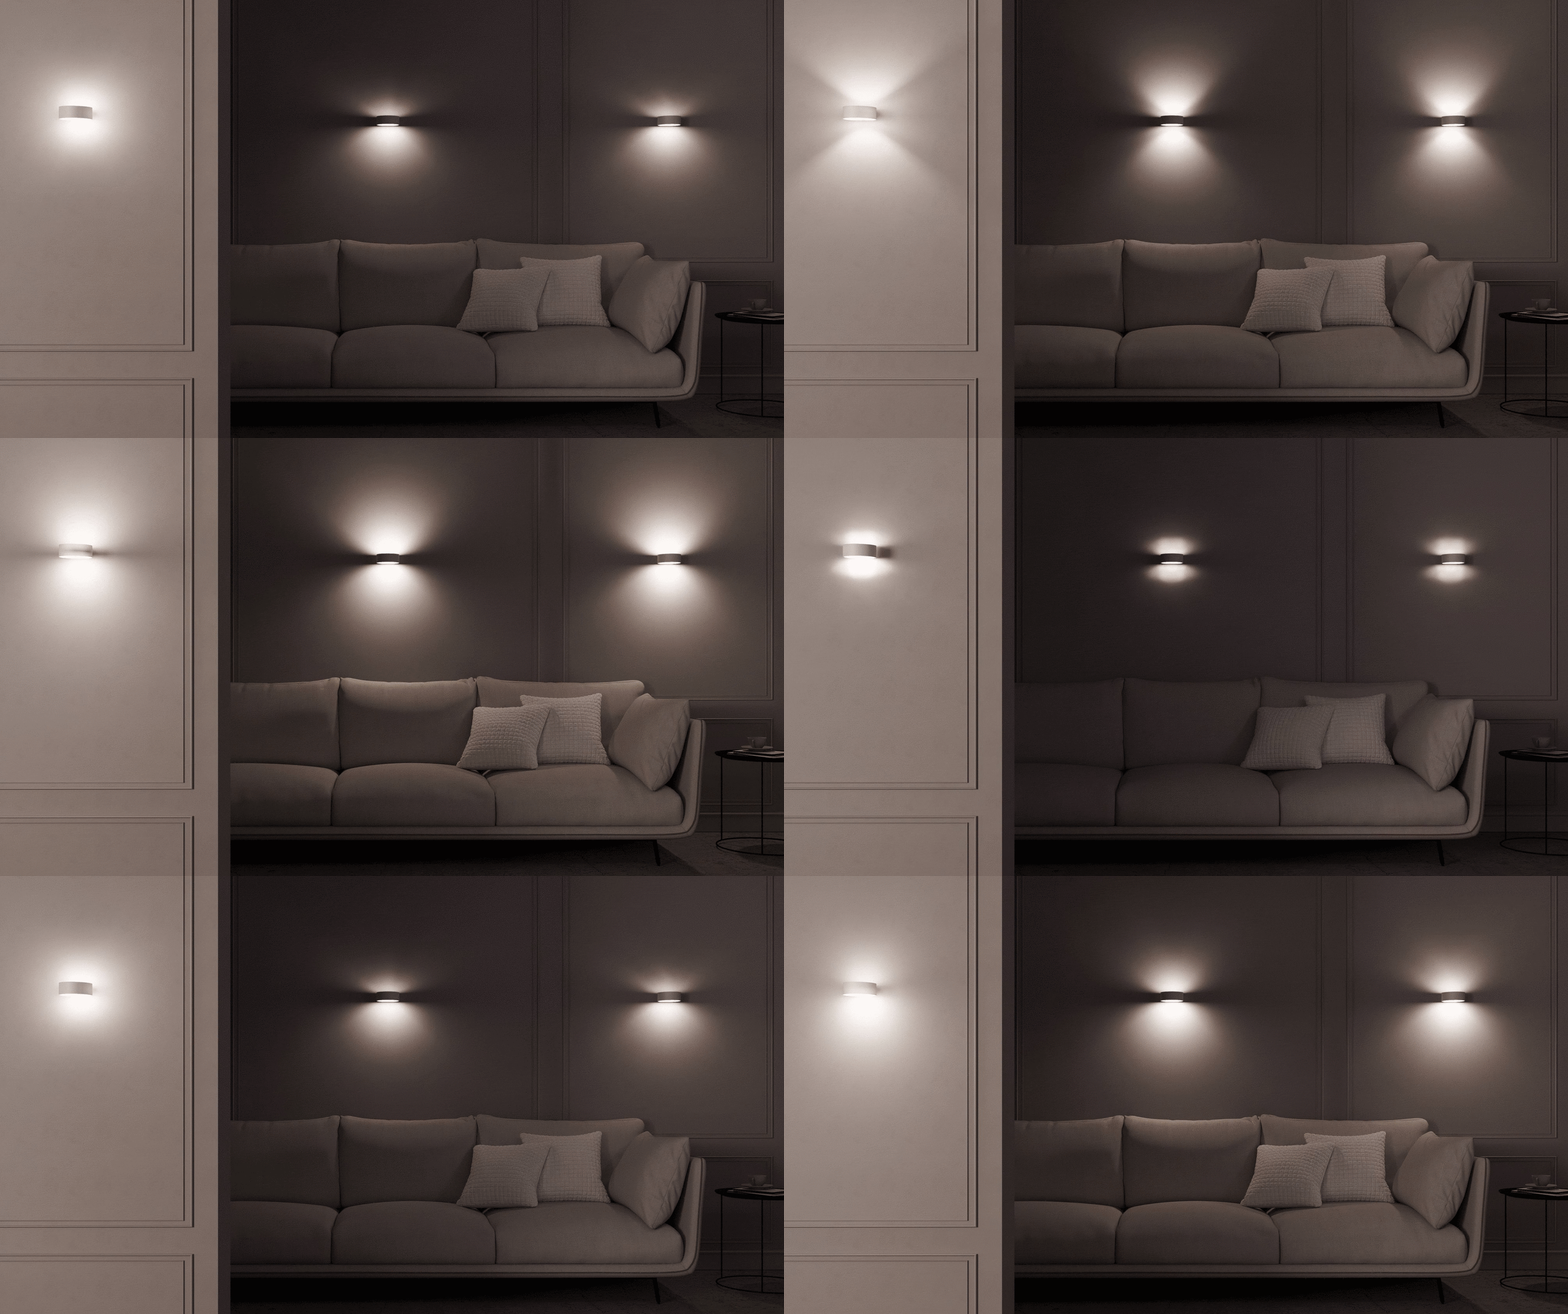
Omnilights are similar to Spotlights but they spread light in all directions. Ideal for hanging lamps, bulbs, fireplaces, and other omnidirectional light sources. Lumion includes 10 Omnilight IES Profiles but it is also possible to import your own.
See Omnilights in action in the video below:
- Lumion Tutorials: Using Omni Lights
In this Object category, you'll also find the Light Fill Object, which is similar to an Omnilight but it does not cast shadows or work in Ray Tracing mode. Mainly used to give a small boost in lighting on a given area when using the rasterization engine.
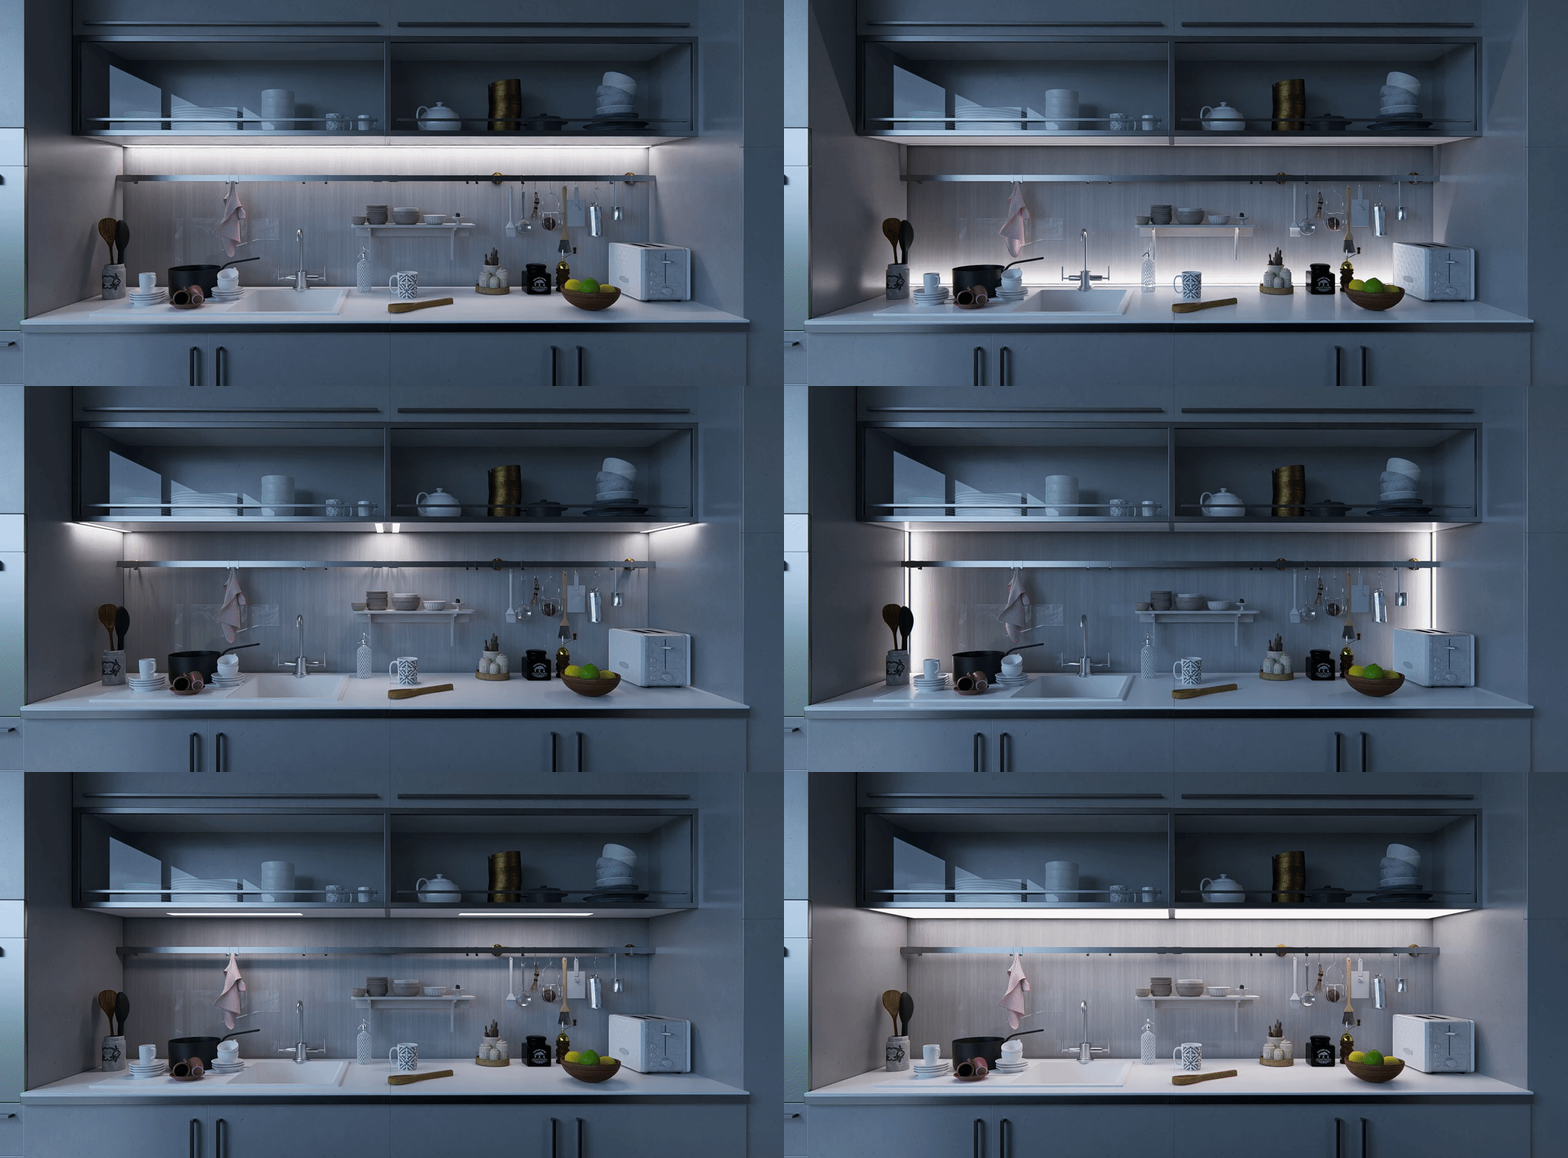
Area Lights emit light over a broad surface in a single direction, using Nits for Brightness control units. Unlike other types of lights, Area Lights can be resized by adjusting their Width and Lenght, allowing you to simulate lamps or fixtures of different sizes. This makes them ideal for illuminating large spaces evenly, such as ceilings, walls, screens, or indirect lighting and LED strips. Note that this type of light only casts shadow when using Ray Tracing.
These are covered in the video below:
- Lumion Tutorials: Area Lights and Line Lights
Lumion 2024.3.0 and newer versions now also support importing lights from supported 3D modeling applications. See the article below to learn more on this:
- Knowledge Base: How do you import Lights from your CAD software?
And to help you achieve the best results with artificial lighting in Lumion, here are some practical tips and techniques. These will guide you in avoiding common mistakes and maximizing the potential of each light source:
Tips for working with Lights
-
An important note about lights is that their visibility on daylight renders depends on how much natural lighting there is in the scene. The brighter the Sun and Sky Brightness are, the less visible artificial lighting will be:
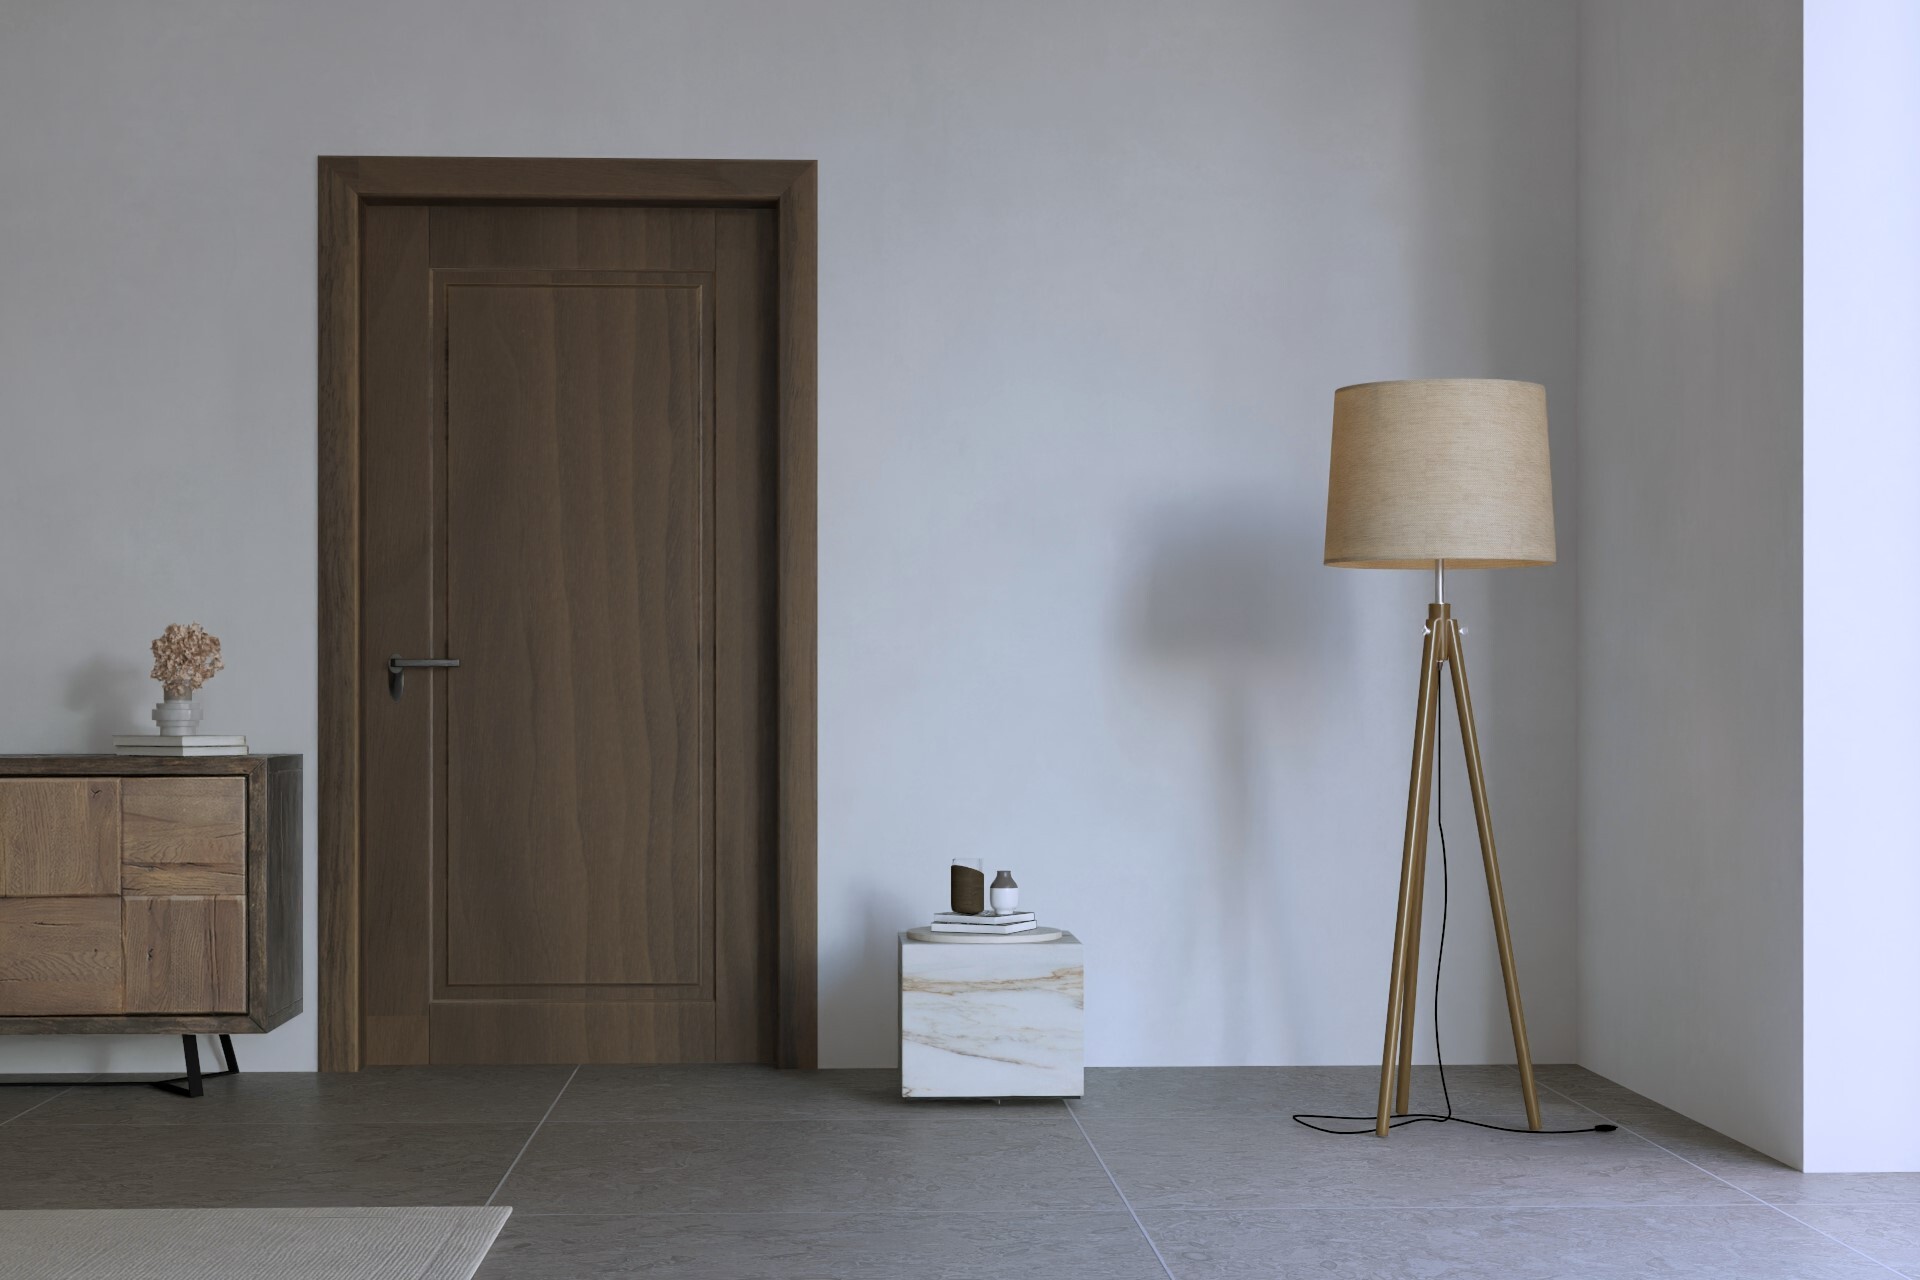 High Natural LightLow Natural Light
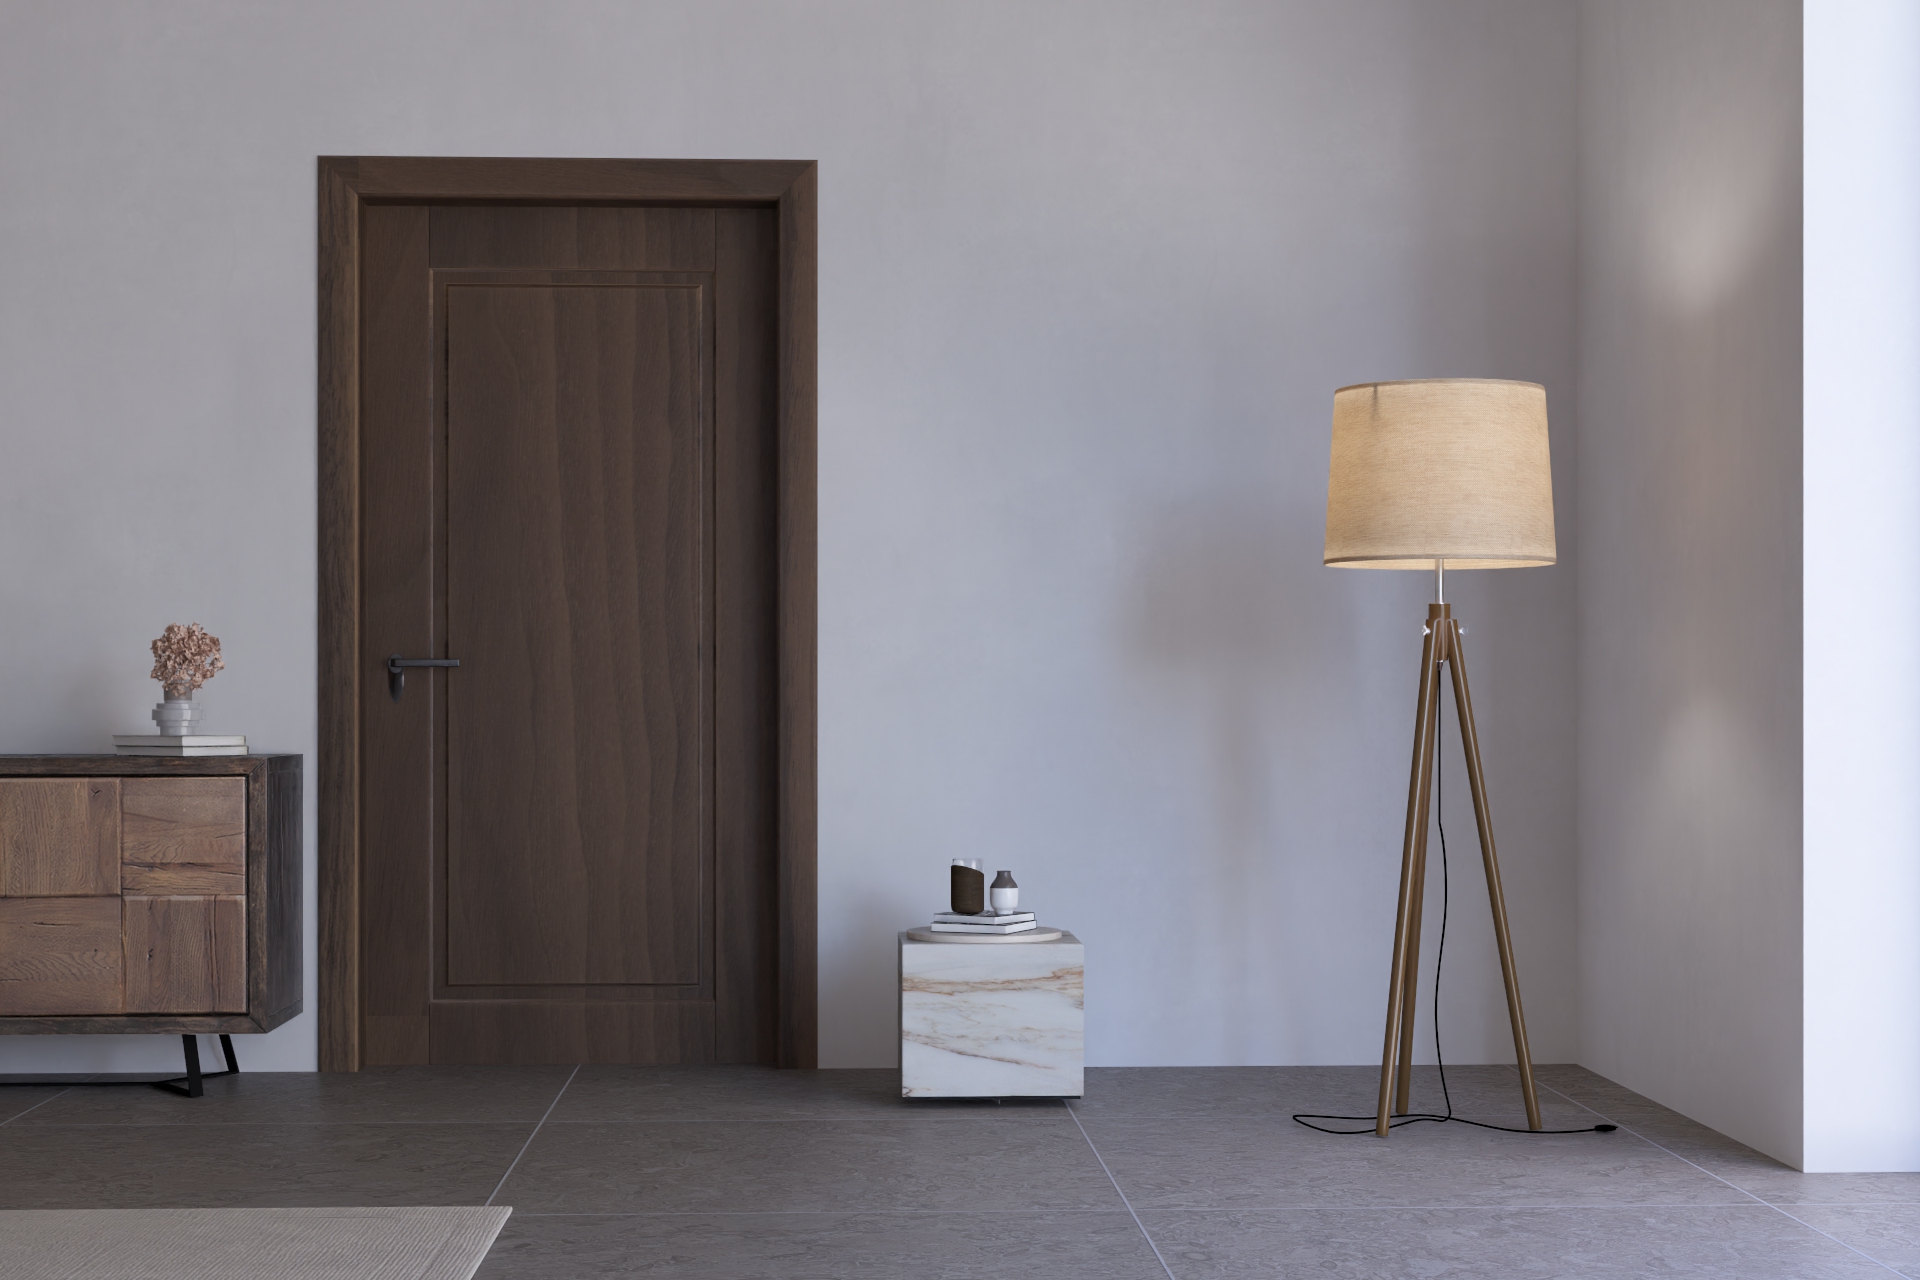
So, for example, if you want to show artificial lighting in a daytime scene, rather than increasing the light's Brightness, try reducing the natural lighting or move the Sun to a lower position.
- Avoid having the emissive parts of lights covered, overlapping, or inside closed model surfaces, as that can result in them producing noise and unexpected visual results, especially when using Ray Tracing. Lights should be placed clear of any obstacles.

You can enable the Light Source toggle on the light's settings to check this. - Omnilights and Spotlights feature a Shadow Exclusion slider that enables the light to pass through Objects, meaning surfaces inside the exclusion zone won't cast shadows. You can also adjust the light's size using the Light Source Radius slider.
- Lights can be set to automatically turn on at night only.
- Keep the lights Brightness units at a realistic value. Do not use an excessively high setting (for example, 45,000 Lumens) as that can produce unexpected results. If it's a daylight scene and you need to increase the visibility of the lights, decrease the natural ambient lighting (Sun and Sky Brightness) instead.
- Do not use an excessive amount of lights (400+) as that will drastically increase memory usage and slow down performance.
Also, the more lights are enabled/visible, the noisier the overall output when using Ray Tracing.
This is because the rays that are shot from the camera are randomly assigned to a light source. Fewer light sources means that you get more rays per light, which might result in a clear, less noisy output - If the image is coming out too bright or too dark, try adding the Color Correction Effect and adjust the Exposure slider.
- If you are getting a noisy Ray-Traced image, try following the suggestions in this article:
- Lastly, If you'd rather use lights from your model rather than placing the light Objects manually in Lumion, you have two options:
- Add the Emissiveness Material property to the surfaces that should be casting light (for example ceiling spotlights, or light bulbs)
- Lumion Tutorials: Glowing Materials
- Lumion Tutorials: Glowing Materials
- Or use the Proxy Replacement feature to replace a proxy Object in your model with Lumion lights. This feature is covered in the following videos:
- Lumion Tutorials: How to use Nodes for Mass Placement
- Lumion Tutorials: Light Nodes
- Add the Emissiveness Material property to the surfaces that should be casting light (for example ceiling spotlights, or light bulbs)
Other Effects and Settings that interact with lighting
In addition to the core lighting controls and Objects, Lumion includes several Effects and settings that can directly influence the overall lighting in your scenes.
The following Standard Material properties will impact or be impacted by lighting on the scene:
Emissiveness
This property makes the selected surface glow and shine. When using Ray Tracing, this will cause them to also cast light and shadows. The Brightness units used here are Nits.
 Emisiveness OffEmisiveness On

Very useful when you want to make part of a model glow, such as a light bulb, neon light, or a TV screen.
Same as with artificial lighting, Emissiveness is impacted by the overall natural lighting in the scene. Lower Sun and Sky Brightness settings will make the Emissive Materials look brighter.
Subsurface Scattering
This property makes light enter and scatter through the surface, enabling the creation of transluscent Objects with light penetrating them, such as a leaves, an onyx lamp, or cloth curtains.
 Subsurface Scattering OffSubsurface Scattering On

Learn How to achieve true-to-life translucent Materials in our blog:
- Lumion Tips and Guides: Ray-traced subsurface scattering: perfecting the art of translucency
Reflectivity, Roughness, and Metalness
These settings will directly affect how light is reflected on surfaces. Lowering the Roughness and increasing the Reflectivity slider will make a surface shinier and reflect more light.
 High Roughness/Low ReflectivityHigh Reflectivity/Low Roughness

Metalness on the other hand, then adjusts the specular aspect of the reflections darkening the base color while increasing the intensity of lighting reflections and, making a more metallic or mirror-like look.
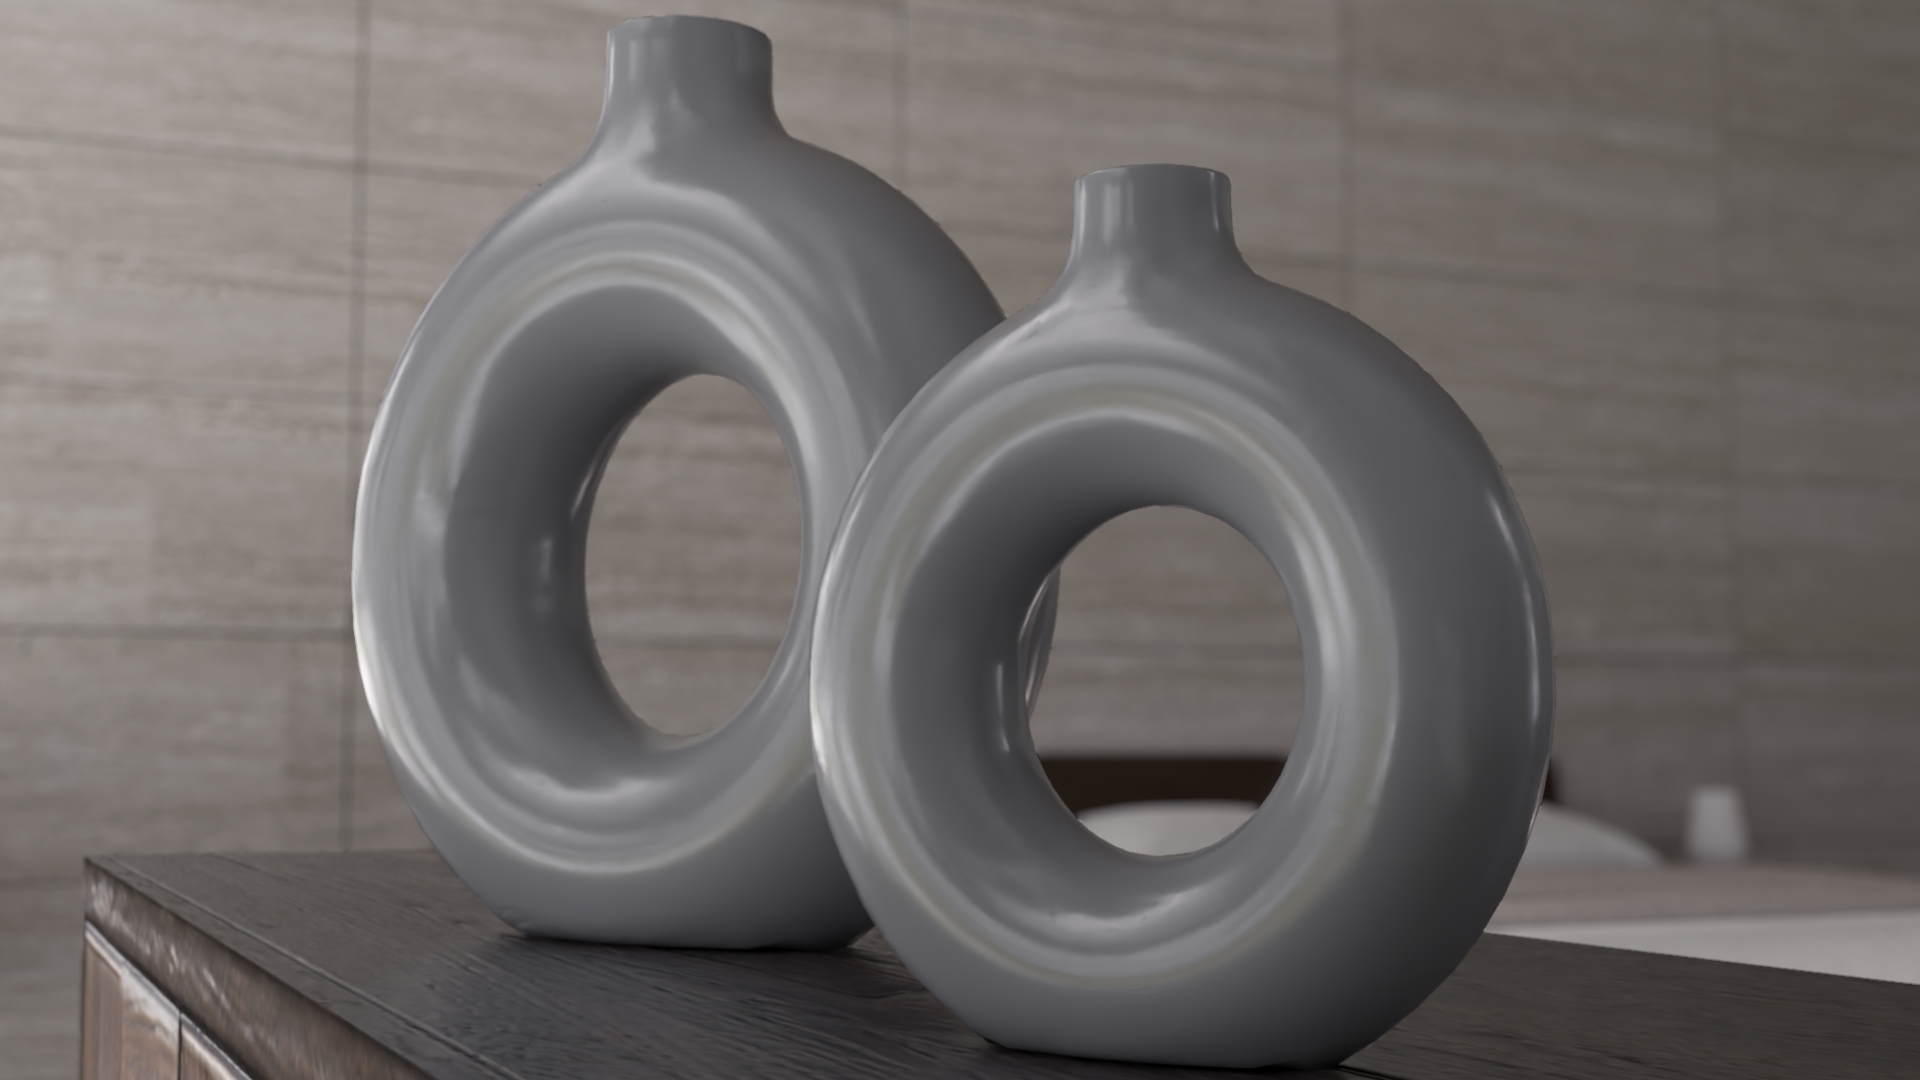 Low MetalnessHigh Metalness
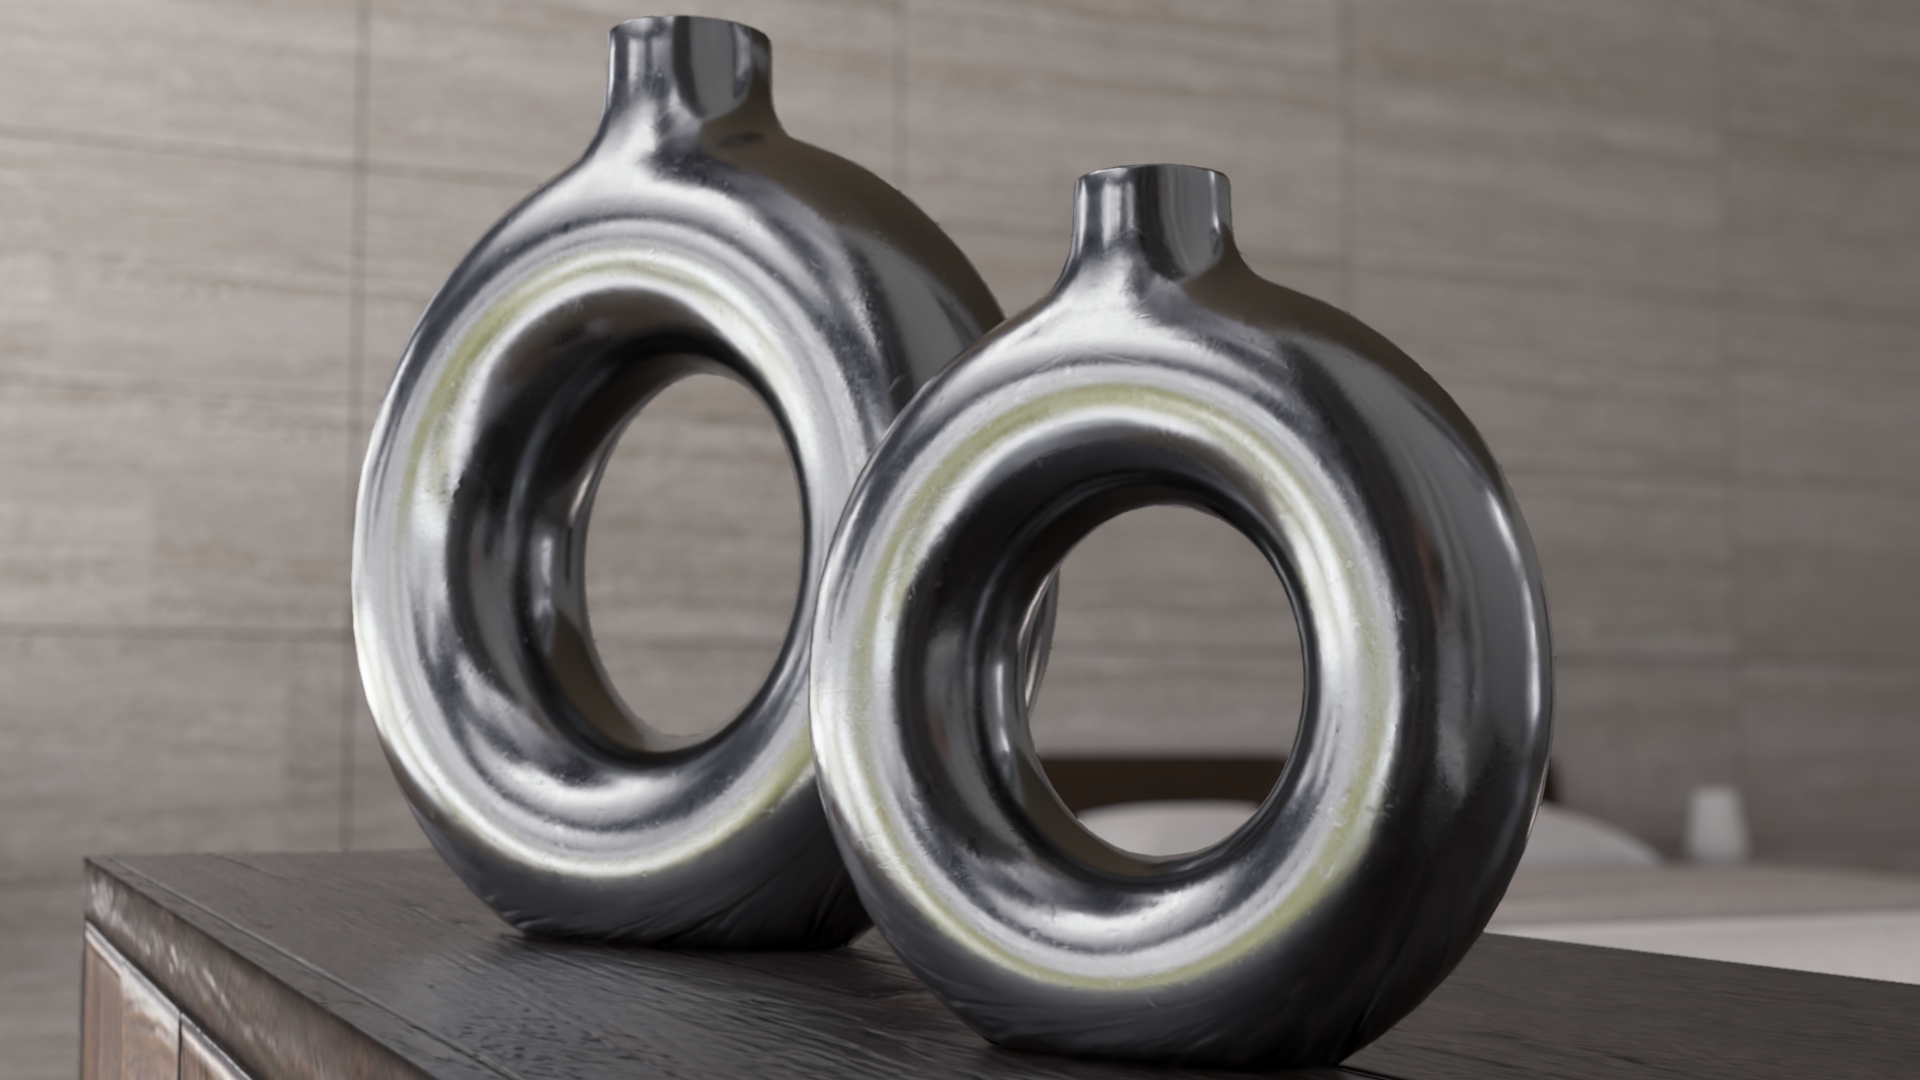
It is crucial to carefully adjust these on Materials, as they can significantly impact the realism of your render. Neglecting these settings on surfaces that should have them can make them appear flat, dull, or unnatural.
For example, failing to add the appropriate reflectivity to Materials like marble or glass will result in an unrealistic, lifeless look, resembling cardboard or paper rather than the true characteristics of the material.
Relief and Displacement
Adding Relief and Displacement to a Material increases the texture's depth and dimension. These settings simulate the tiny imperfections and bumpiness that occur naturally on surfaces, producing subtle shadows and highlights that shift based on the light source's position.
 No Relief and DisplacementHigh Relief and Displacement

This creates a sense of tactile realism, making Materials like stone, brick, or wood appear far more lifelike. Without these Maps, Materials may look flat and lack the intricate details that bring them to life.
See these Blog articles for more information on Relief and Displacement:
- Lumion Blog: How to make materials feel real
- Lumion Blog: Enhance the realism of your displacement maps
Glass
The Glass Material also has properties that are affected by lighting on the scene, such as Reflectivity, Distortion and Frostiness. These are covered in the article below:
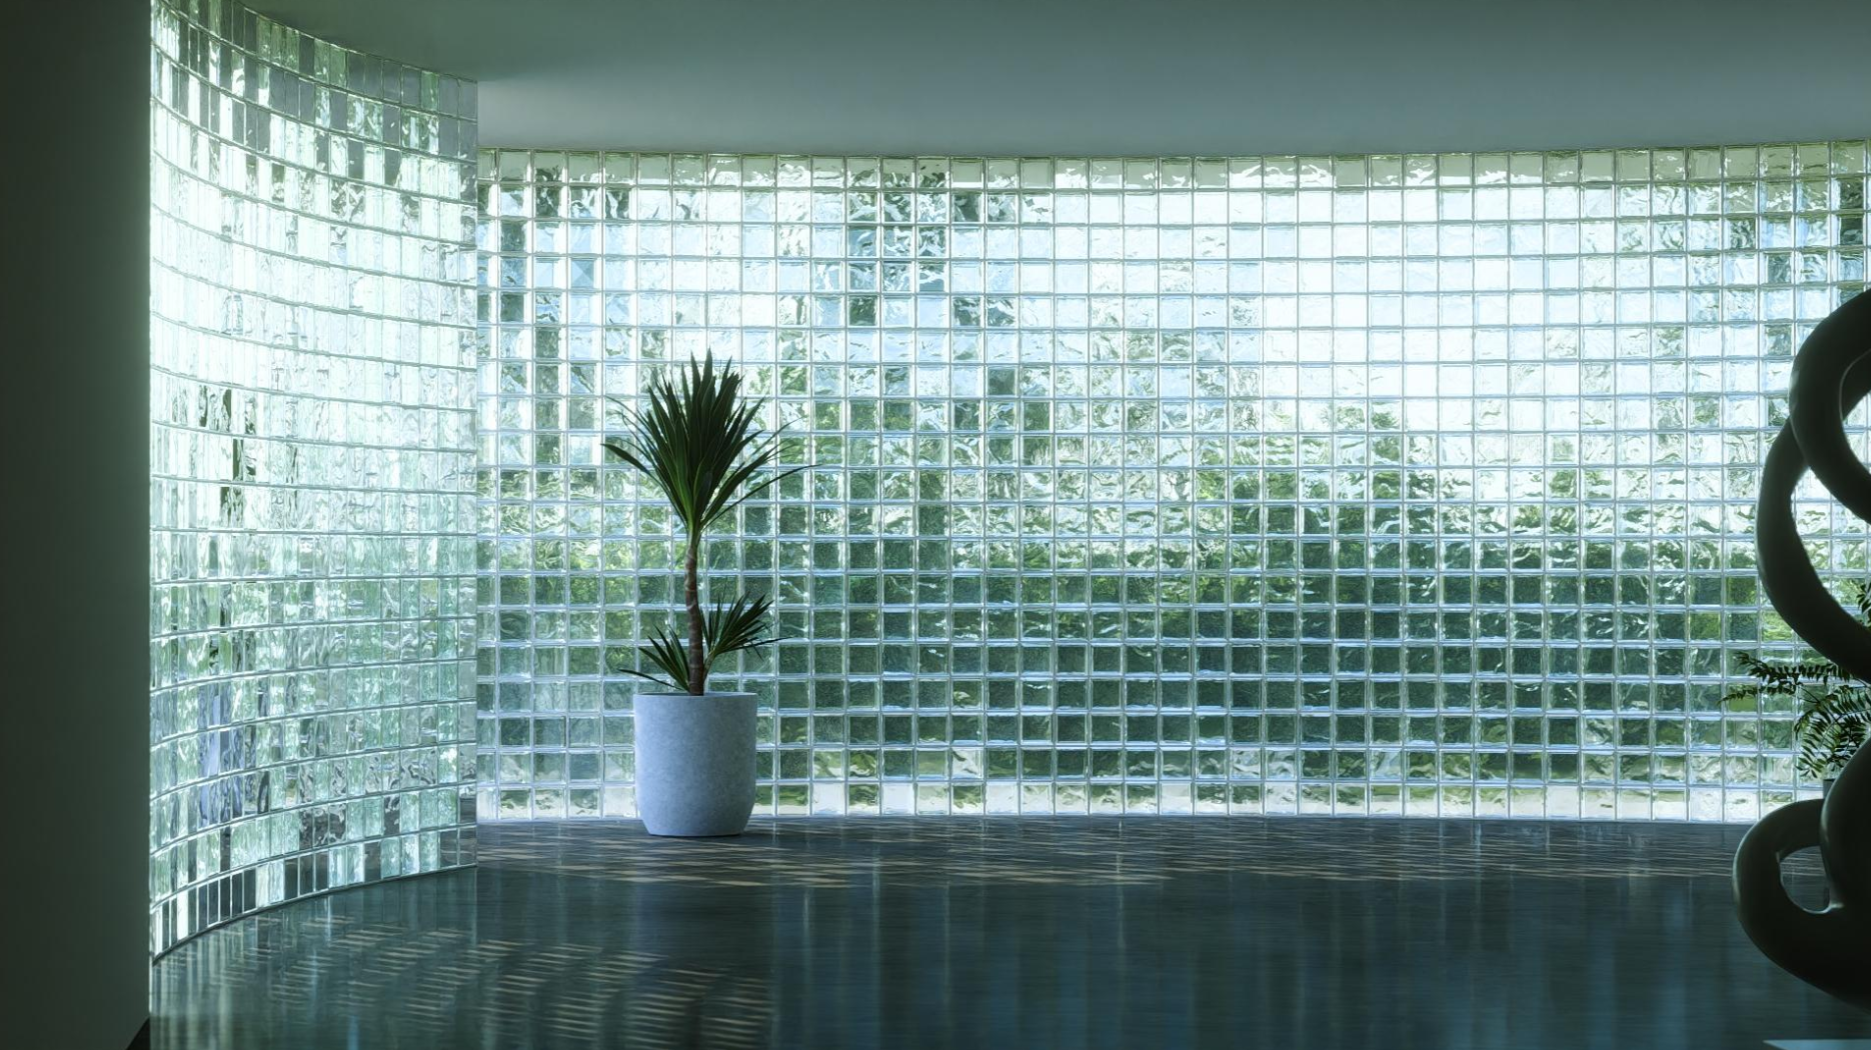
You can also enable Fully Ray-Traced Glass from the Ray Tracing Effect settings to enable refractions and other additional properties such as Thickness and Color Absorption in Glass. These allow for even further customization of Glass and an incredibly realistic look, ideal for irregular shapes such as curved glass, bottles, etc.
See this guide for more information on Fully Ray-Traced Glass:
- Lumion Tips and Guides: Ray-traced glass: how to replicate reality
The following Effects will impact or be impacted by lighting on the scene:
Volumetric Light
Lumion offers powerful Effects to create volumetric lighting, allowing you to simulate atmospheric light beams that can add depth to a scene. By using these Effects you can showcase sunlight streaming through windows or streetlights glowing in foggy conditions.
There are 3 available Effects for this:
Volumetric Sunlight
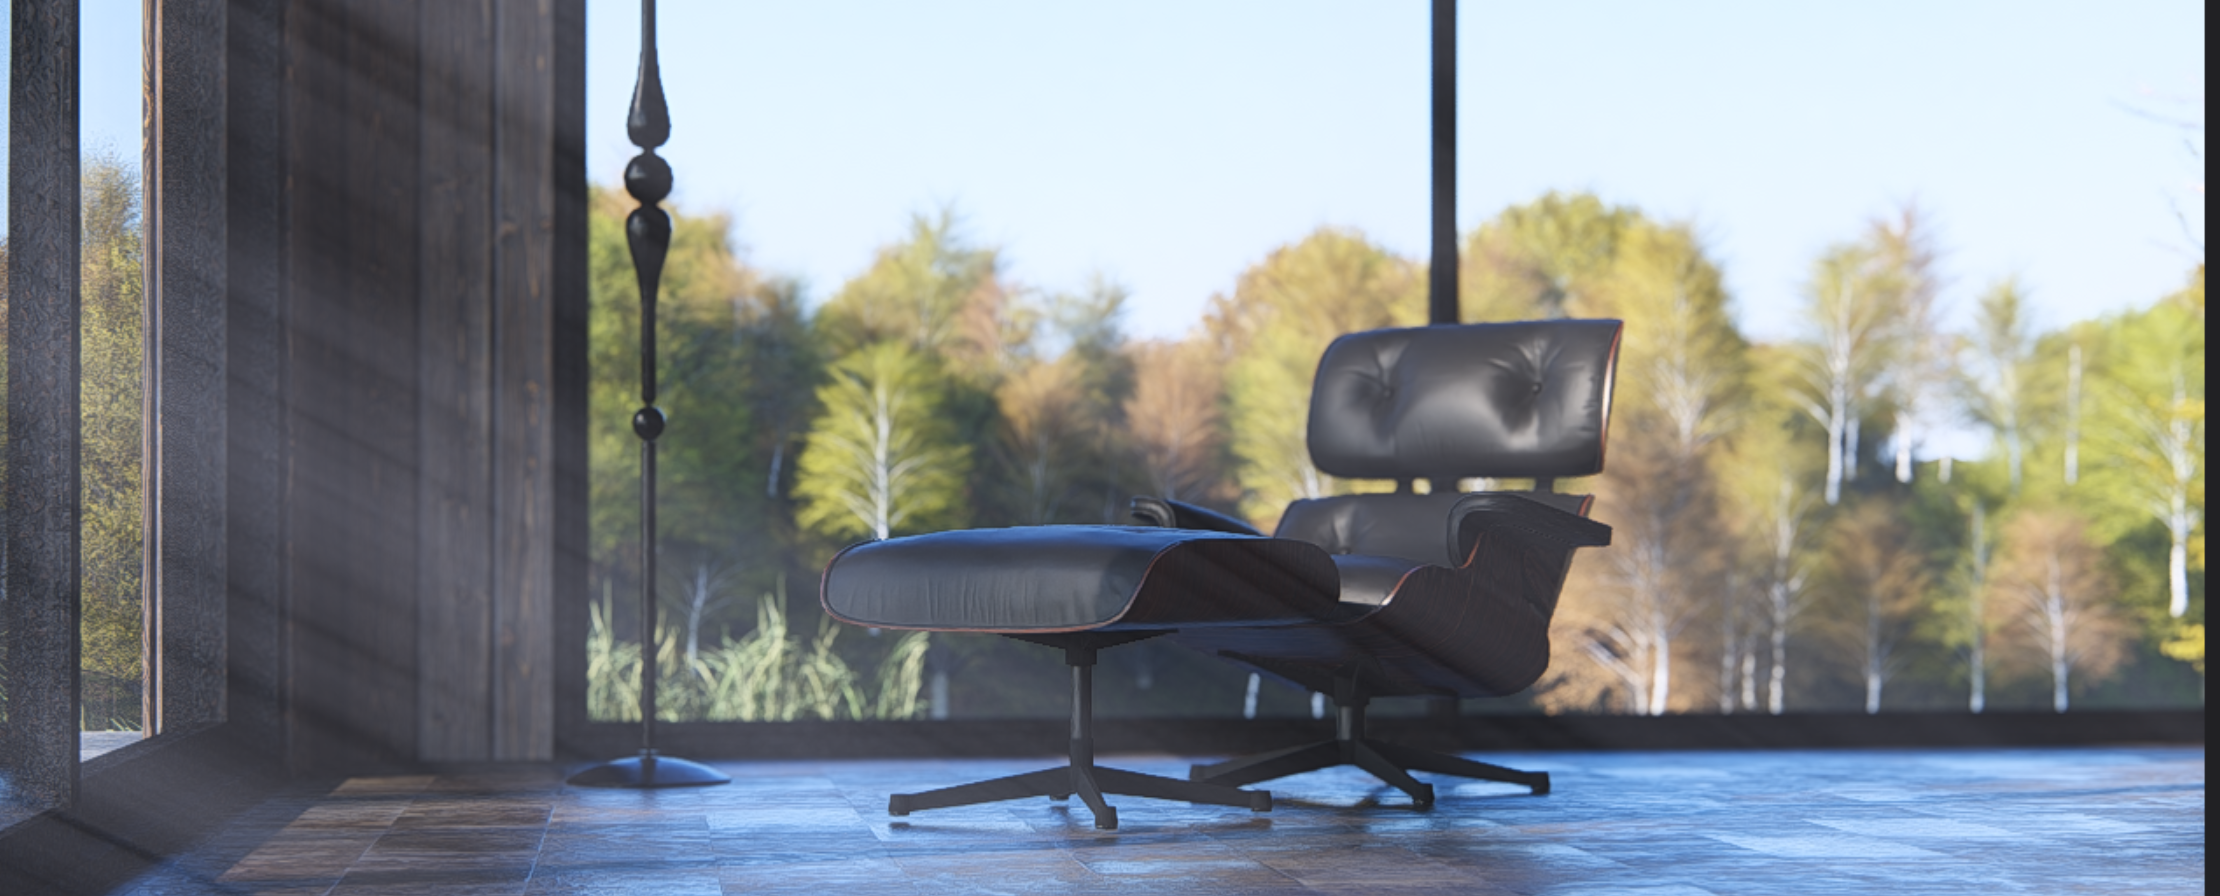
The Volumetric Sunlight Effect adds a sense of depth and atmosphere by making the sun's rays visible, as if they are passing through particles in the air. This Effect is perfect for capturing the ethereal glow of shimmering morning sunlight or dramatic shafts of light in dusty environments.
You can fine-tune the Brightness and Range of the volumetric light through the Effect's settings, allowing for greater control over how sunlight interacts with the space
- Lumion Tutorials: Volumetric Sunlight Effect
Volumetric Lights
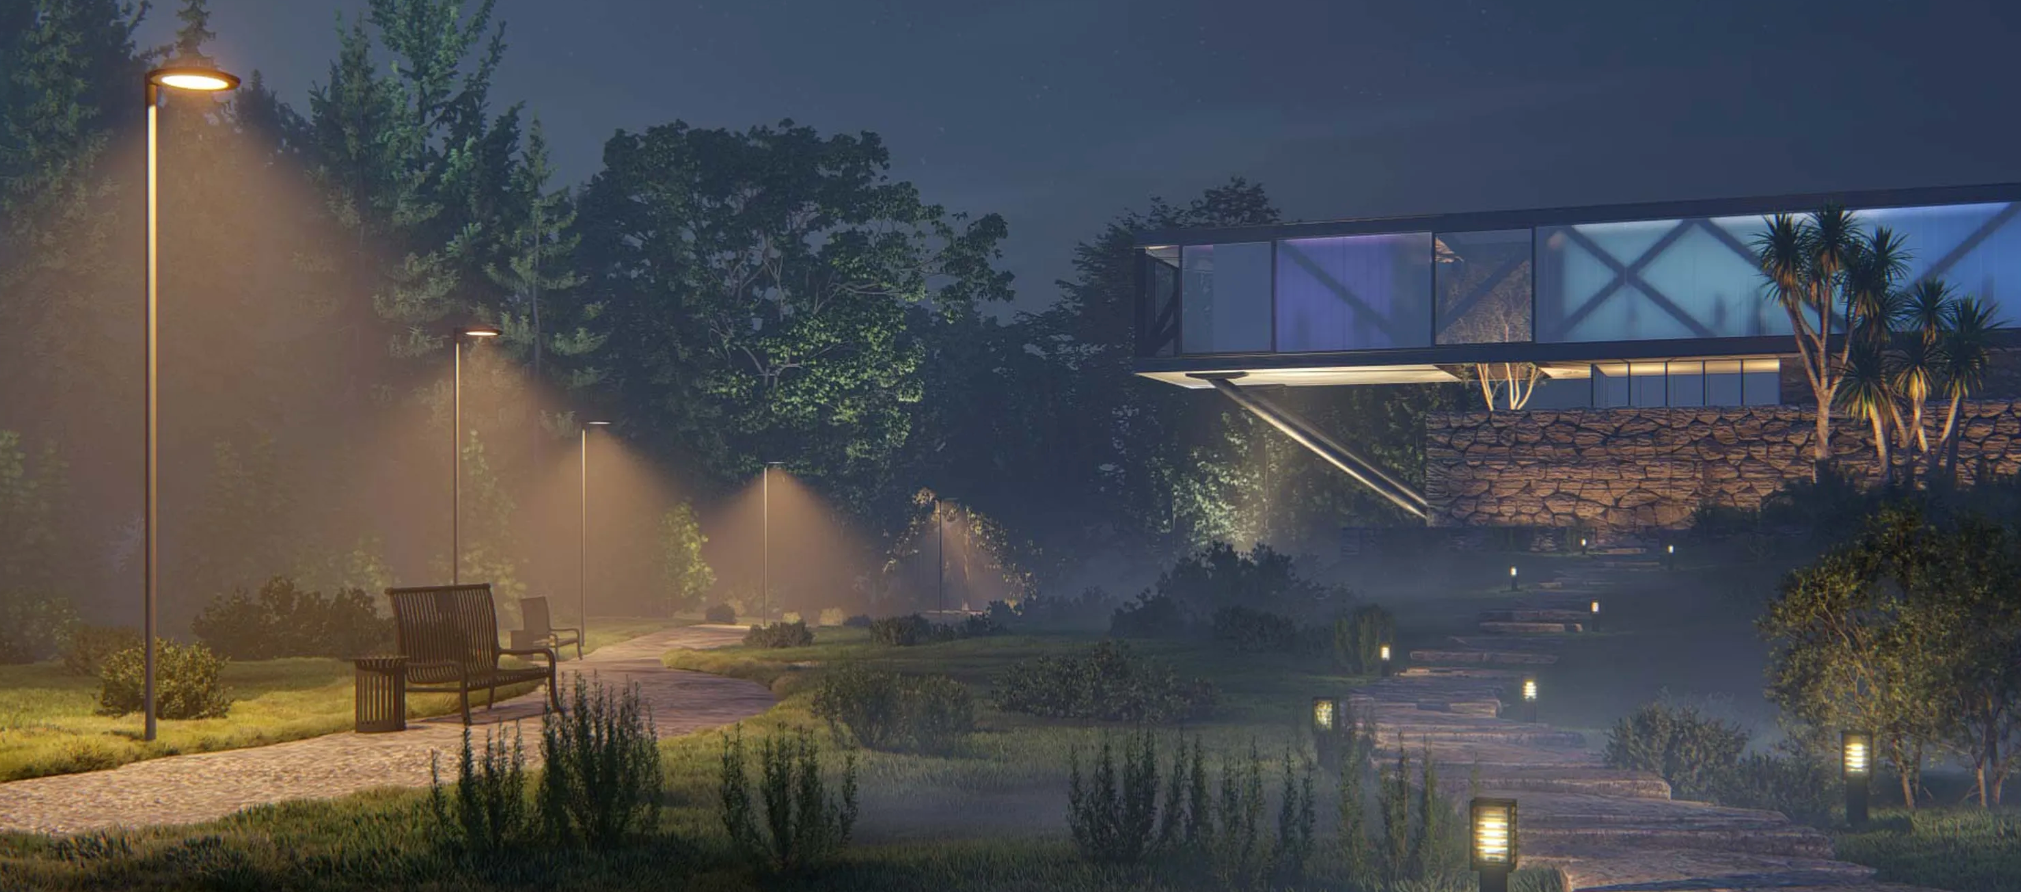
The Volumetric Lights Effect is similar to Volumetric Sunlight, but it can be added to individual Spotlights and Omnilights, simulating the way light interacts with particles in the air. This Effect allows you to create dramatic light beams or subtle ambient lighting with full control over the Range and Brightness, giving scenes a more immersive and cinematic quality
For more information and tutorials on how to use Volumetric Lights, follow these links:
- Tips and Guides: How to create the perfect atmosphere with the volumetric spotlights effect
- Tutorial Video: Volumetric Spotlights
- Tutorial Video: Volumetric Omnilights
God Rays
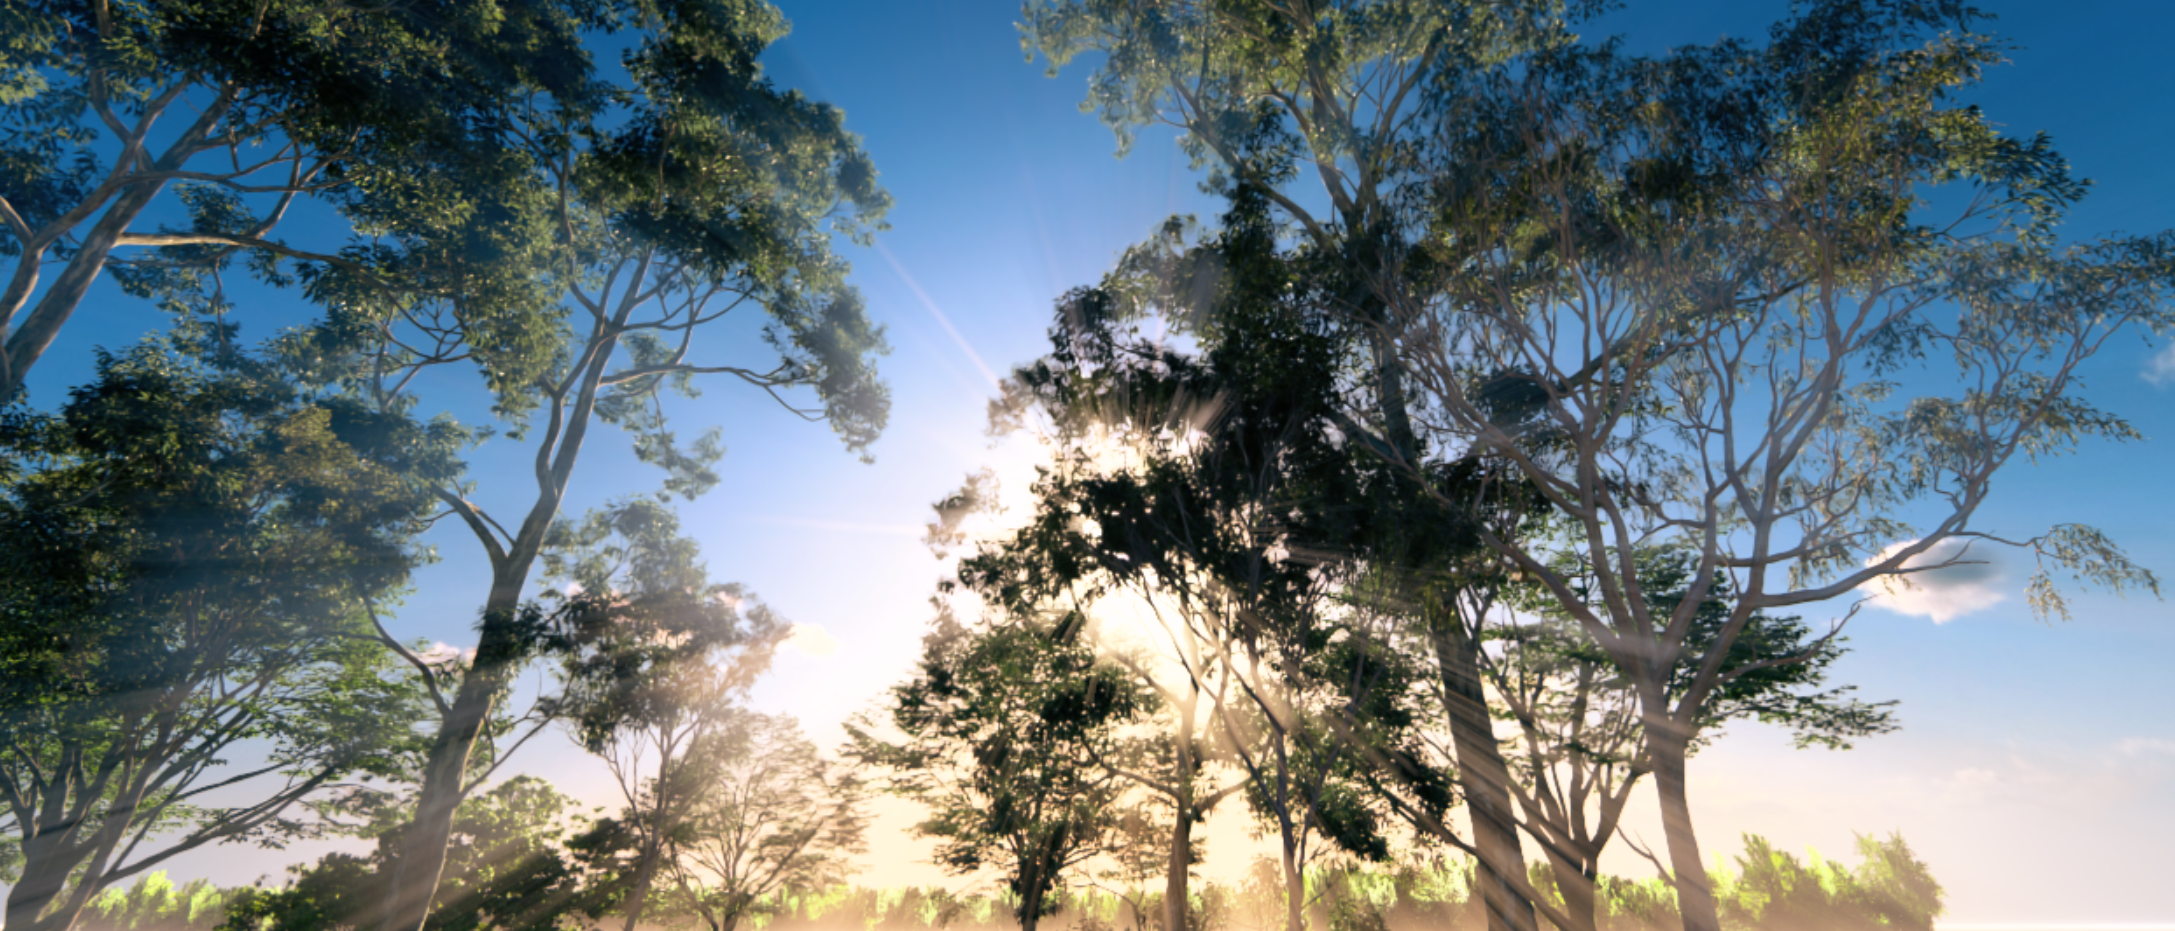
This simulates the rays of light from the sun being projected onto the camera. You can configure the Brightness and Decay of the rays.
- Lumion Tutorials: The God Rays Effect
Note that both the Volumetric Sunlight and God Rays Effect's intensity will be directly affected by how much sunlight and sky light there is on the scene. The brighter the sunlight, the higher the visibility of the volumetric light will be. Higher Sky Brightness settings will do the opposite.
Clouds
Clouds can have an impact on natural lighting in your scene depending on how you use them. There are different ways to add and control Clouds in Lumion.
Sky and Clouds Effect:
This Effect includes a highly customizable and dynamic Cloud system. You can control the amount of Low Clouds and High Clouds, their Softness, Direction, Position, Brightness, and select from various types of Clouds, allowing the arrangement of countless cloud formations to fit in your scenes.
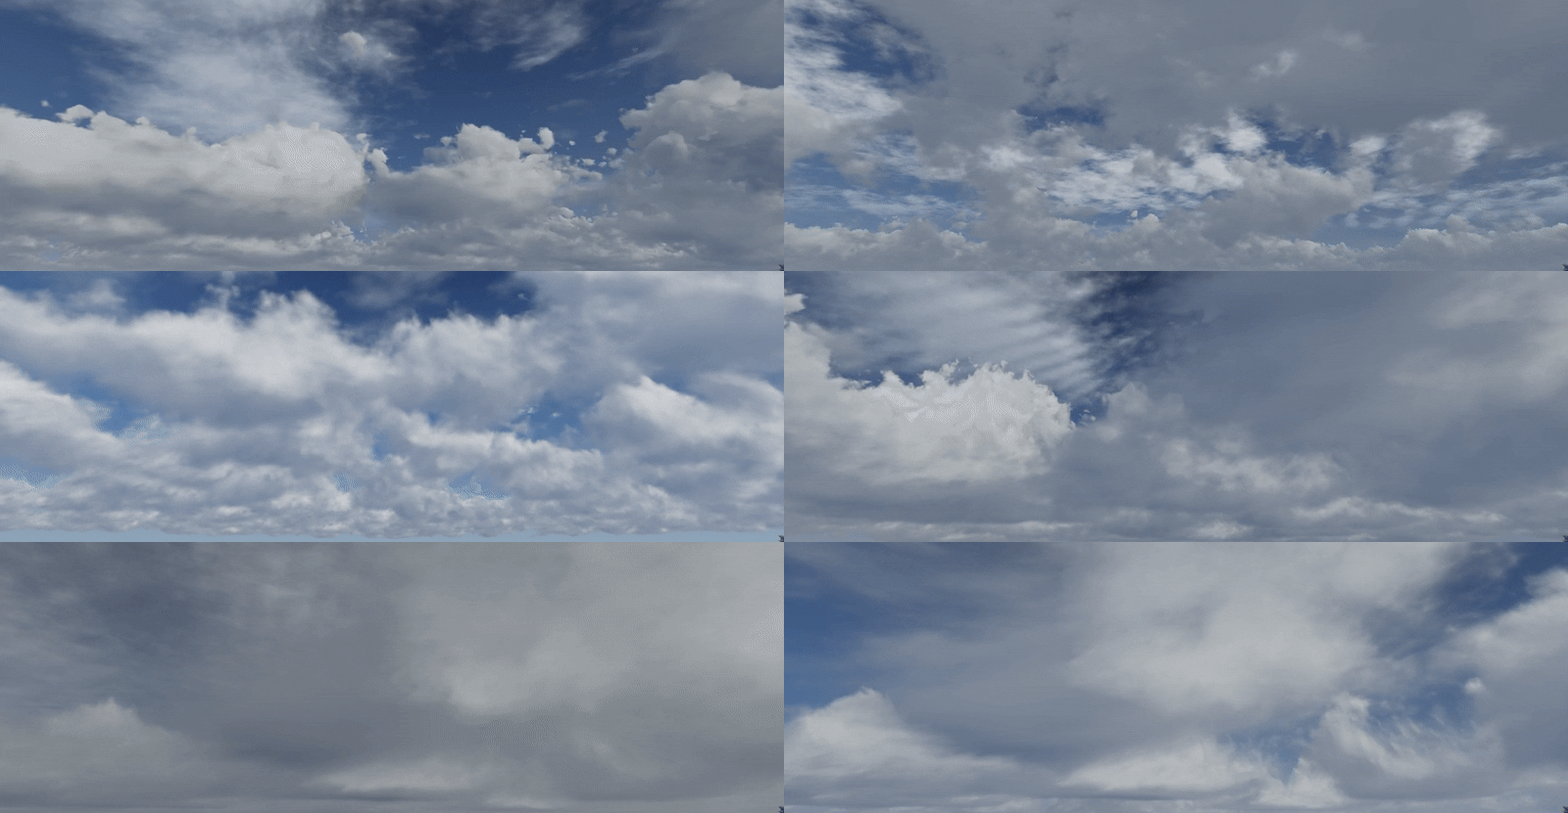
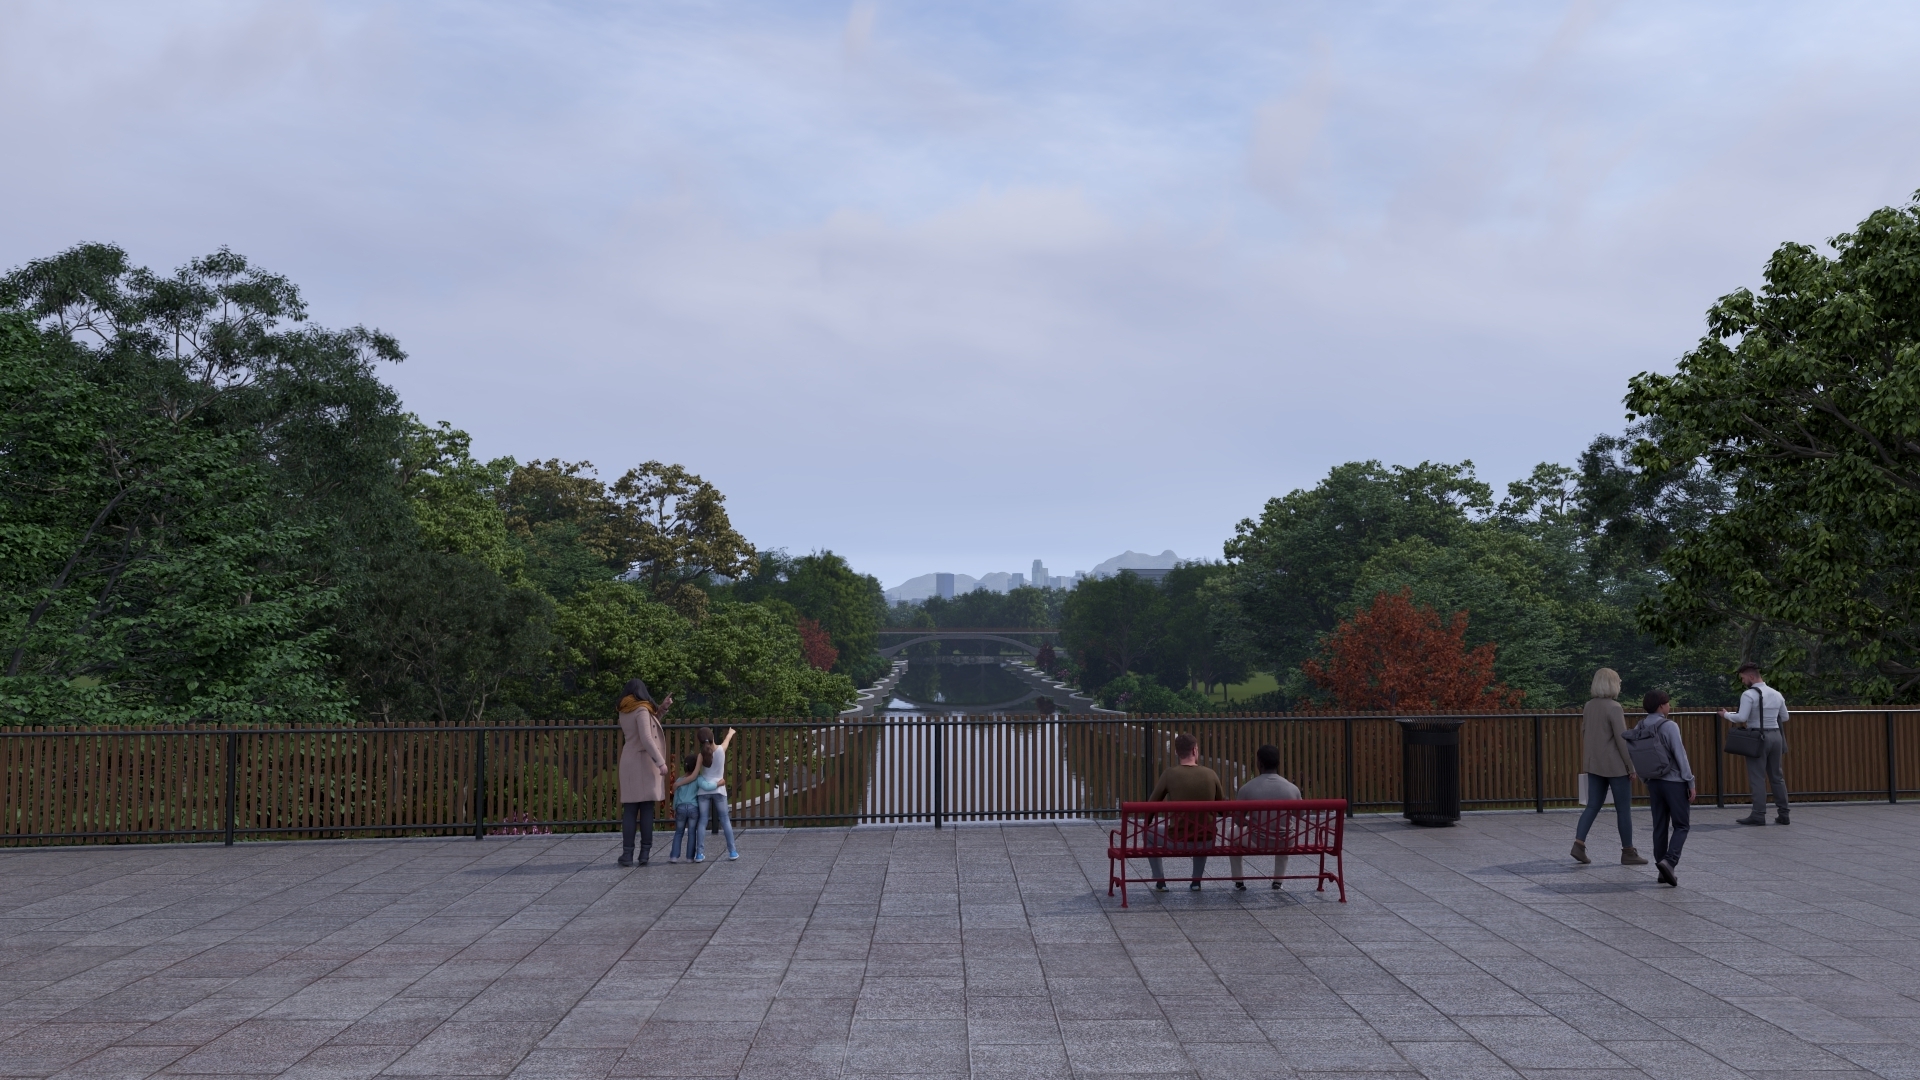
Although these types of Clouds themselves do not cast shadows, the amount of Cloudiness will directly impact the amount of sunlight in a scene, causing shadows to be less prominent.
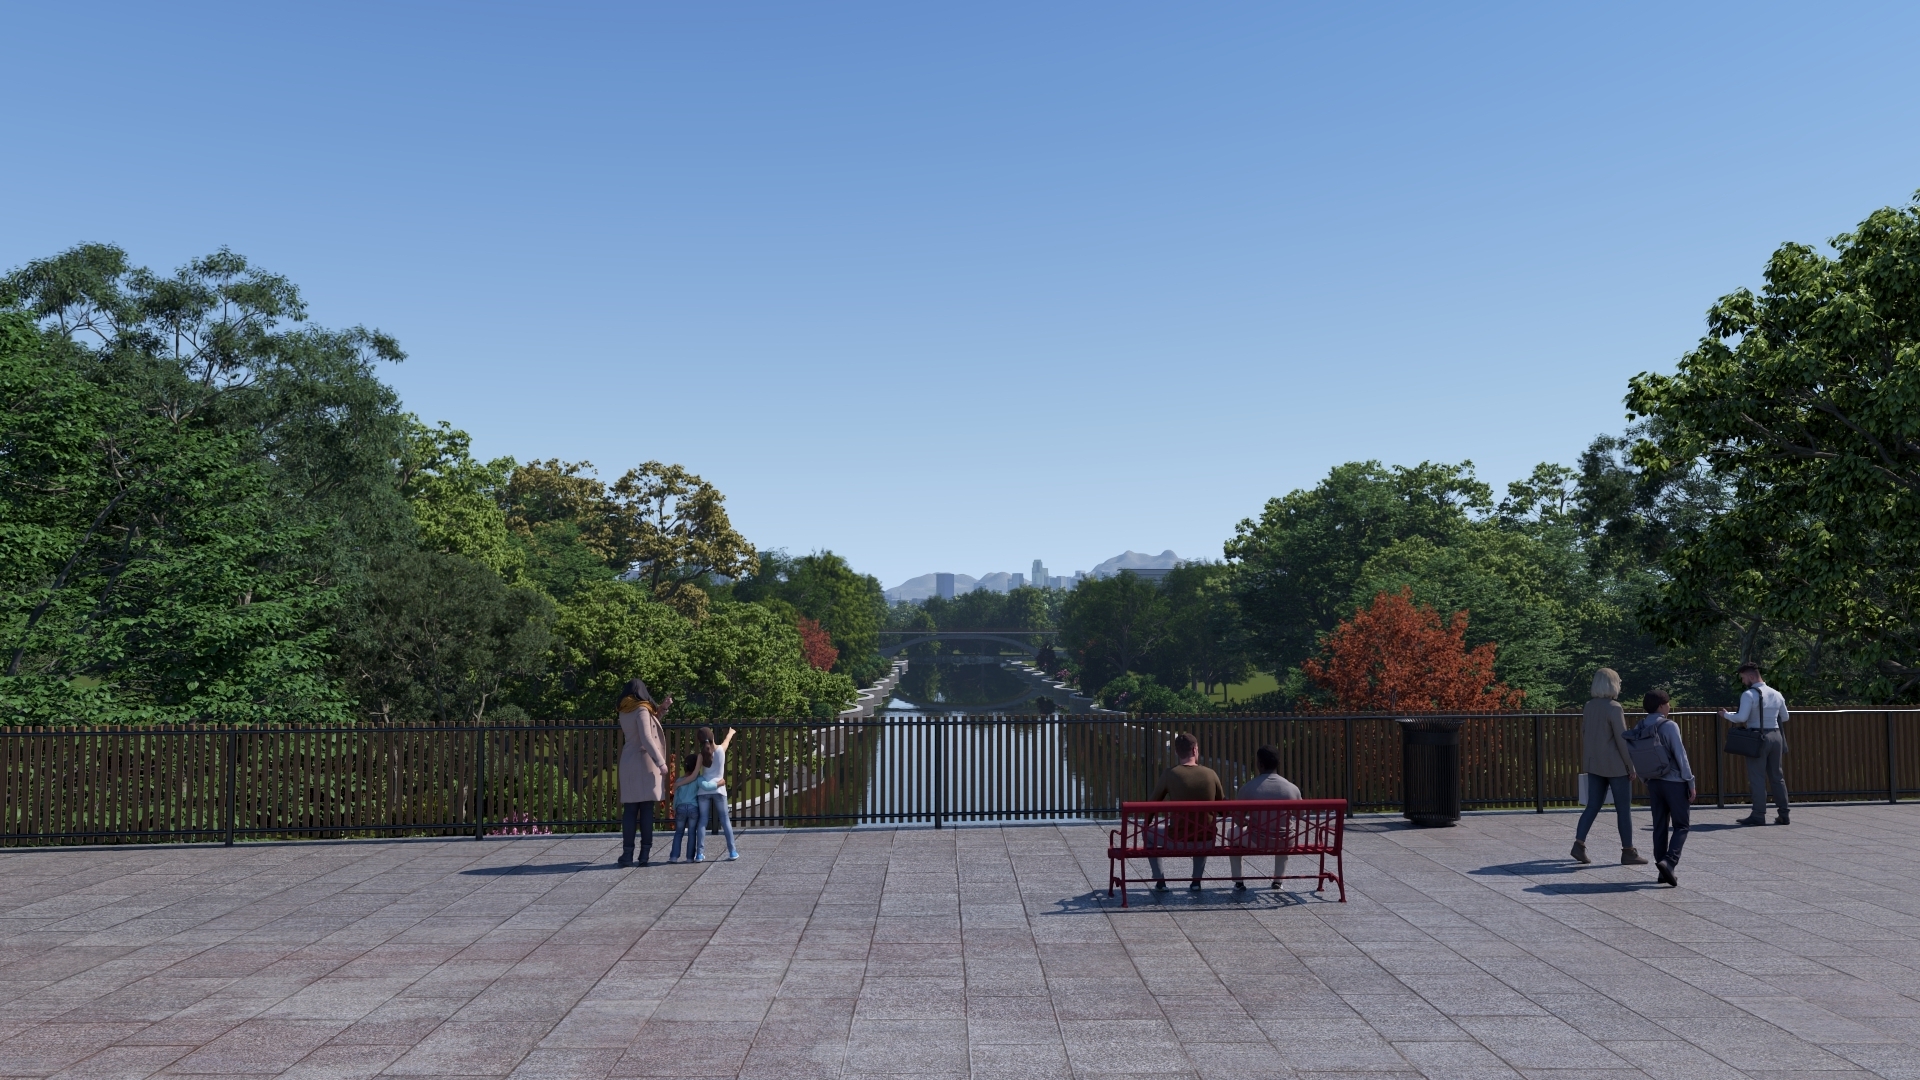 No CloudsHigh Cloudiness
Here's how to use the Sky and Clouds Effect:
- Lumion Tutorial: Configuring The Cloud Effect
Note that the Cloud Presets and Cloudiness level can also be adjusted directly from Build Mode:

- Lumion Tutorials: Build Mode: Weather - Configure The Sky
Horizon Clouds These can be added via the Horizon Clouds Effect. They are background only and do not affect lighting in any way.
- Lumion Tutorials: Using The Horizon Cloud Effect
Volume Clouds
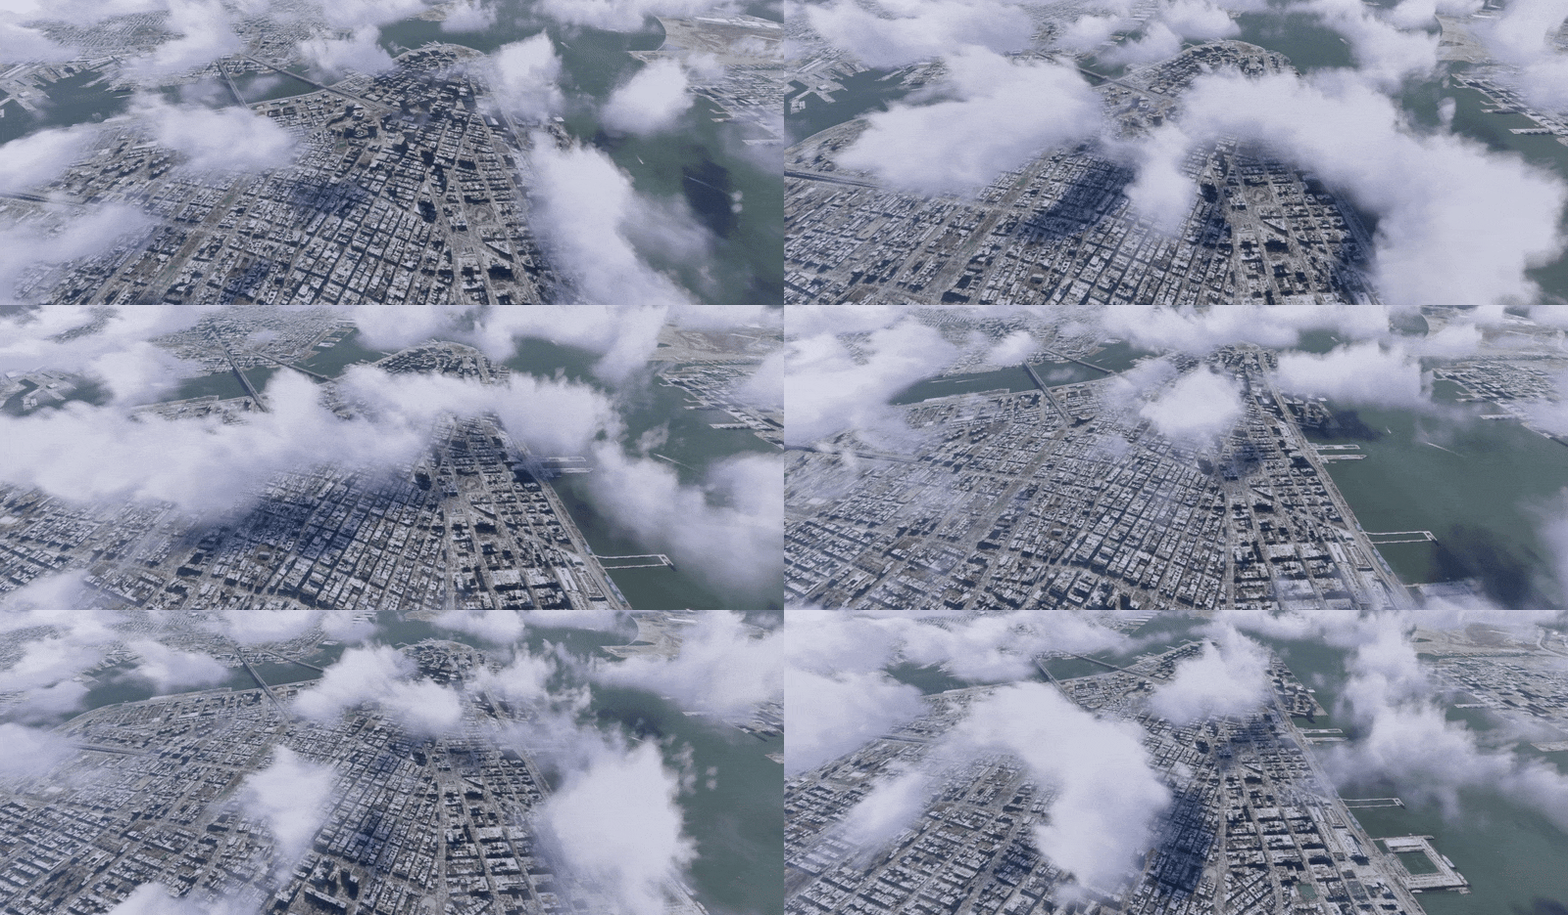
Contrary to the other types of clouds, these will actually cast shadows and are physically in the scene, so they can be raised or lowered.
- Lumion Tutorials: The Volume Clouds Effect
Important to note that, the amount of sunlight and sky light will affect how Clouds look. More sunlight will make the Clouds more visible. Less sunlight and more sky light will do the opposite.
 High Sky/Low Sun BrightnessHigh Sun/Low Sky Brightness

The Sun's position will also affect the appearance of Clouds. Lowering the Sun will automatically give the clouds a reddish look.
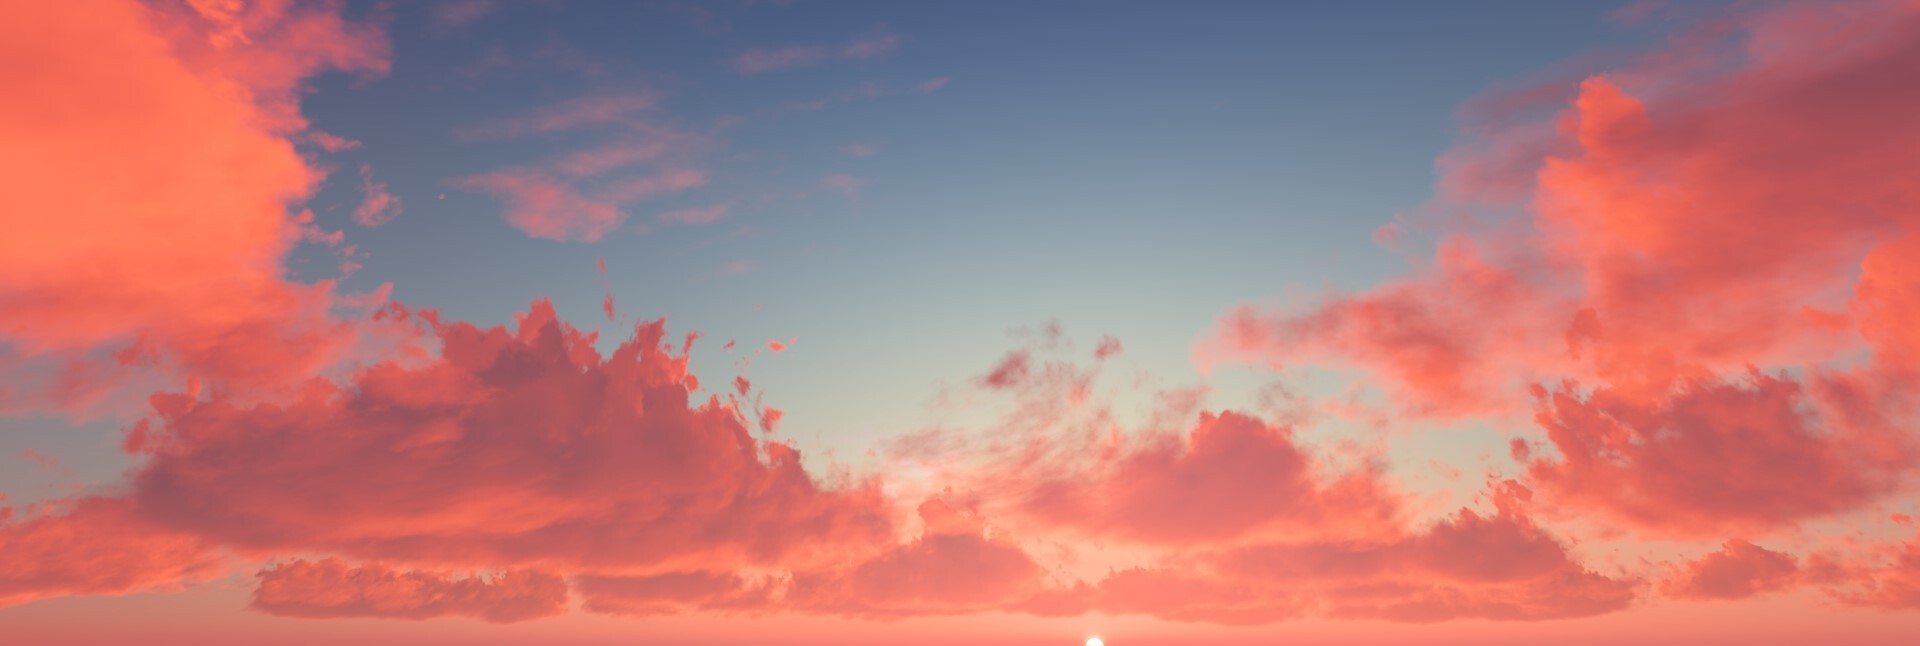
Clouds can also be animated to create time-lapse animations, as covered in this article:
- Knowledge Base: How do you animate clouds?
Real Skies
Cloudy Real Skies, such as the ones in the Overcast category, will produce smoother less direct lighting, with diffused and spread-out shadows. This means there's less sunlight and sky light, which allows artificial lighting to be more visible:
 Sunny Real SkyCloudy Real Sky

Other Effects
Lens Flare and Bloom
The Lens Flare and Bloom Effects add cinematic realism to your renders by mimicking how light interacts with a camera lens. Lens Flare creates a customizable glare that radiates from intense light sources, evoking the feel of a real camera shot.
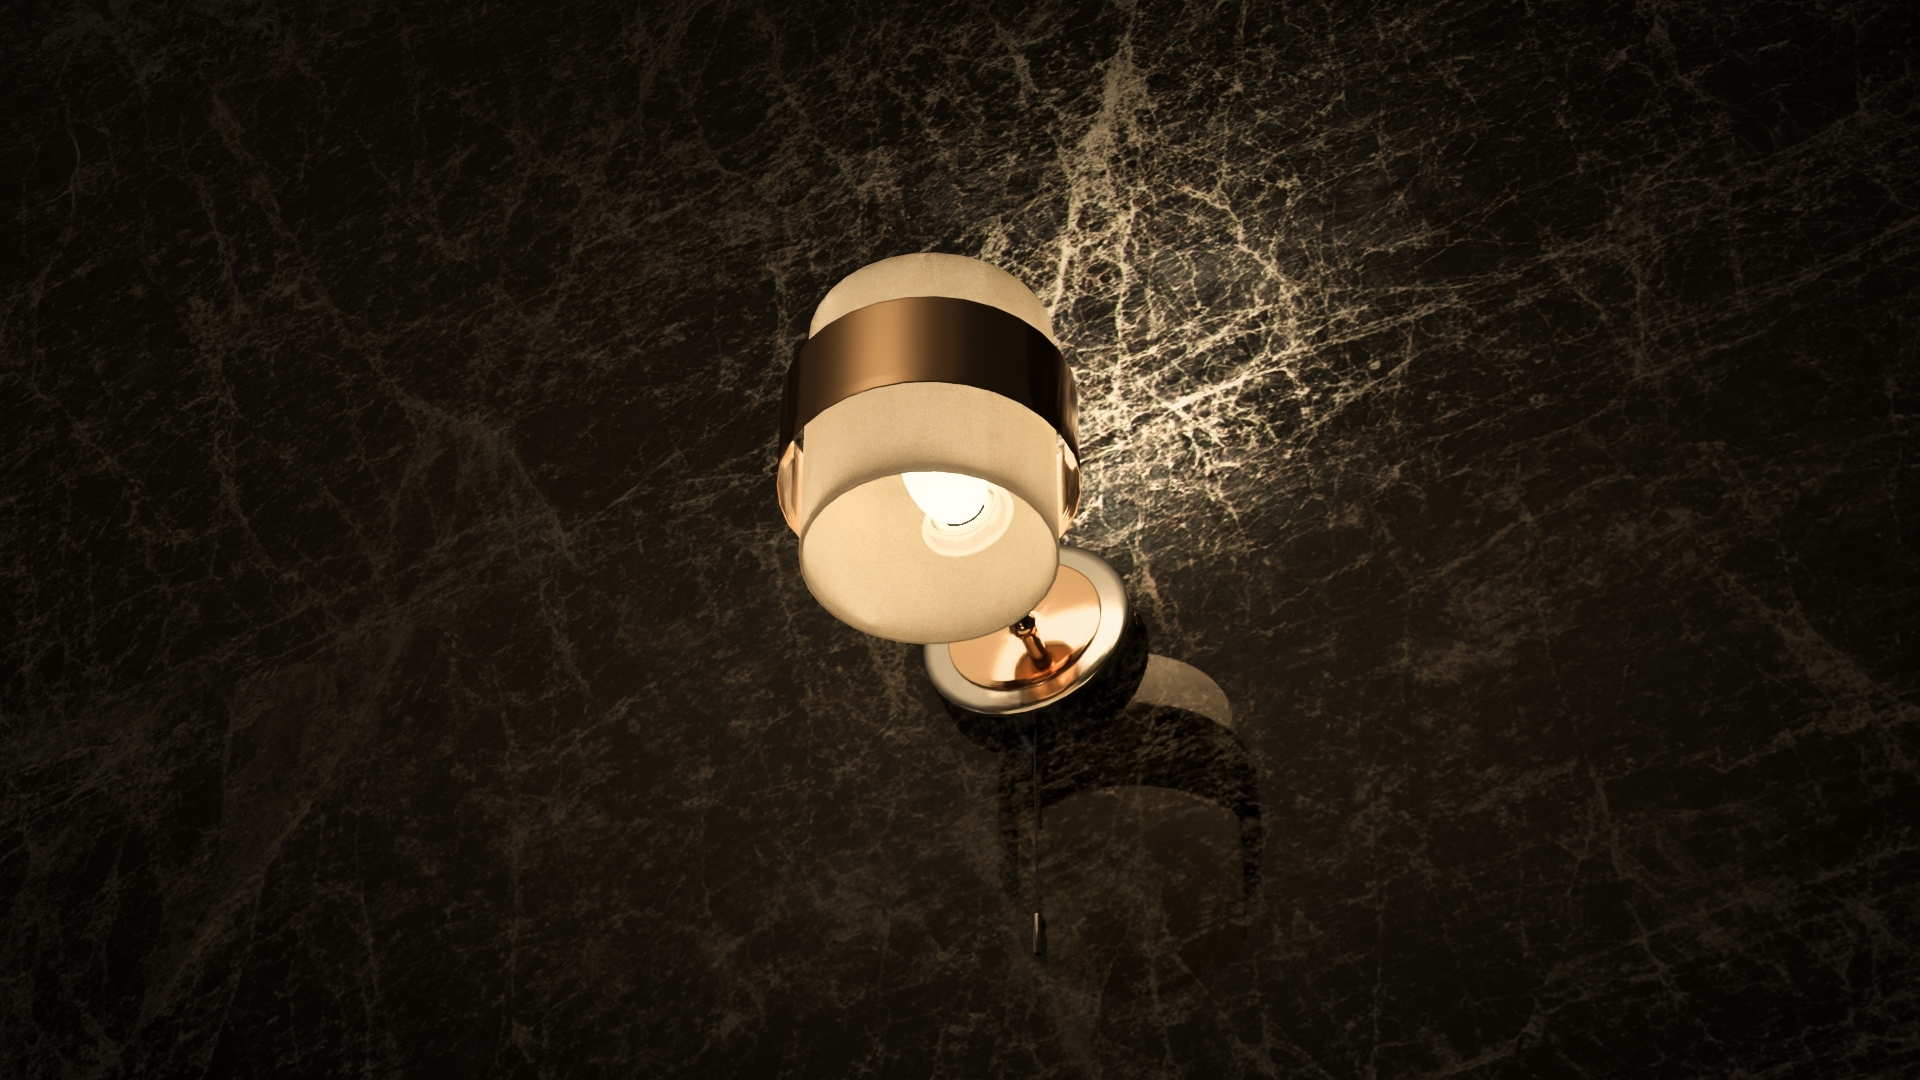 Lens Flare OffLens Flare On
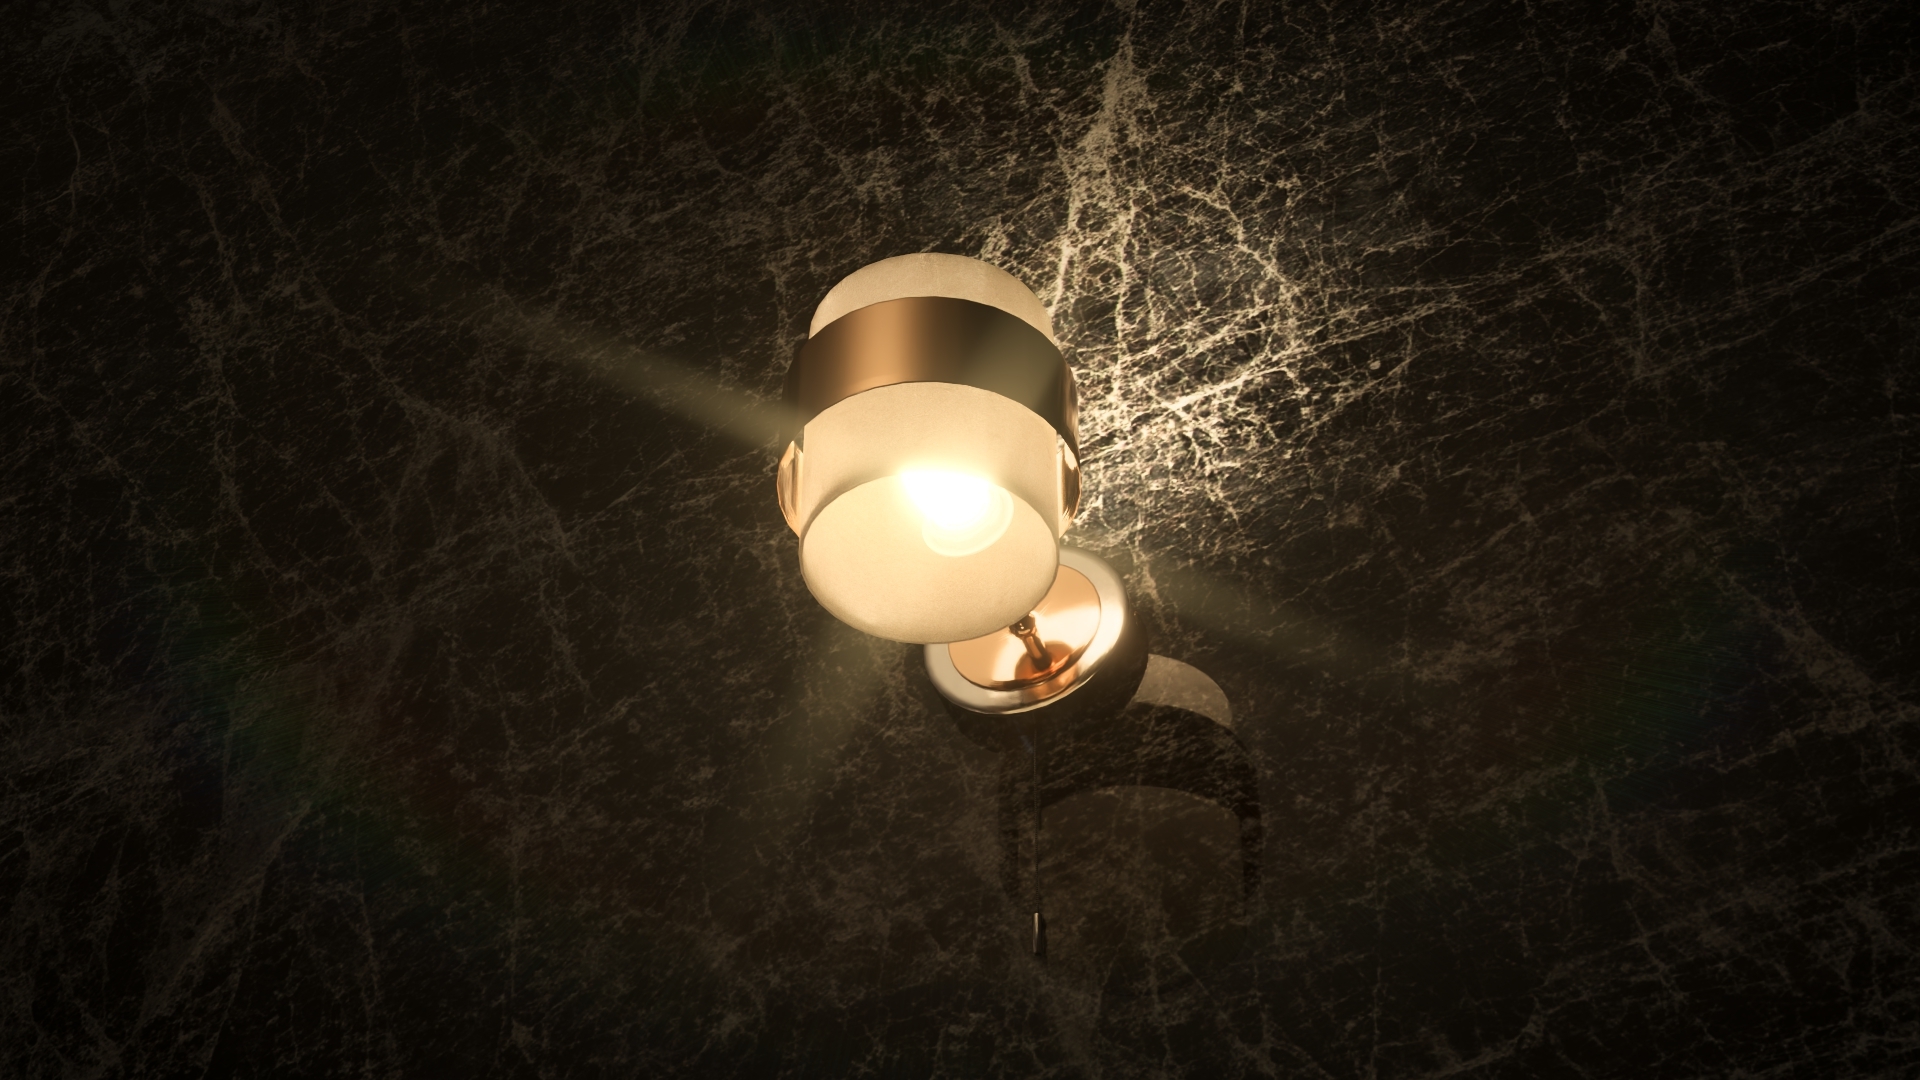
Bloom, on the other hand, spreads the light softly, creating a smooth glow around bright areas, which adds warmth and softness to the overall image. Together, these Effects can enhance the realism and atmosphere of renders, especially when highlighting artificial lighting or strong sunlight.
See the Effects in action below:
- Lumion Tutorial: The Lens Flare Effect
- Lumion Tutorial: The Bloom Effect
Fog
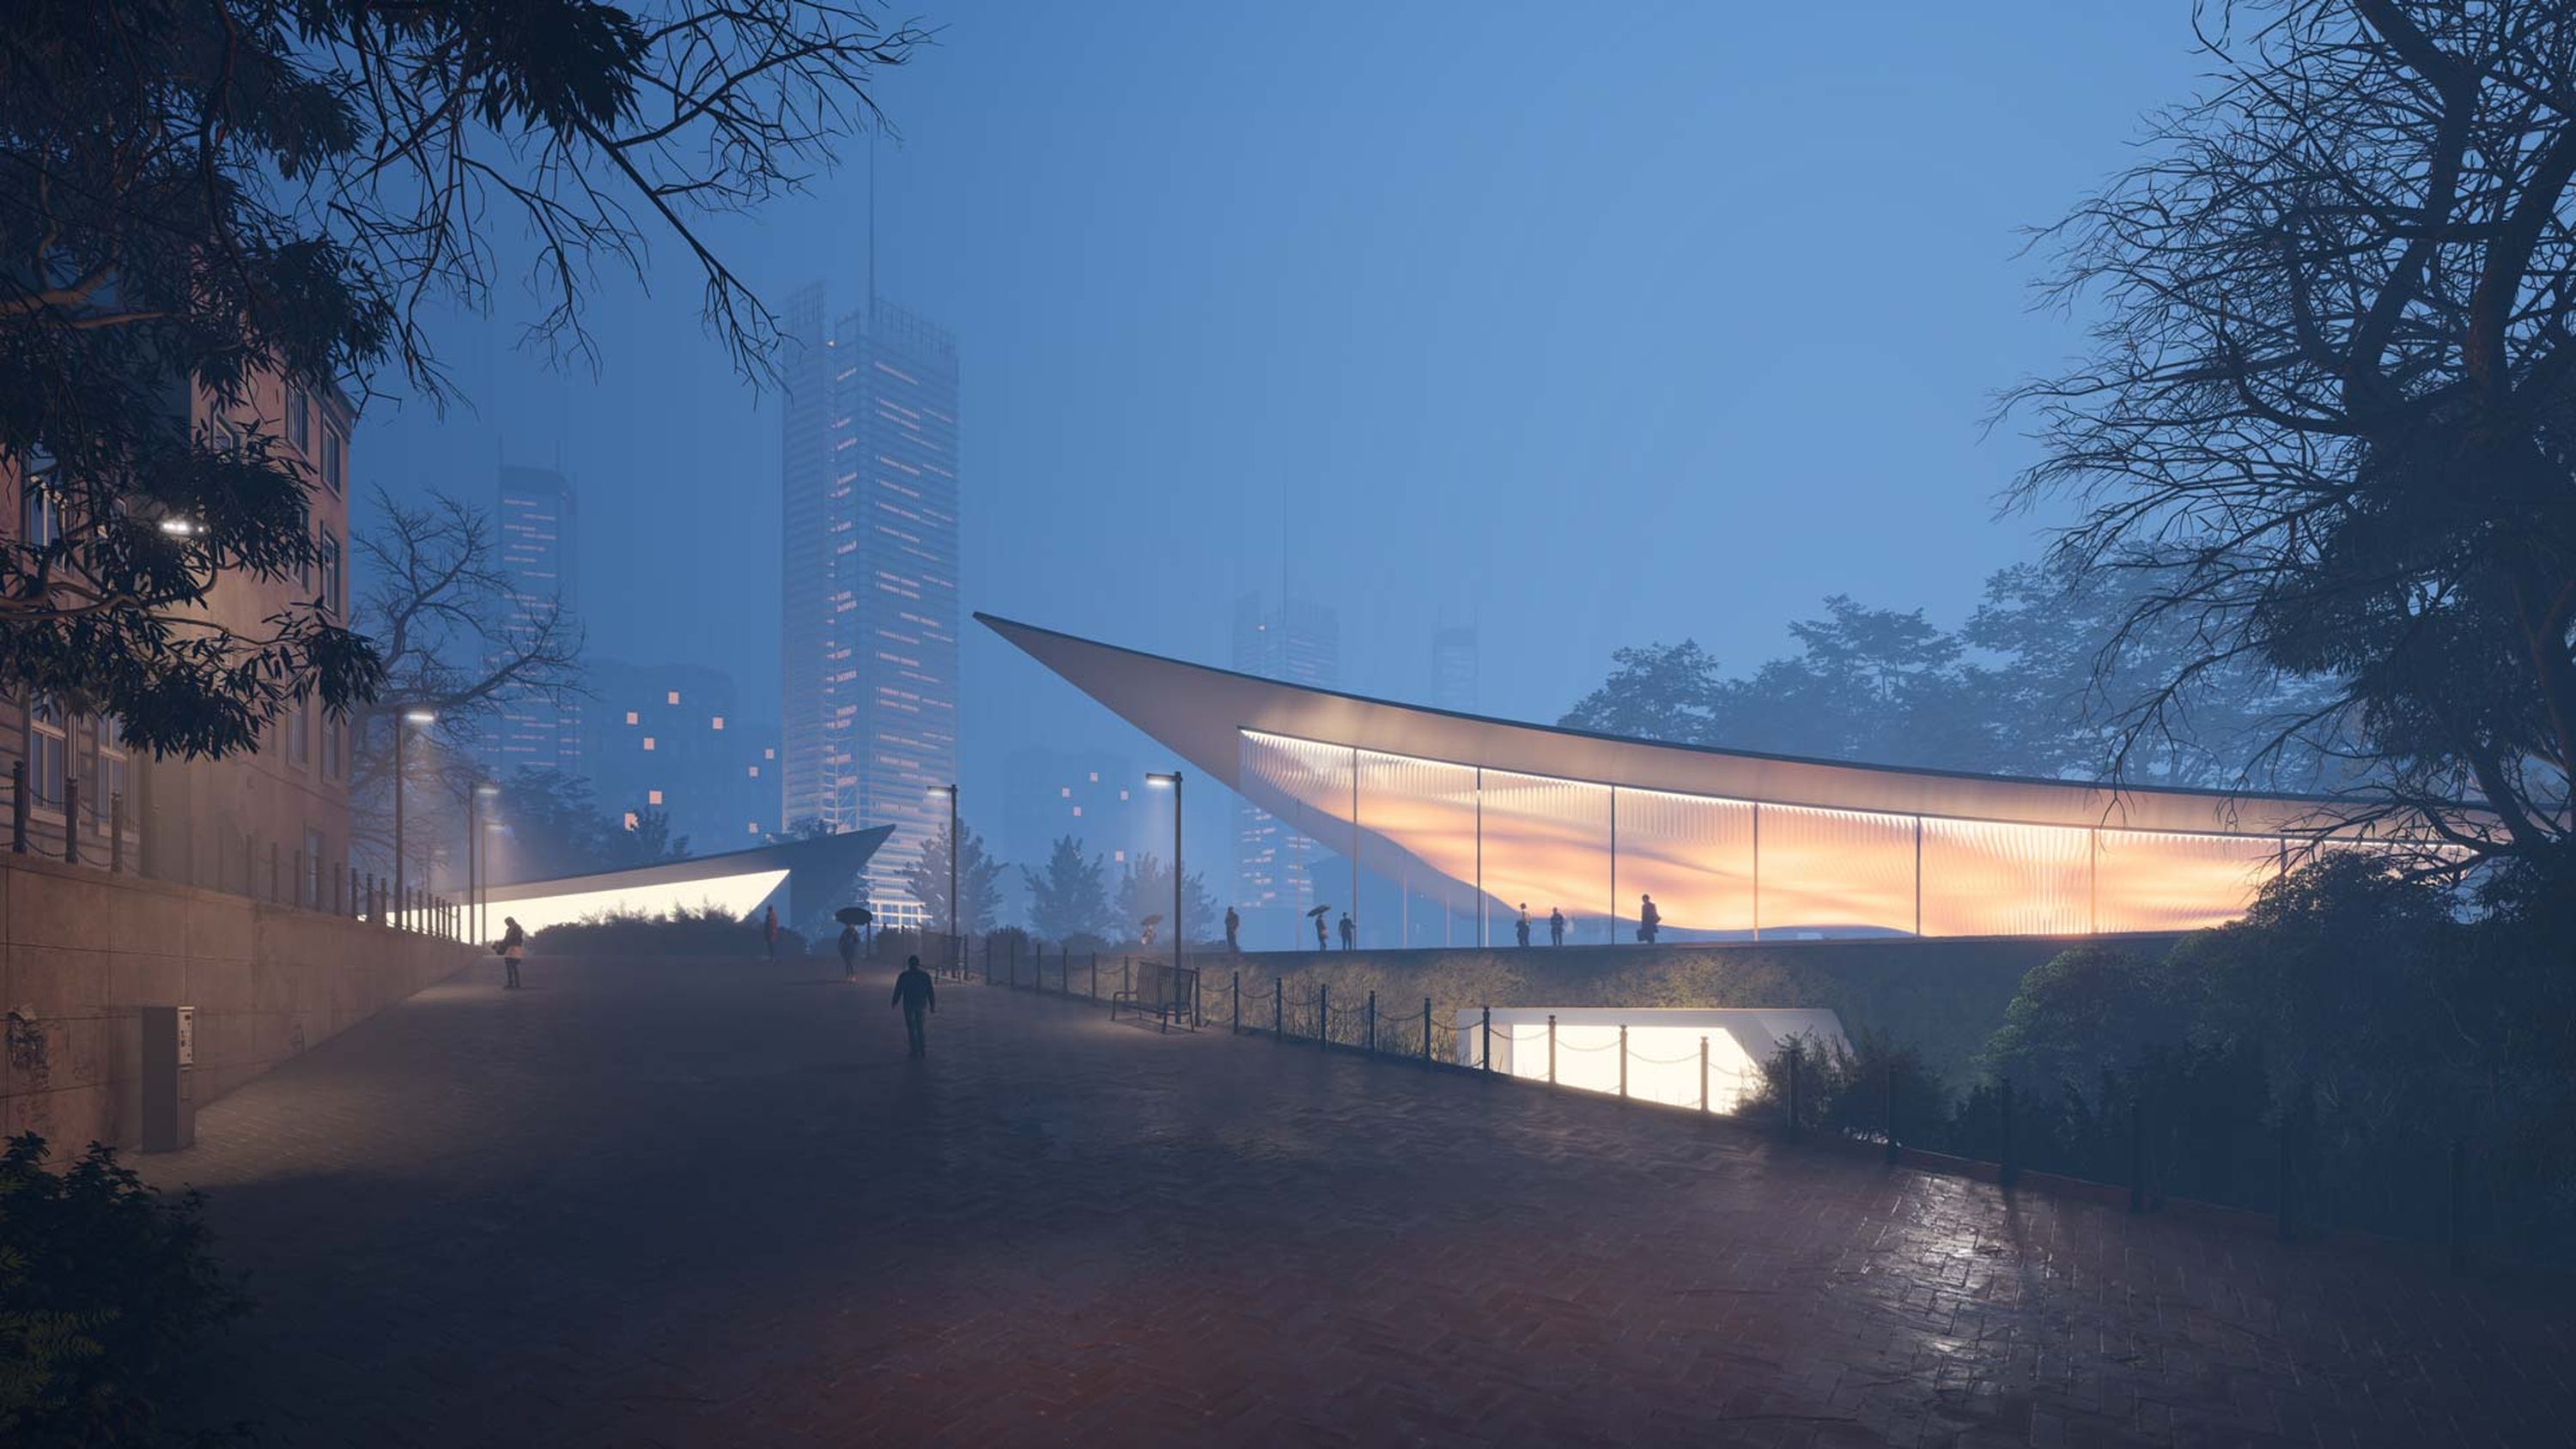
Fog is a powerful tool for adding atmosphere and depth to your scenes. It simulates the natural scattering of light in the air, softening distant Objects and creating a sense of scale and realism. It is especially useful for enhancing outdoor environments, setting up dramatic weather conditions such as misty mornings or hazy sunsets.
There are different ways to add Fog in Lumion:
Although Fog itself will not affect the lighting on the scene, the amount of Sky Brightness and Sun Intensity can influence how dense it looks.
Exposure
The Exposure setting in the Color Correction Effect plays a critical role in controlling the overall brightness of your scene by adjusting how much light is captured in the render. In Lumion, managing exposure allows you to fine-tune the balance between light and shadow, ensuring that details are neither too washed out nor too dark.
 Exposure -1.0Exposure +1.0

This setting is particularly important when working with complex lighting setups, as it helps to bring out the full range of contrast and dynamic lighting, giving renders a natural and visually pleasing appearance.
Lumion has an Auto-Exposure setting turned on by default. However, in some cases, you want absolute control over the brightness fine-tuning, and Auto-Exposure can be disabled via the Color Correction Effect.
Animate Light Colors
This Effect can be added multiple times to a Clip to animate the colors of individual lights.
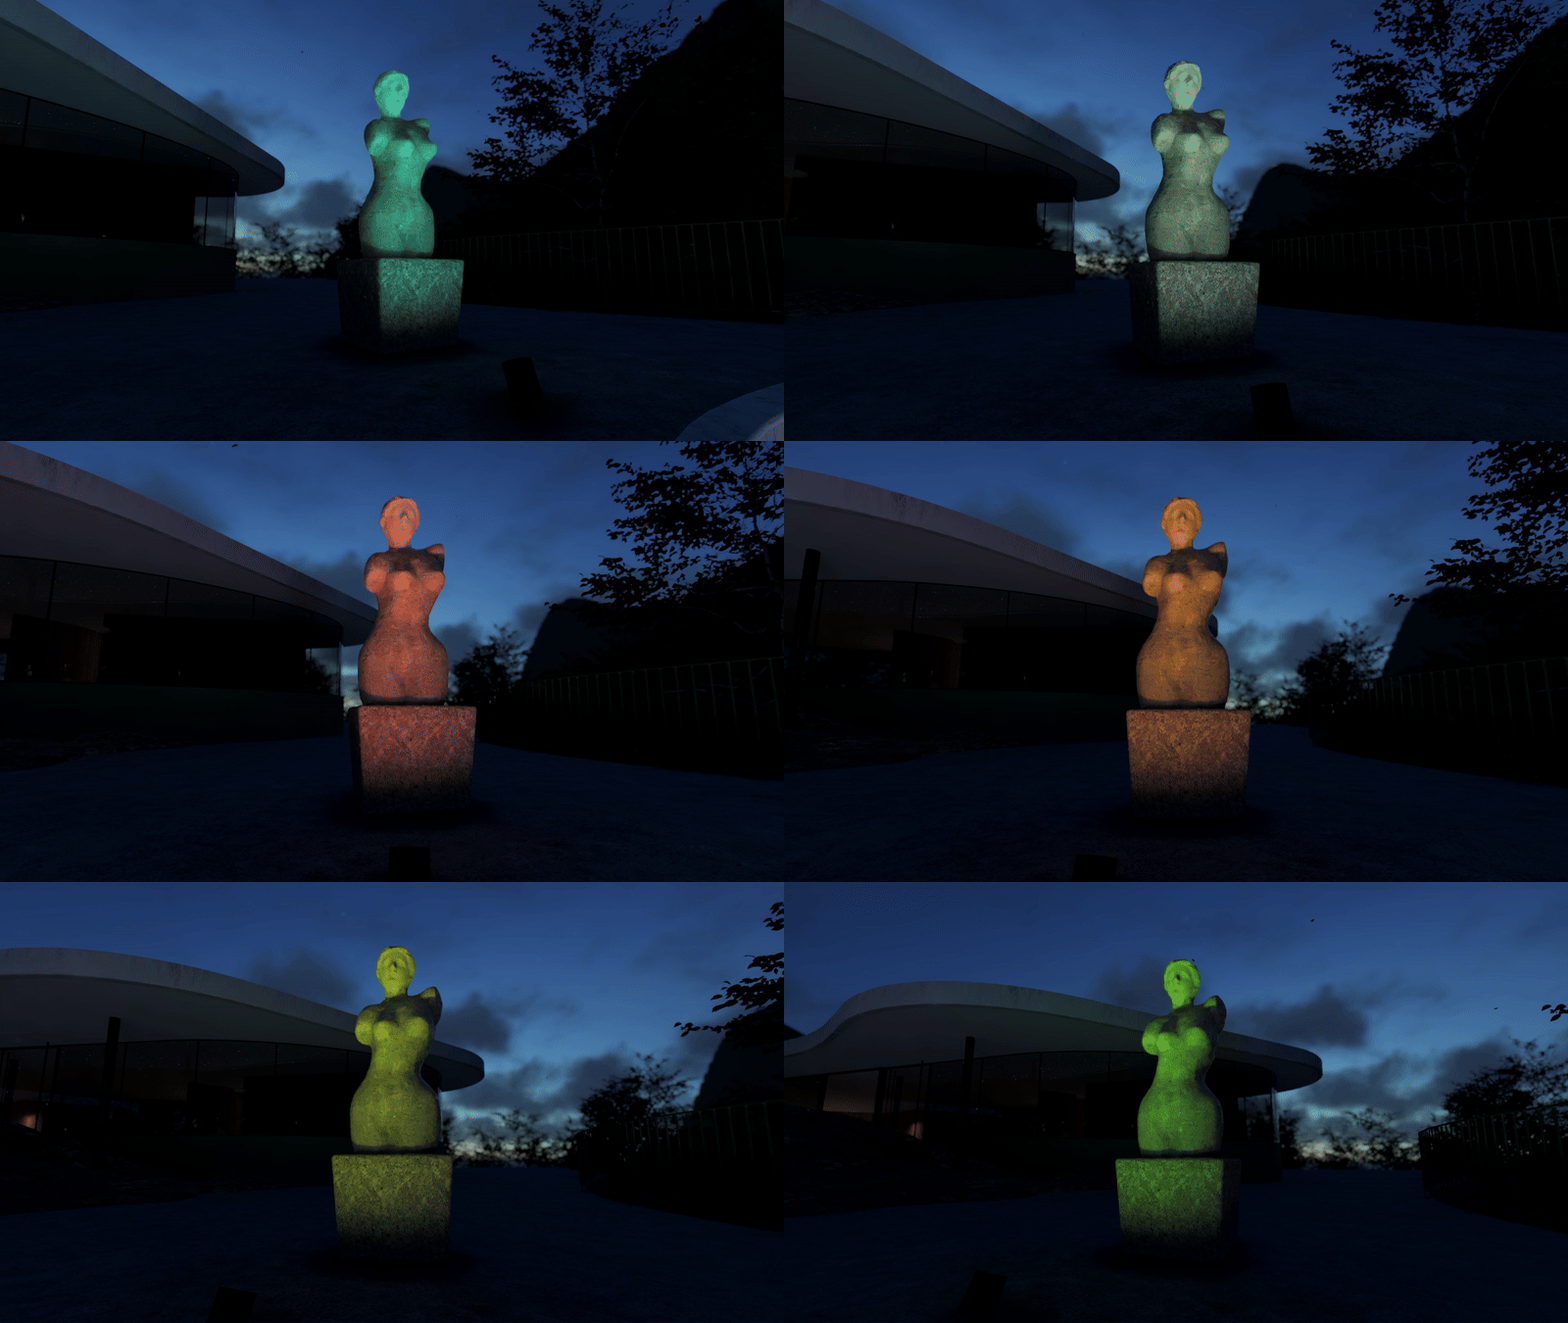 It can also be used to brighten or darken lights throughout a video. Lowering/increasing all three Color sliders will darken/brighten a light. Here's how to use the Effect :
- Lumion Tutorials: Animated Spotlight Colors Effect
Moon
The Moon can be added and configured via the Moon Effect on any Photo, Clip, or Panorama.
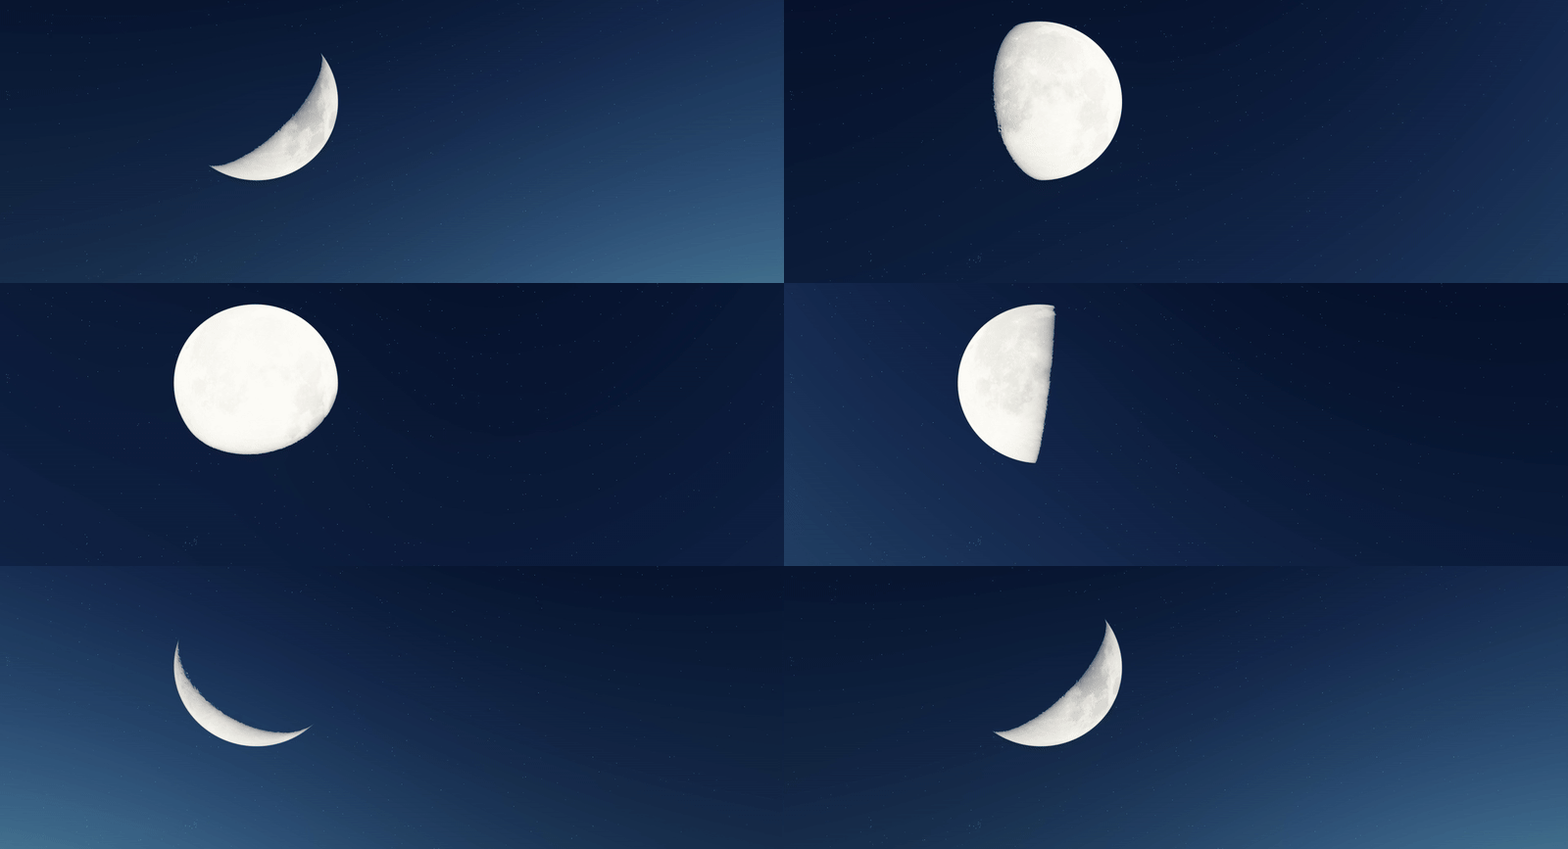
The Moon will react to the Sun's position and can have the Size and Position adjusted and animated. Increasing the Sky Brightness will make the Moon less visible. This Effect cannot be used when using Real Skies.
- Lumion Tutorials: Using The Moon Effect
Rasterization-Only Effects
Certain Effects—such as the Shadow Effect, Skylight, Hyperlight, and Reflection—are exclusive to the Rasterization engine and unavailable when using Ray-Tracing.
The reason is that these Effects are designed to compensate for the lack of real-time light bouncing and shadow accuracy that Ray-Tracing provides.
For a detailed explanation of how these Effects enhanced rasterized renders, refer to the dedicated Rasterization Engine section below.
Now that you have a solid understanding of Lumion's extensive lighting capabilities, it's time to explore how these are processed through the two rendering engines: Rasterization and Ray Tracing. Each engine interprets and handles lighting, shadows, and reflections differently, impacting the final quality of your render.
Rasterization is a faster, more traditional method, perfect for exterior scenes and large-scale projects where speed is essential. Ray Tracing, on the other hand, provides greater realism, simulating how light behaves in the real world, making it ideal for high-detail, photorealistic interior renders.
Let’s dive deeper into how each engine works and when to choose one over the other for your projects.
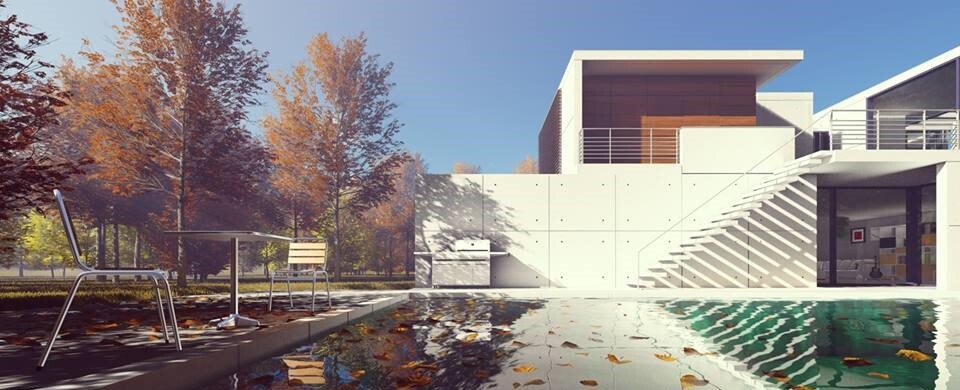
This is the traditional rendering system and has been around in Lumion since the very first version. rasterizing involves breaking down scenes into pixels, which are colored based on the Objects in the scene and the selected output settings, creating a 2D image.
- Shadows are rendered using Shadowmaps. These are dark, semitransparent 2D silhouettes of the Object cast from the light source's perspective.
- Reflections are rendered using a single 360-degree panoramic image of the scene that is projected onto any reflective Materials, which is shifted depending on the camera's position.
- Knowledge Base: How do Projected Reflections work?
These older rendering techniques are very fast to render. And, while they get the job done, they may produce flatter, more artificial-looking results, lacking authentic shading or reflection accuracy, diminishing realism, especially in more complex lighting situations such as interior scenes.
That's why Lumion comes equipped with Effects such as Shadow, Reflection, Hyperlight, and Skylight that enhance the lighting in rasterized renderings.
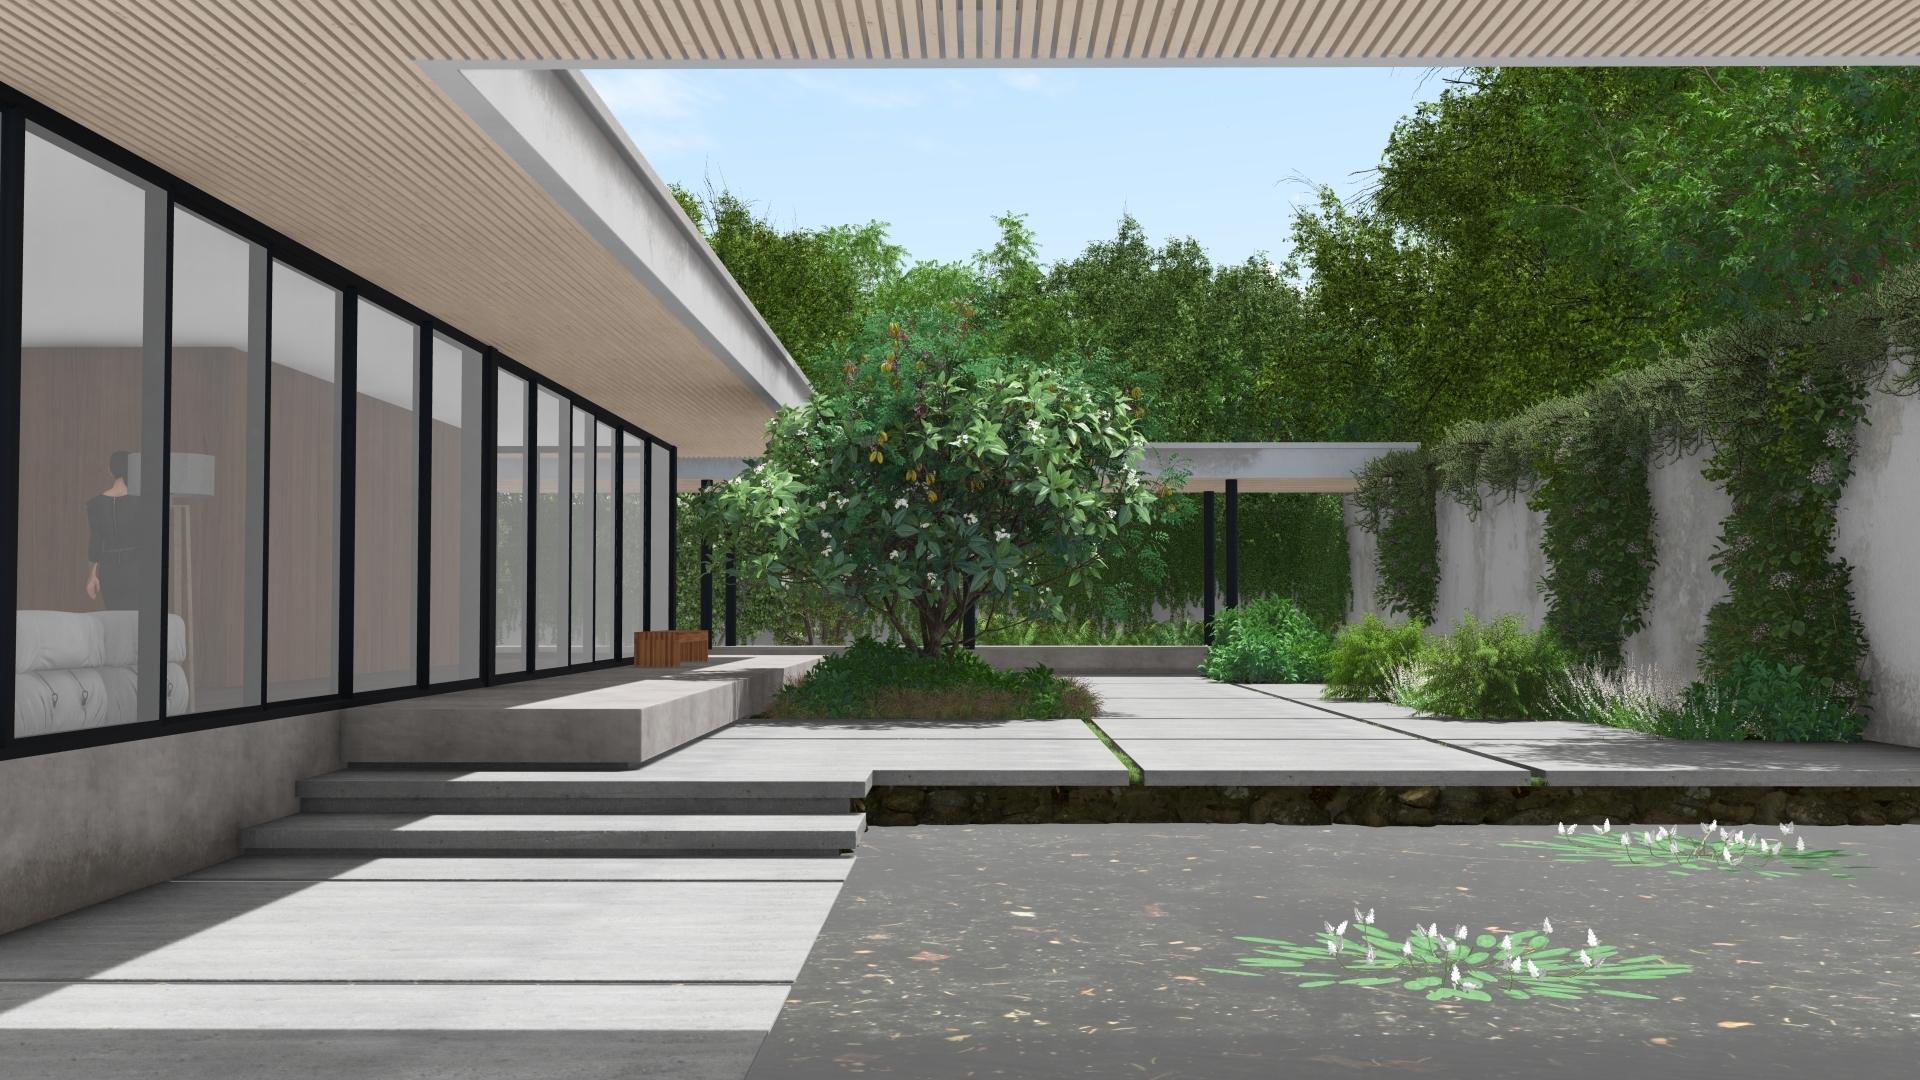 No EffectsRasterization Lighting Effects On

These Effects add additional trickery to the rendering process. For example:
- The Shadow Effect can add Ambient Occlusion (this simulates how ambient light is blocked or occluded by nearby Objects, creating subtle shadows in crevices and corners) and also controls how light, dark, soft, or sharp the shadows look.
- Lumion Tutorials: Using The Shadow Effect
- Lumion Tutorials: Using The Shadow Effect
- Hyperlight and Skylight mimic light Bouncing and Scattering, which can help create smoother, gradual, more realistic shading.
- Lumion Tutorials: Light and Shadow - The Hyperlight effect
- Lumion Tutorials: How to use Sky Light
- The Reflection Effect can add Screenspace Reflections and Reflection Planes which increase the accuracy of reflections.
- Knowledge Base: How do SpeedRay Reflections work?
- Knowledge Base: How do Planar Reflections work?
- Lumion Tutorials: The Reflection Effect
While these (and other) Effects can certainly improve results and deliver high-quality outputs, rasterization can only get you so far when it comes to producing photorealistic images, especially in indoor scenes where smoother shading and light bouncing are crucial.
It also has some limitations, for example, only Objects visible on-screen can be reflected and cast light bounces and detailed shadows.
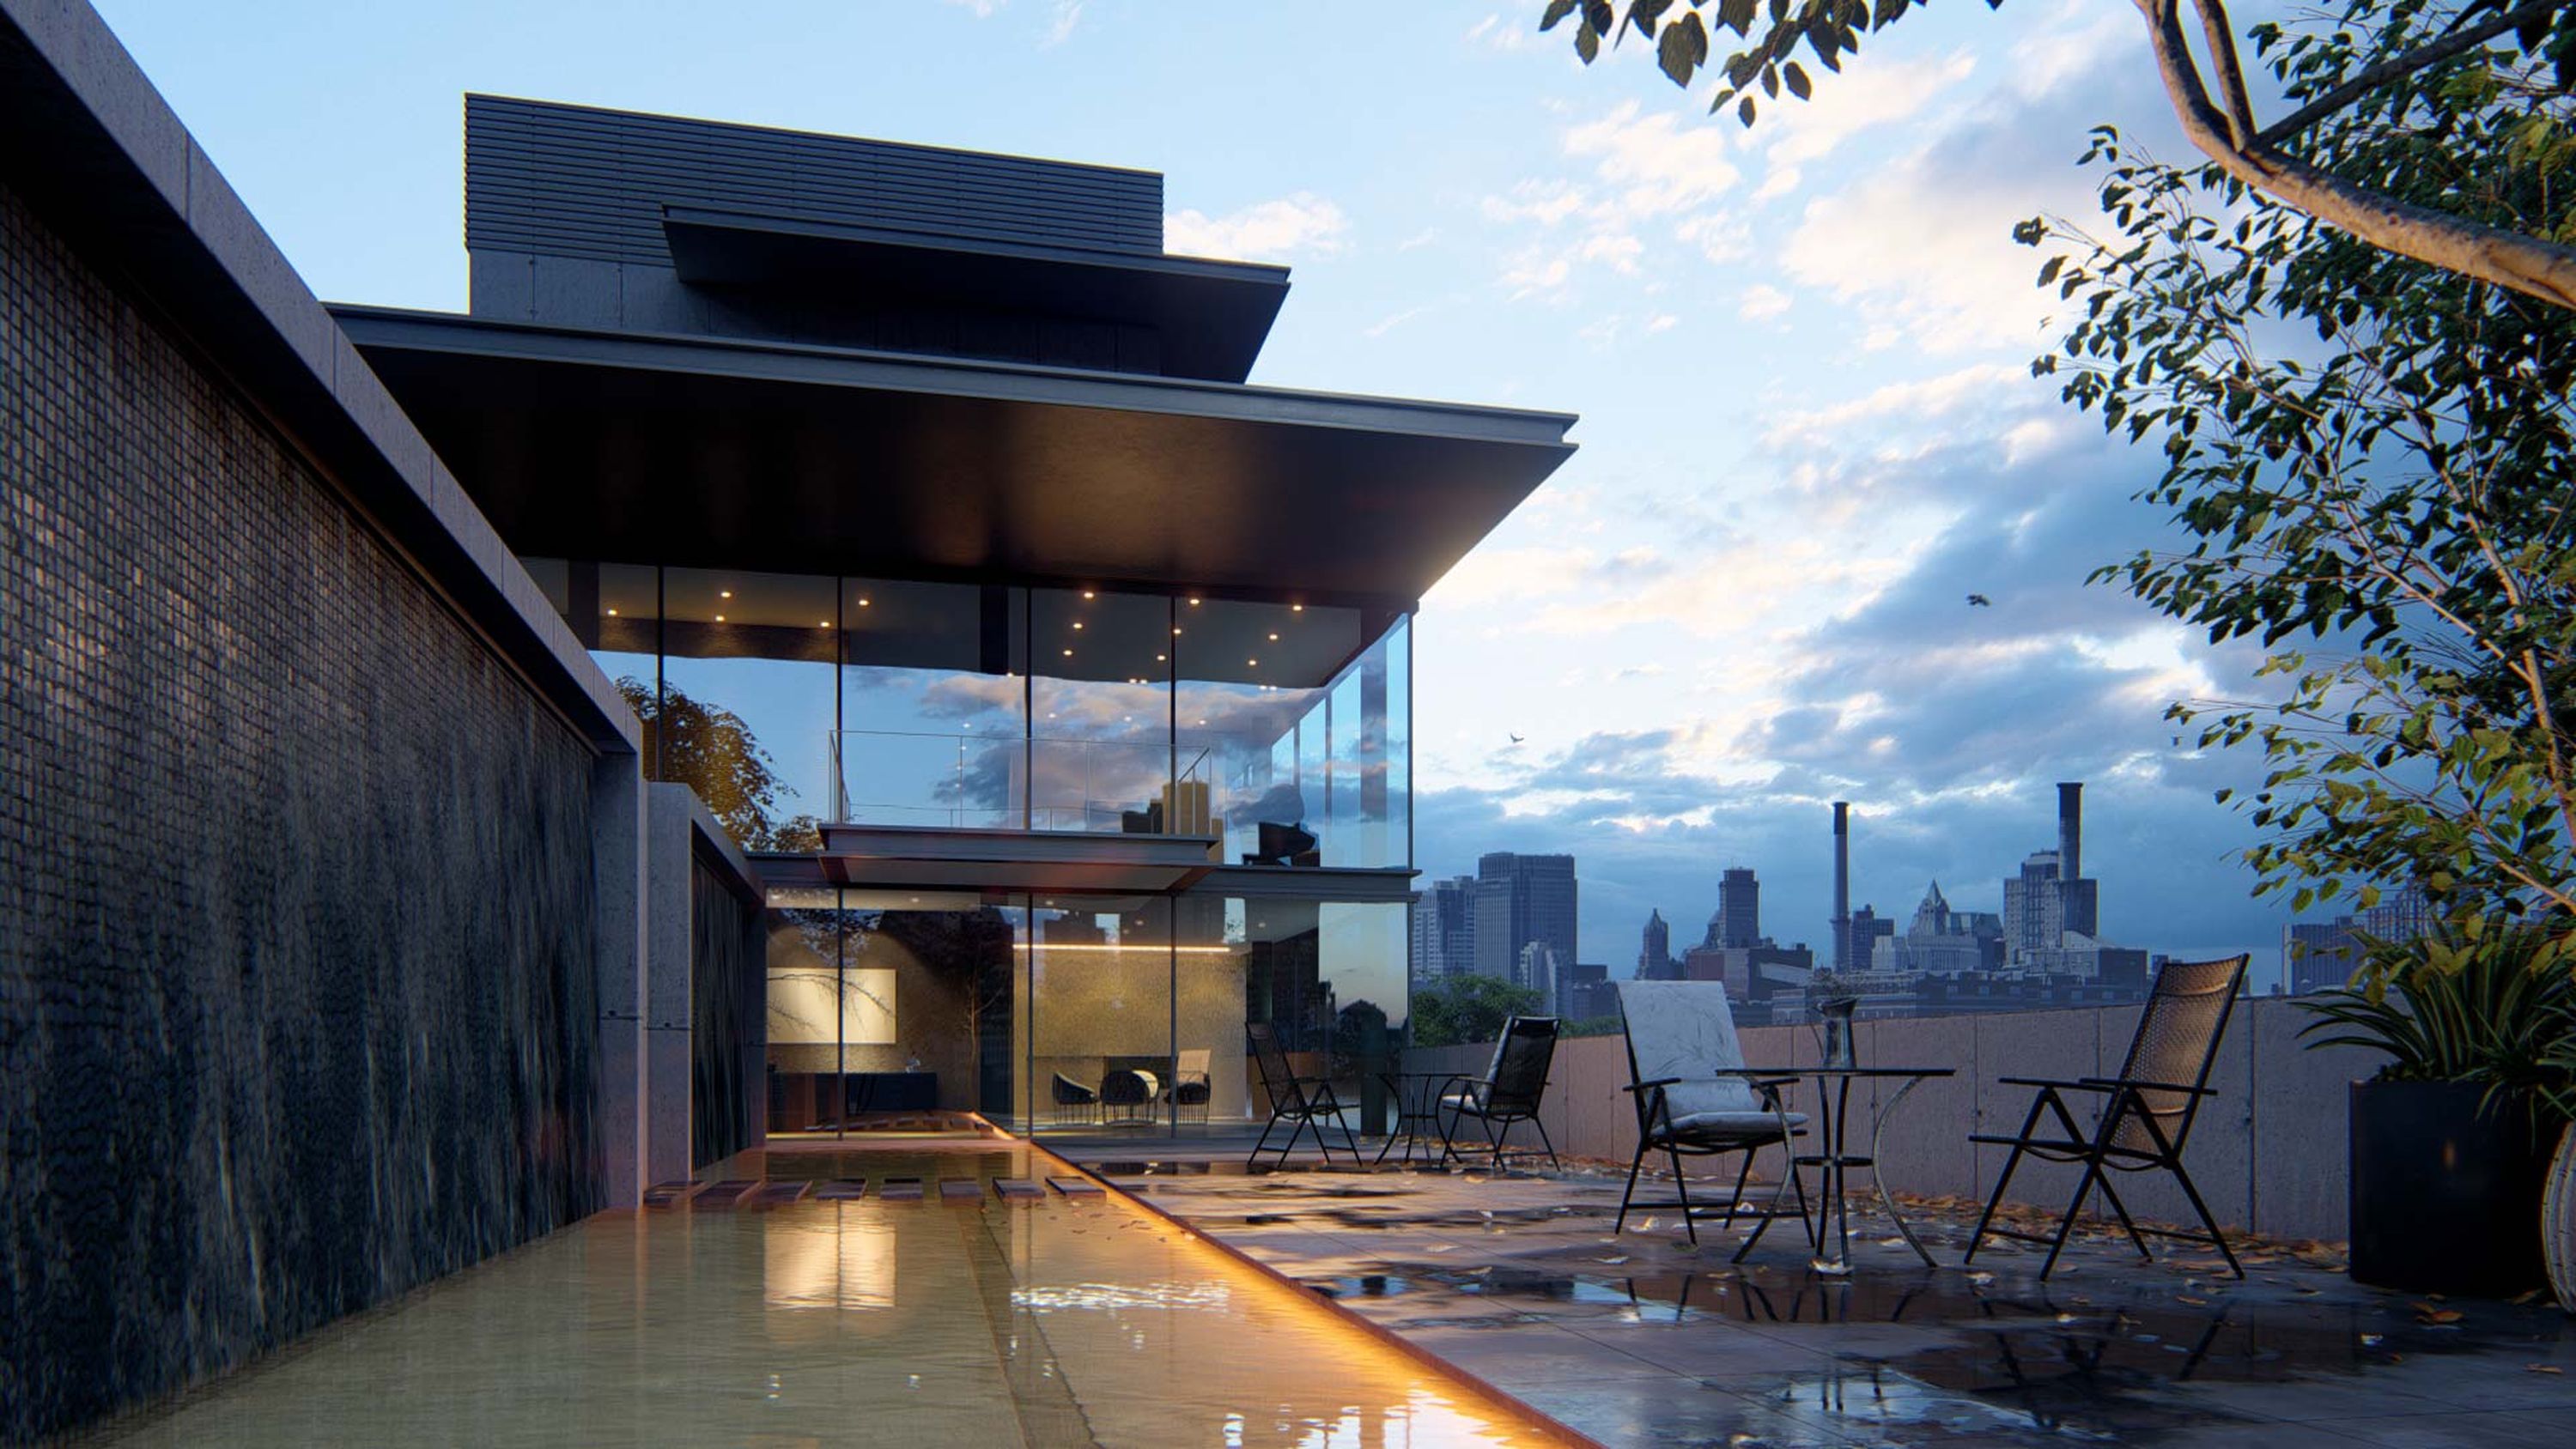
That said, when configured with the right Effects, the rasterization engine is still very powerful and it is also extremely fast and lighter on hardware, which is useful for video rendering and higher-resolution outputs, particularly for exterior scenes. Plus, users with older graphics cards without Ray Tracing capabilities can still work with the latest version of Lumion.
To learn more about lighting in the rasterization engine, follow this guide by the Lumion Collective.
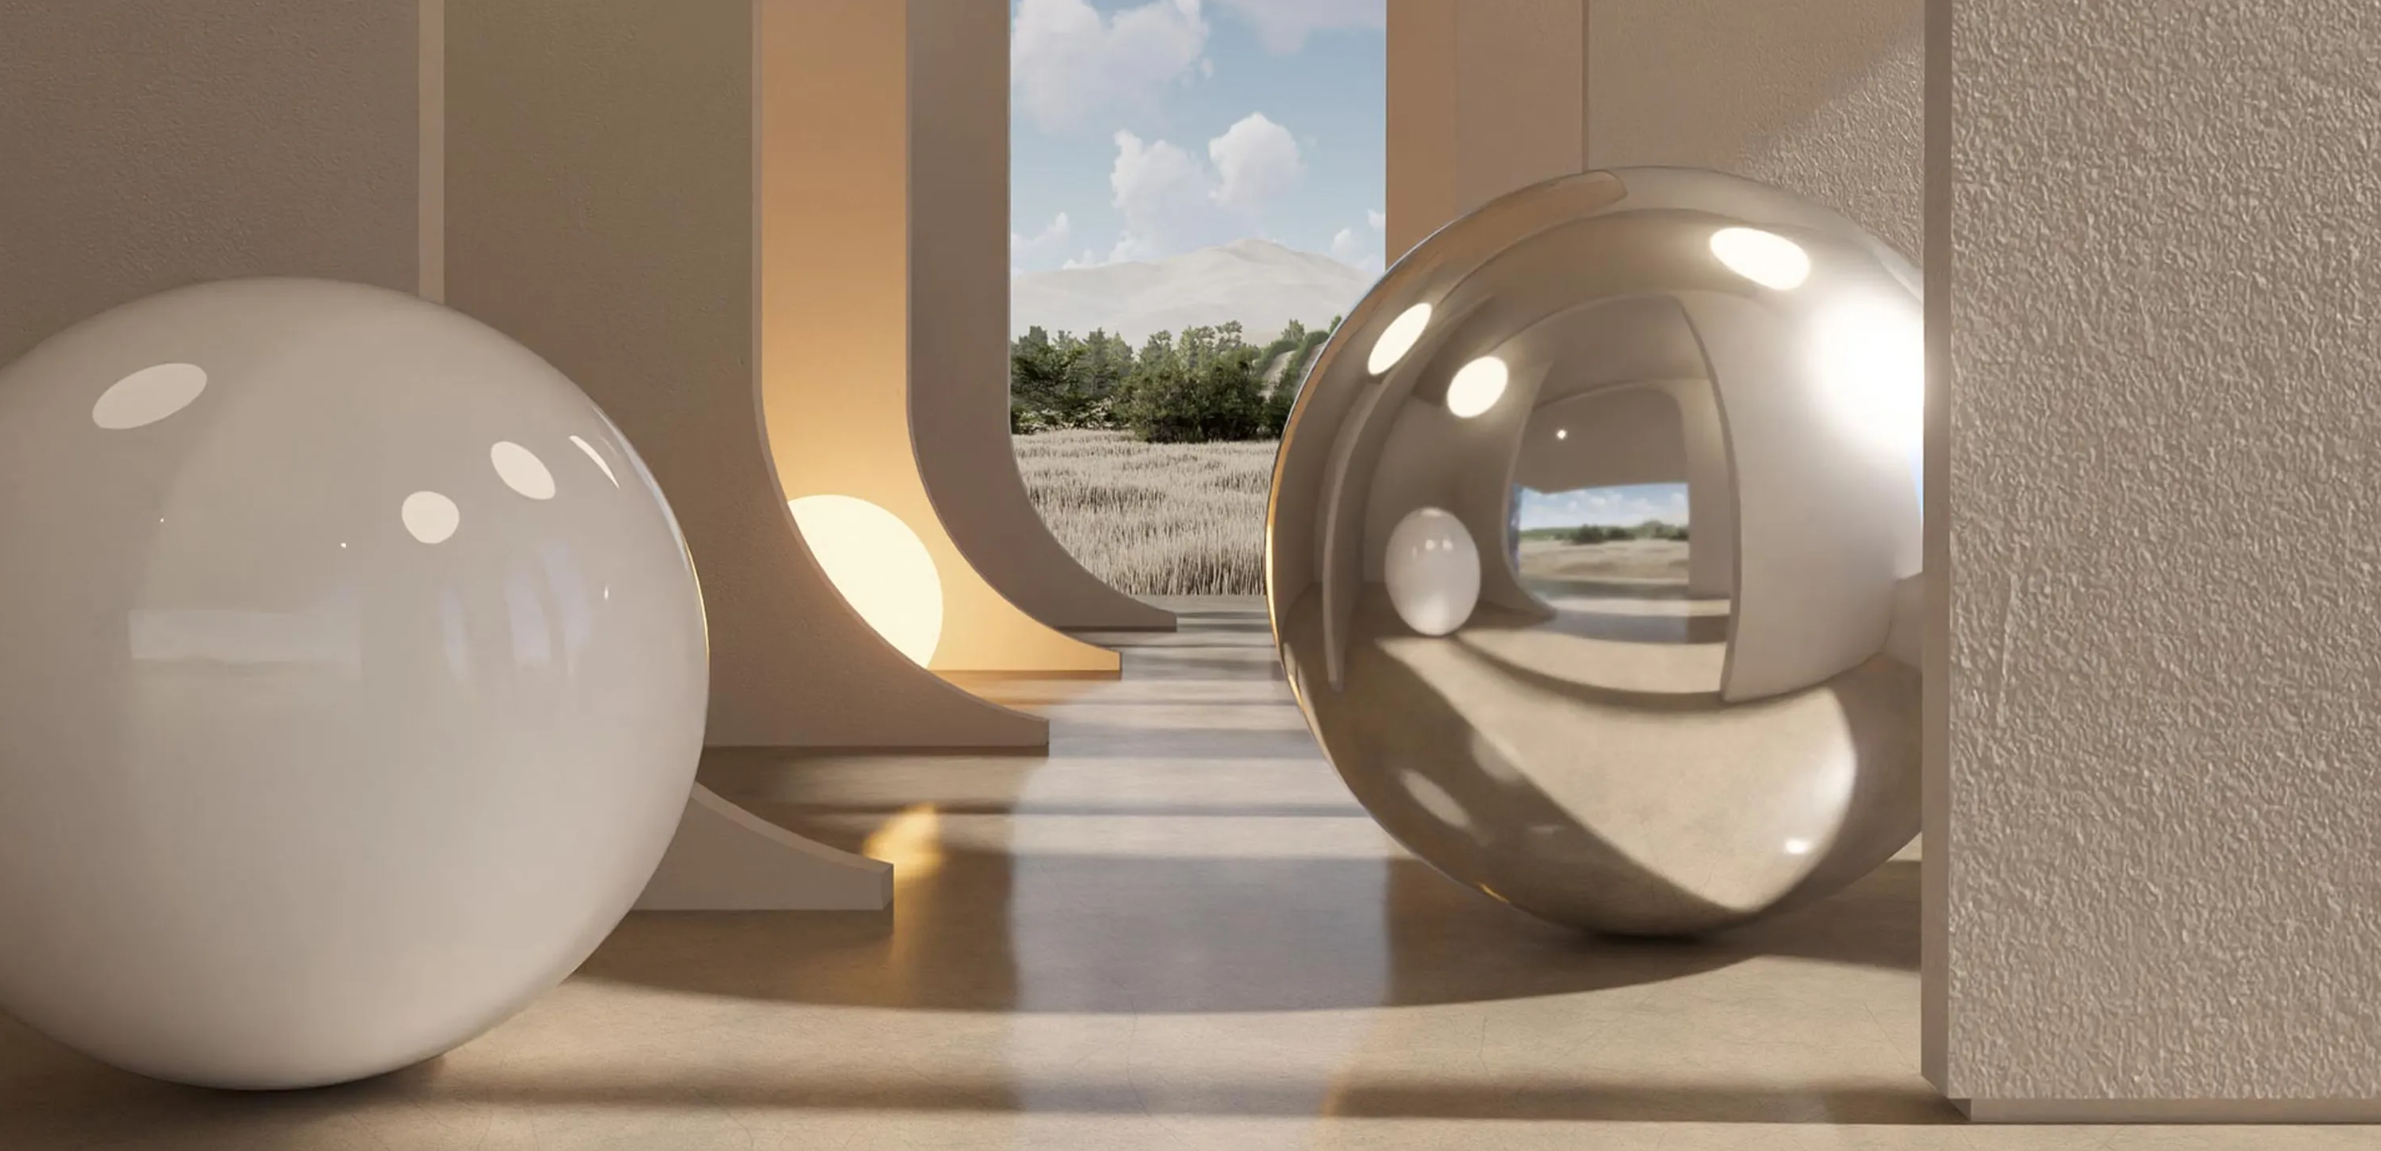 Ray Tracing is a more modern rendering technique, introduced in Lumion 2023 as an Effect. When enabled, lighting on the scene is automatically simulated to mimic real-world behavior, producing scientifically Accurate Lighting, Shadows, and Reflections.
The way it works is that each pixel on the screen shoots out rays that travel through the scene, interacting with geometry and Materials. These rays bounce off surfaces and scatter through the scene in a natural way.
While more computationally intensive than rasterization, Ray Tracing produces stunning lifelike images, making it a powerful tool for creating high-fidelity, life-like visualizations with very little effort. Simply enabling the Effect alone can produce Photorealistic lighting, without needing any other lighting Effects.
 No EffectsRay Tracing On

That is, especially when working on interior scenes where authentic, diffused lighting is essential to get darker, smoother, and ultimately more true-to-life shading and colors.
 Rasterization Lighting EffectsRay Tracing

Since Ray Tracing automatically handles complex light interactions such as bounces, shadows, and reflections with high accuracy, the following Effects are disabled when Ray Tracing is active
- Hyperlight Effect.
- Reflection Effect.
- Skylight Effect.
- Shadows Effect.
To learn how to use the Effect, follow this article:
- Knowledge Base: How do you use the Ray Tracing Effect?
Or watch this tutorial to see Ray Tracing in action:
- Lumion Tutorials: The Ray Tracing Effect
Tips and Guides
With a solid grasp of Lumion's lighting tools and rendering engines, it’s time to focus on how to make the most of them in your projects. Whether you're working on exterior landscapes or detailed interiors, the following tips will help you optimize your lighting setup to create stunning, realistic scenes tailored to your vision.
1. Use Natural Lighting to Your Advantage
Exterior scenes often rely heavily on sunlight and sky light. Take time to configure the Sun's Position, Size, and Intensity to highlight architectural features and create interesting shadow play.
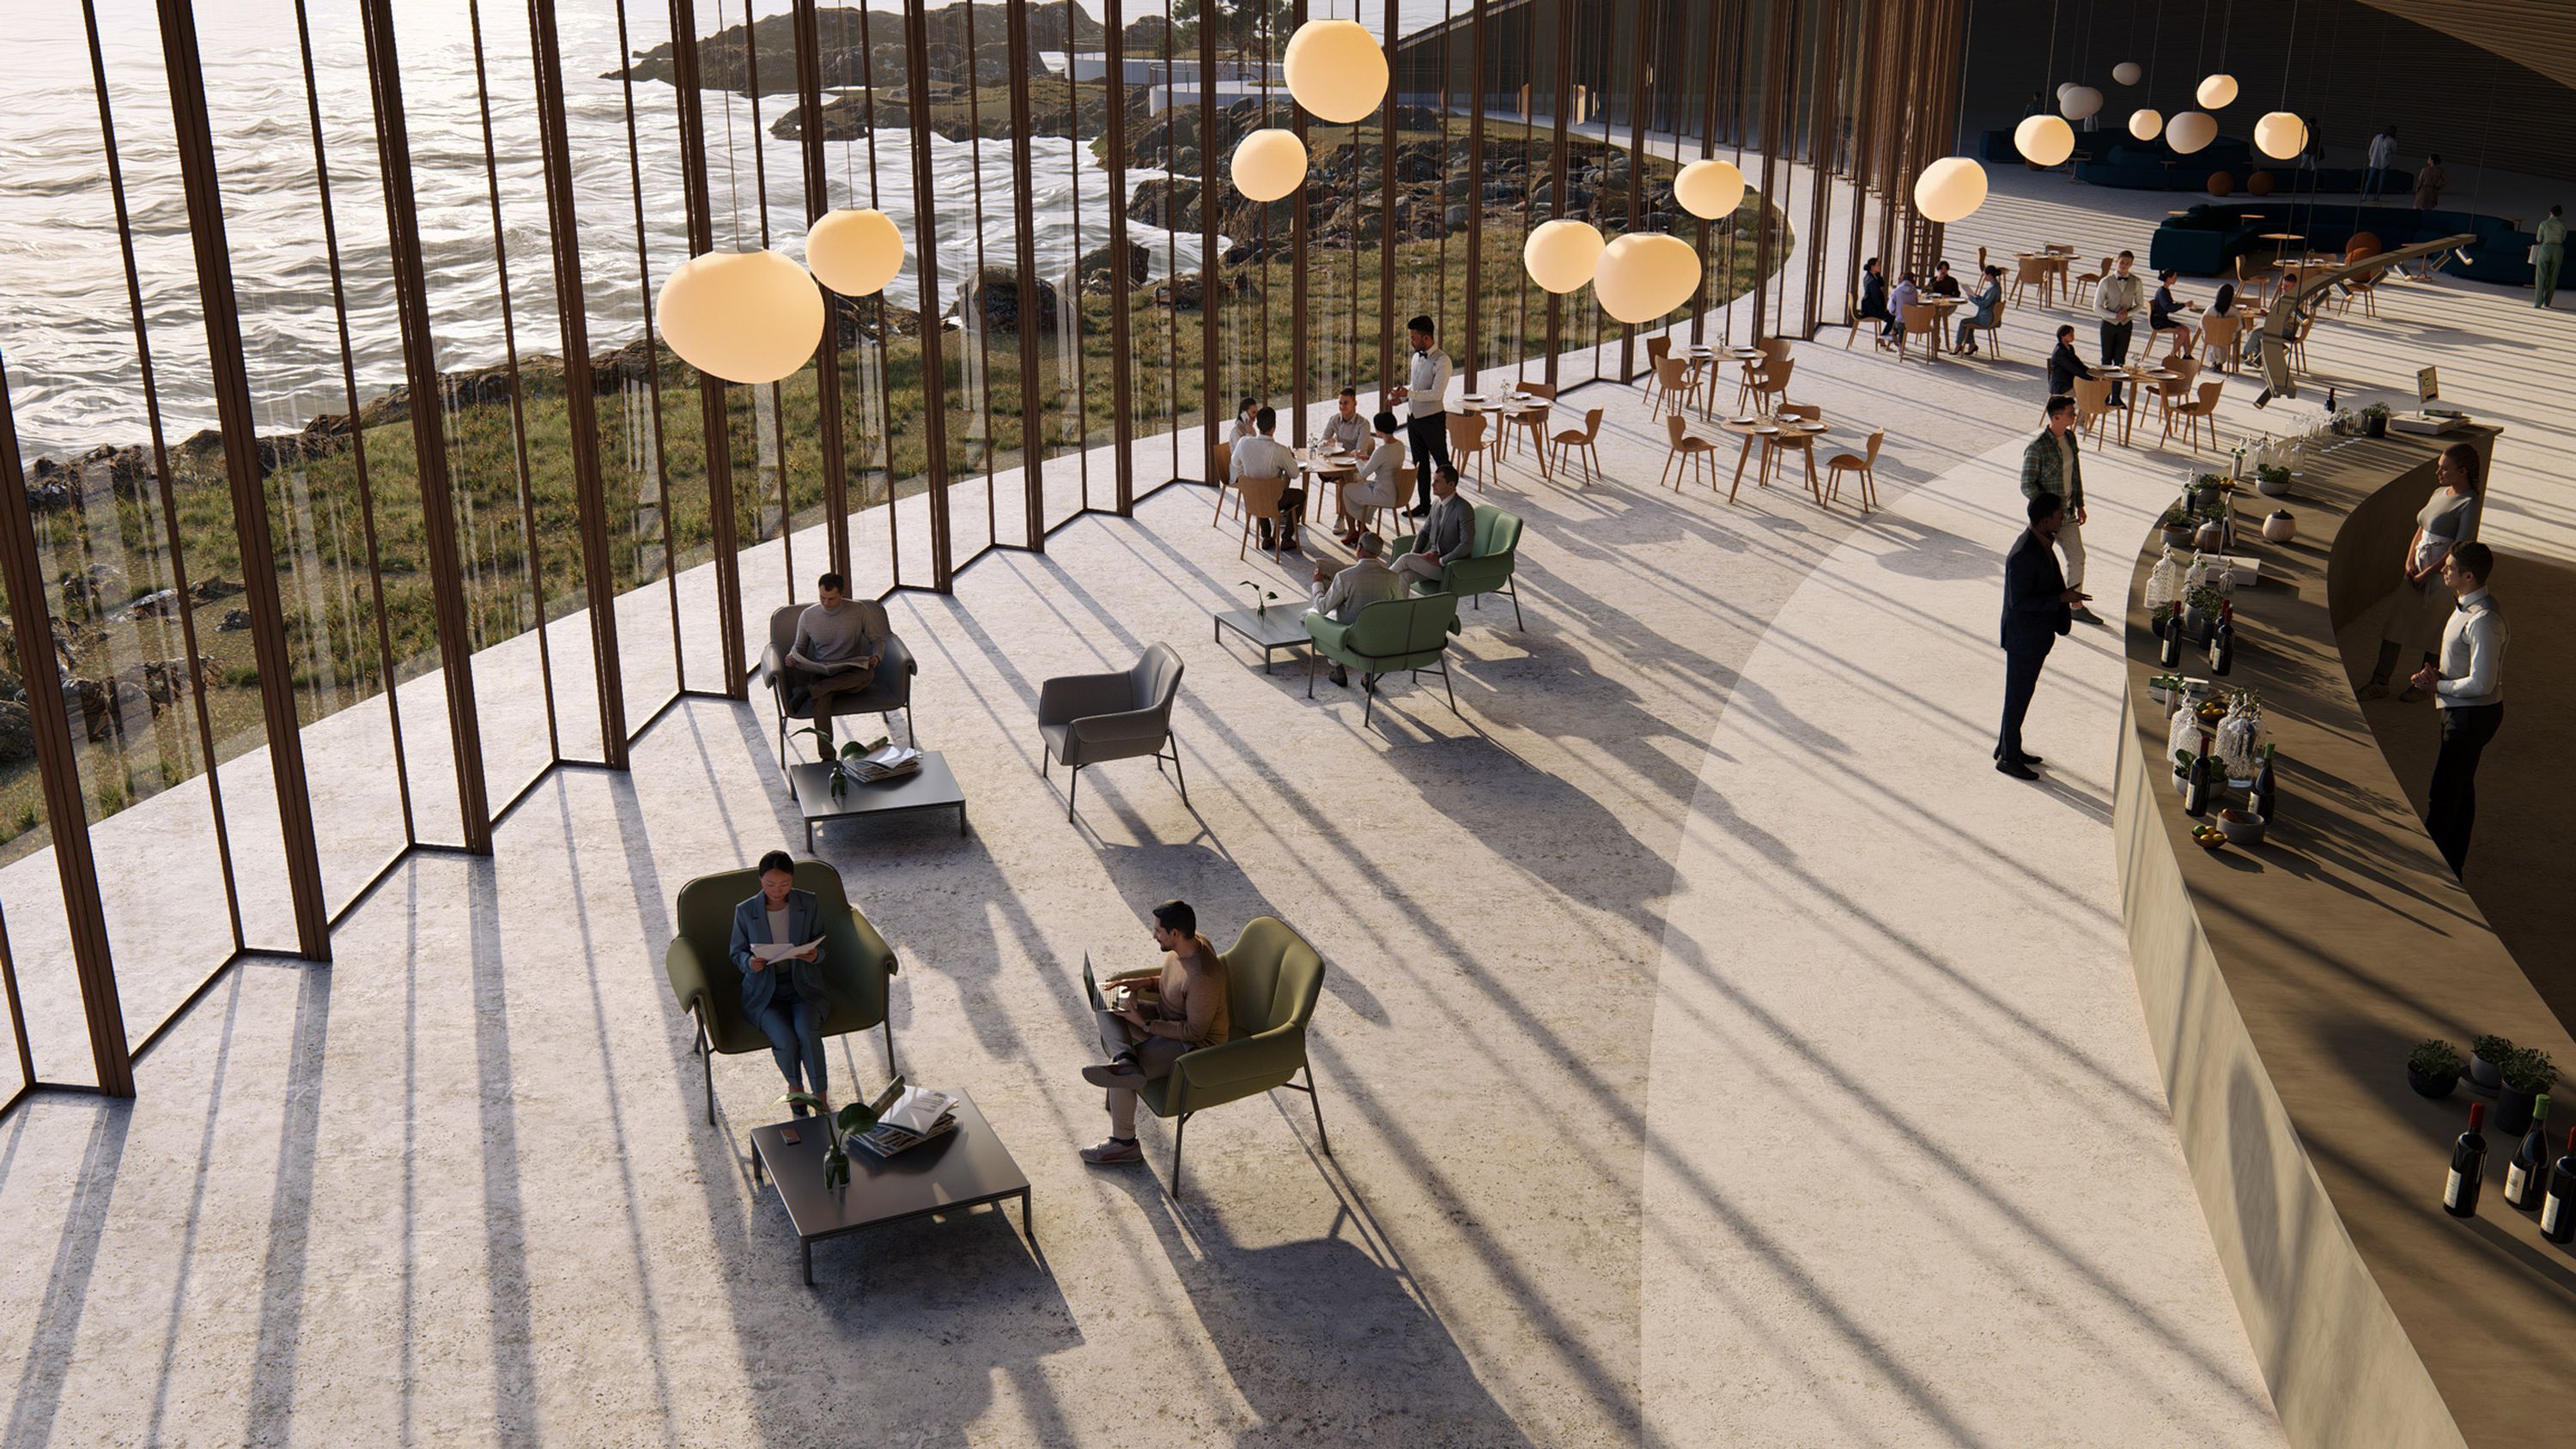
In daylight settings, getting the Sun to light up and shade the right parts of your model can make a significant difference. For extra accuracy, you can add the location of your Project and simulate the real sun position with the Sun Study Effect.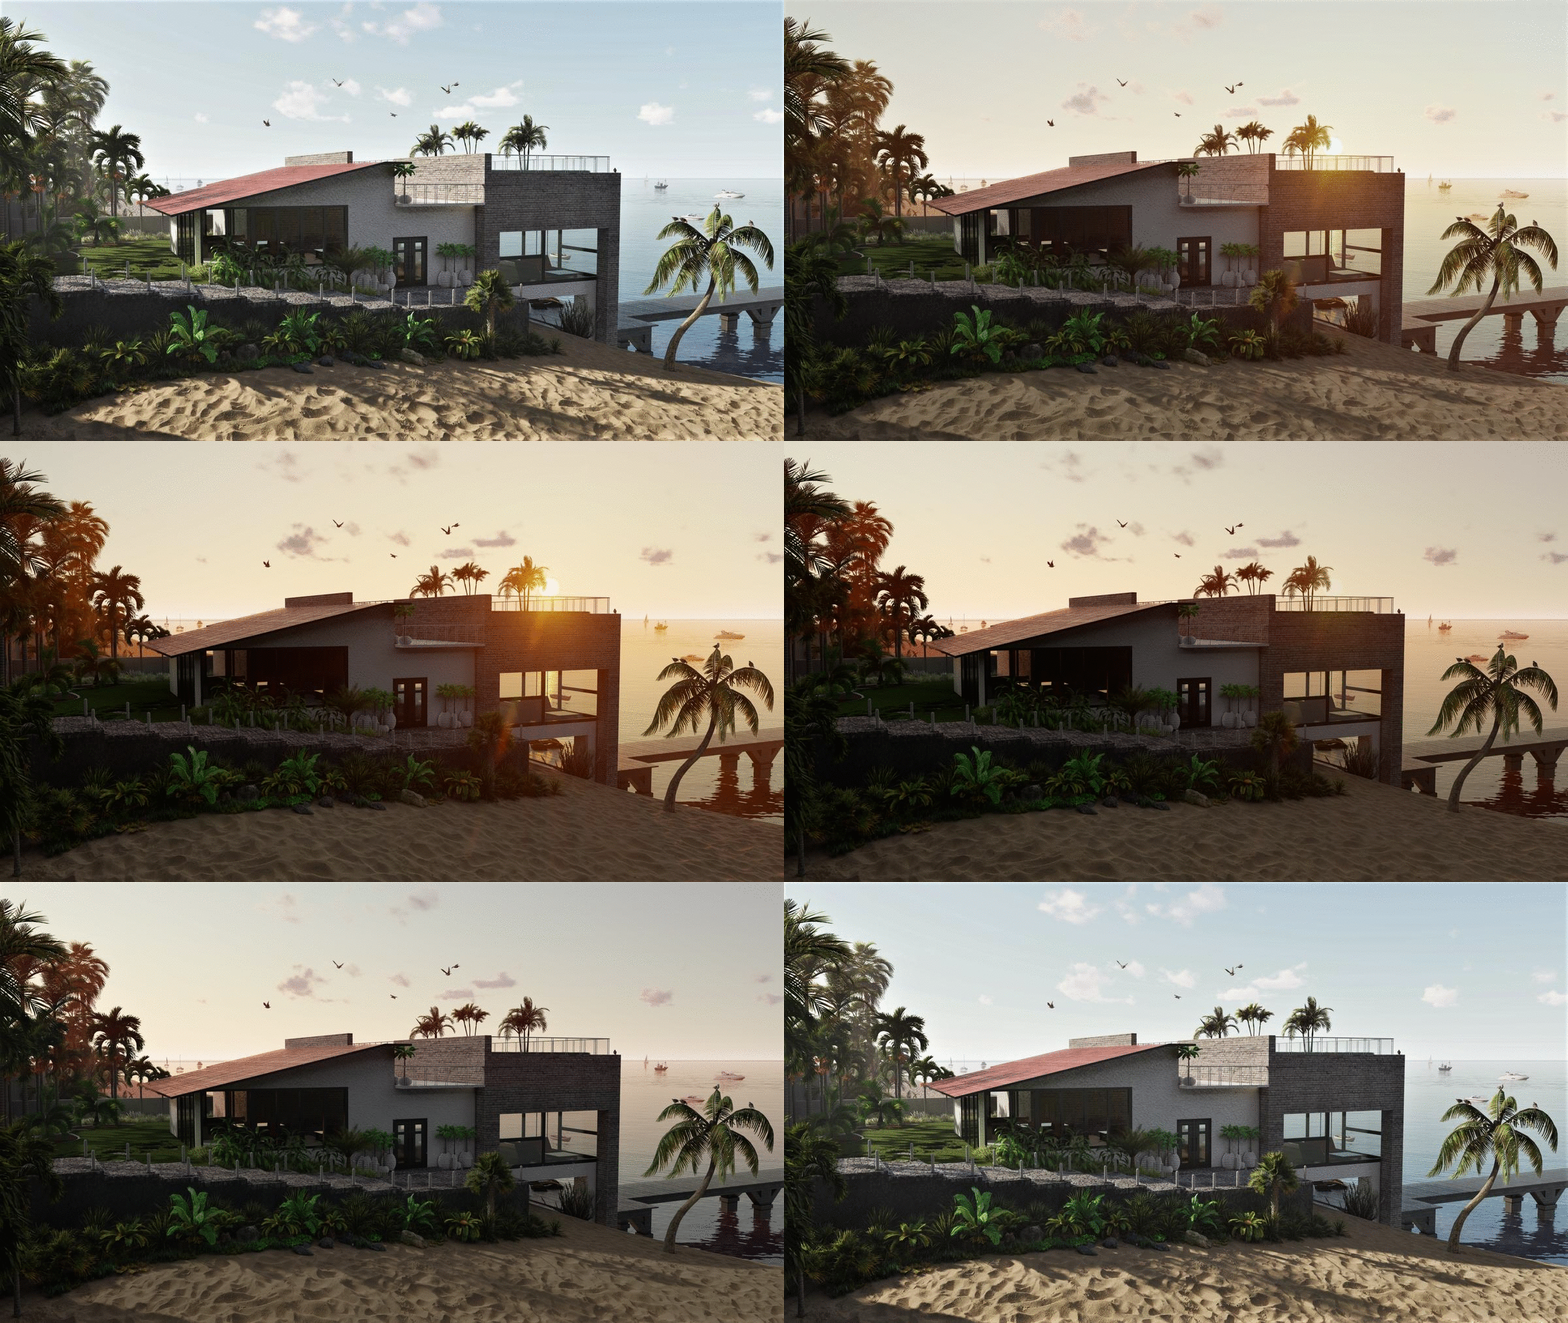
Different types of Projects benefit from different lighting conditions, so consider playing around with your light sources until you get the result that best exhibits your designs.
See our our guide on how to achieve authentic natural lighting in Lumion:
-
- Lumion Blog: Tips for mastering natural lighting in your renders
- Lumion Blog: Tips for mastering natural lighting in your renders
2. Play with Weather Effects
Enhance your exterior scenes with Weather-related Effects like Fog, Clouds, Precipitation, and Volumetric Light. These can add atmosphere and depth to your renders, helping to communicate different moods or seasons.
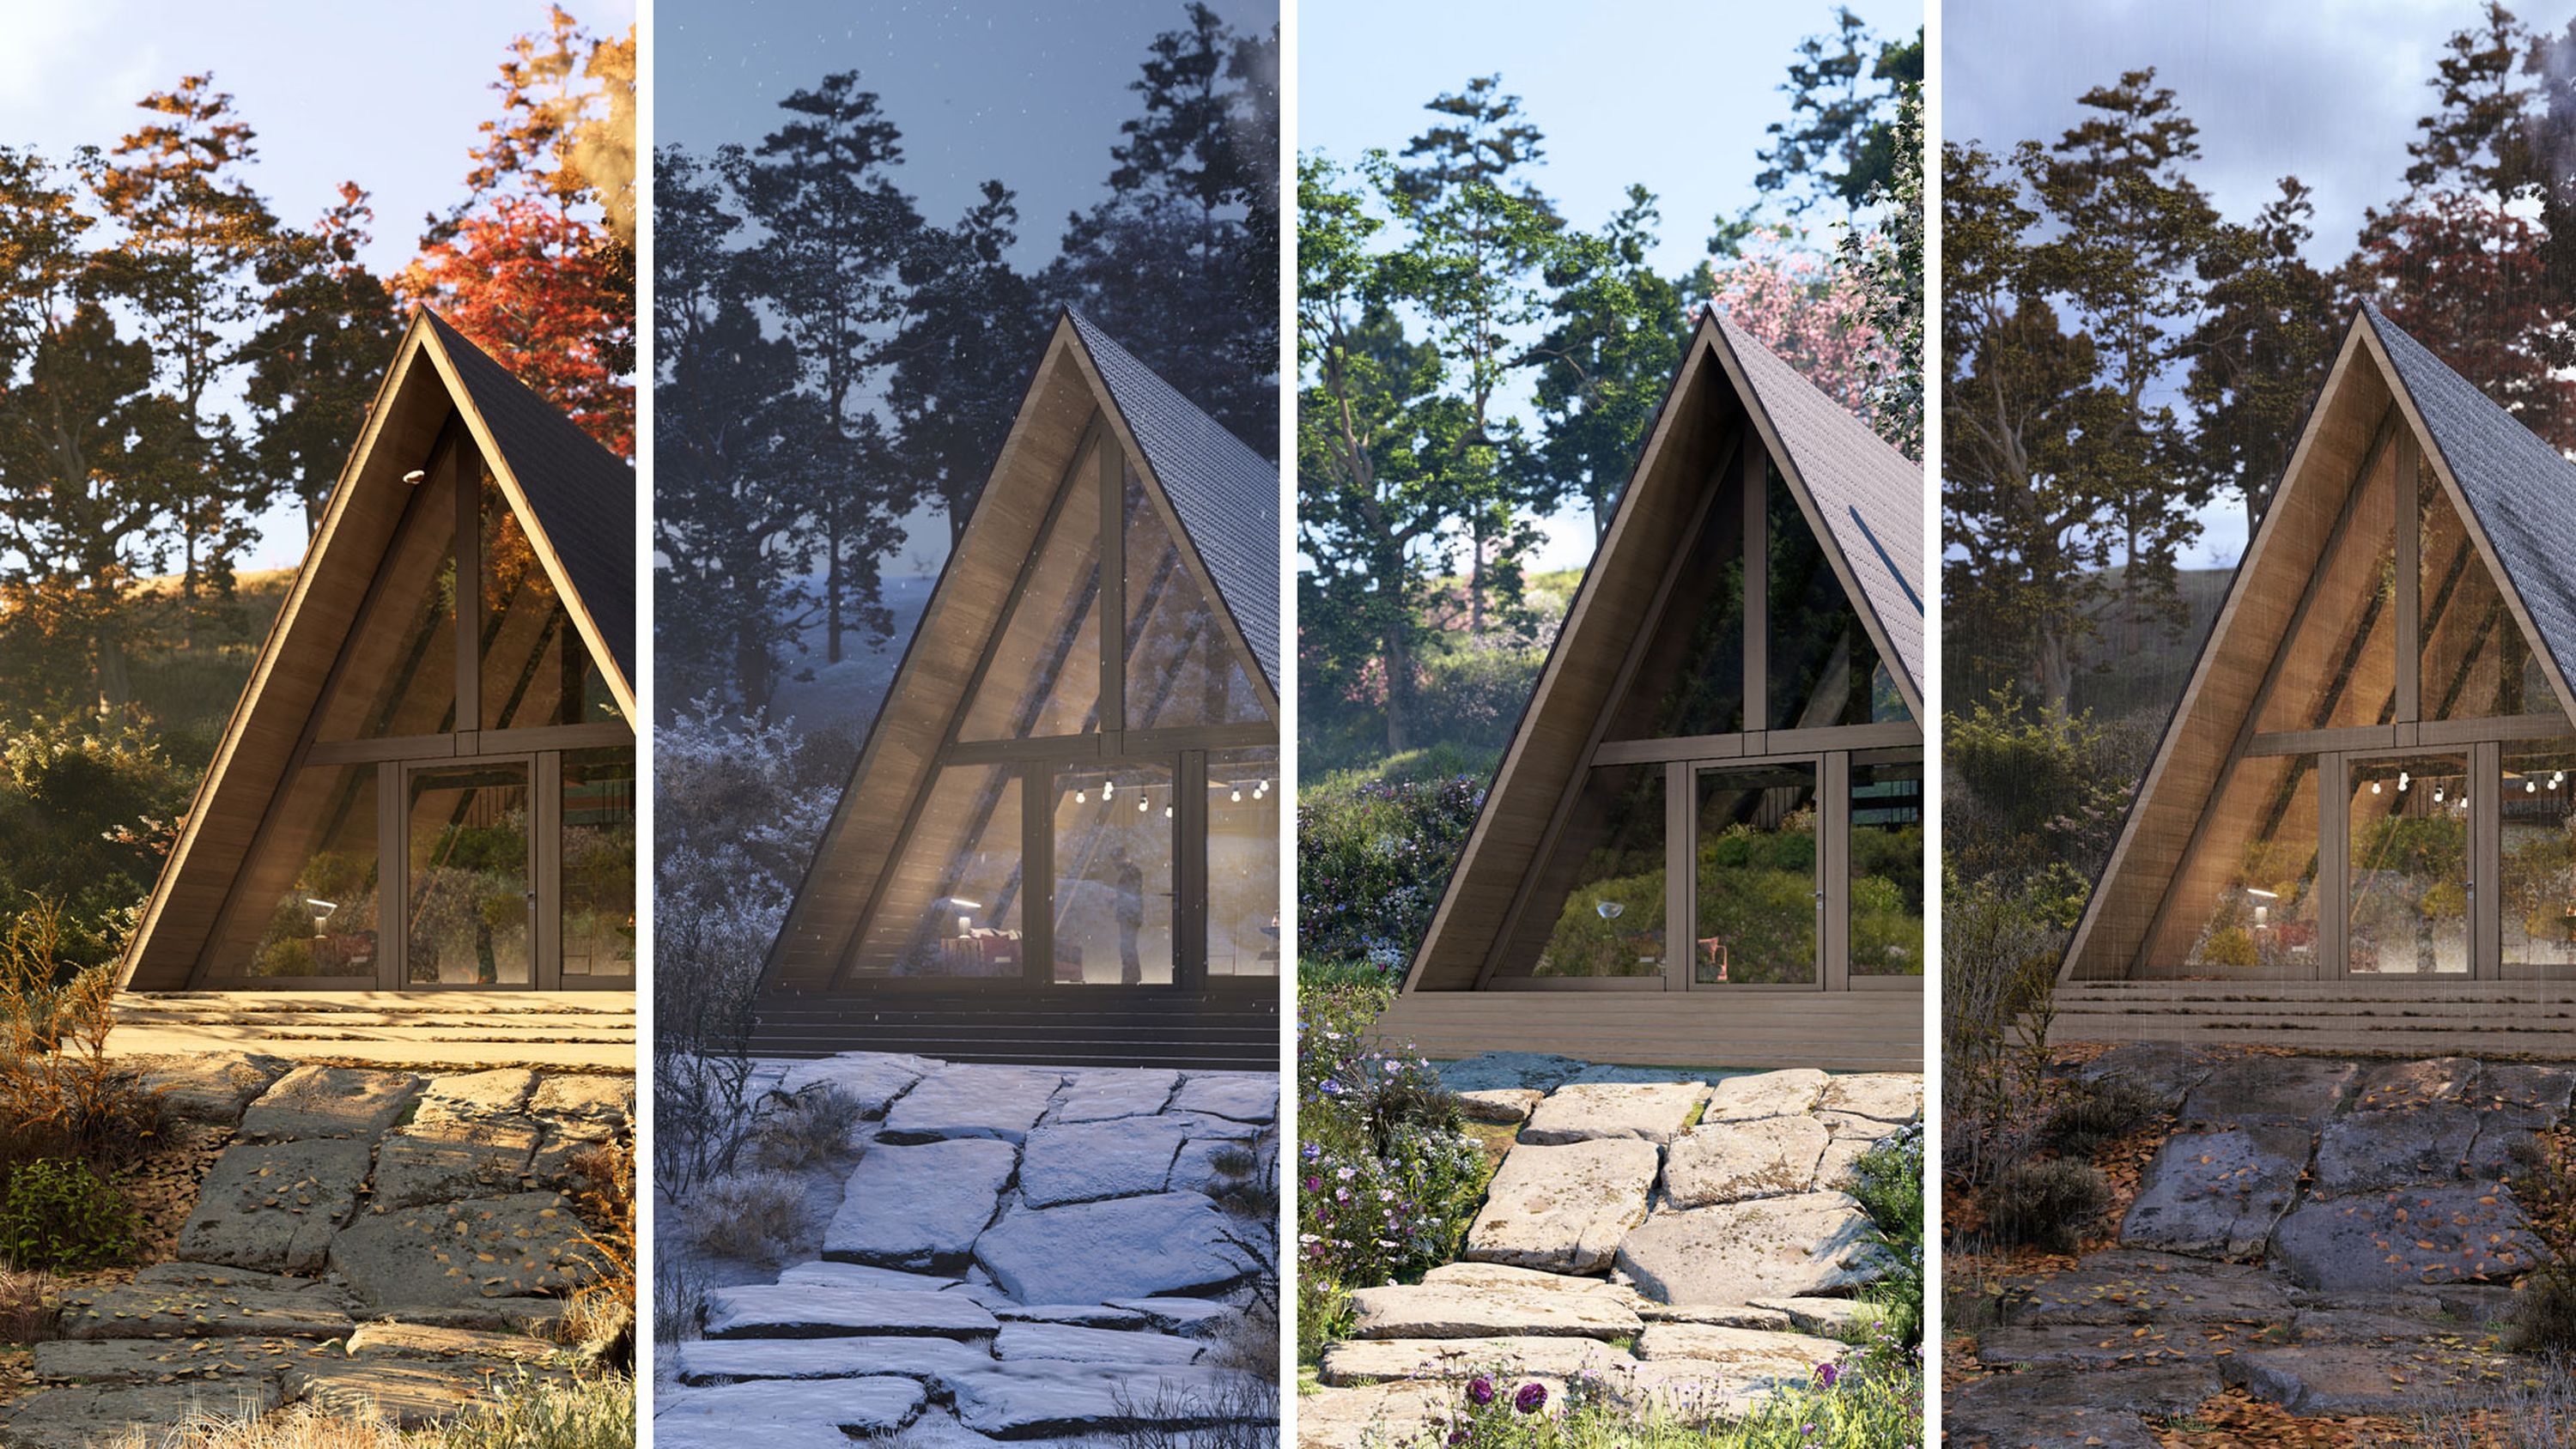
For example, you can express an early morning in the forest with a mild mist or a humid day with a touch of haze.
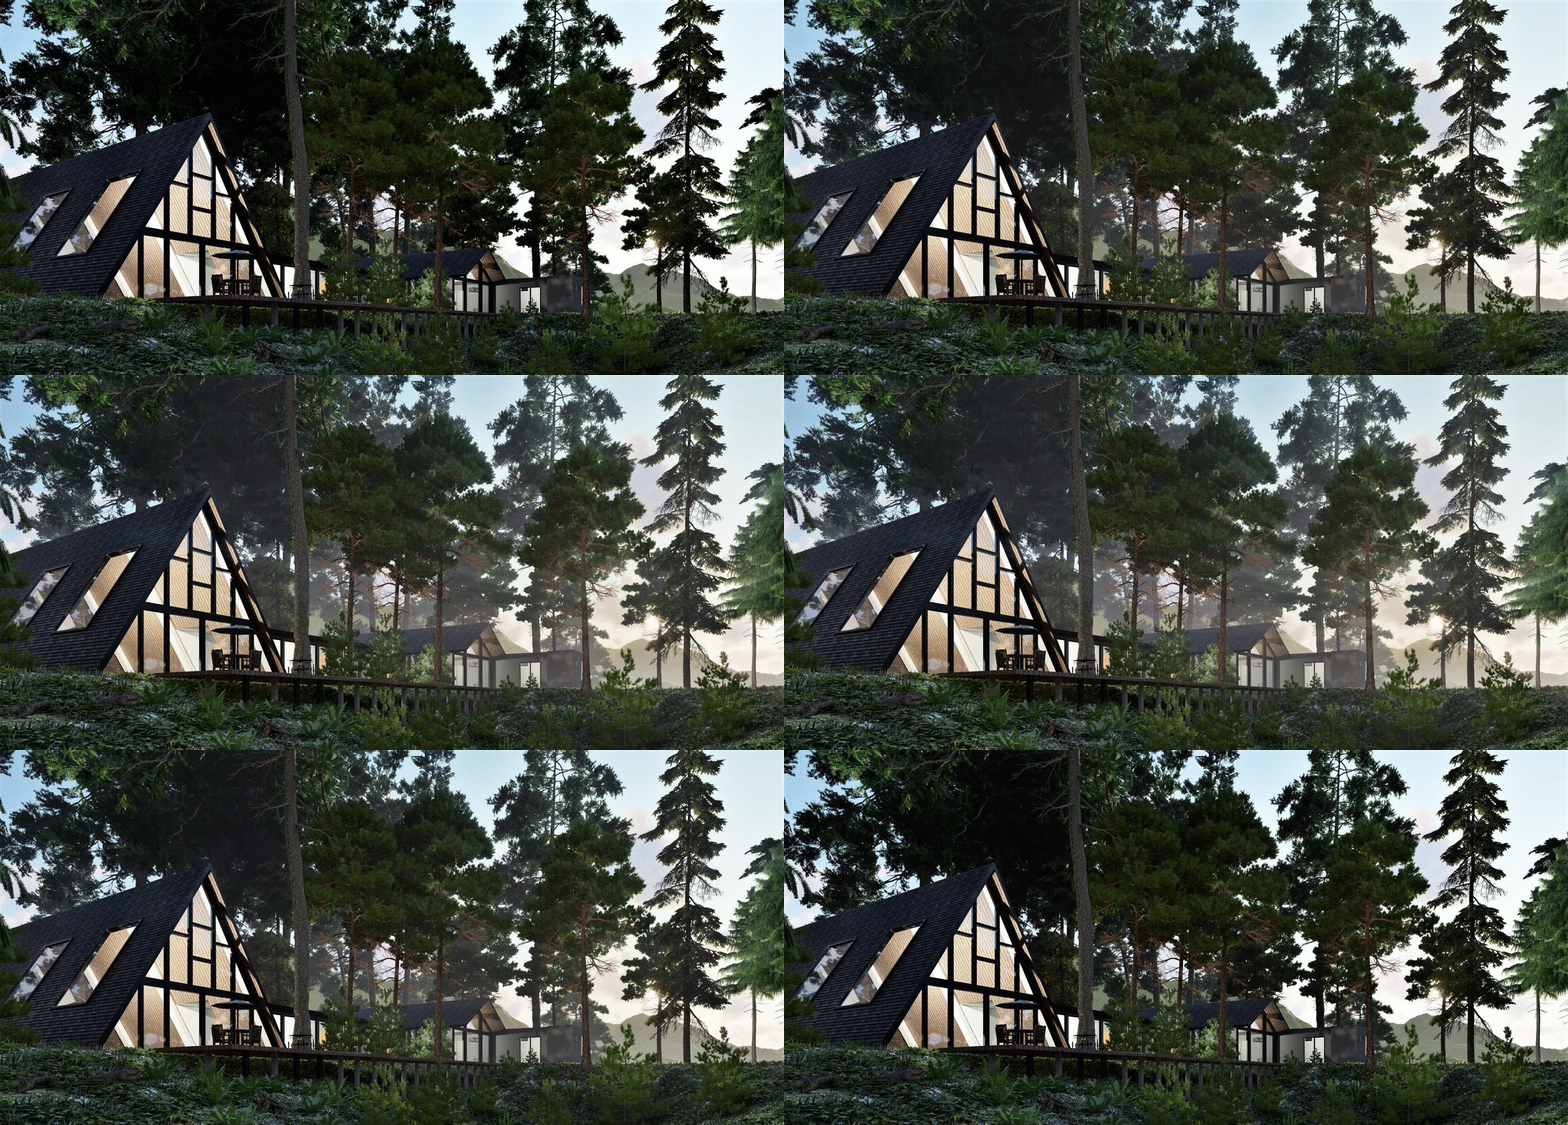
Different Weather Effects can even invoke emotions and different perceptions of the Project. Get your viewer to experience and capture feelings with an authentic environment representation!
See our short guide to the atmospheric rain, snow, and fog Effects in Lumion:
-
-
Lumion Blog: Conjuring atmosphere with seasonal weather effects
-
3. Rasterization for Speed:
Exterior scenes (especially daylight ones) are generally less complex in terms of lighting since there’s a direct source of light (the Sun) and fewer enclosed spaces that require light bounces and smooth, diffused shading. Rasterization can provide fast, efficient renders without sacrificing too much visual quality, making it ideal for large outdoor environments.
See Also:
1. Ray Tracing for Realism
Interiors are typically more complex due to enclosed spaces and the need for light to bounce off surfaces.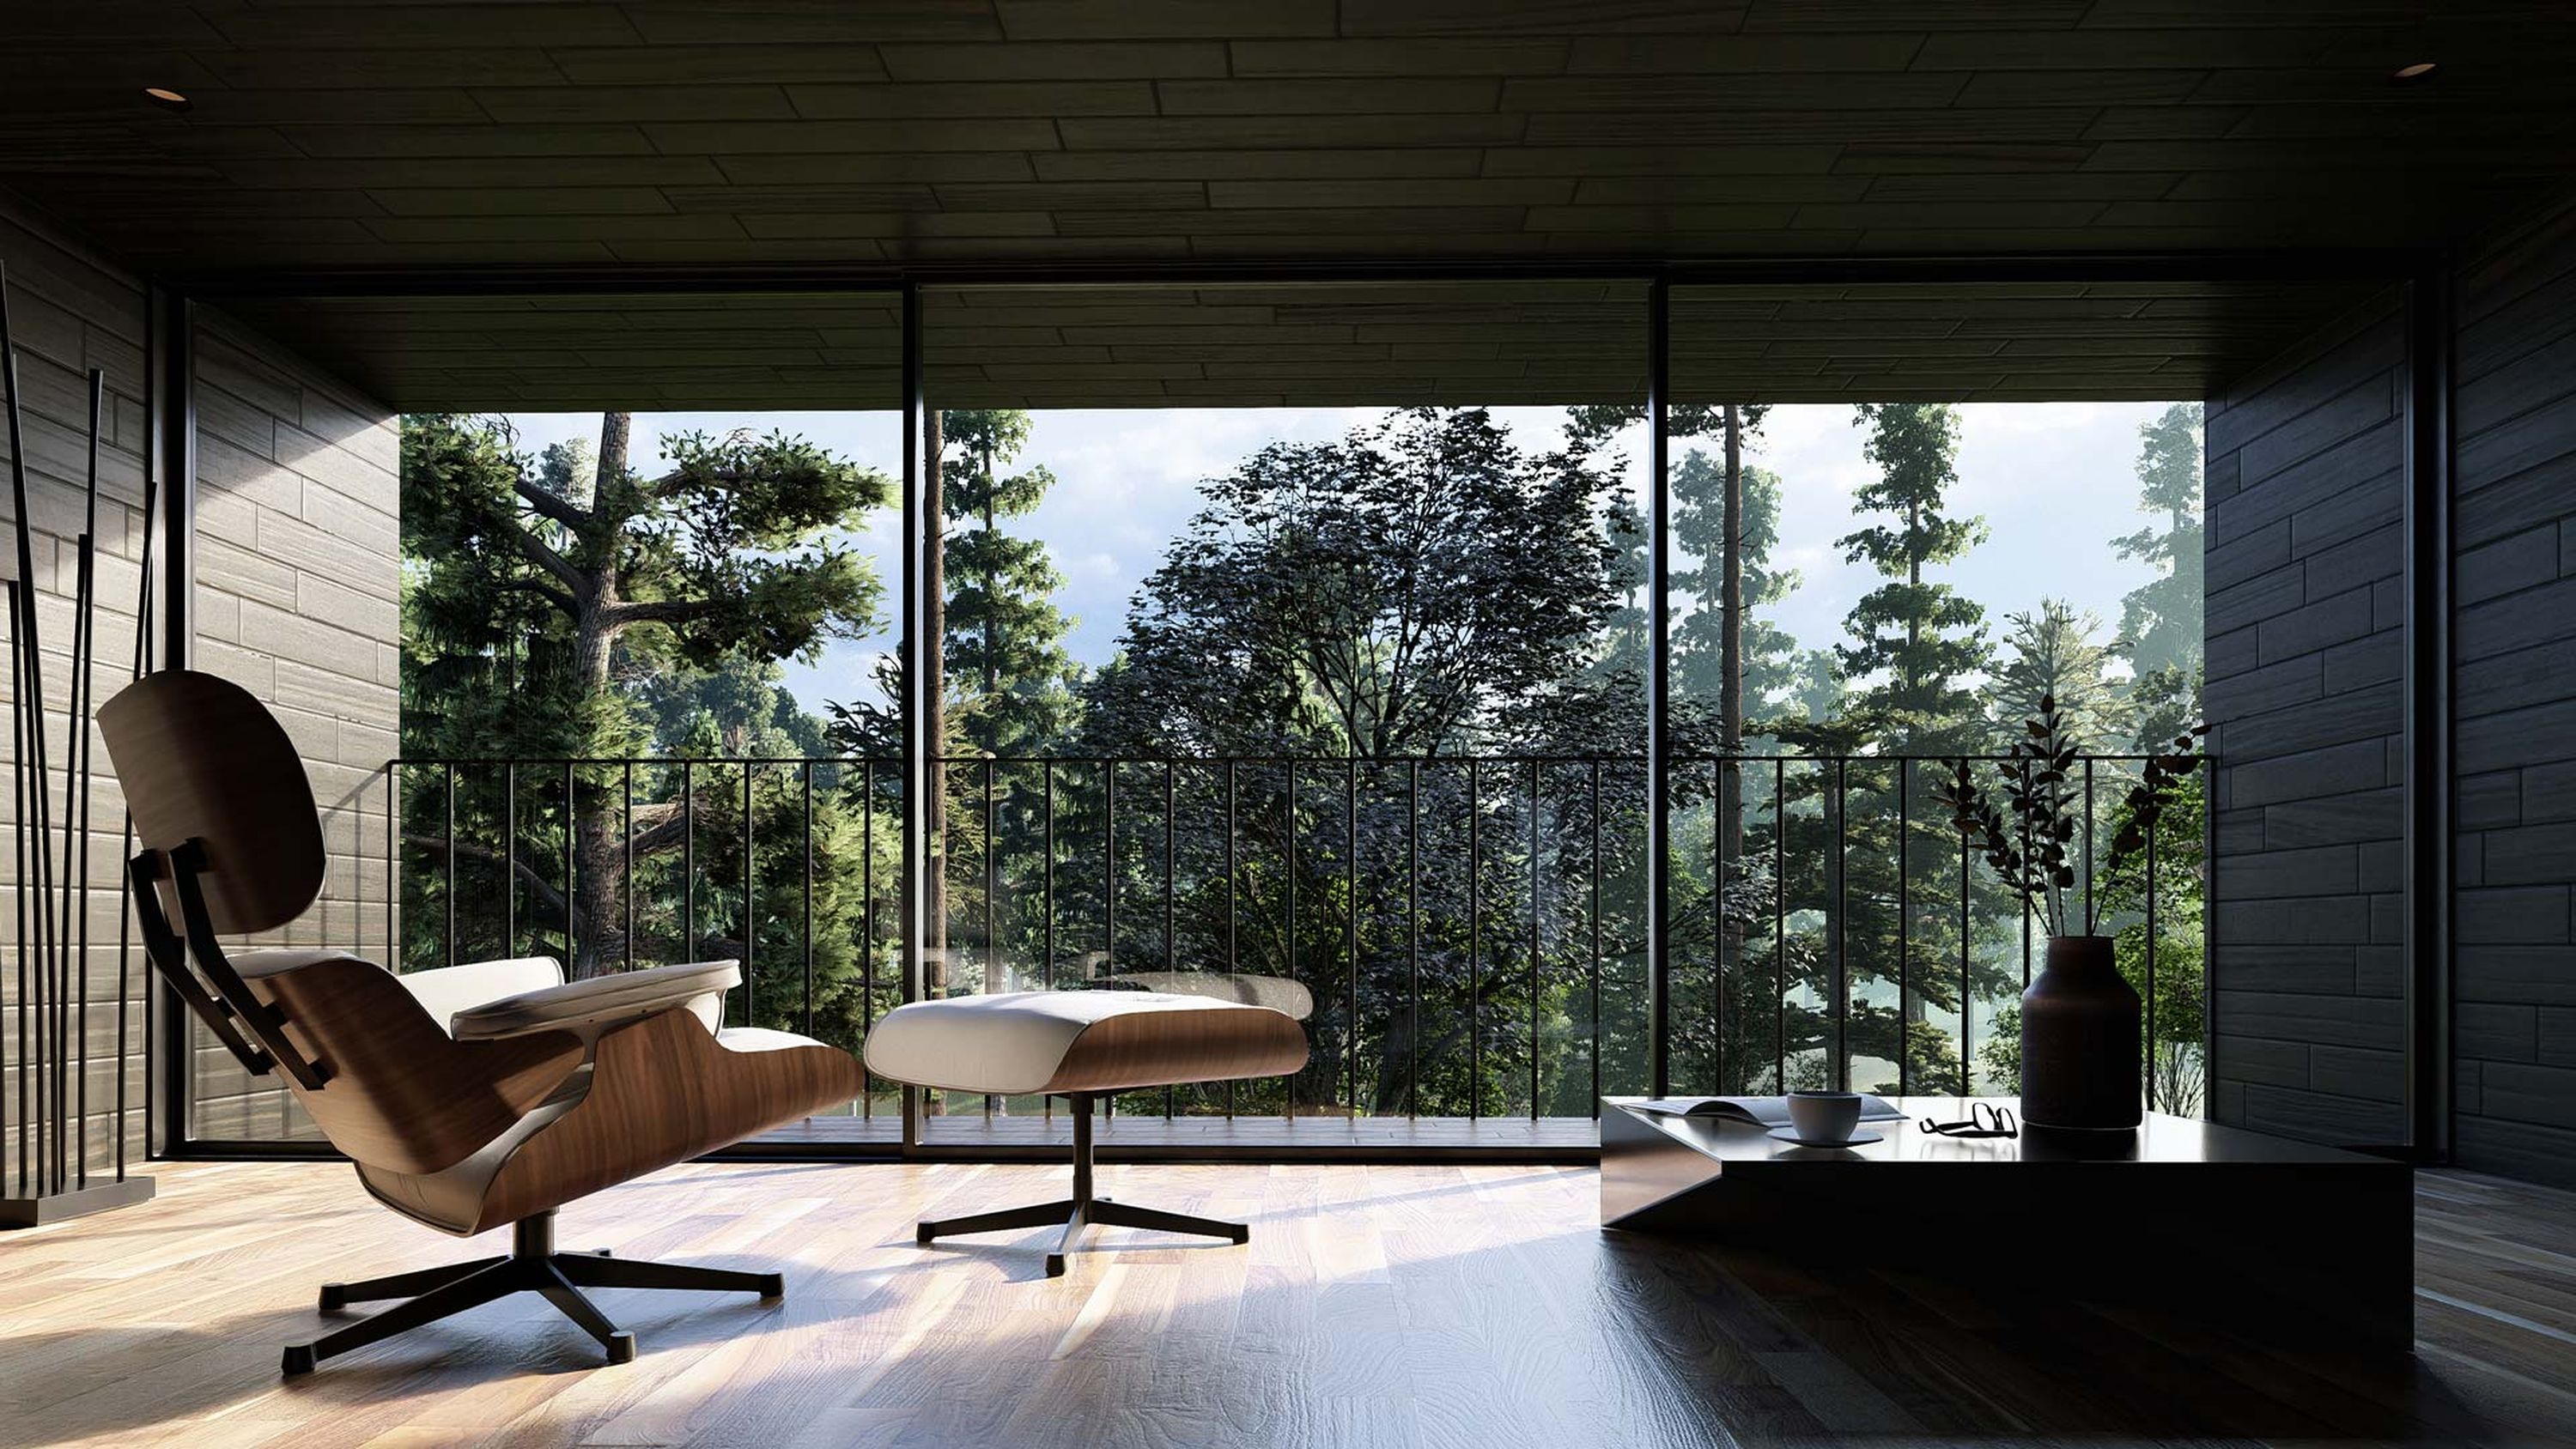
Ray Tracing is highly recommended for interior scenes as it simulates realistic light bouncing, producing softer shadows, accurate reflections, and a more lifelike ambiance. For rasterization interior tips, check out this guide.
2. Control Artificial Lighting
For interior renders, artificial lighting plays a key role in mood and detail. Use Spotlights, Omnilights, Area Lights, and Emissive Materials to accentuate key areas, create a warm ambiance, or draw attention to specific features. Avoid using unrealistic Brightness values for the lights as that can introduce noise.
3. Balance Natural and Artificial Light
Remember: Higher natural lighting means lower visibility for artificial lights. So, for example, showing artificial lighting on a daylight scene will require you to lower the Sky and Sun Brightness settings. You can typically get great indoor results using a cloudy sky, where lighting is diffused and scattered throughout interior areas, and a lower Sun Intensity allows the visibility of artificial lighting.
4. Watch the Exposure
Interiors can easily become overexposed, especially near windows. Use the Exposure setting to ensure the balance between bright outdoor light and dimmer indoor lighting remains natural.
See Also:
Looking for Inspiration?
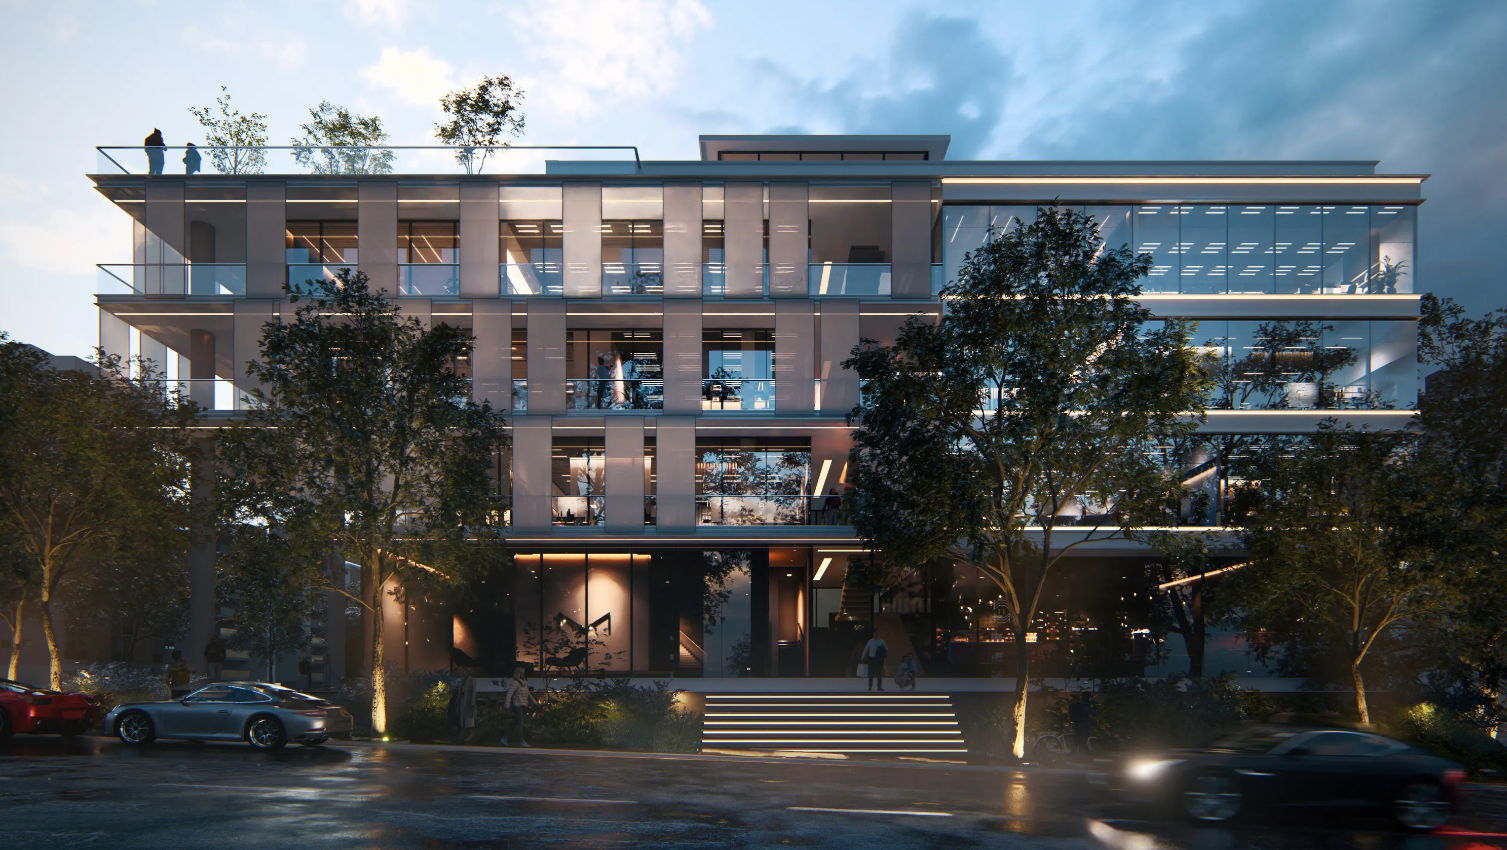
Get inspired by architectural Projects visualized in Lumion, case studies, interviews, and more in our 'Made with Lumion' Blog:
- Lumion Resources: Made with Lumion
More Learning Pathways
Introduction to Lumion Content Library Importing and working with 3D Models Materials Workflow Latest Features


