
(article subject to some changes for updates to 25.4.0)
Menu:
1. The Materials Editor:
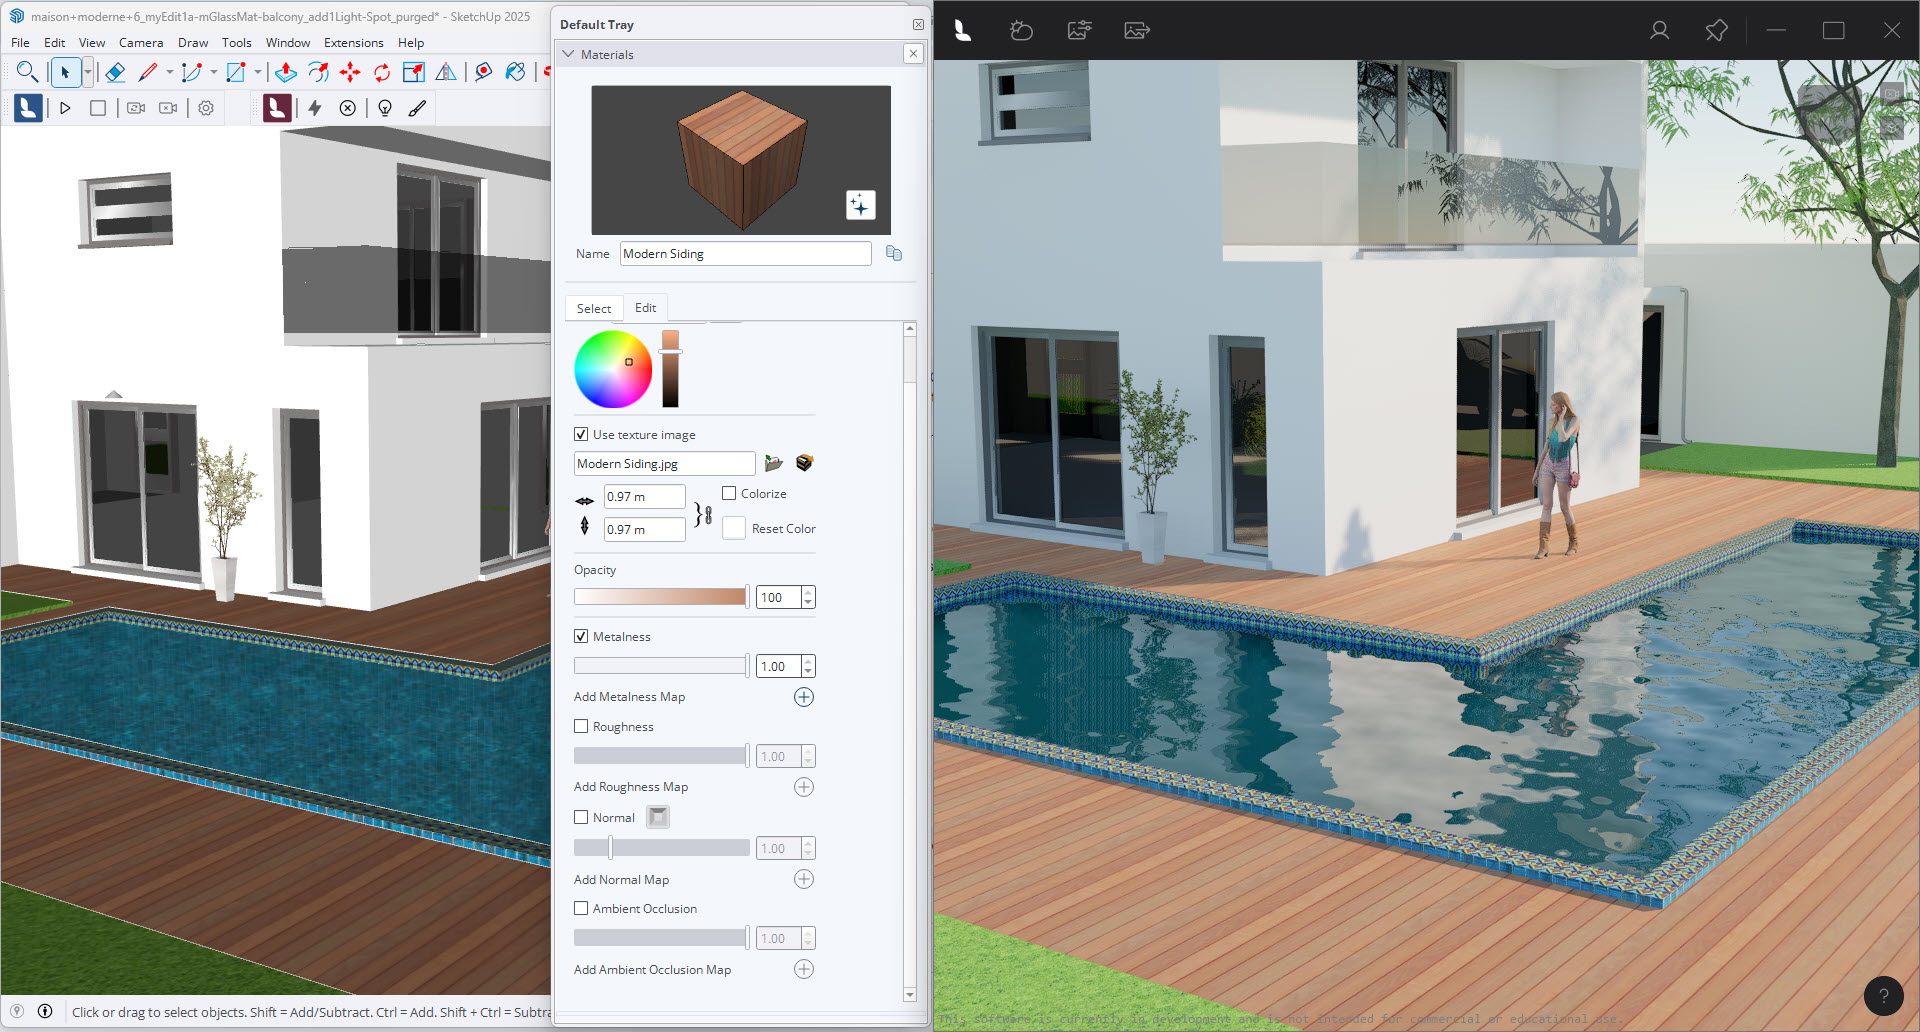
1.1: Use the Materials Editor to affect the look of your model

- Supports three core PBR (Physically Based Rendering) material Types:
- Standard.
- Glass.
- Water.
- The interface provides for additional properties, depending on the type of material.
- Important: Otherwise, Lumion View uses the properties of a Material from SketchUp.
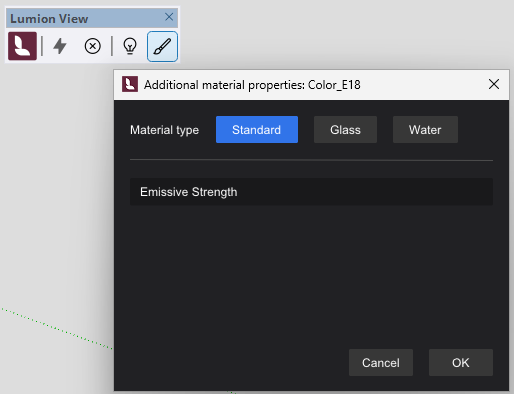
1.2: Lumion View Material Editor

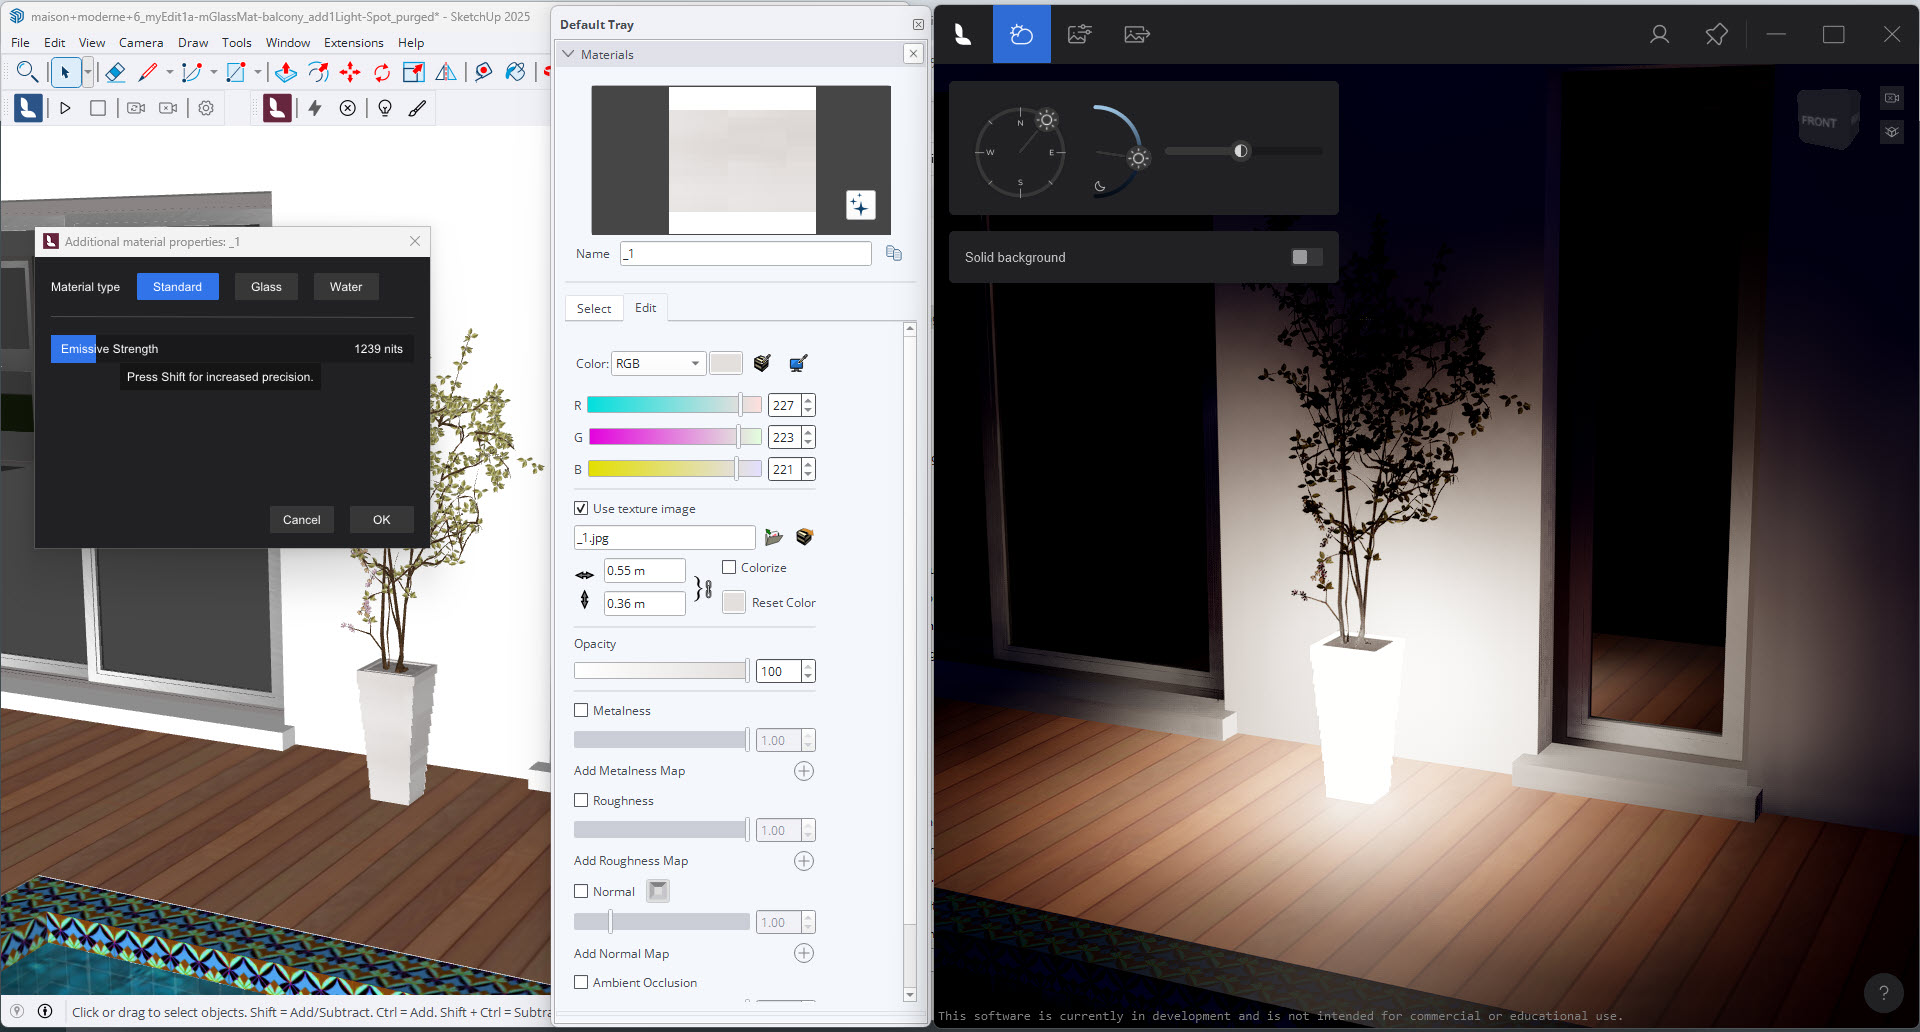
Emissive Strength (see below: Using the Emissive Strength Property).
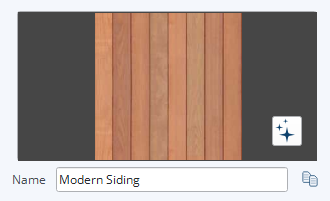
The current material used in SketchUp:
That by itself works fine and you can carry on with the rest of your design and concept renders for your client.
If you want to change and also include some of the other PBR Materials so that the final renders have an even better real-world look to them then you can add and include values and textures for the (new SketchUp 2025) PBR materials properties.
Any/all of those will be used by Lumion View.
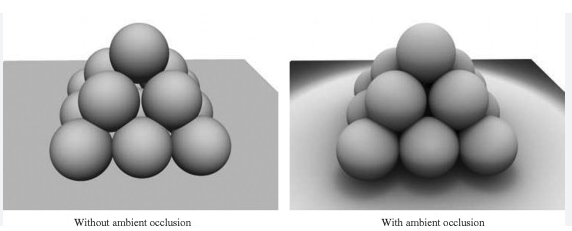
The exception is that the Ambient Occlusion * (where there is less or more ambient lighting, seen also part of the shading/shadows and where edges meet shadow) is not required by Lumion View as it does all the shadowing in real time for you, and you do not want to have static shadows.
Please refer fully to the SketchUp support and technical details on PBR Materials and using them:
- External Link: Materials, Textures, and Environments
- External Link: From SketchUp Warehouse Models: Browsing and Downloading Materials
It's important to mention at this stage that the material in SketchUp will be treated as a PBR Material, even if it does not have other PBR related Maps and properties. In other words, there is no need for some change in material/texturing workflow, other than you want to enhance the look of the materials and aim for a higher quality render.
2. Adding PBR Materials:
You might decide to include a Normal Map to increase/improve the look that the surface has height.
This is usually done by adding a Normal Map and/or Displacement Map (supported in Lumion 2024+).
There are plenty of resources on what is PBR, as well as texture resources. Here's our key list that includes resource sites and software for making your own:
- Lumion Community: The official Lumion list of texture collections
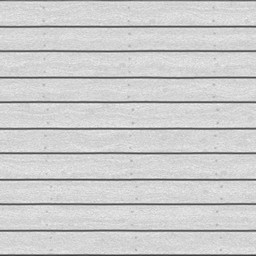
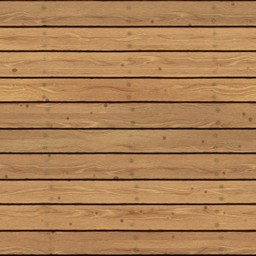
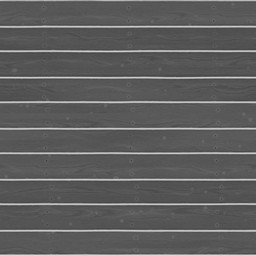
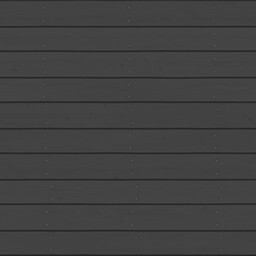
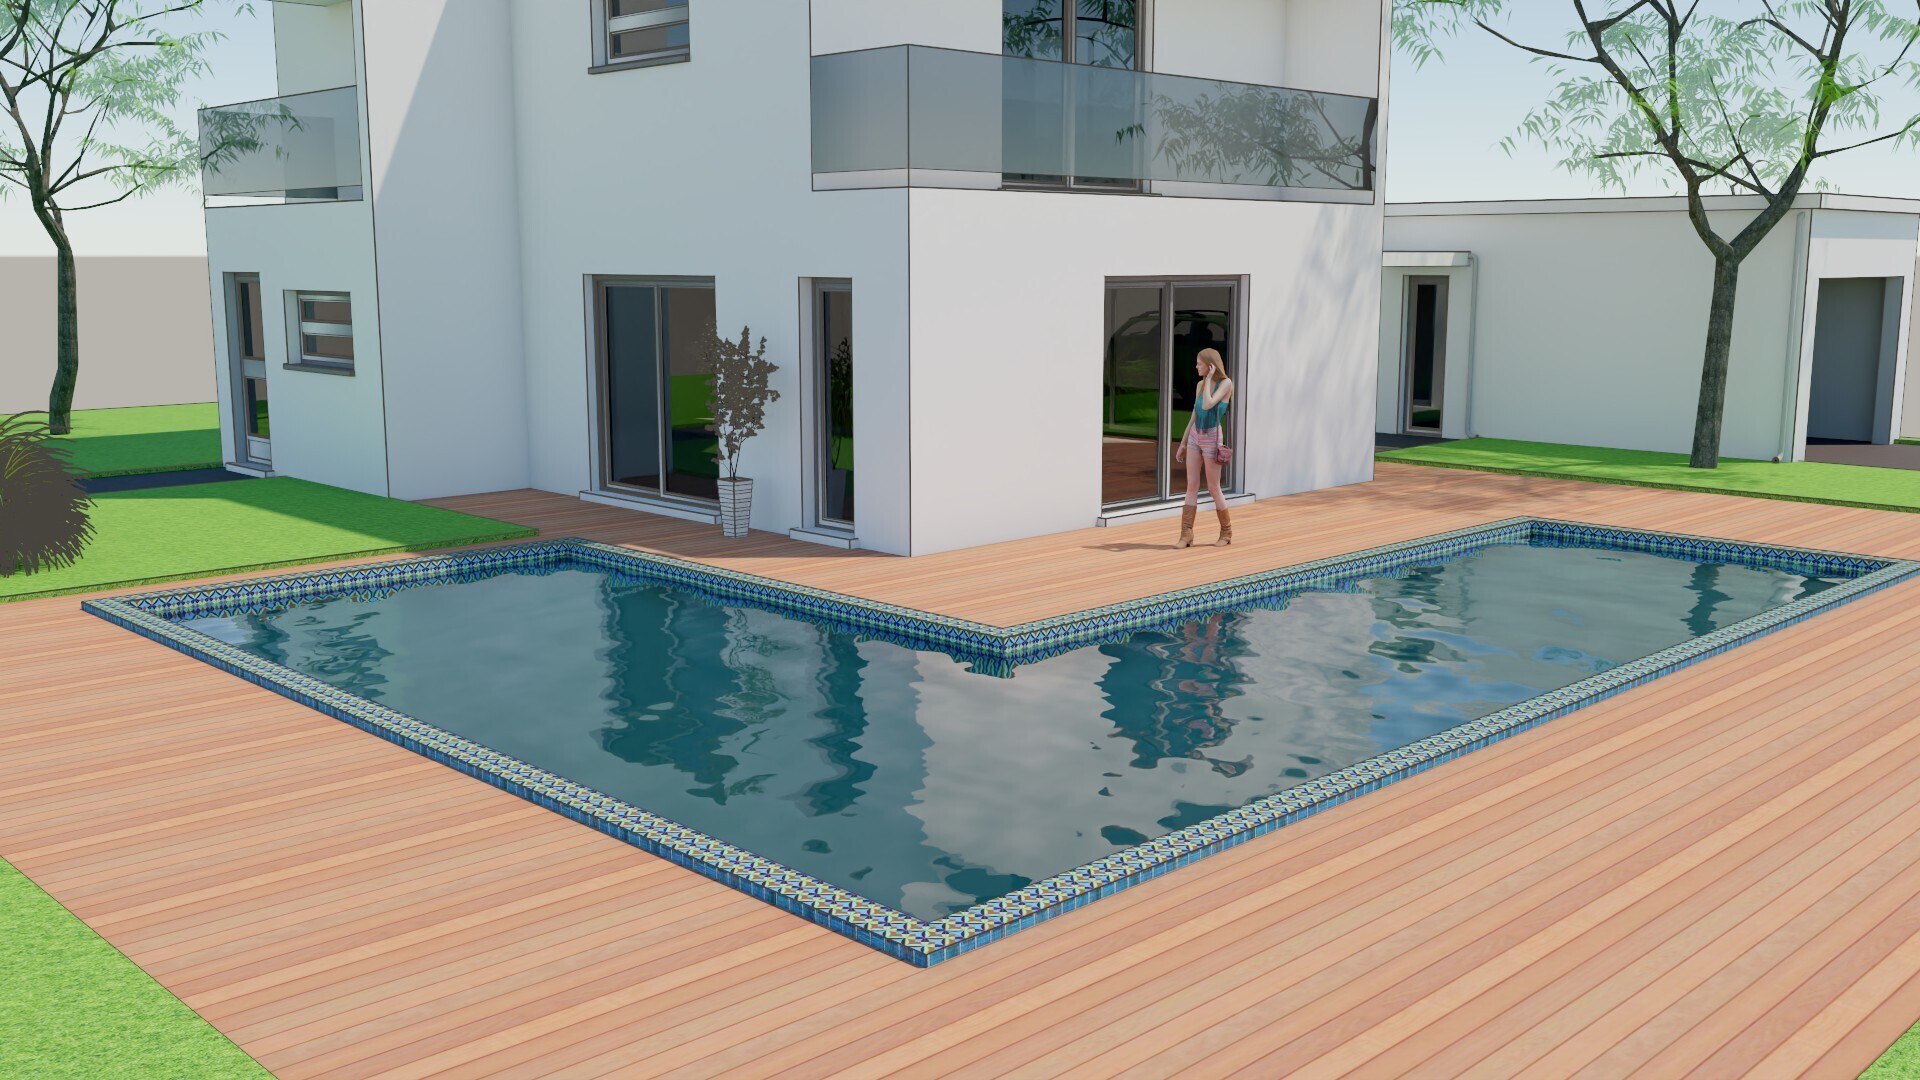
The siding material used for the planks around the pool would usually be a smooth wood with a coated or varnished water protectant surface. But depending on the wood used may be grooved or have plank or section gaps.
Lumion uses the Metalness/Roughness material workflow. See further below: Lumion supports the following PBR Materials.
3. Changing and Adding the Materials in SketchUp:
3.1: Using this PBR Material
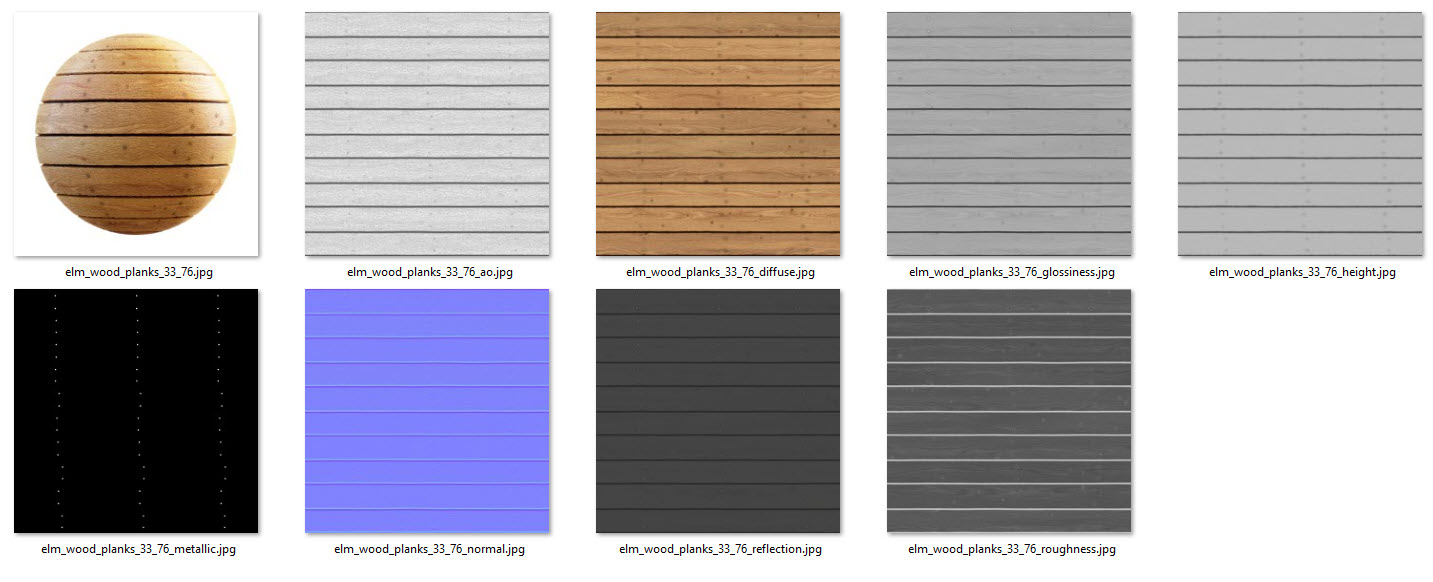
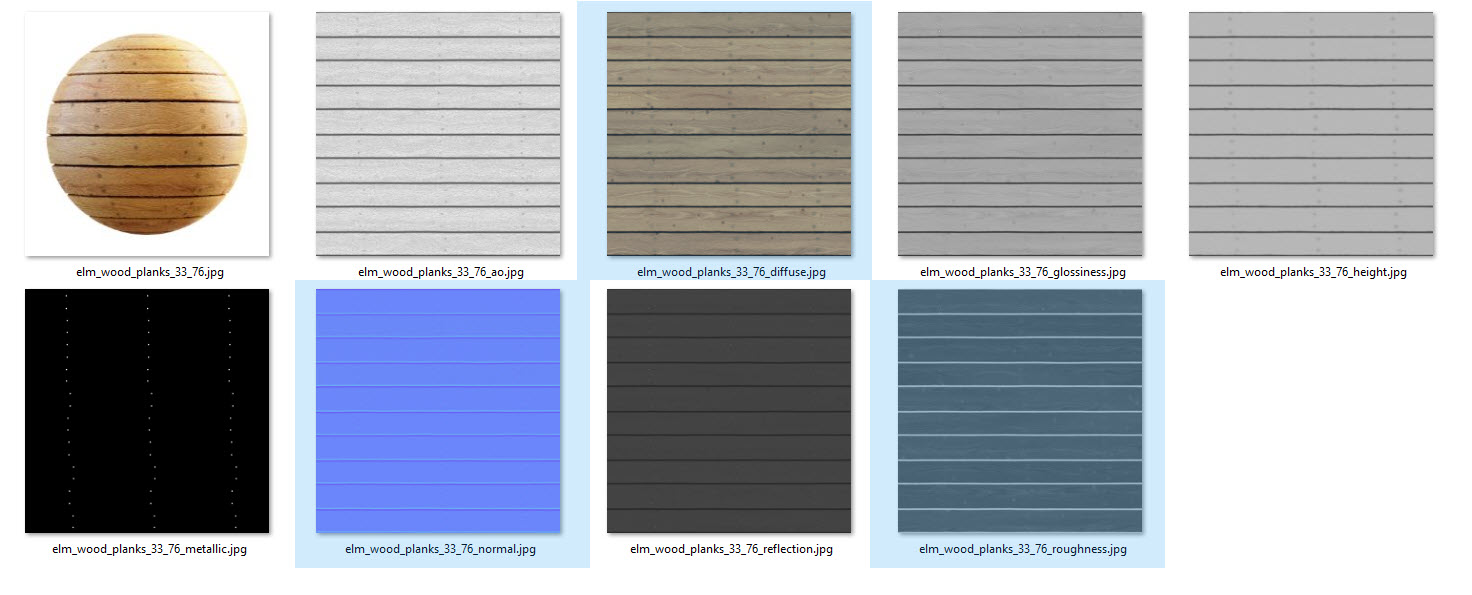
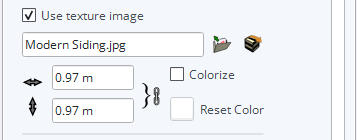
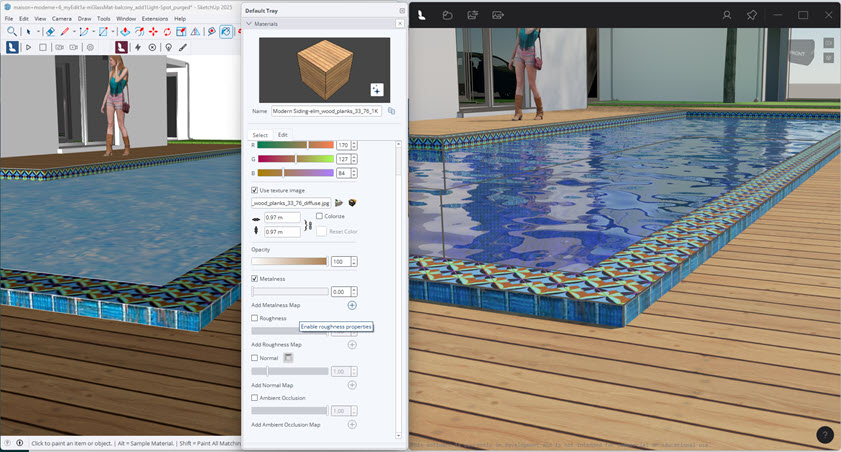
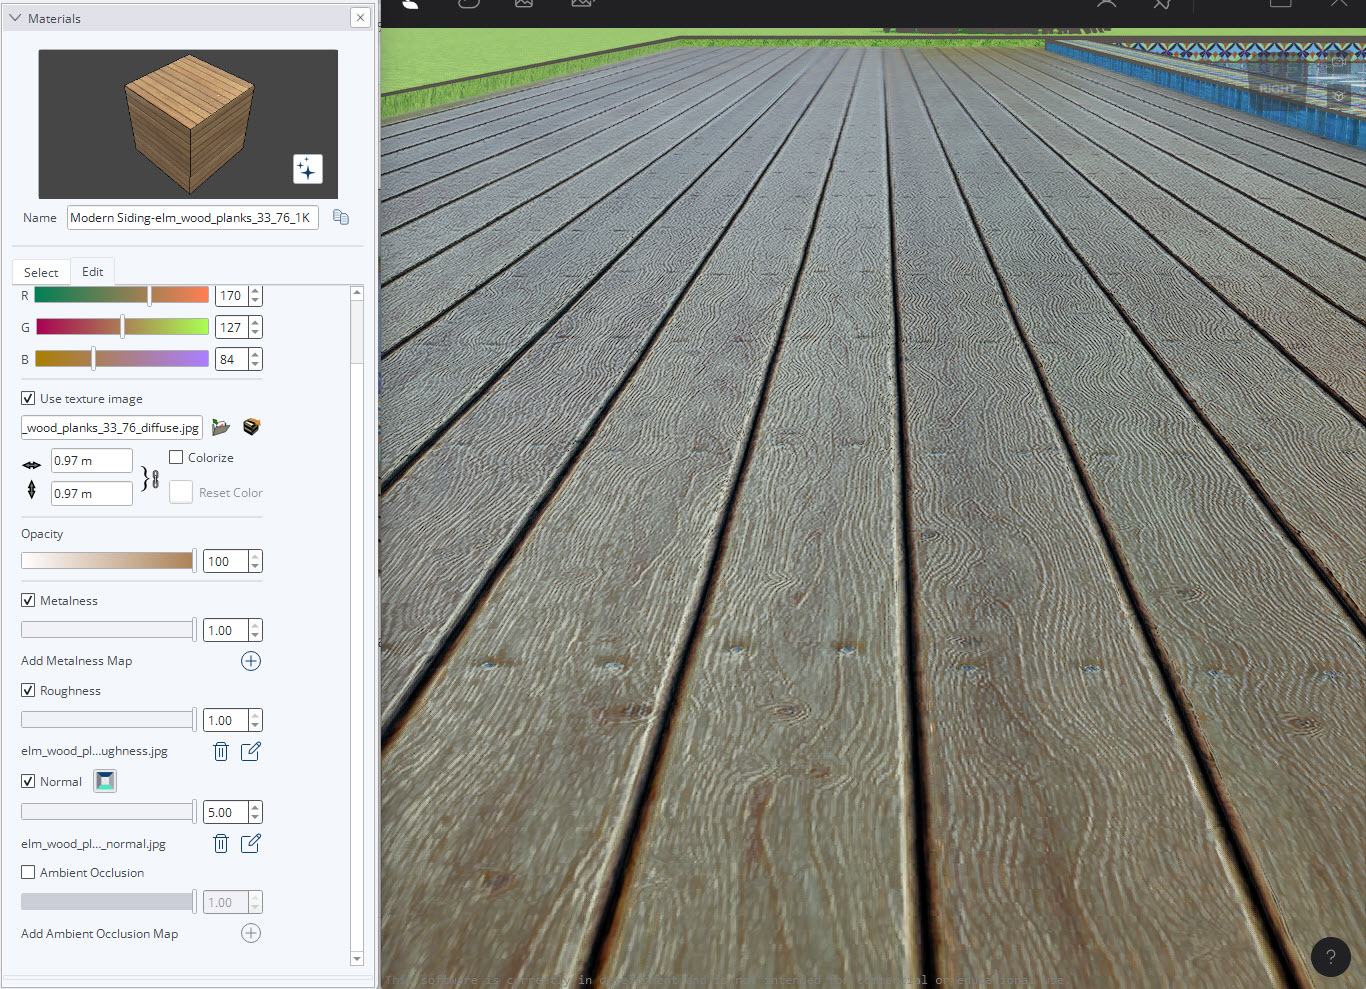
Here, we will change the siding material and use a PBR material from CG Axis: elm_wood_planks_33_76_4K.

3.2: Material Requirements
The 4K, 4096x4096 dimensions/resolution is too large for our needs and for performance a lower resolution set of Maps will still work perfectly well in SketchUp and especially Lumion View.
Noting that your PCs graphics card needs to have plenty of memory (VRAM) to cope with not only the data but the applications open and renderings being required of it.
If you have a GPU such as an iGPU with very limited memory then keep the resolution as low as possible: 256 or 512, or perhaps 1K (1024)
You can use an image editor, image batch converter tool (such as FastStone: Photo Resizer) or online image resizer to resize the 4K down to 2K or less, if the resource does not include.
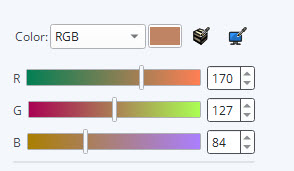
3.3: Material Properties
Color and Opacity will be used as is from SketchUp.
But there are three Maps we will use here to make the changes.
You might want to save the Material with a new Material name, it will still be recognised in Lumion View.
Maps Needed:
3.4: Material Relationships
Lumion View:
N/A (Not applicable)
Color Value


Yes
RGB, HLS(HSV)
Ambient Occlusion
Diffuse Map
Gloss Map
Roughness is the inverse of a Gloss Map
N/A
Height Map
Metalness Map
Yes
(for this material it has no metallic surface properties, so will not be used)
Roughness Map
Yes
Normal Map


Yes
(Relief)
Reflectivity Map
N/A
Opacity Value
Notes:
Reflectivity Map:
In Lumion you would use this for certain types of control over where reflections occur and micro-surface reflectivity. You would add that Map in Lumion after the model has been transferred by LiveSync to Lumion.
Opacity or Transparency Map (inverse):
A single value. Materials such as Glass and Water also use this value.
You would add that Map in Lumion after the model has been transferred by LiveSync to Lumion.
Refer further:
- Knowledge Base: Using Lumion View with Lumion LiveSync
- Knowledge Base: Using Lumion View with Lumion Pro
4. PBR Material Properties for Lumion View:
4.1: Color
Change this to change the blended look with the texture.
SketchUp adjusted the base color initially when the new texture was loaded:
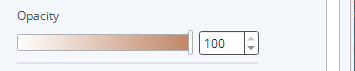
4.2: Opacity
The wood should remain with 100 percent Opacity in SketchUp.
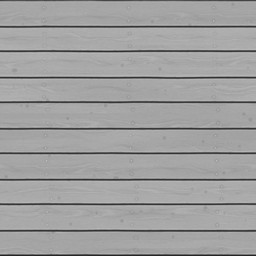
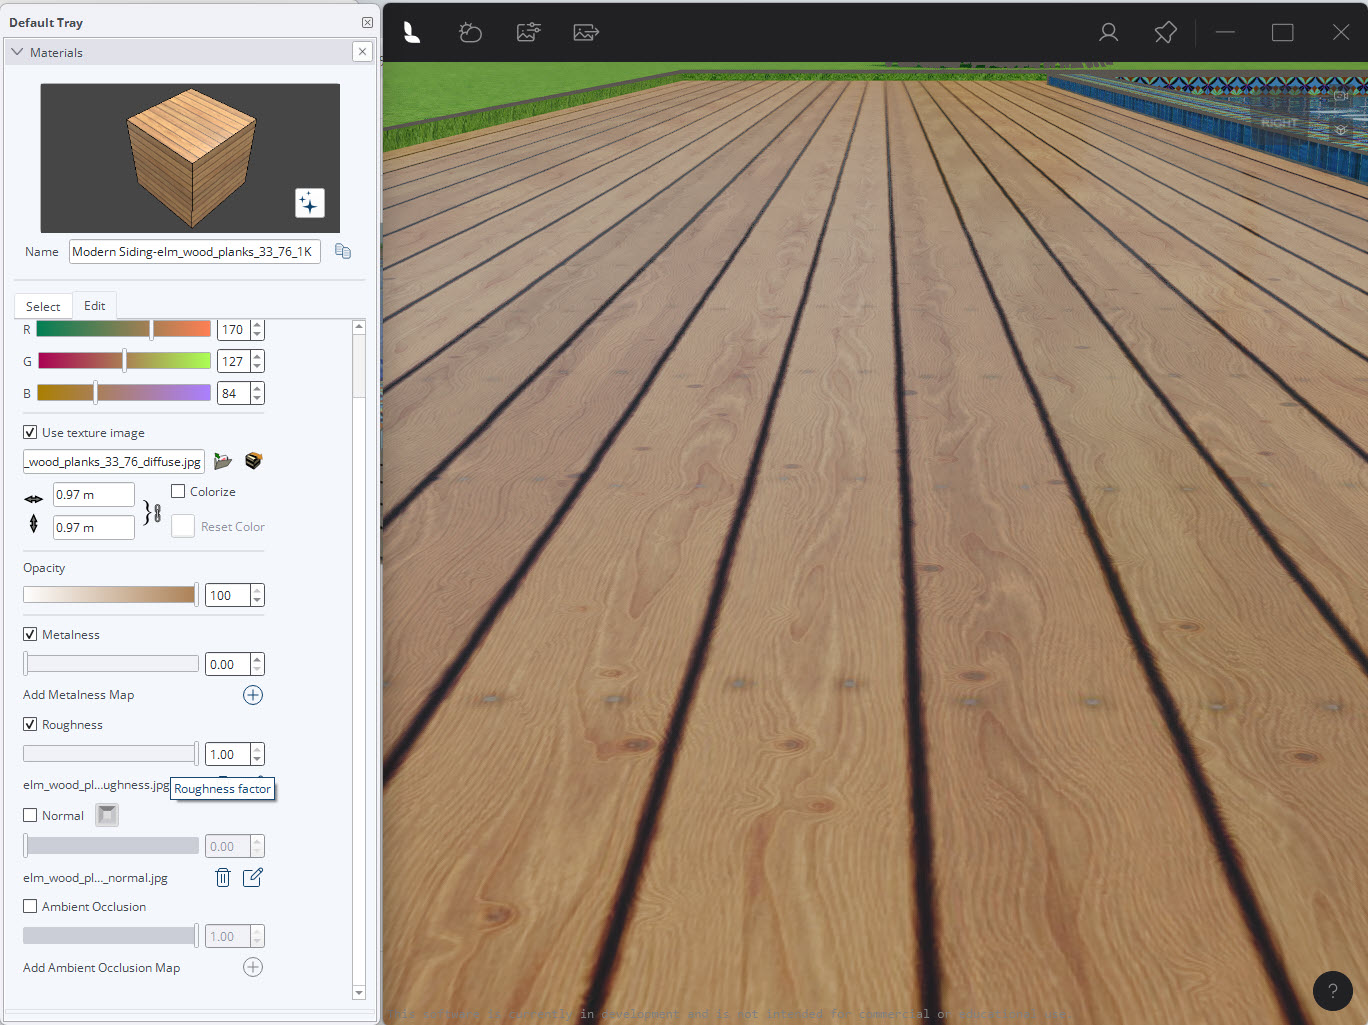
4.3: Diffuse
The current texture is to change to match the PBR resource Maps we have.
There was no difference as expected for this flatwood material between a 1K and 4K texture.
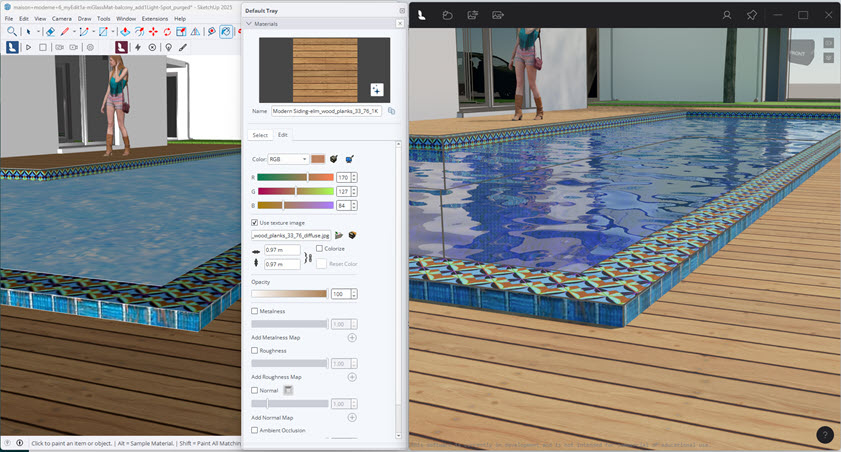
The plank direction was changed due to the direction in the texture, that's fine we can leave that as it is.
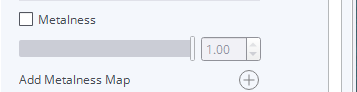
4.4: Metallic
As above, for the wood there does not need to be any metallic value or map added.
At the SketchUp default of 1, the surface has a higher flattened glossiness(reflectivity) than if set lower, say to 0:
Metalness will increase the specular capability to reflect.
If there is no Map then a flat single color (black map) will be used.

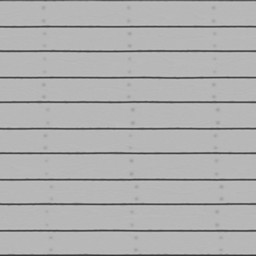
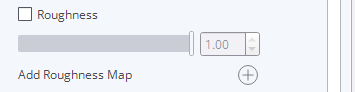
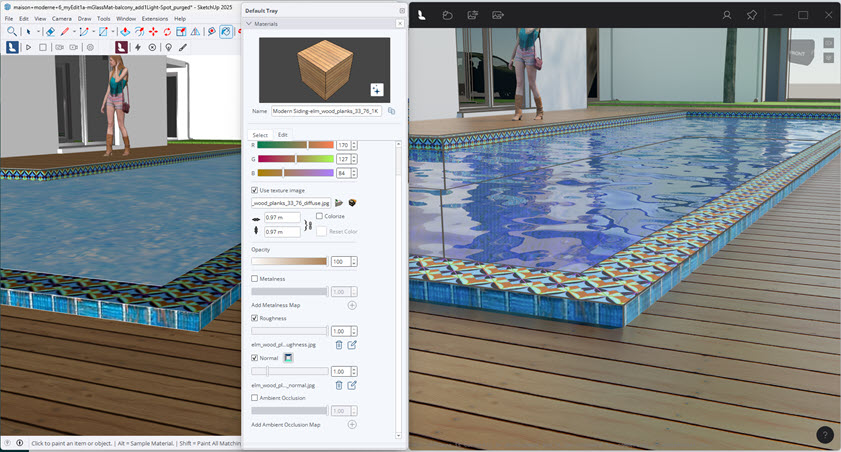
4.5: Roughness
Darkens the surface because it is no longer a smooth surface and no longer reflects as much light:

4.6: Normal (Relief)
Currently the surface still looks very flat.
Adding a Normal Map should help to improve depth. However, this wood has a smooth surface, so it is really only the gaps between the planks that will get some change:
At the maximum of 5 you can now see more height imperfections/raised areas:
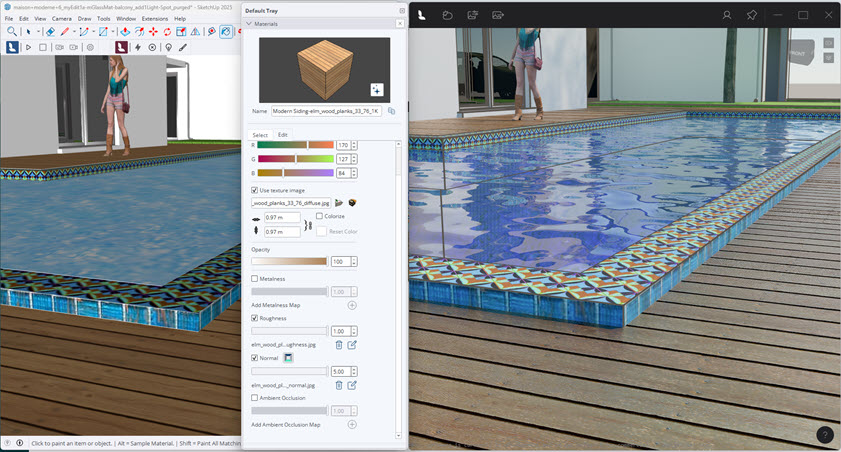
For a closer look: after adjusting and including Metalness at 1(only to highlight the otherwise flat wood grain), and Roughness at 1 and Normal at max 5.
4.7: Result
Before:
After:
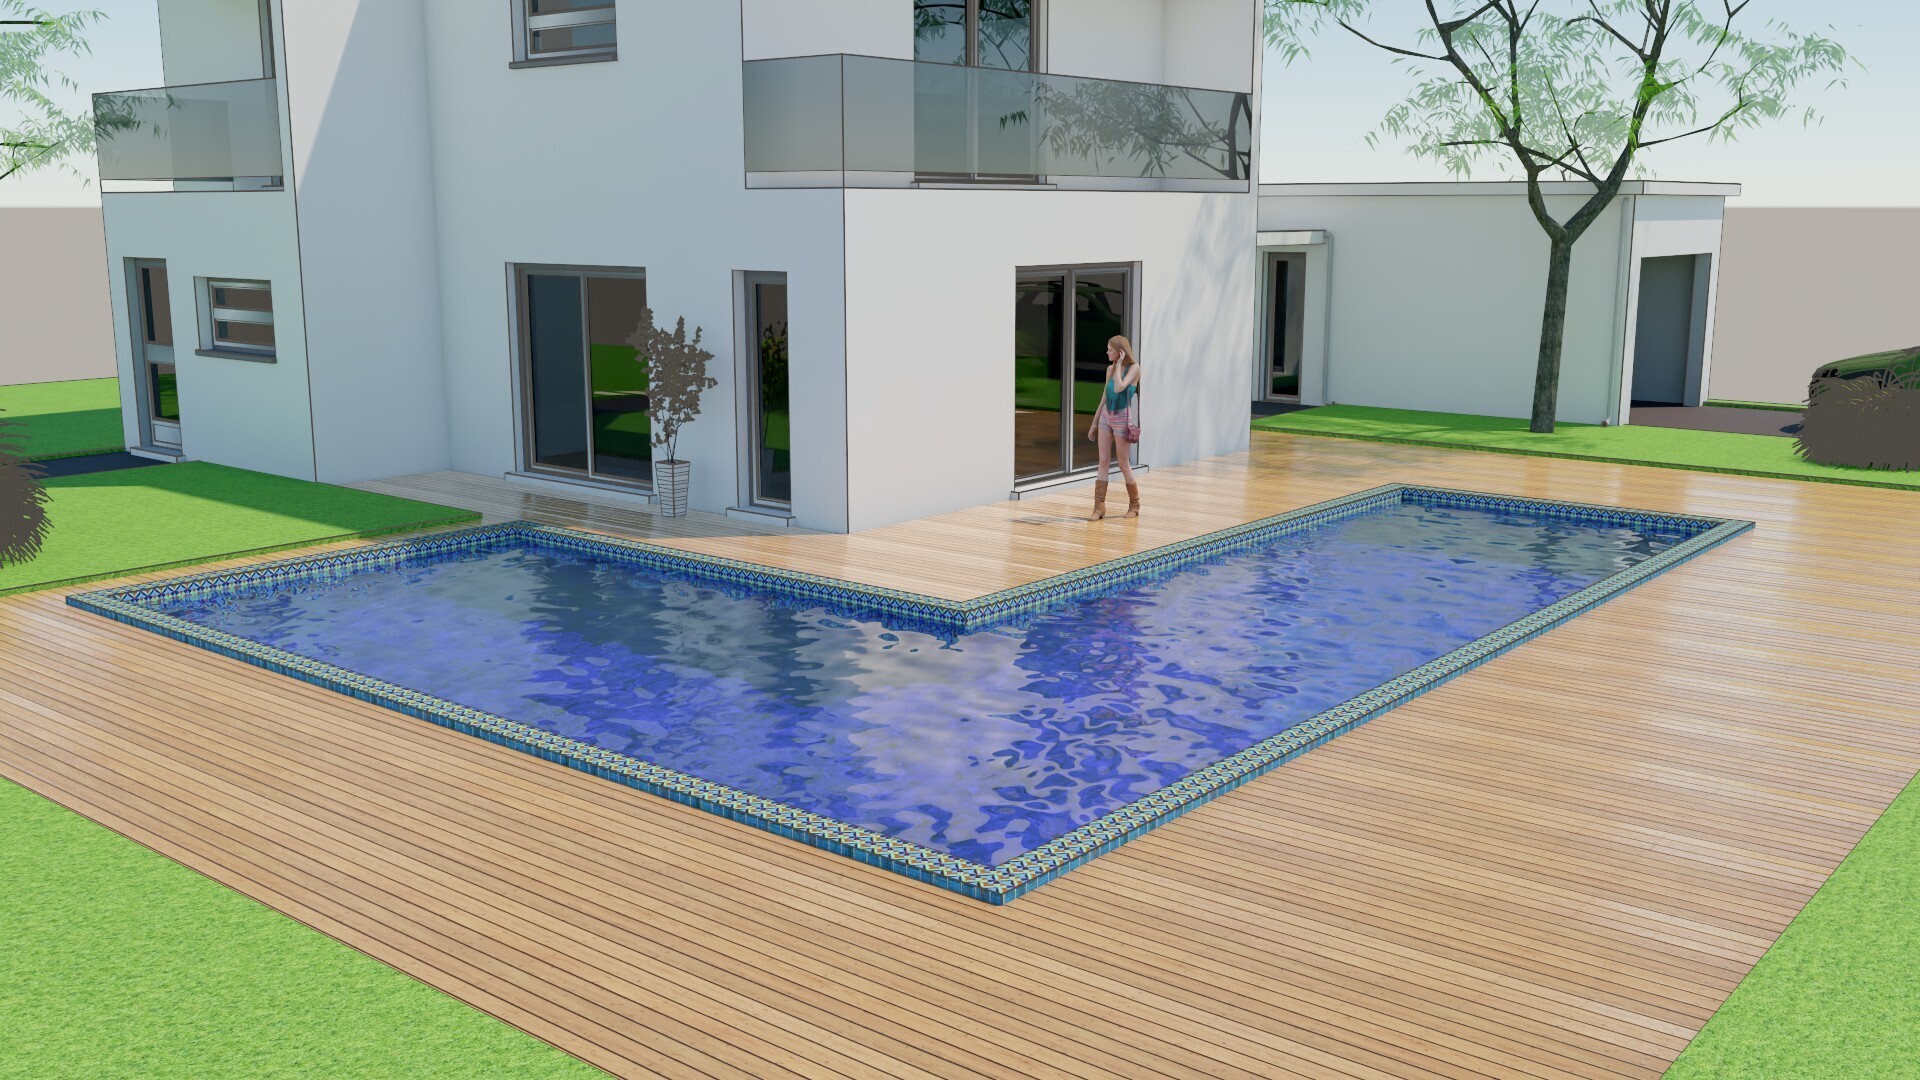
Notice the better reflection of the light, the glossiness, Of course the Texture Map is also different and give better variation but the lighter and darker areas are from PBR Material settings reacting to light
5. Lumion View Material Types:
5.1: Standard Material
Uses the material properties from SketchUp and adds the option of making the material Emissive - light emitting.
5.2: Glass Material
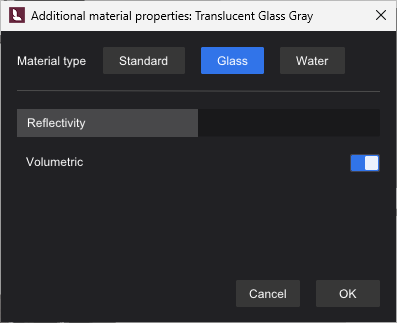
5.2.1: Reflectivity
From 0 percent to 100 percent and 100 percent to 200 percent.
- 0% reflectivity: no reflection at all.
- 100% reflectivity: it reflects about 4% of the light.
- 200% reflectivity: the glass is reflecting 100% of the light (mirror like).
5.2.2: Volume (On/Off switch)
Off: the surface/material acts as a plane with no depth.
On: Adds a 'real' thickness to a surface that is a plane. Default: 4.00mm.
Used to emulate the thickness of a surface as glass when it is set to Single-sided - the glass object has no depth/thickness. With a Volume, the glass will react more real world and absorb more light.
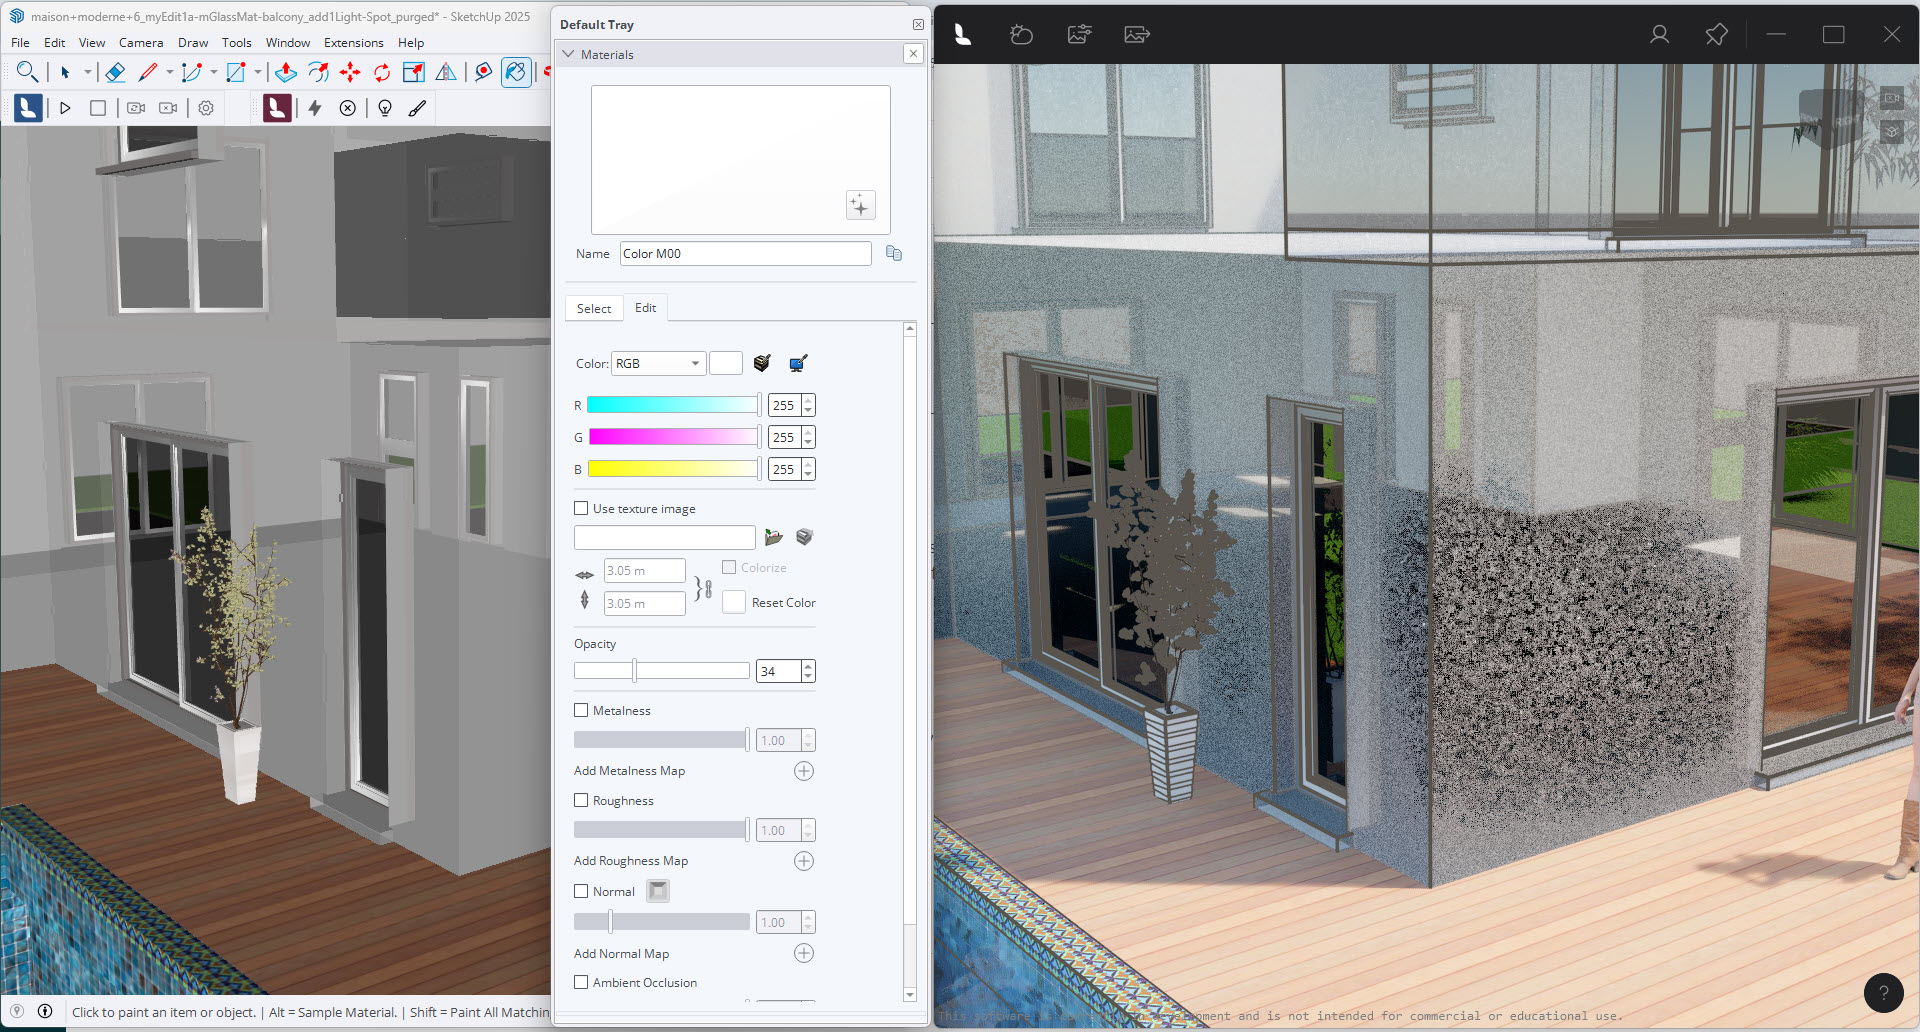
5.4: Water Material
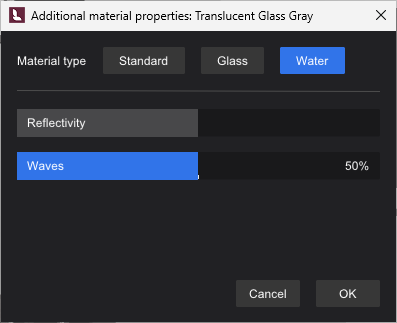
Important: Use only the SketchUp Color and Texture properties.
Additional Lumion View Properties:
5.4.1: Reflectivity
You can affect how strongly the water reflects the environment and other objects in the Scene.
The higher the Reflectivity value the stronger the reflections on the water surface until at maximum of 200% it acts as if a mirror surface.

5.4.2: Waves
To change the amount of light distortion as it hits the surface due to wind/atmosphere changes.
You can get from completely flat to bumpy/rough water.
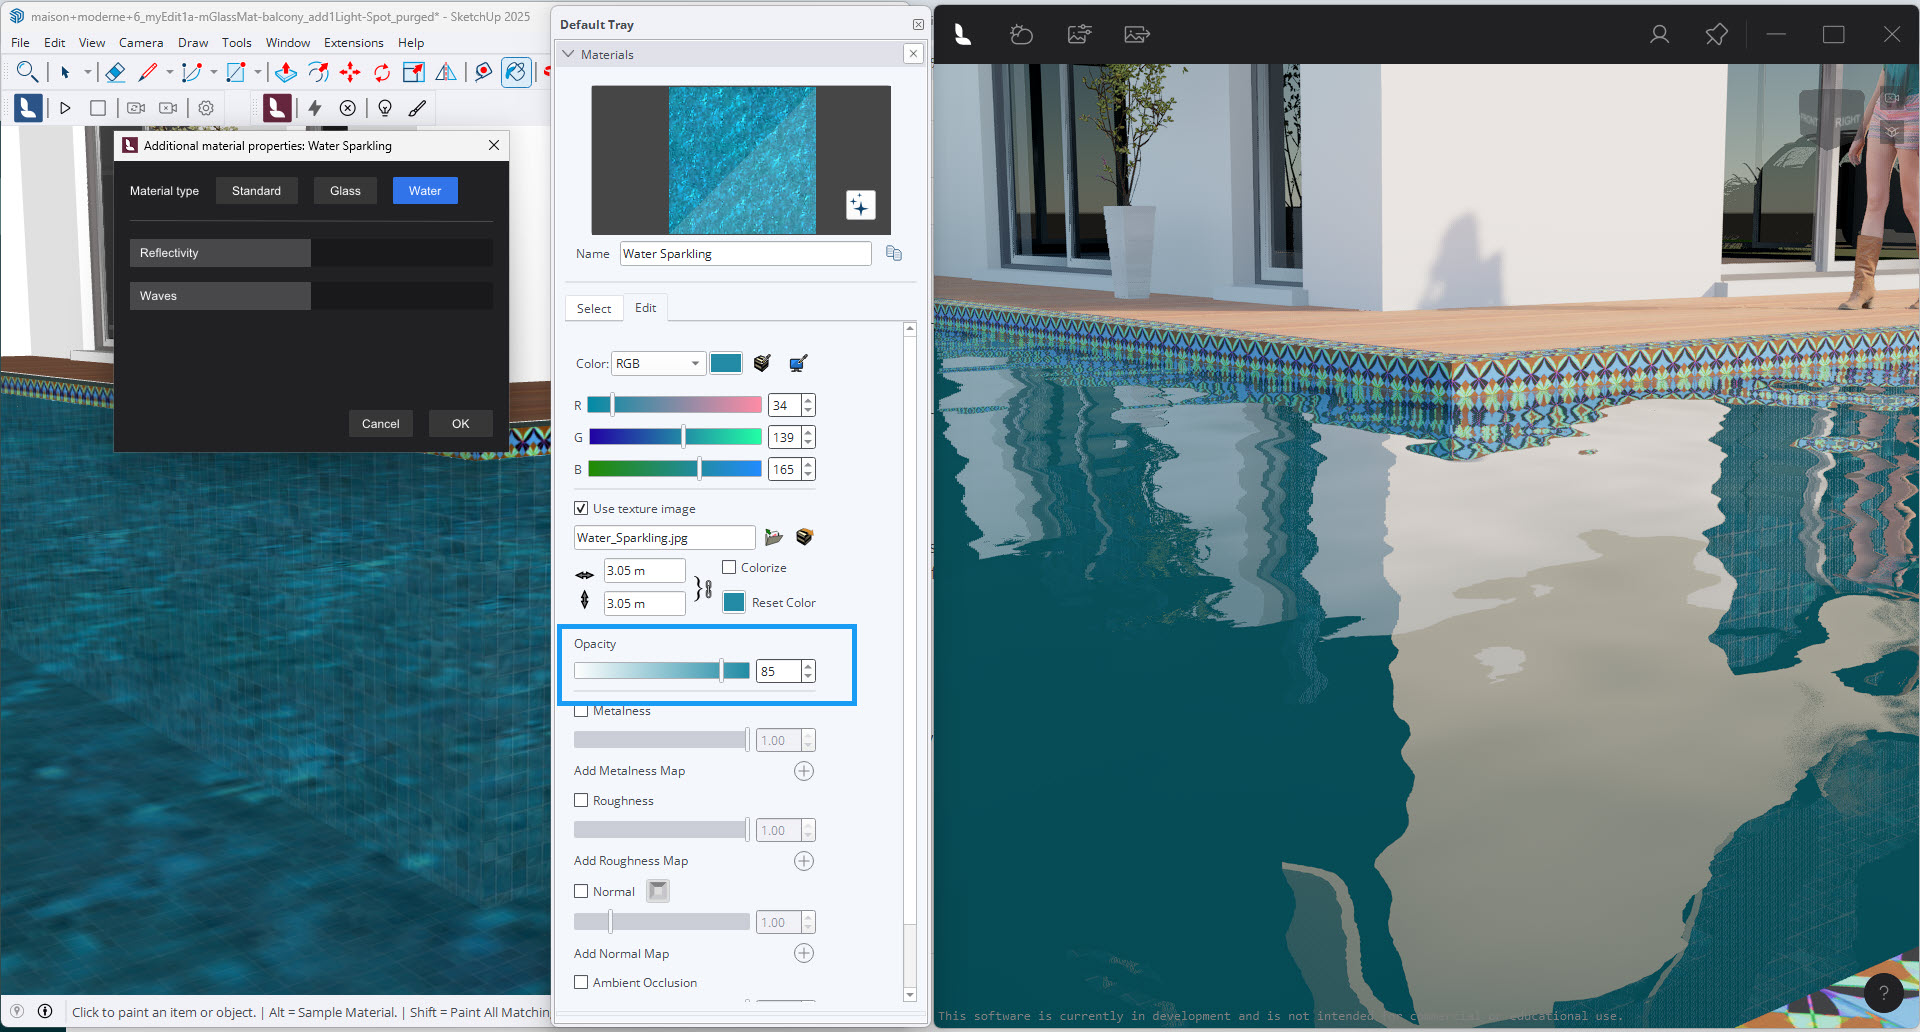
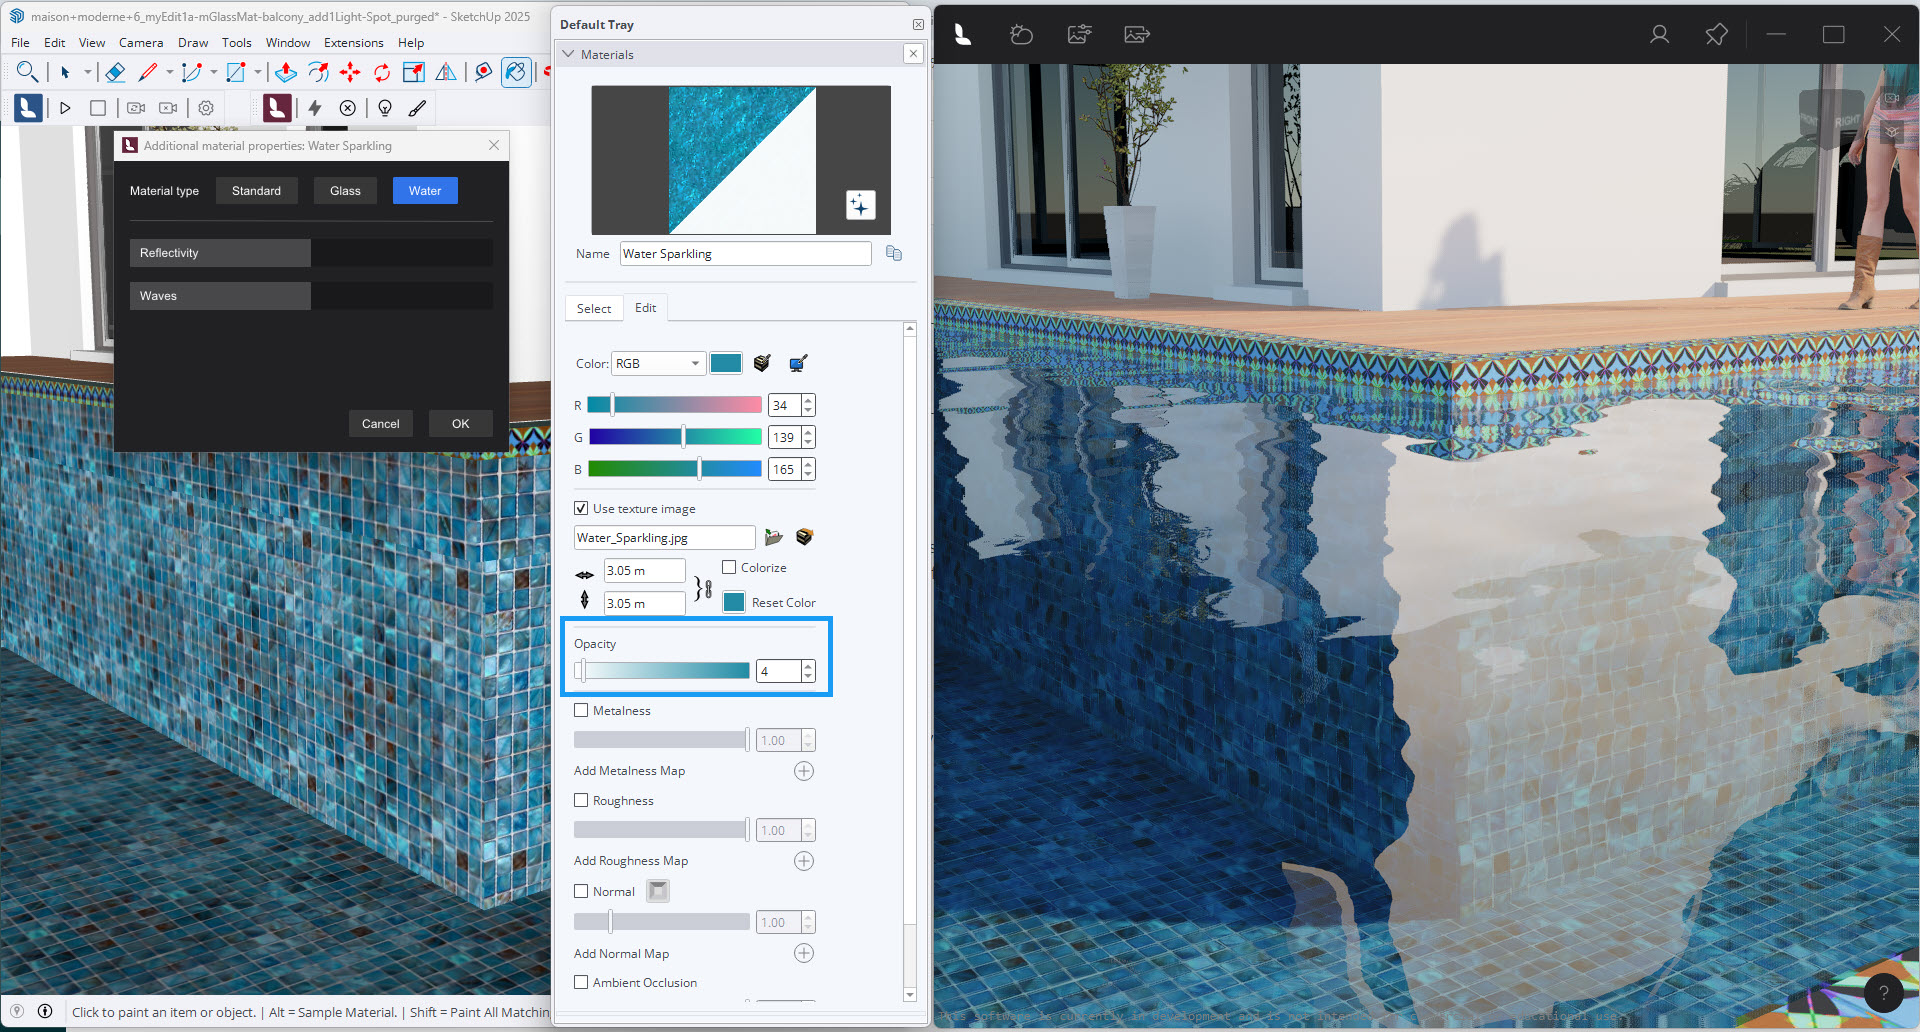
5.4.3: Levels of Opacity
You may notice that the value of Opacity in SketchUp seems to need reducing a lot to get more transparency in the water.
That's because the water has volume and includes Water Density and LightUp Coloring automatically to give it a real world look for water and pool environments,
For your conceptual renders (Realistic or Conceptual), reduce the Opacity from around 10 to 4 percent.
SketchUp Opacity at 85 percent:
SketchUp Opacity at 4 percent:
6. Other Material Properties:
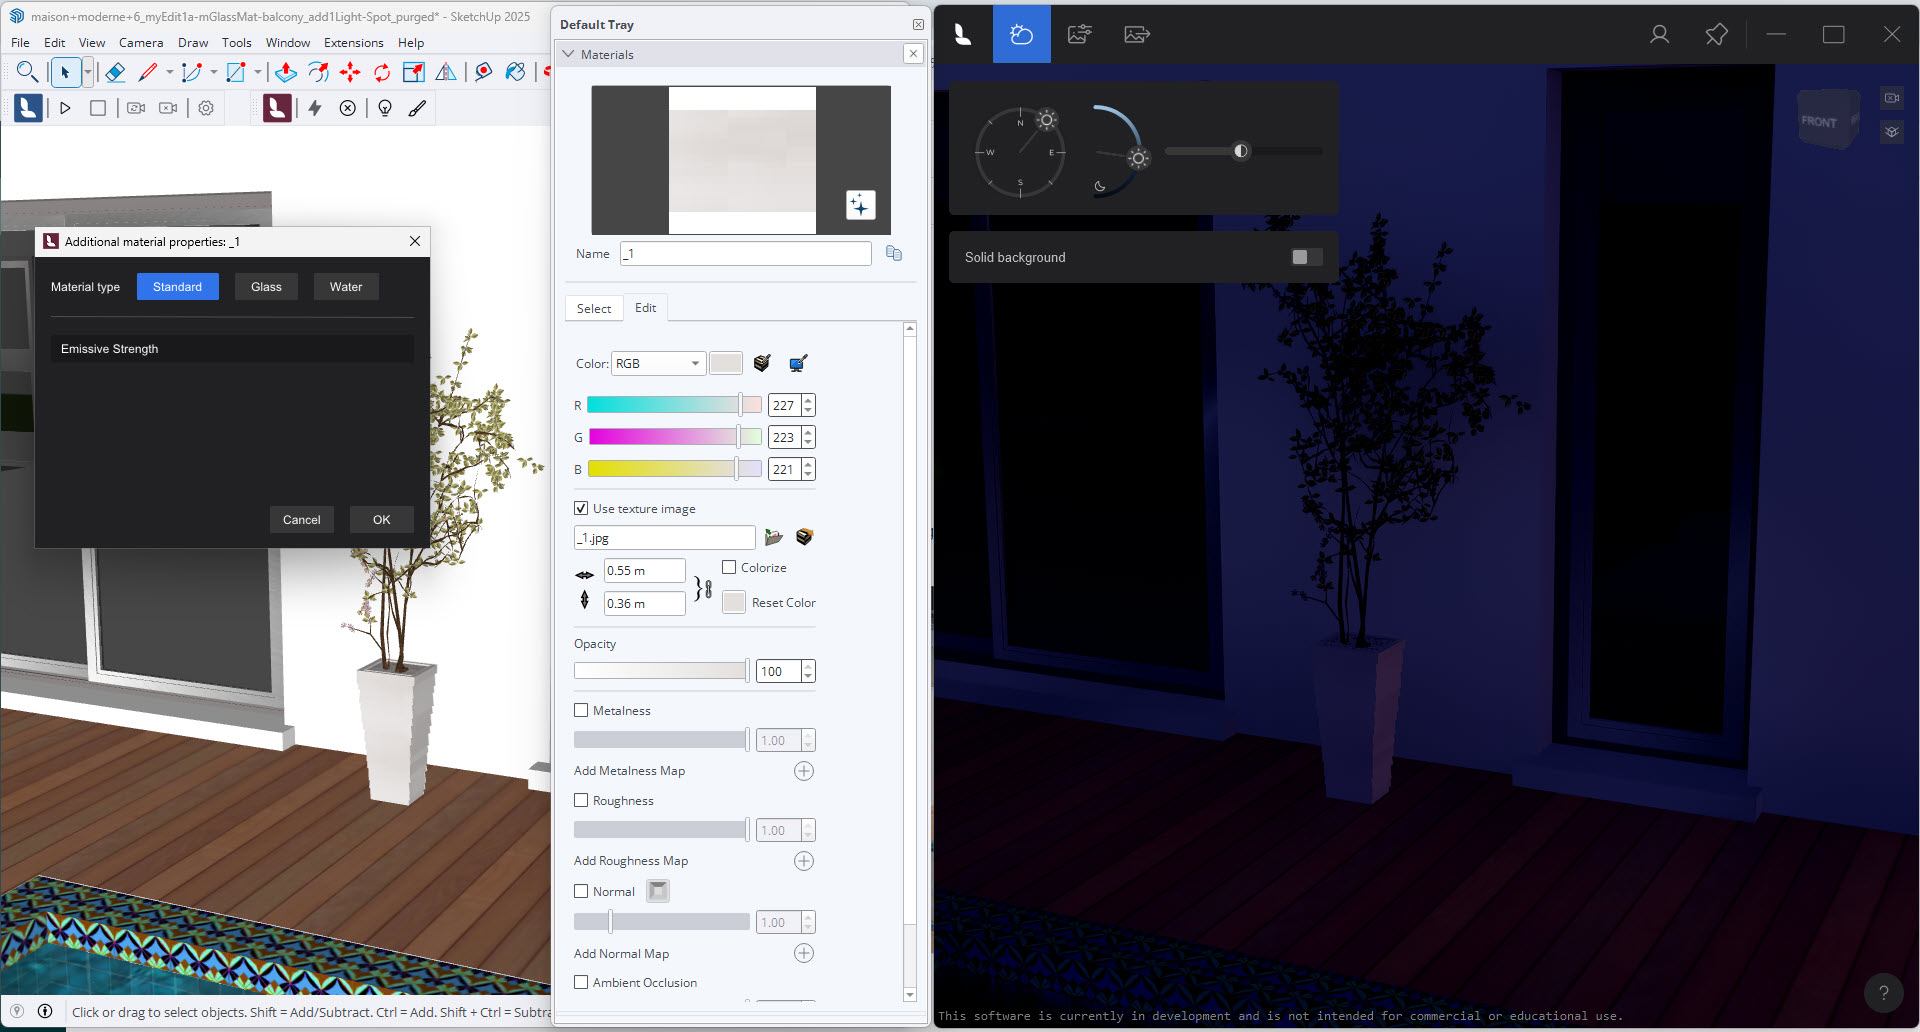
6.1: Using the Emissive Strength Property
Emissive Strength is an additional property so the surface is capable of emitting light and shadow.
Value is in Nits (3.421 Lumens).
Here's an example, but usually you would use it for something like a model component of a lamp such as for some Linear Lights. And, as an option to using a Lumion View Line Light, you could set the material Property to have some Emissiveness and so the lamp itself emits the light.
7. How Materials in SketchUp work with Lumion and LiveSync for SketchUp:
7.1: Lumion supports the following PBR Materials
Lumion uses the Metalness/Roughness material workflow.
The texture maps and properties it supports that match those of the SketchUp PBR material properties are:
- Color.
- Texture (Color/Diffuse/Albedo Map).
- Relief(Normal Map).
- Roughness.
- Metalness.
- Opacity.
Additional properties and maps are supported for:
- Reflectiveness.
- Emissiveness.
- Displacement.
- Subsurface Scattering.
- Clearcoat.
8. FAQ:
1. How does the Color and Texture get blended?
2. Why the strange animated pixels, flickering surface when you reduce the Opacity?
Why does changing Opacity to les than 100 percent and above about 5 percent result in a strange look in Lumion View?
It renders fine:


The real time dithering or pixelated look is a result of the Denoiser for Ray Tracing. Lumion View already uses latest technology but we do expect further improvements as the technology advances.
A: Support Notes:
* Ambient Occlusion:
a shadowing technique used to make 3D objects look more realistic by simulating the soft shadows that should naturally occur when indirect or ambient lighting is cast out onto your scene
https://www.sciencedirect.com/topics/computer-science/ambient-occlusion
See Also:
- Knowledge Base: From Lumion View to Lumion Pro [Lights and Materials import from SketchUp to Lumion Pro]
- Knowledge Base: Using the Lumion View toolbar
- Knowledge Base: What do the properties of the Standard Material mean in Lumion 2023 and newer?
- Knowledge Base: The New Glass Material for Lumion 2024 and the Glass setting for Ray Tracing