[DO] Collaborative workflow features in Lumion
1. Question:
1.1: A user and his colleagues would like to work on different parts of a scene and then combine their work. An example is where the Project includes both design-build and landscape. A different team works on landscape design.
2. Standard Reply:
2.1: Answer:
Hello
Thank you for getting in touch and your interest in Lumion.
It is perfectly possible to collaborate on Lumion Projects, although it requires some preparation.
In short, you need to divide your "Master model" into manageable pieces, place them in the same location in Lumion, work on your Projects, and then Merge the models in Lumion again for the best results.
This can be an example of a workflow with the potential to yield positive results:
Stage 1. Divide the 3D model workload into logical parts.
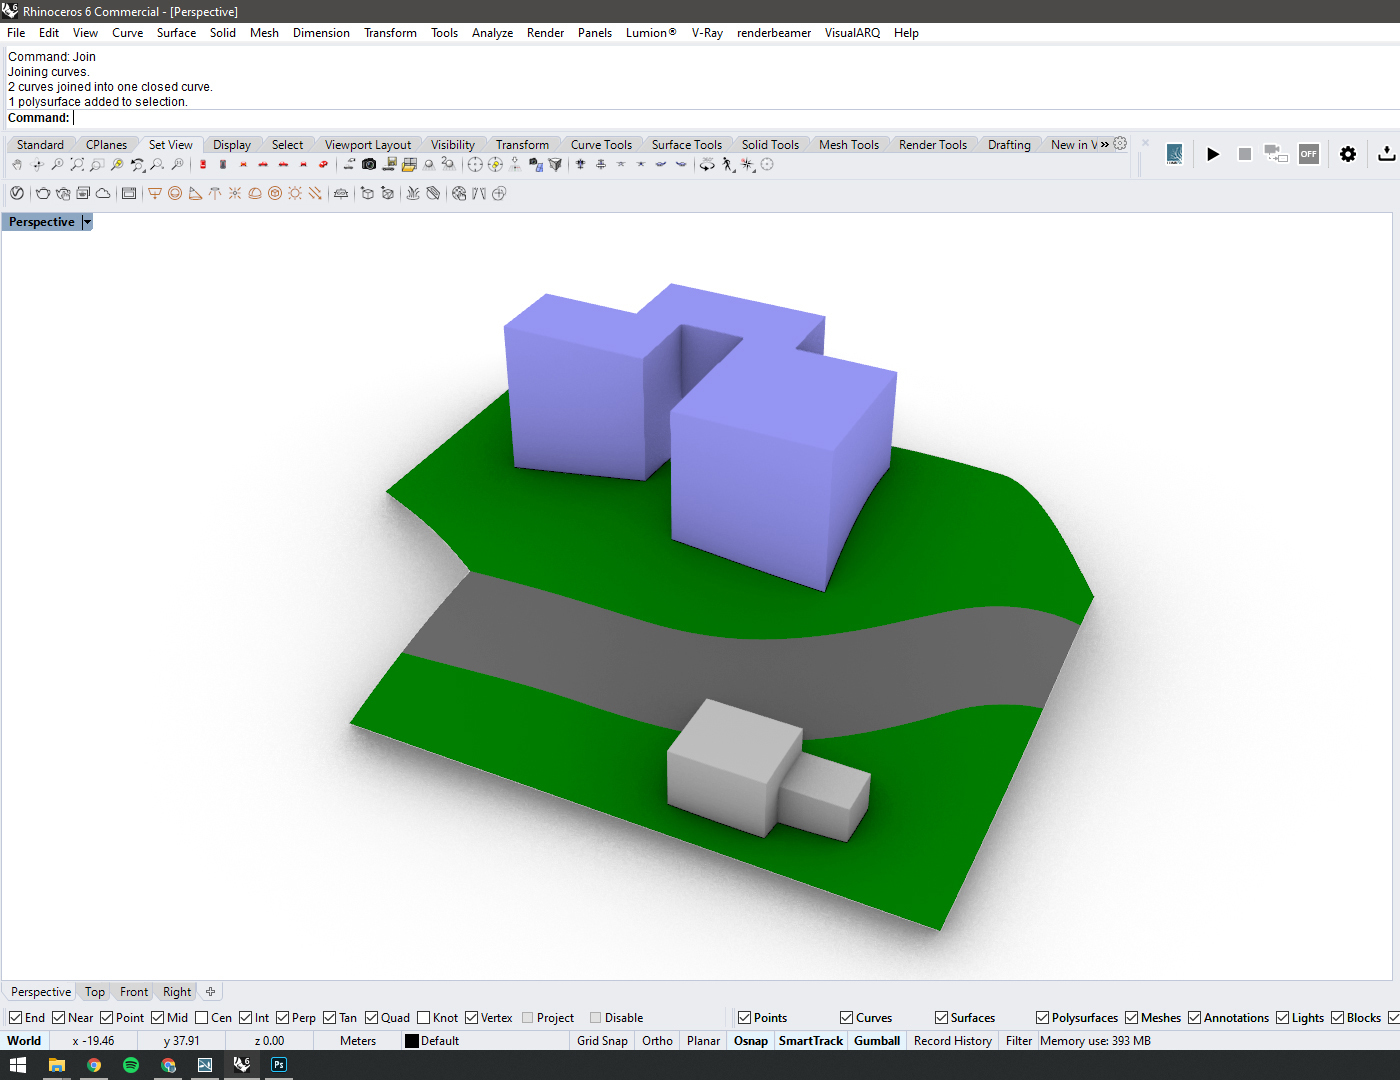
E.g. The "Master Model" consists of Landscape & Entourage, a Single-family Villa, and an Apartment Block - in this example, 3 people can work at the same time.
You can export each logical part of the model in 3 files and your colleagues can start working on them.
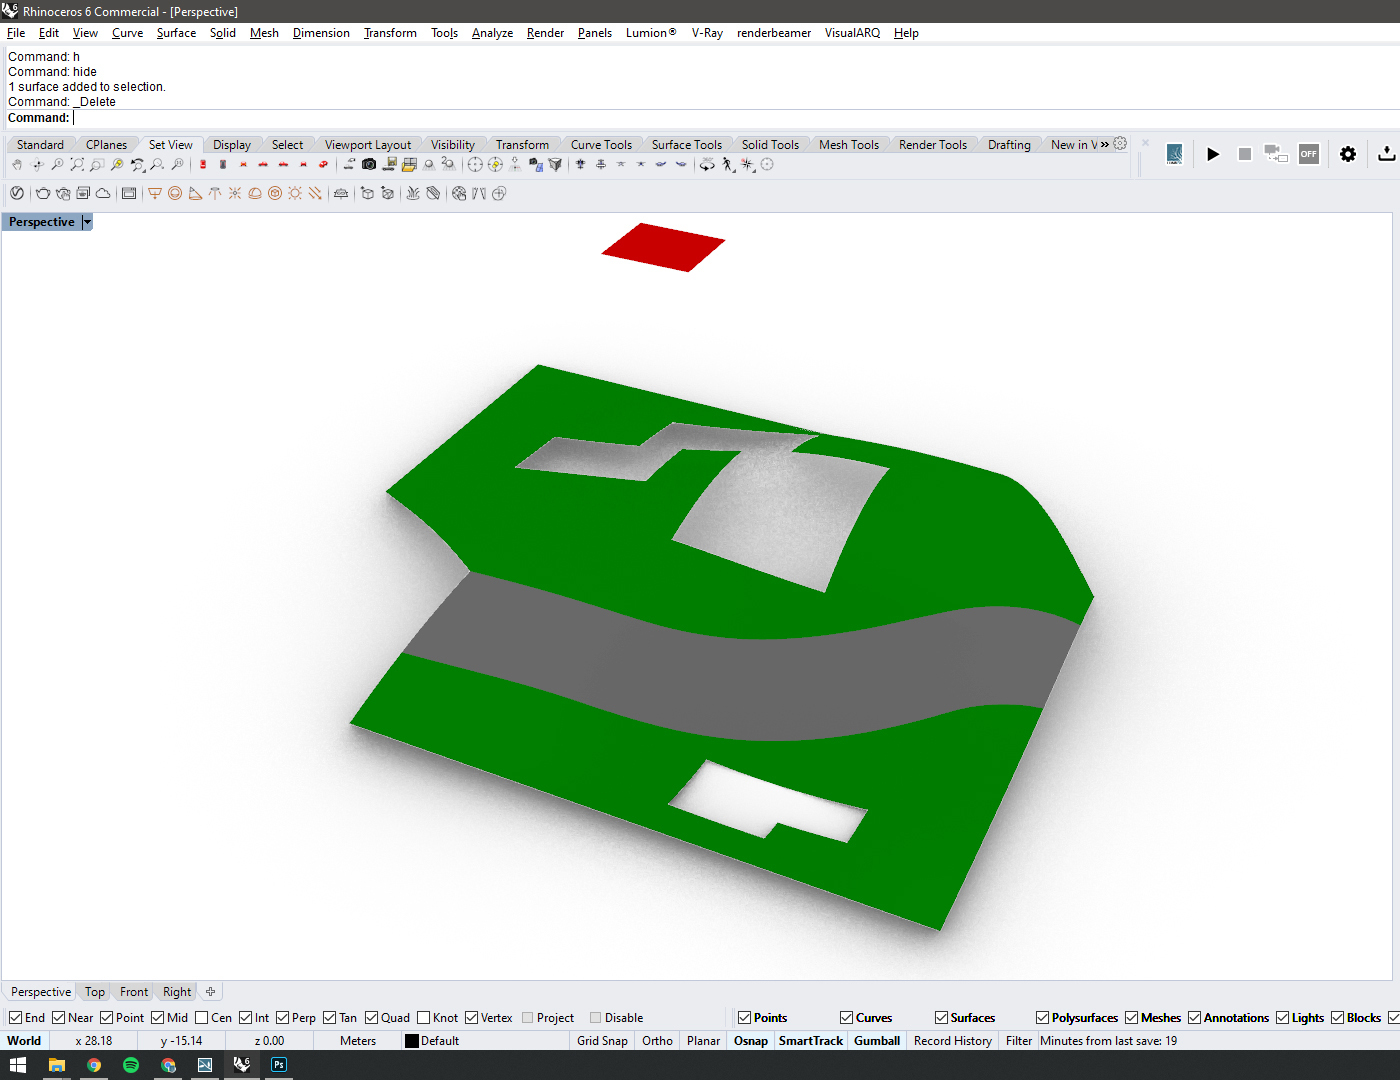
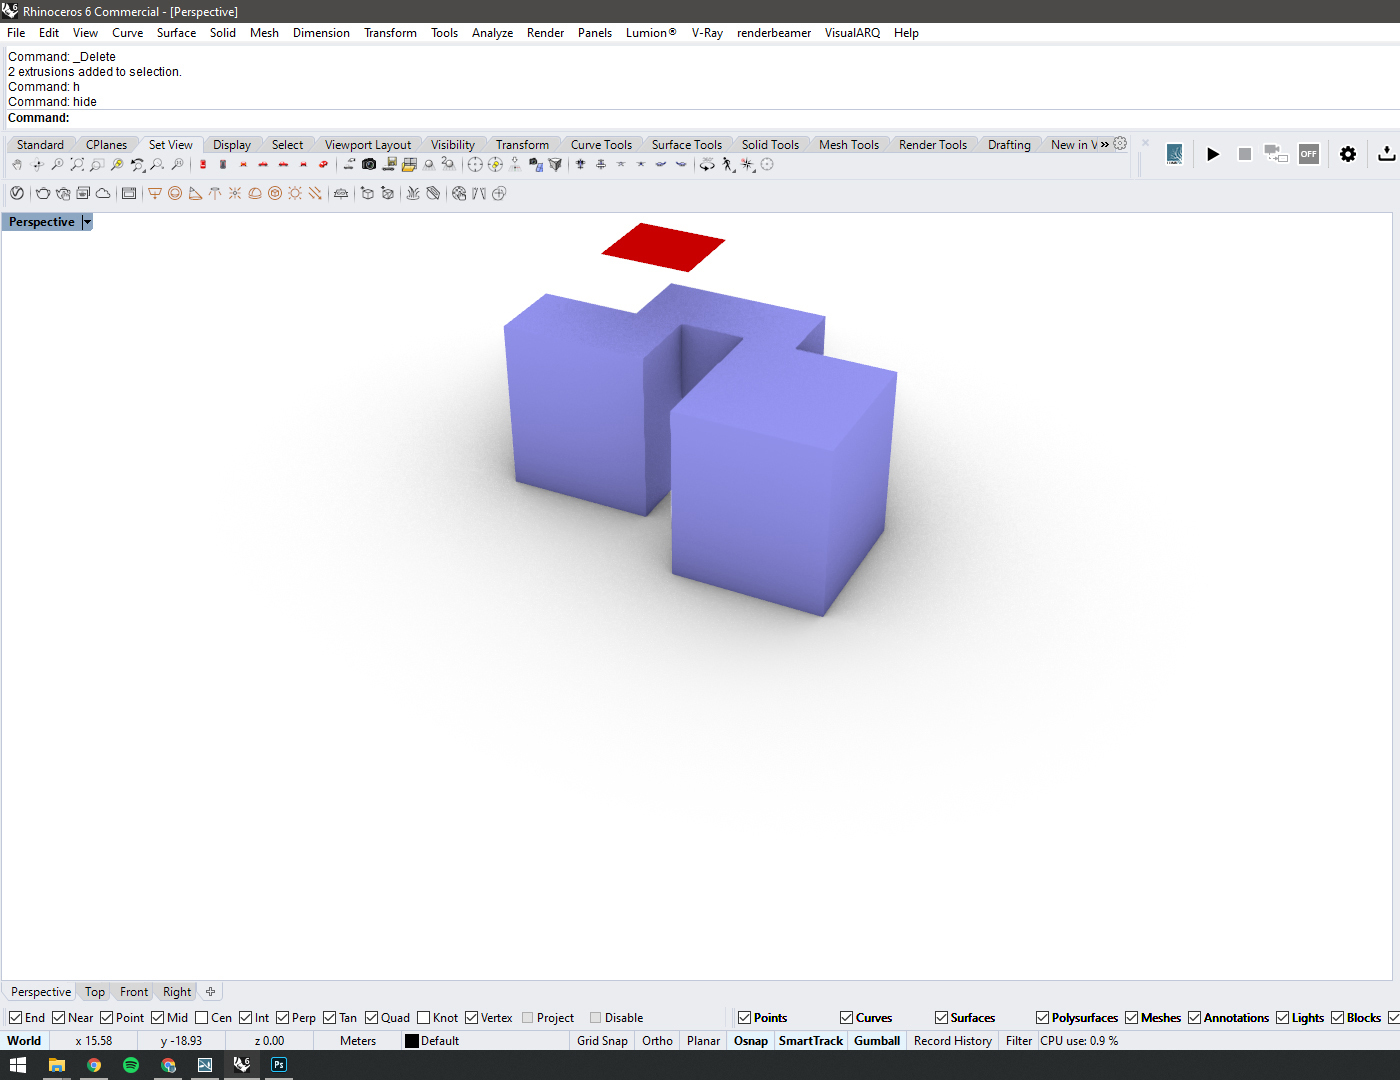
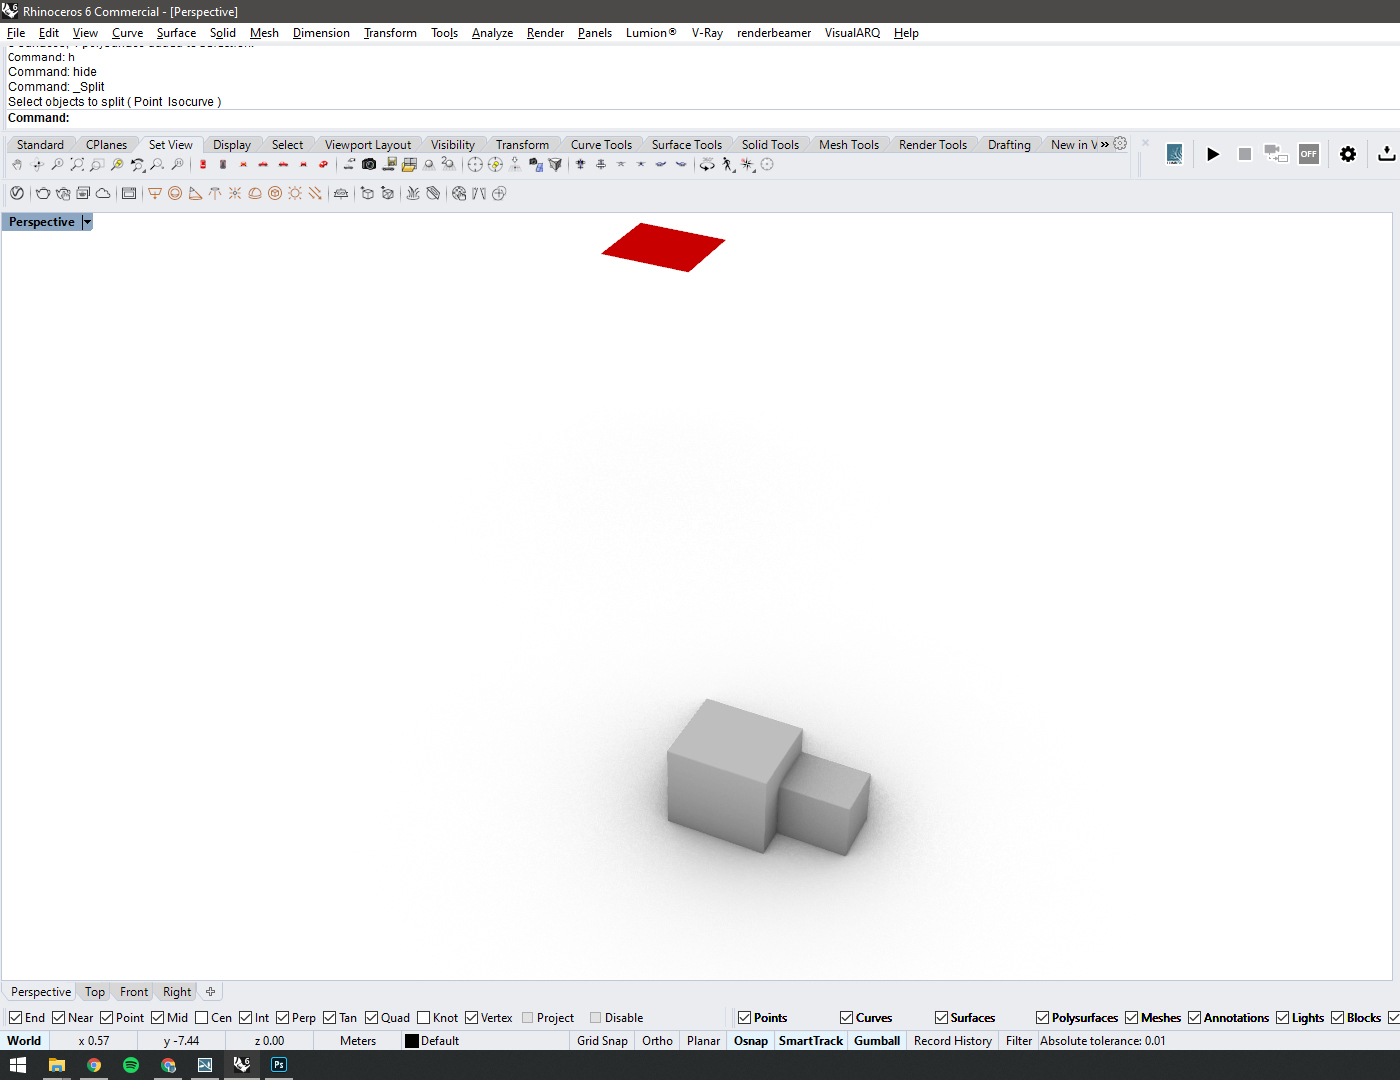
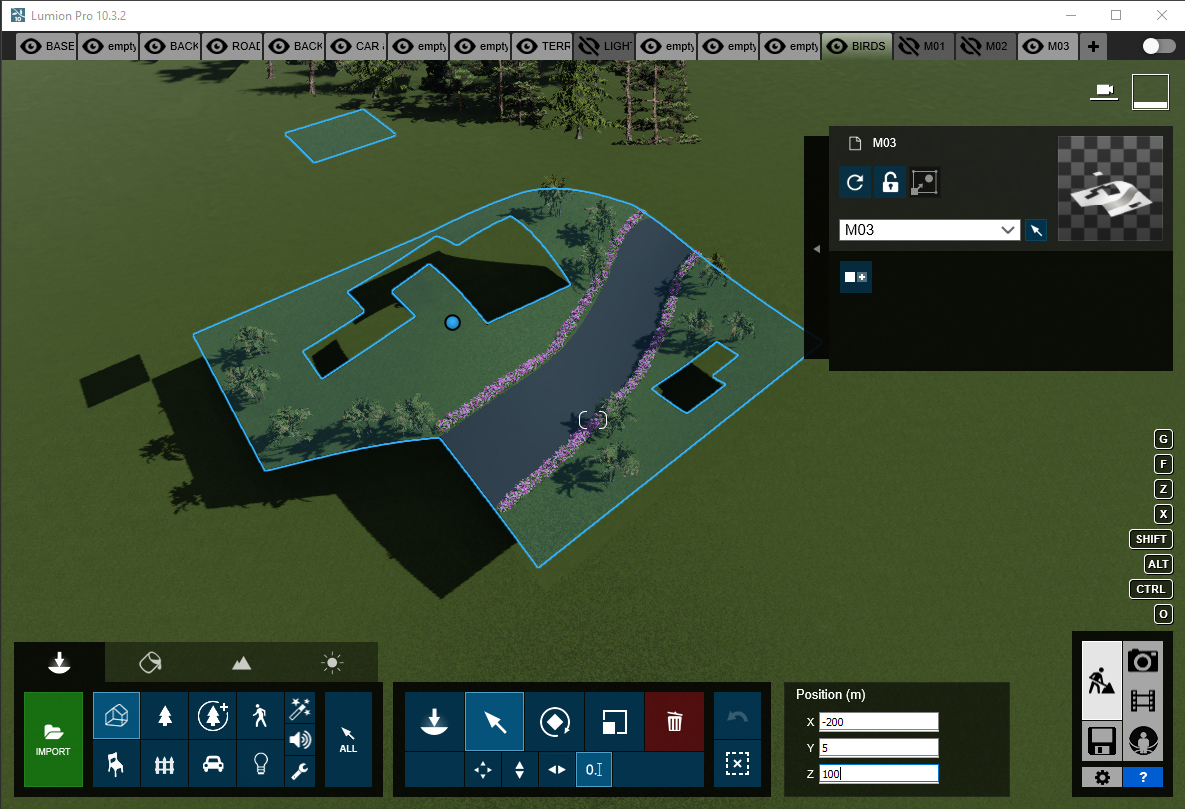
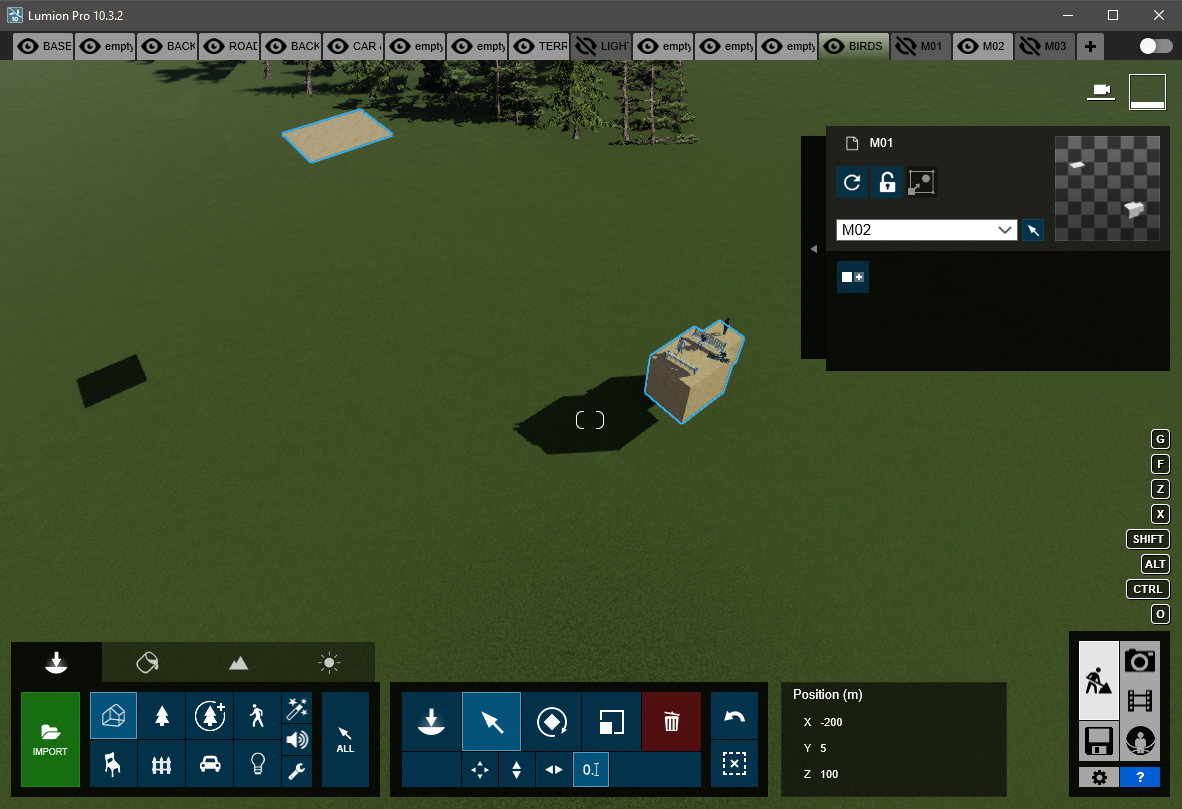
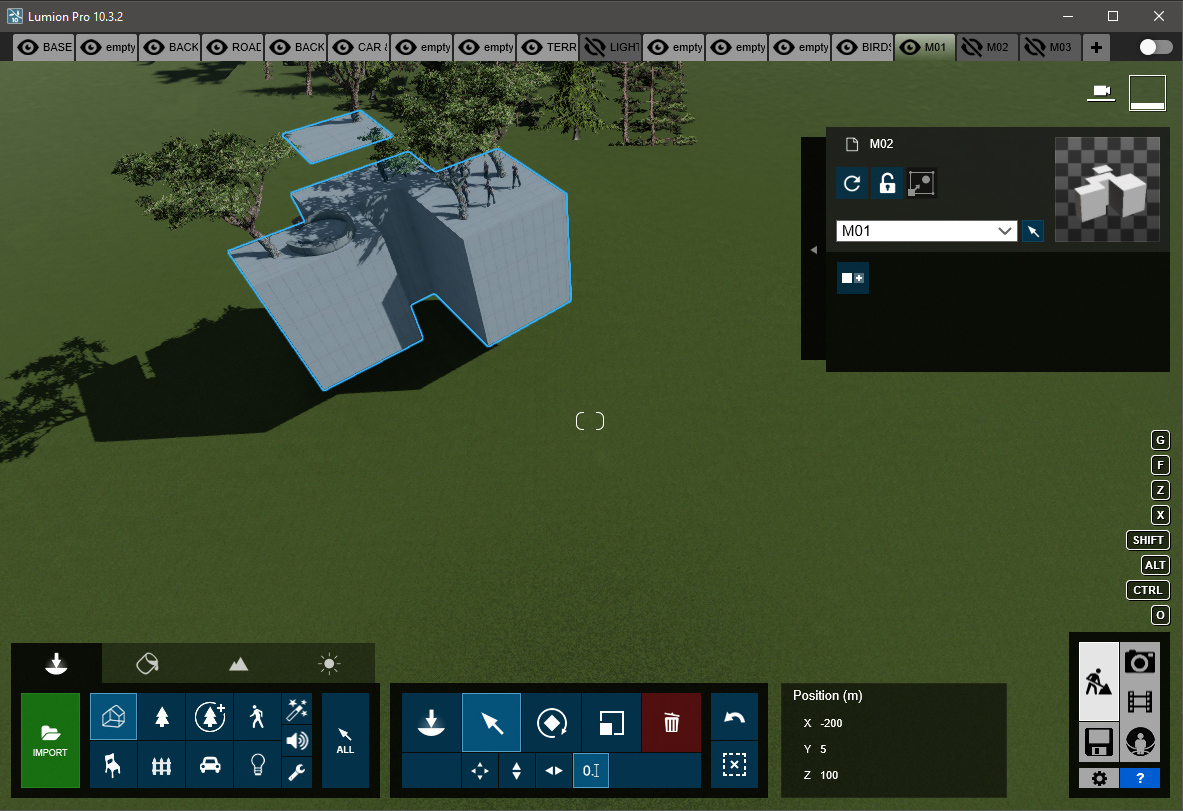
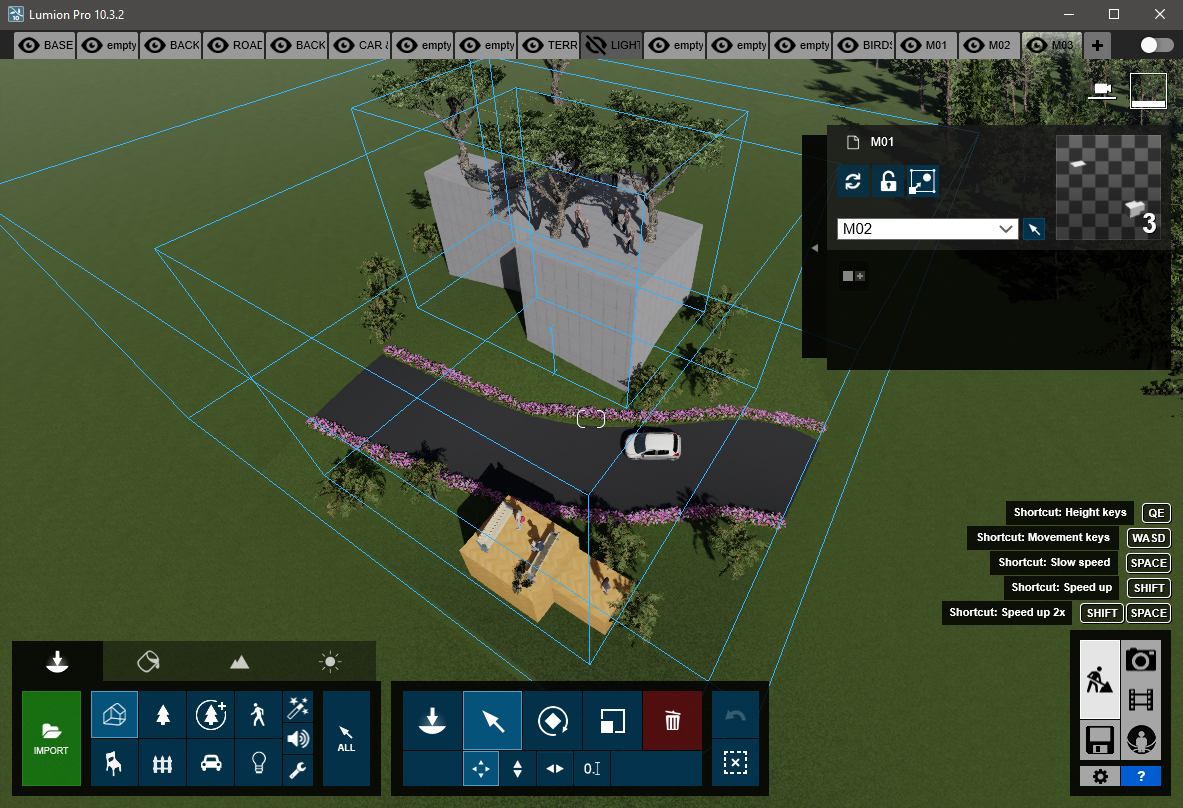
Please note that all exported models should share the same location relative to the World Origin as they are placed 'Master Model' and should also be positioned in the same spot in Lumion. Now they should align perfectly. As a safety net, you can create a 'marker' (the small red square in the screenshots) for each exported model and double-check if the models are perfectly aligned in the final step.
Stage 2. Each colleague should place their model at the 'same coordinates' and work on their respective scenes
Note that all the model coordinates in the screenshots below are the same (X: -200, Y: 10, Z: 100). Of course, you can set your preferred position for your project.
This article explains how to place models at the same coordinates:
- Knowledge Base: How do you type in position coordinates for an object?
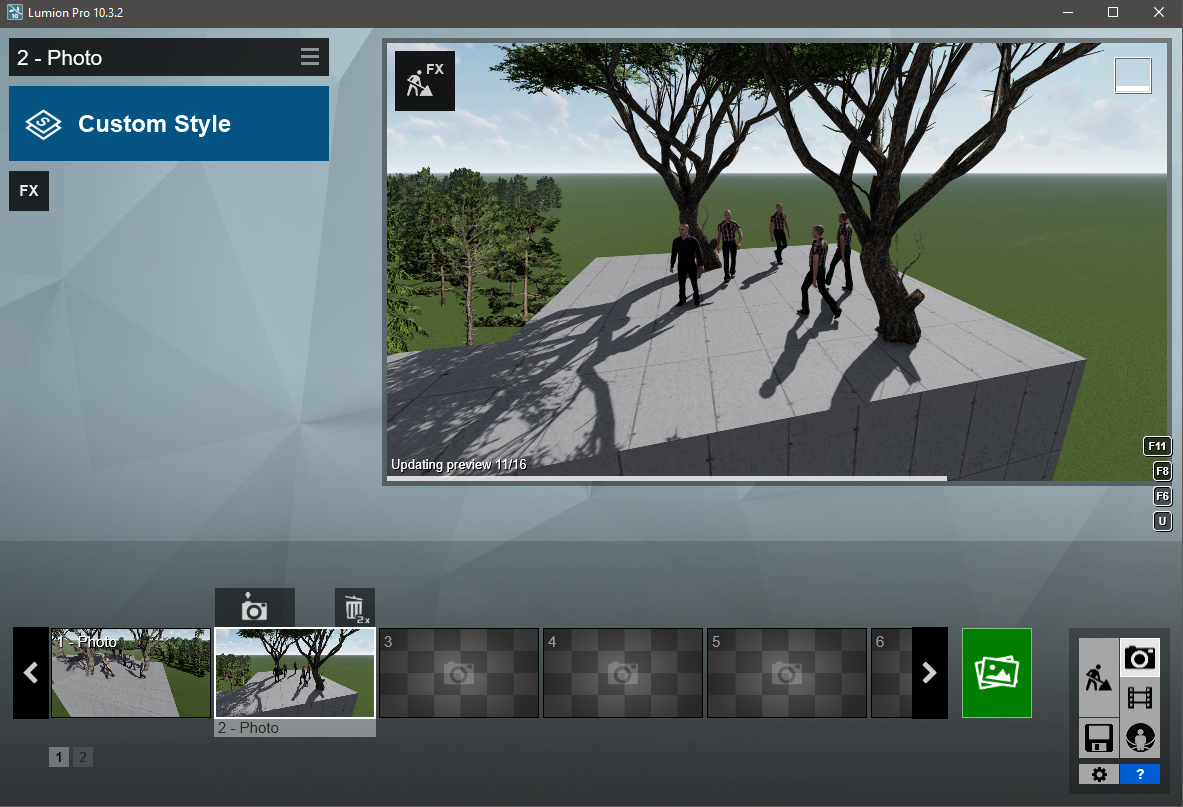
Stage 3. This is the part where you can start populating your scene with people, plants, furniture, and all other elements which help you create an atmospheric image.
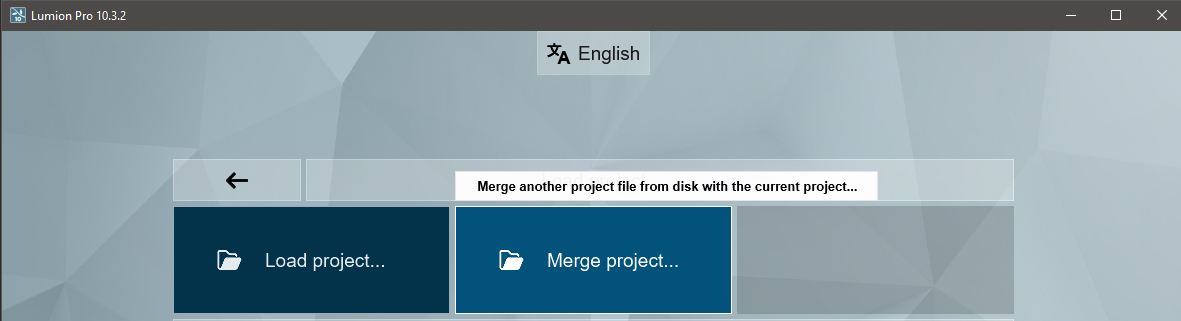
Stage 4: You can now Merge your Projects into one file.
In Lumion: go to Files -> Load... -> Merge Project.
Select all the elements you want to add except the cameras. Please make sure all the Imported Models have been saved under different names (in Stage 1) to avoid having them overwritten.
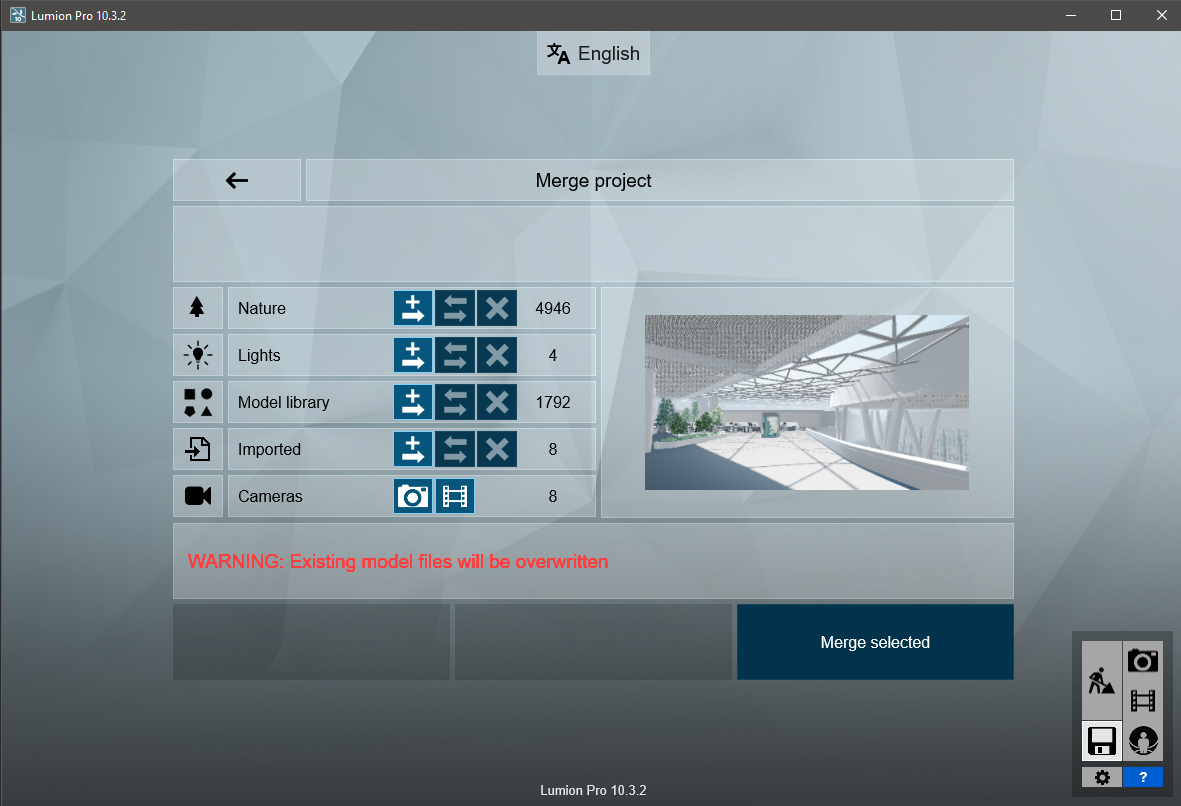
Also note the 3 different buttons you have for Merging Scenes (Add, Replace and Skip). In any changes are made in the small models before merging them into a 'Master Project', these can come in handy if you wish to re-import certain elements.
Stage 5: In the 'Master Project' you can now Store Camera views for different positions.
Stage 6: Prepare the final touches and start rendering your images.
It probably goes without saying, but you should use the best PC you have available.
Important Notes:
1. Please avoid using Effects such as Advanced Move, Reflection, or Layer Visibility before the Projects are Merged. These effects should only be added in the Merged Project, to avoid any potential discrepancies. Object references are not able to be retained during the Merge process.
2. Objects such as Reflection Control, Clipping Plane, or Landscape Cutter have a limited number of instances per Project. Maximum of 1 for Reflection Control and Clipping Plane and a maximum of 2 Landscape Cutters. Use them only after all the Projects have been combined.
3. Before Merging the Projects, save a copy of your Project - this will become the 'Master Project'.
For this example, at the end of the process, you should have 4 files: 01_Landscape.LS, 02_Villa.LS, 03_Apt Block.LS and 04_Merged Project.LS (the last file mentioned contains all the other 3 files).
4. It's best not to store cameras in the sub-Projects before Merging them into the 'Master Project' due to how Photos and Clips are Merged. However sometimes you will want to test camera views and create pre-completion renders to see how things are going to look, so we understand that you may do so.
This is not necessarily an exhaustive or specific collaborative process to your requirements and some things may vary. We can tailor a workflow closer to your specific requirements if needed. Please let us know if anything is unclear or if you have any further questions.
3. Cause/Background information:
3.1: Reference: Staff Dojo Training
********************************************************************************
Editor Notes:
Reviewer Comments:
We've had some of these questions at the old forum, and 1 or 2 in tickets:- we need to collate and provide the various solutions that fit those common work practices, which can then be externals KB's.
********************************************************************************
==========================================
ARTICLE SUPPORT (from transfer to HubSpot):
1. Tables:
Tables were not able to be imported via HubSpot Importer. Any Tables in this article are now based on a DIV Conversion. Same is also the case for the transfer of articles with tables in the EKB.
You can add new (basic) Tables in the HubSpot Editor directly.
If the layout does not work, then you can copy/paste or recreate the old Table from ZD. Where possible the Table has also been copy/pasted from the source page (see link below in 3.). Instructions, see this article: Copying an old Zendesk Table over to HubSpot
2. Finding the reference to the old Zendesk Ticket in HubSpot:
Use this Support article: Finding the reference to the old Zendesk Ticket in HubSpot
and for ZD ticket Search in HubSpot following step 1 in above article:
3. Source Zendesk article:
A source and backup copy was made of all articles 9 June 2025.
The saved HTML files and images are in subfolders of: HTML files and images subfolders.
See also Support article in 2 above.
Backup/copy article: [DO]%20Collaborative%20wor...%20(360015350879).html
4: Quick Link to Zendesk IKB article:
(not available when Zendesk closed)
[DO] Collaborative workflow features in Lumion