[TR] How to make changes to the Lumion Support & Learning site
Quick Links:
- 1. How do you log in?
- 2. How do you change the CSS and the look of the site?
- 3. How do you change the HTML, HBS and Javascript for the site?
- 4. How do you upload custom files or images to the site?
1. How to log in as an administrator
1.1: Ask Miguel to send you login credentials that will let you edit the site as an administrator.
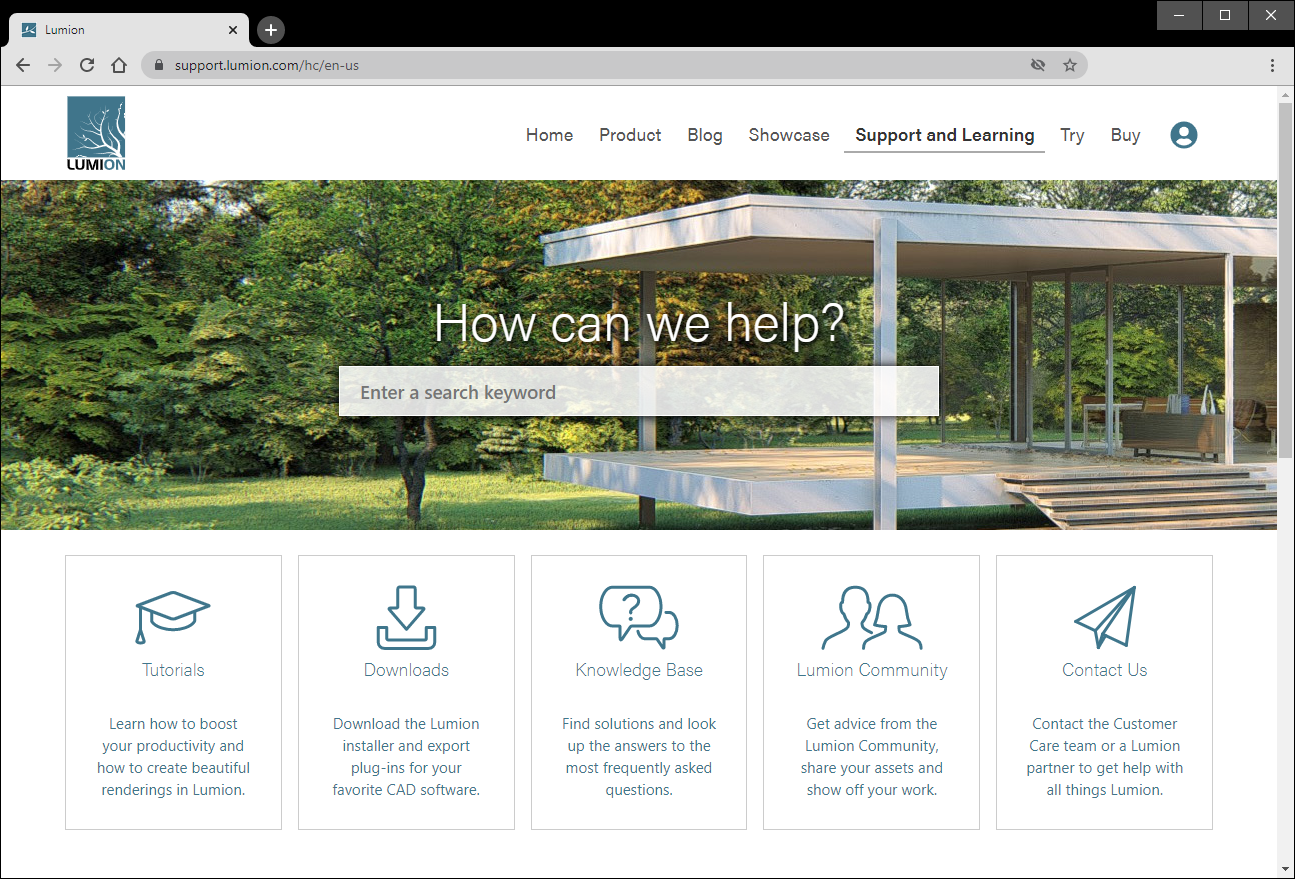
1.2: Go to the following URL to log in:
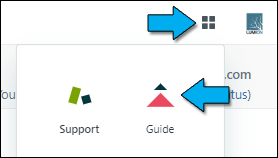
1.3: Click on ‘Zendesk Products’ followed by ‘Guide’ in the top-right corner:
1.4: Click on ‘Guide admin’ in the top-right corner of the next page:

2. How to change the CSS and the look of the site
Important: It’s not possible to set up a staging (test) version of this site so any changes you make will immediately be reflected on the live site while logged in as an administrator. Non-administrator users will see the changes up to 15 minutes later depending on how quickly the Zendesk CDN (Content Delivery Network) servers are updated across the globe.
You can change the look of the site in two ways:
- Via the properties of the Customize design page.
- Via CSS code in the Style.css file.
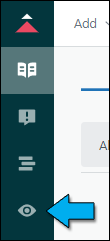
2.1: After logging in as an administrator as per section 1 above, please click on the ‘Customize design’ button on the far left:
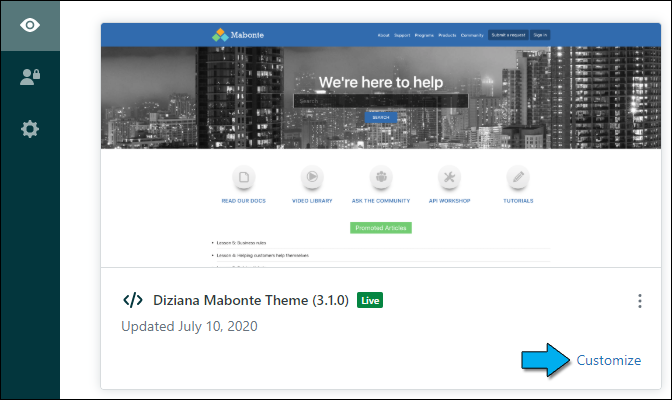
2.2: Click on ‘Customize’ in the lower-left corner of the ‘Diziana Mabonte Theme’:
2.3: Warning: Changes to the design properties are usually global and you might unintentionally end up changing many other parts of the site so please use with caution.
Many of the elements are already overridden via CSS code so you will not necessarily see any changes when you adjust the design properties.

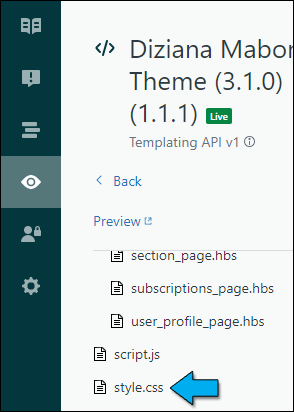
2.4: If you only want to change a specific element, it’s often a better solution to change the elements via the ‘style.css’ file.
The ‘style.css’ file includes all of the custom CSS code that Morten has added so far.
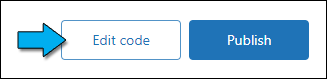
To edit this file, please click on ‘Edit code’ followed by ‘style.css’:
2.5: Morten’s modifications of ‘style.css’ start at line 4276. There are currently about 1000 lines of custom CSS code.
2.6: Before adding your own code, please make a habit of searching for the class name to see if it already exists below line 4276 by clicking inside the ‘style.css’ window, pressing CTRL + F and entering the search term.
2.7: Note that any classes you want to modify must include the following syntax for clarity:
/***** MAIN: SUB: OPTIONAL DESCRIPTION ****/
...
3. How to change the HTML, HBS and Javascript for the site
Important: It’s not possible to set up a staging (test) version of this site so any changes you make will immediately be reflected on the live site while logged in as an administrator. Non-administrator users will see the changes up to 15 minutes later depending on how quickly the Zendesk CDN (Content Delivery Network) servers are updated across the globe.
You can change the functionality of the site by amending files with:
- HTML code.
- HBS code (Zendesk’s Handlebar syntax).
- Javascript.
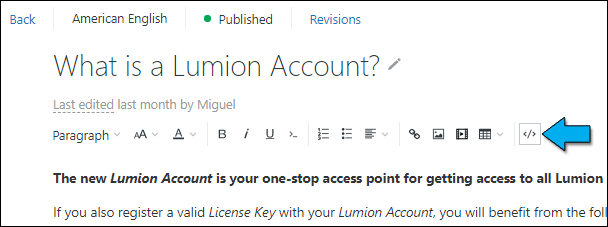
Functionality can also be added to specific Knowledge Base articles via the HTML tab when editing articles. A limited subset of JavaScript commands are available for that purpose:
3.1: After logging in as an administrator as per step 2.1 and 2.2 in section 2 above, please click on the ‘Edit code’ button on the lower-right corner:
3.2: Note that Lumion-related changes must include the following syntax:
…
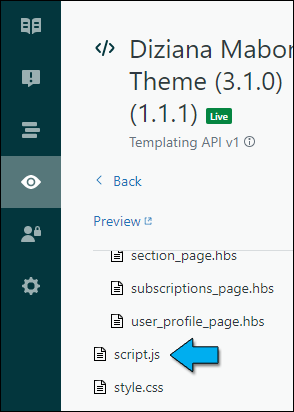
3.2: Global JavaScript code can be added/amended in the ‘script.js’ file:
Local JavaScript that only needs to affect specific Knowledge Base articles or specific .HBS templates should include the following syntax:
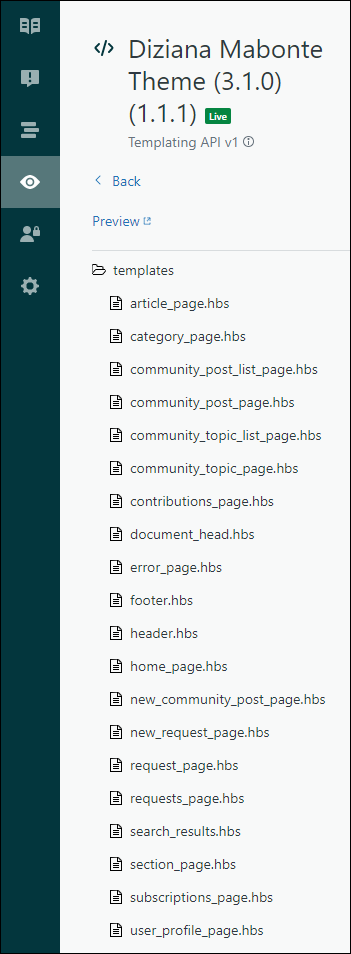
3.3: HTML and HBS code can be added to all of the template files:
- Zendesk help site: HBS syntax
4. How to upload custom files or images to the Zendesk asset folder
Files can be attached to individual Knowledge base articles.
However, if you want to upload a file that is to be used as a ‘global’ asset, you can use the built-in ‘Assets’ folder for that purpose. Here’s how:
4.1: After logging in as an administrator as per step 2.1 and 2.2 in section 2 above, please click on the ‘Edit code’ button on the lower-right corner:
4.2: Creat
4.3: Ent
The file will then be available here:
==========================================
ARTICLE SUPPORT (from transfer to HubSpot):
1. Tables:
Tables were not able to be imported via HubSpot Importer. Any Tables in this article are now based on a DIV Conversion. Same is also the case for the transfer of articles with tables in the EKB.
You can add new (basic) Tables in the HubSpot Editor directly.
If the layout does not work, then you can copy/paste or recreate the old Table from ZD. Where possible the Table has also been copy/pasted from the source page (see link below in 3.). Instructions, see this article: Copying an old Zendesk Table over to HubSpot
2. Finding the reference to the old Zendesk Ticket in HubSpot:
Use this Support article: Finding the reference to the old Zendesk Ticket in HubSpot
and for ZD ticket Search in HubSpot following step 1 in above article:
3. Source Zendesk article:
A source and backup copy was made of all articles 9 June 2025.
The saved HTML files and images are in subfolders of: HTML files and images subfolders.
See also Support article in 2 above.
Backup/copy article: [TR] How to make chang... (360018741339).html
4: Quick Link to Zendesk IKB article:
(not available when Zendesk closed)
[TR] How to make changes to the Lumion Support & Learning site