
Menu:
(showing some of Lumion View for SketchUp Windows interface)
1. Overview:
1.1: You Can
Create the final look and feel for your render.
With the Lumion View Editor (window) you can achieve the following:
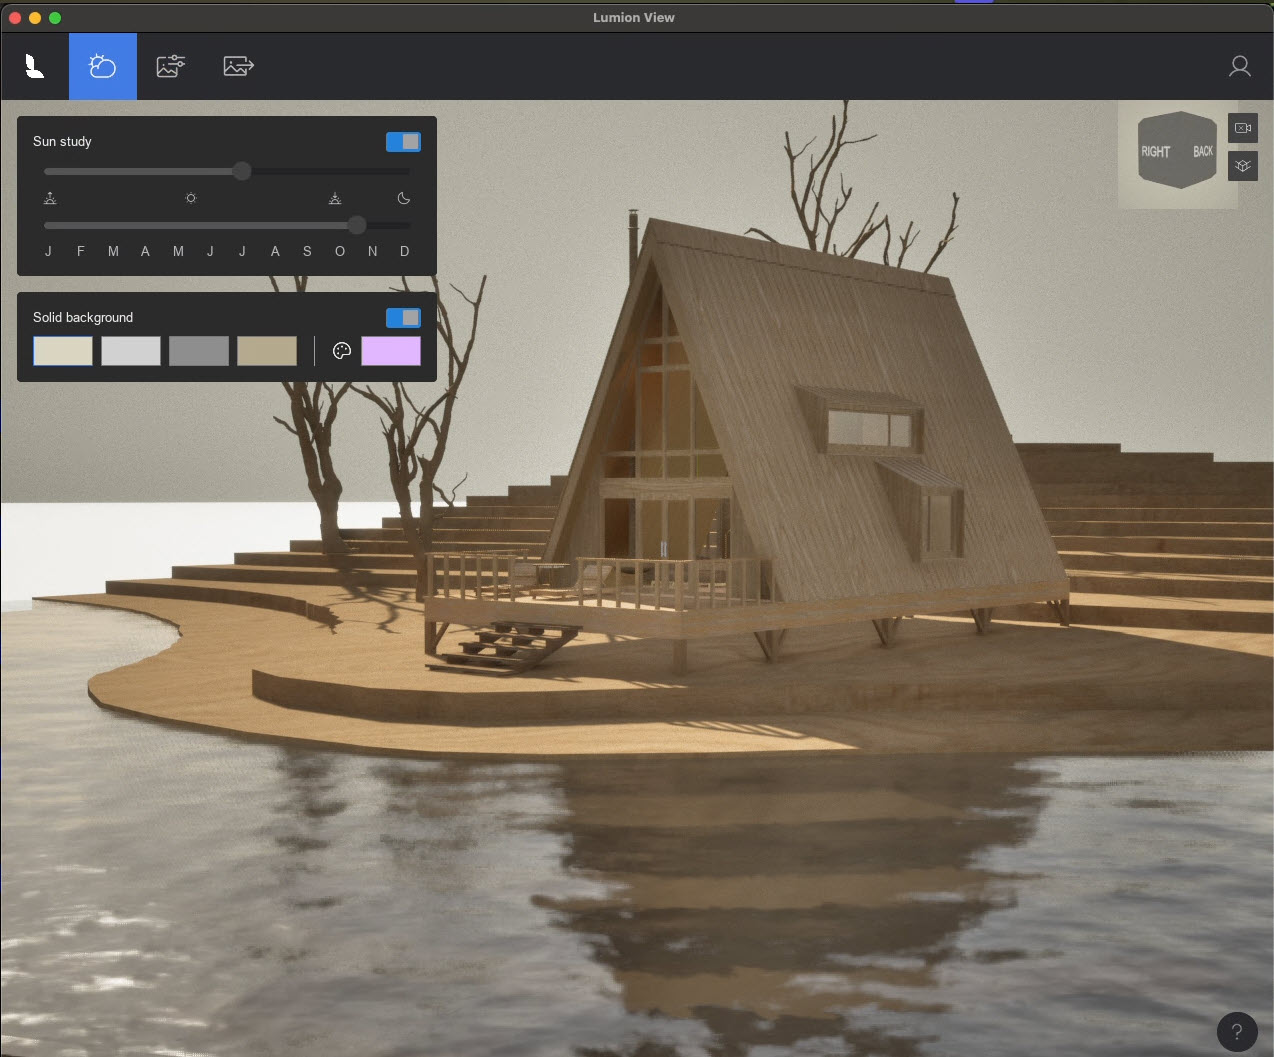
- Set an environment/background very quickly and simply with a sky and sun, or with a single color for more of a conceptual look.
- The environment will define the lighting: day, night, cloudiness(*) and ambient sky coloring.
- As principally a Concept tool, you can set the look (Style) that your design/model will be viewed as by your client.
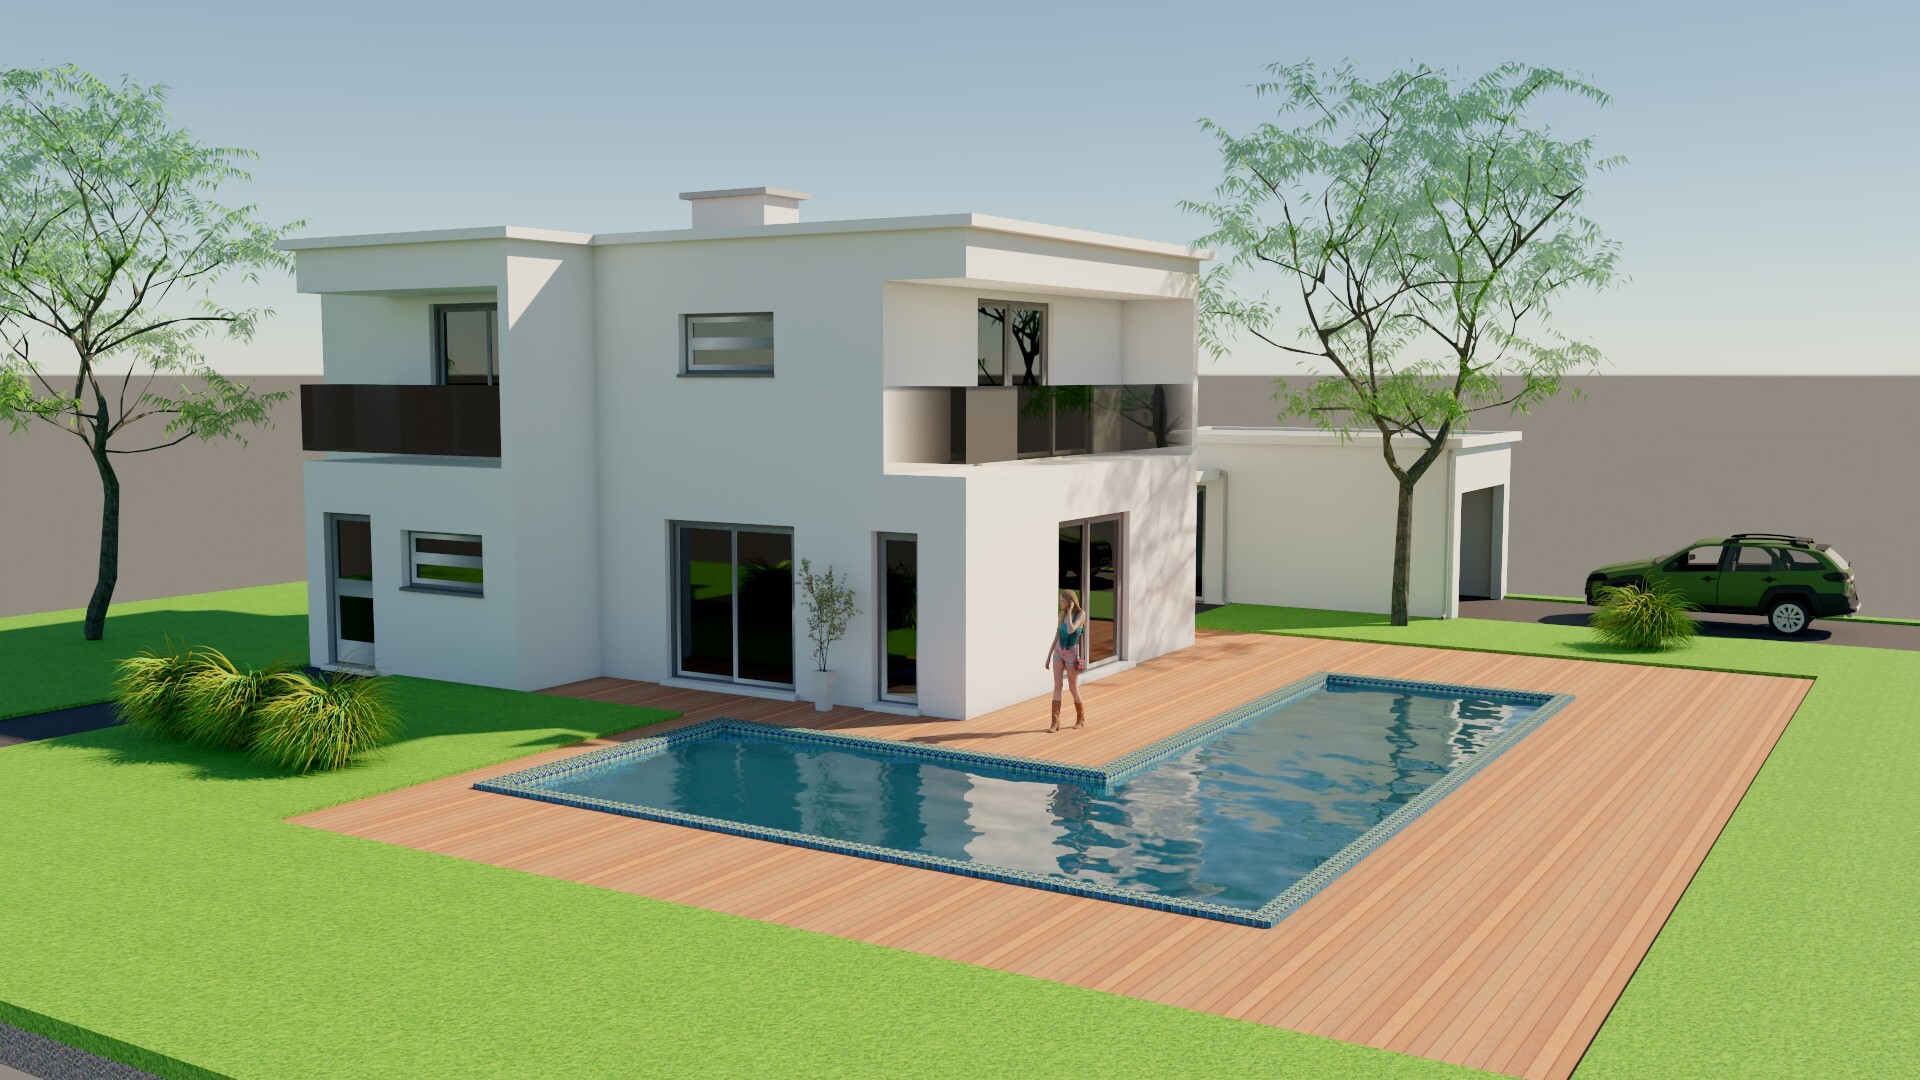
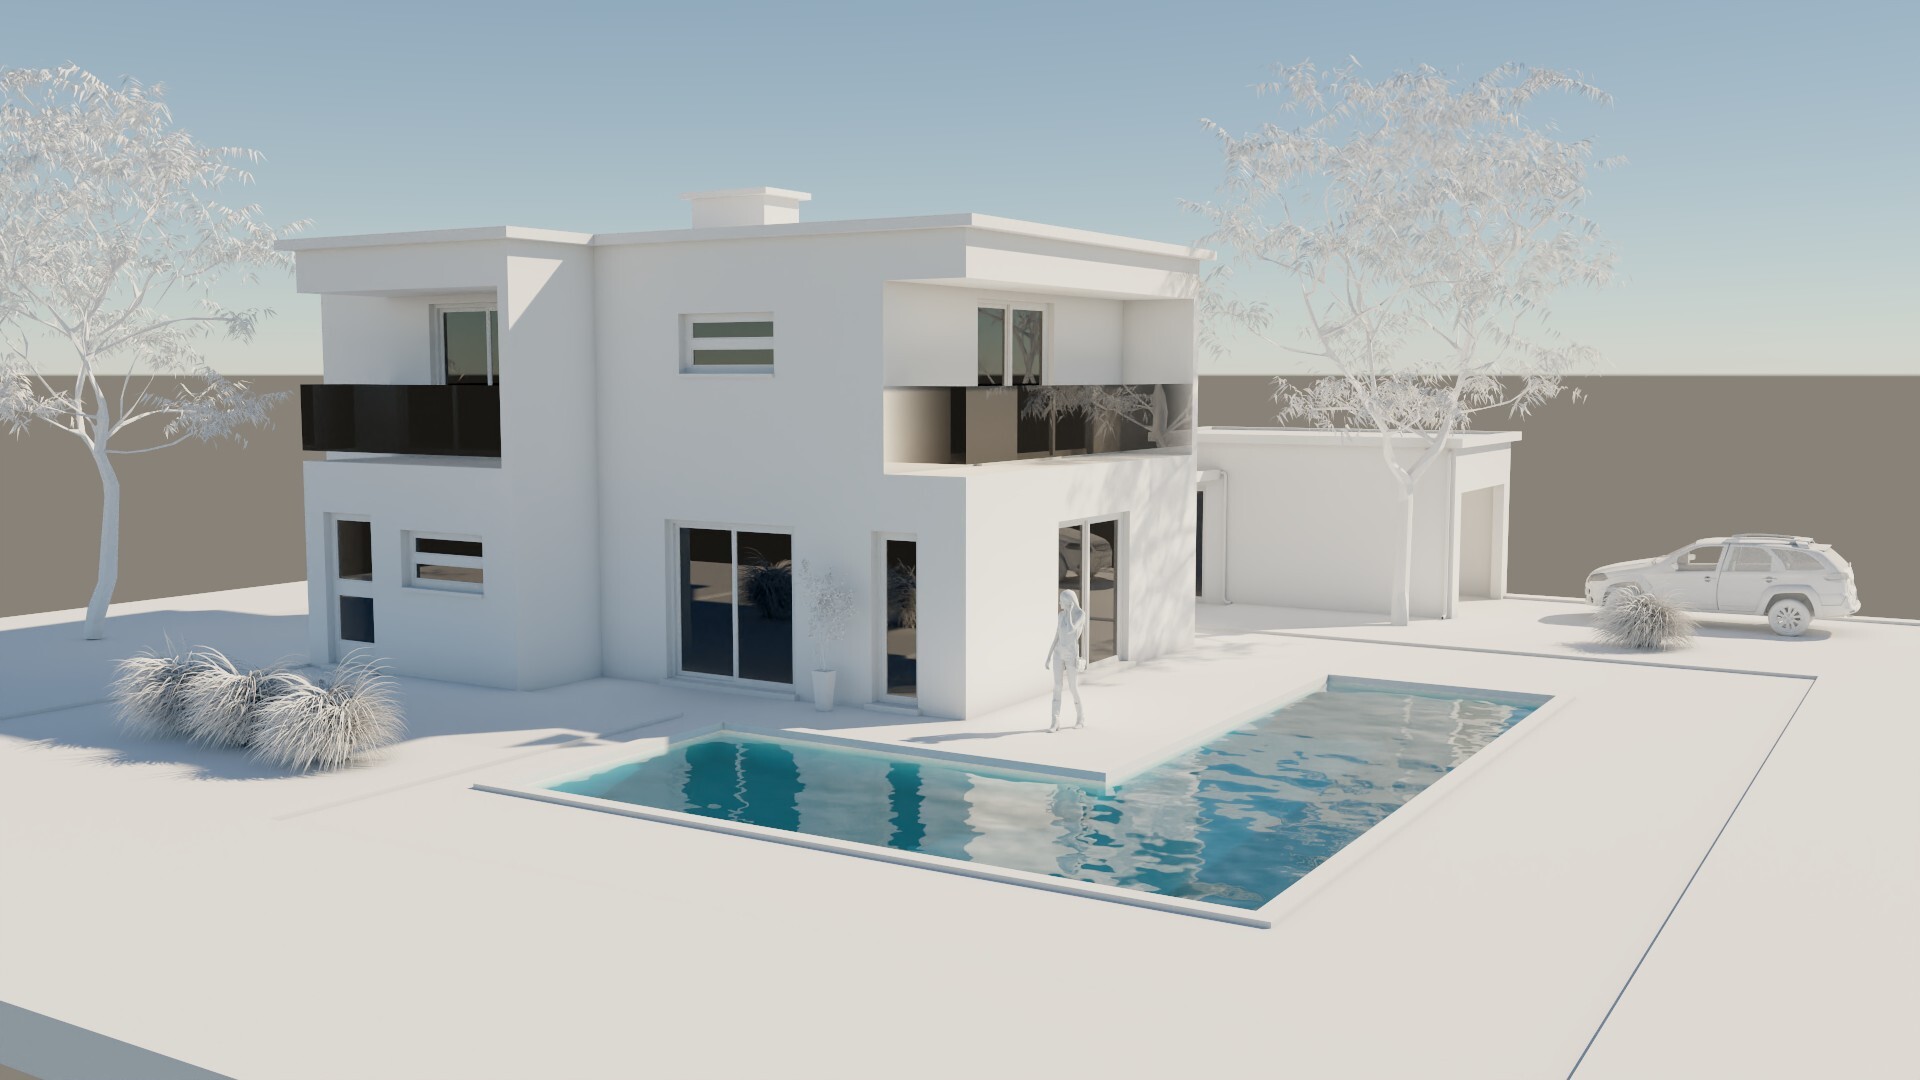
- Render as a high quality Ray Traced image.
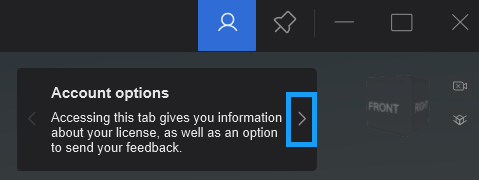
- Access your Account, log out, provide product feedback,
1.2: Steps: summary
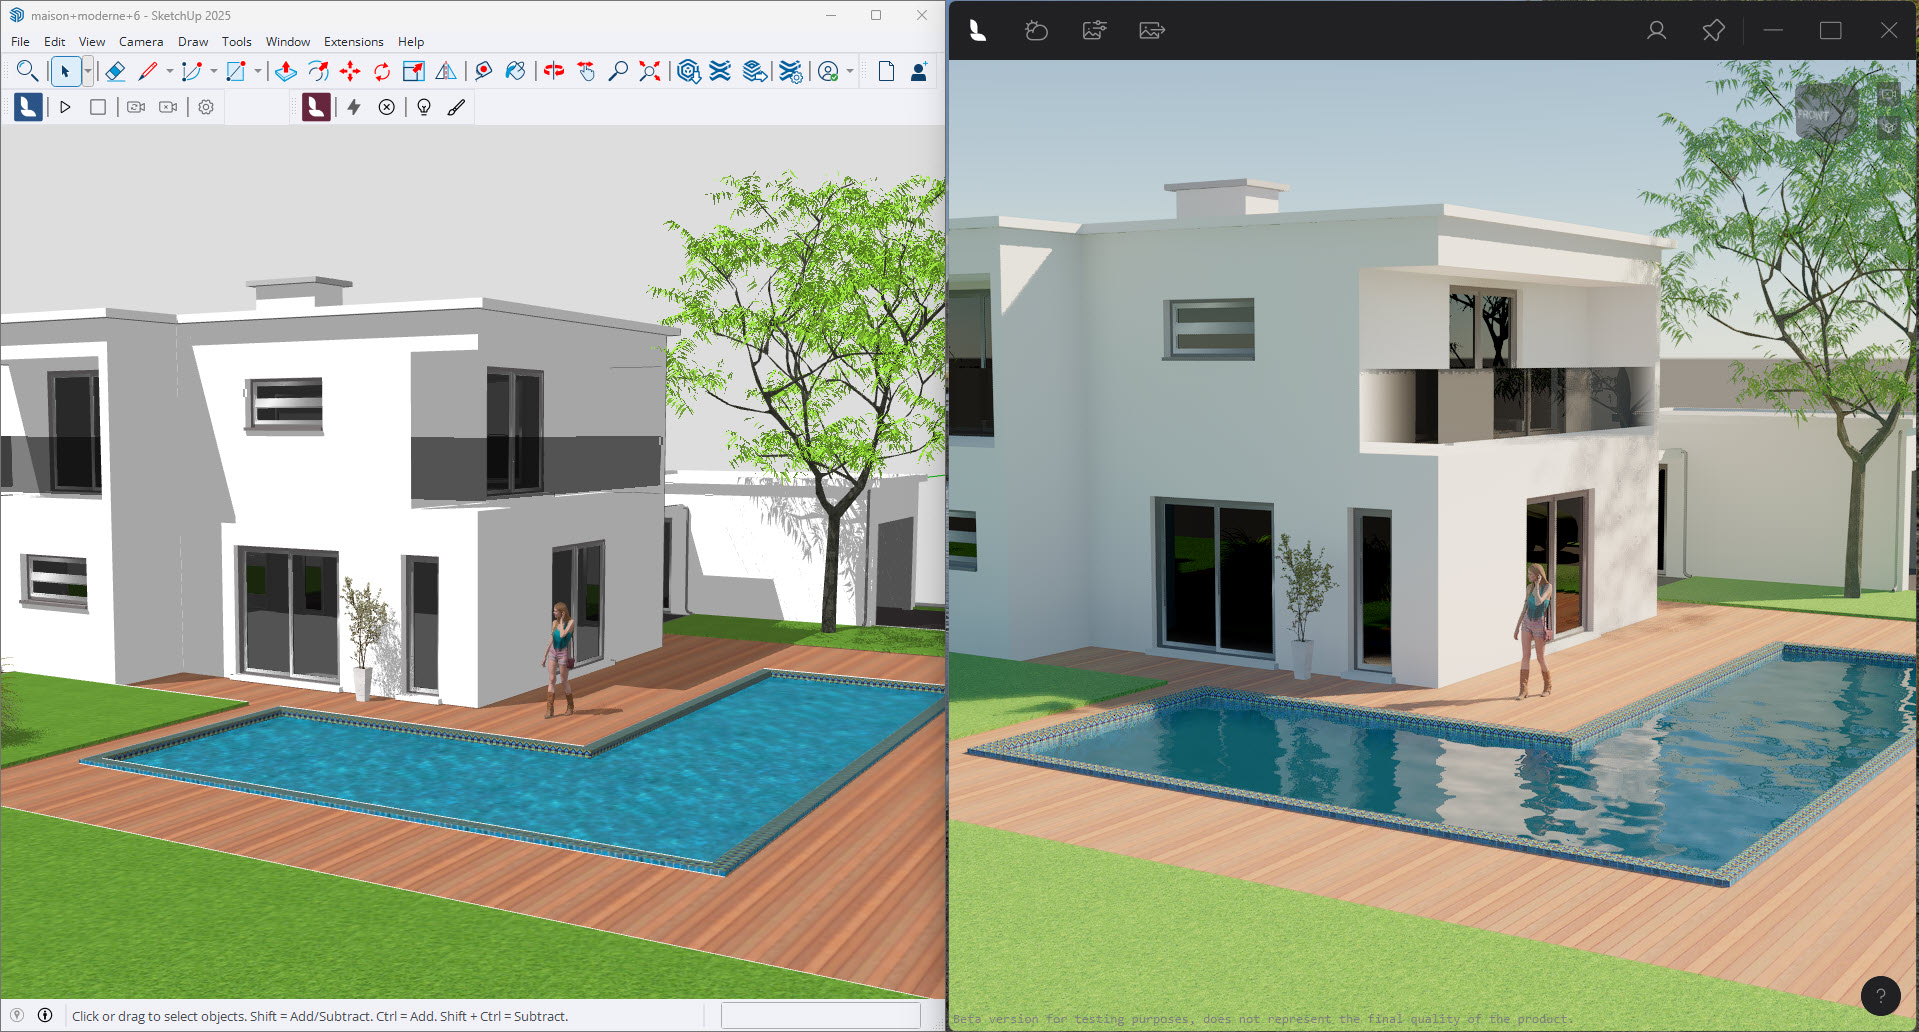
1. Load your model in SketchUp, or create a model (make sure to save it).
2. Start Lumion View - the Editor.
3. Click on the Environment button. Then use or make changes to the Environment for Sun, Sky and Clouds(*).
4. Click on the Visual Styles button to use or select a different Style for the overall look and feel.
5. Click on the Render to File button to render and save an image to file/disk.
6. Manage the Editor window.
You can Render an image at any time.
You control the Editor window and its placement/location for your desktop workspace.
2. To open the Editor window:
2.1: Start Lumion View - the Editor

2.2: Lumion View Window Opening Process
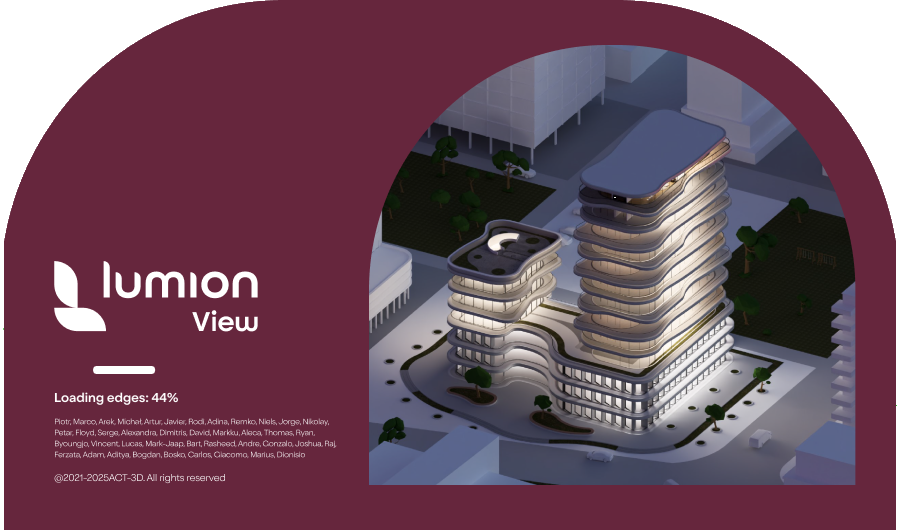
The initial loading process will go through the following steps to load the SketchUp model:
- Initialization.
This takes longer only for the first time Lumion View is run for a Windows session. - Loading Materials.
- Loading Components.
- Loading Edges.
- Loading Tags.
- Loading Hierarchy.
Preparing the Lumion View window for real time Ray Trace rendering of your model:
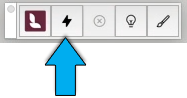
Access tools from the window bar:


2.3: Stop/Close the Editor window
3. Edit the Environment settings: Sun and Sky:
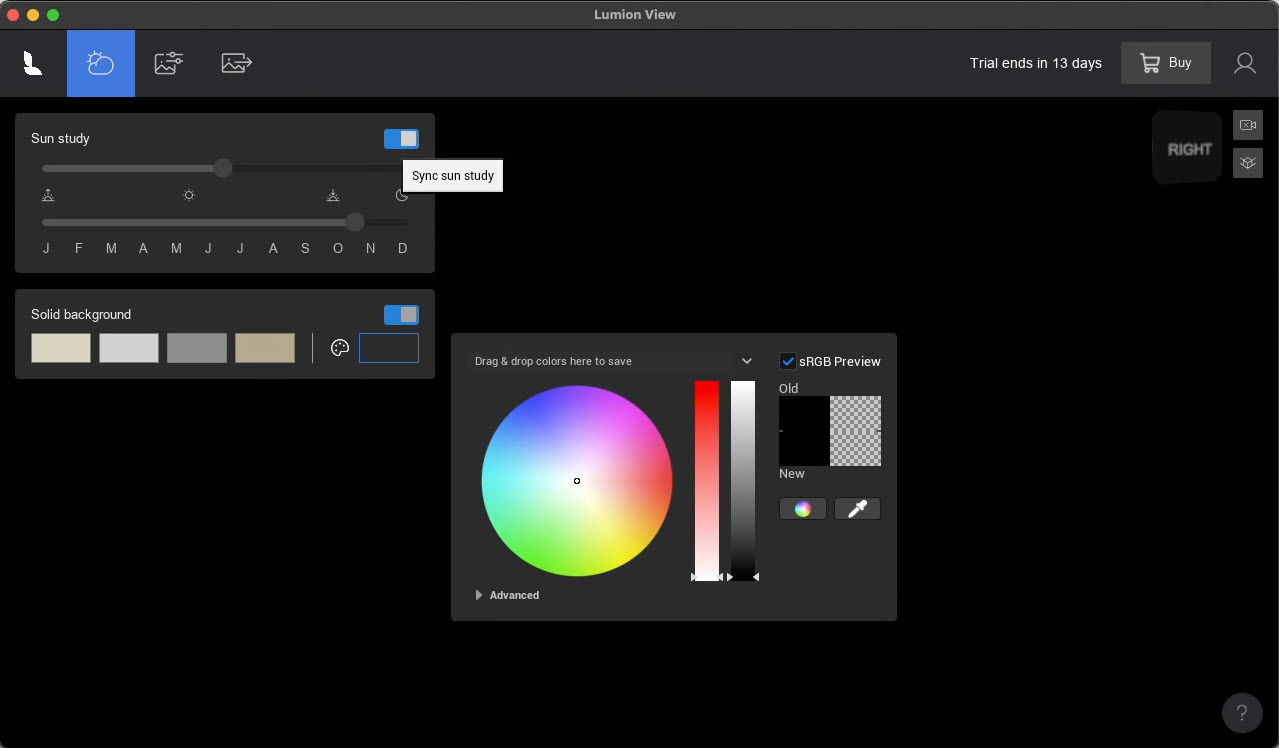
- Use a solid background for a difference in style than a sky.
- If you choose a single color background your Sky and Sun settings will still be used to generate correct lighting for the Ray Trace render. However there will be adjustments for the Exposure form the single and color. Along with expected changes in the reflections.
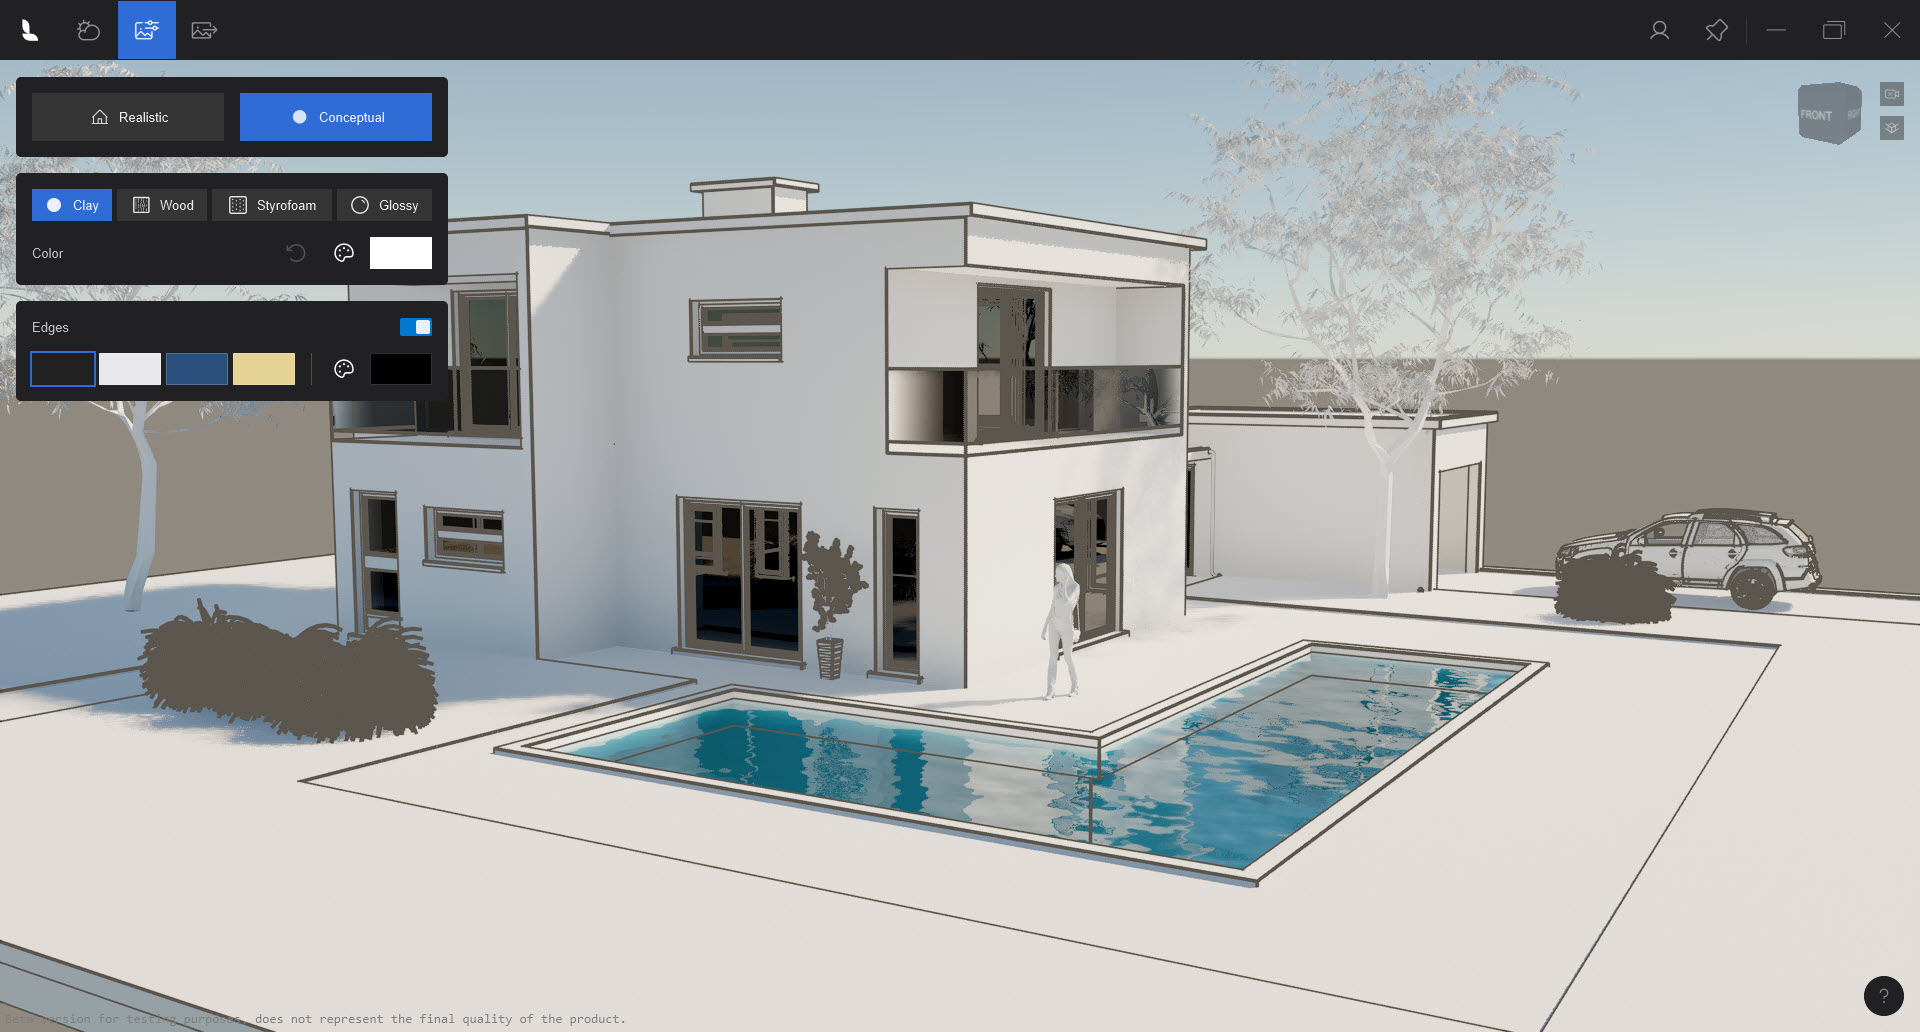
4. Set the Visual Style:
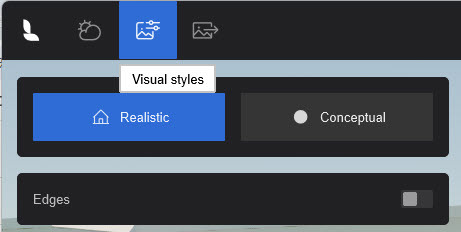
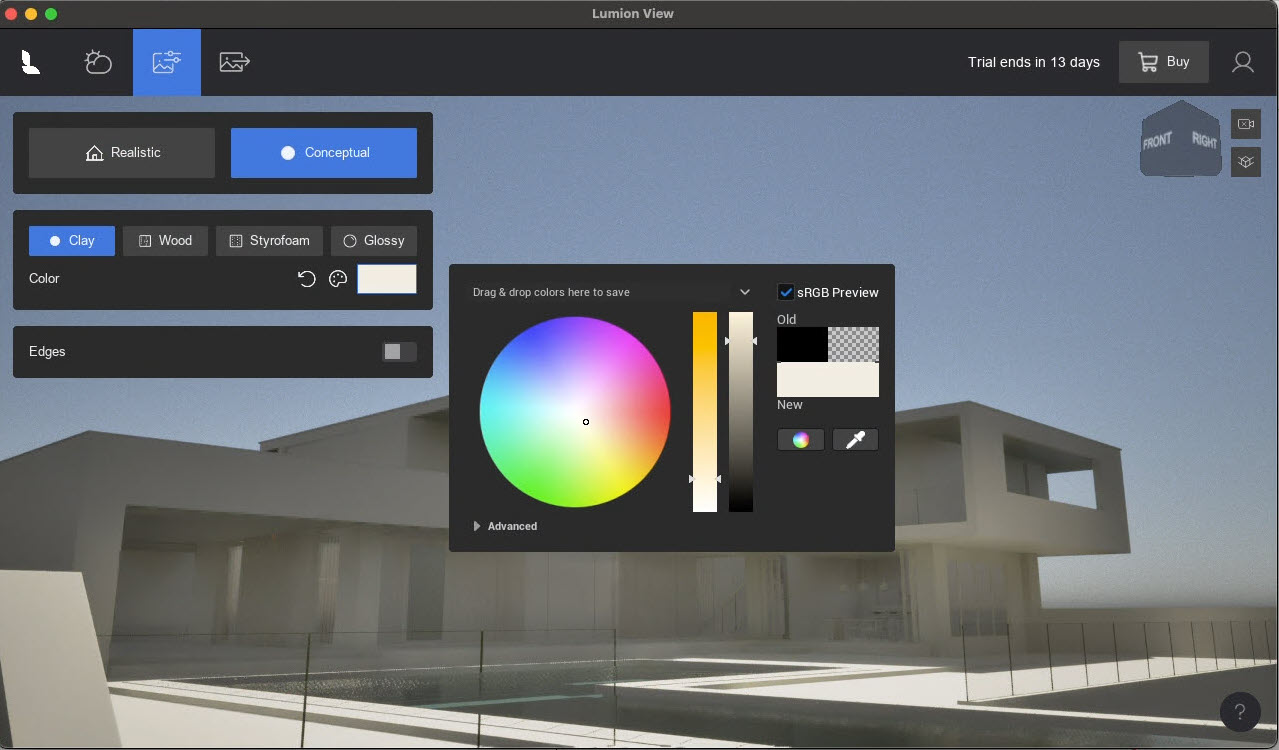
How do you want to communicate the feeling for your design to the client? Set one of two overall Styles:
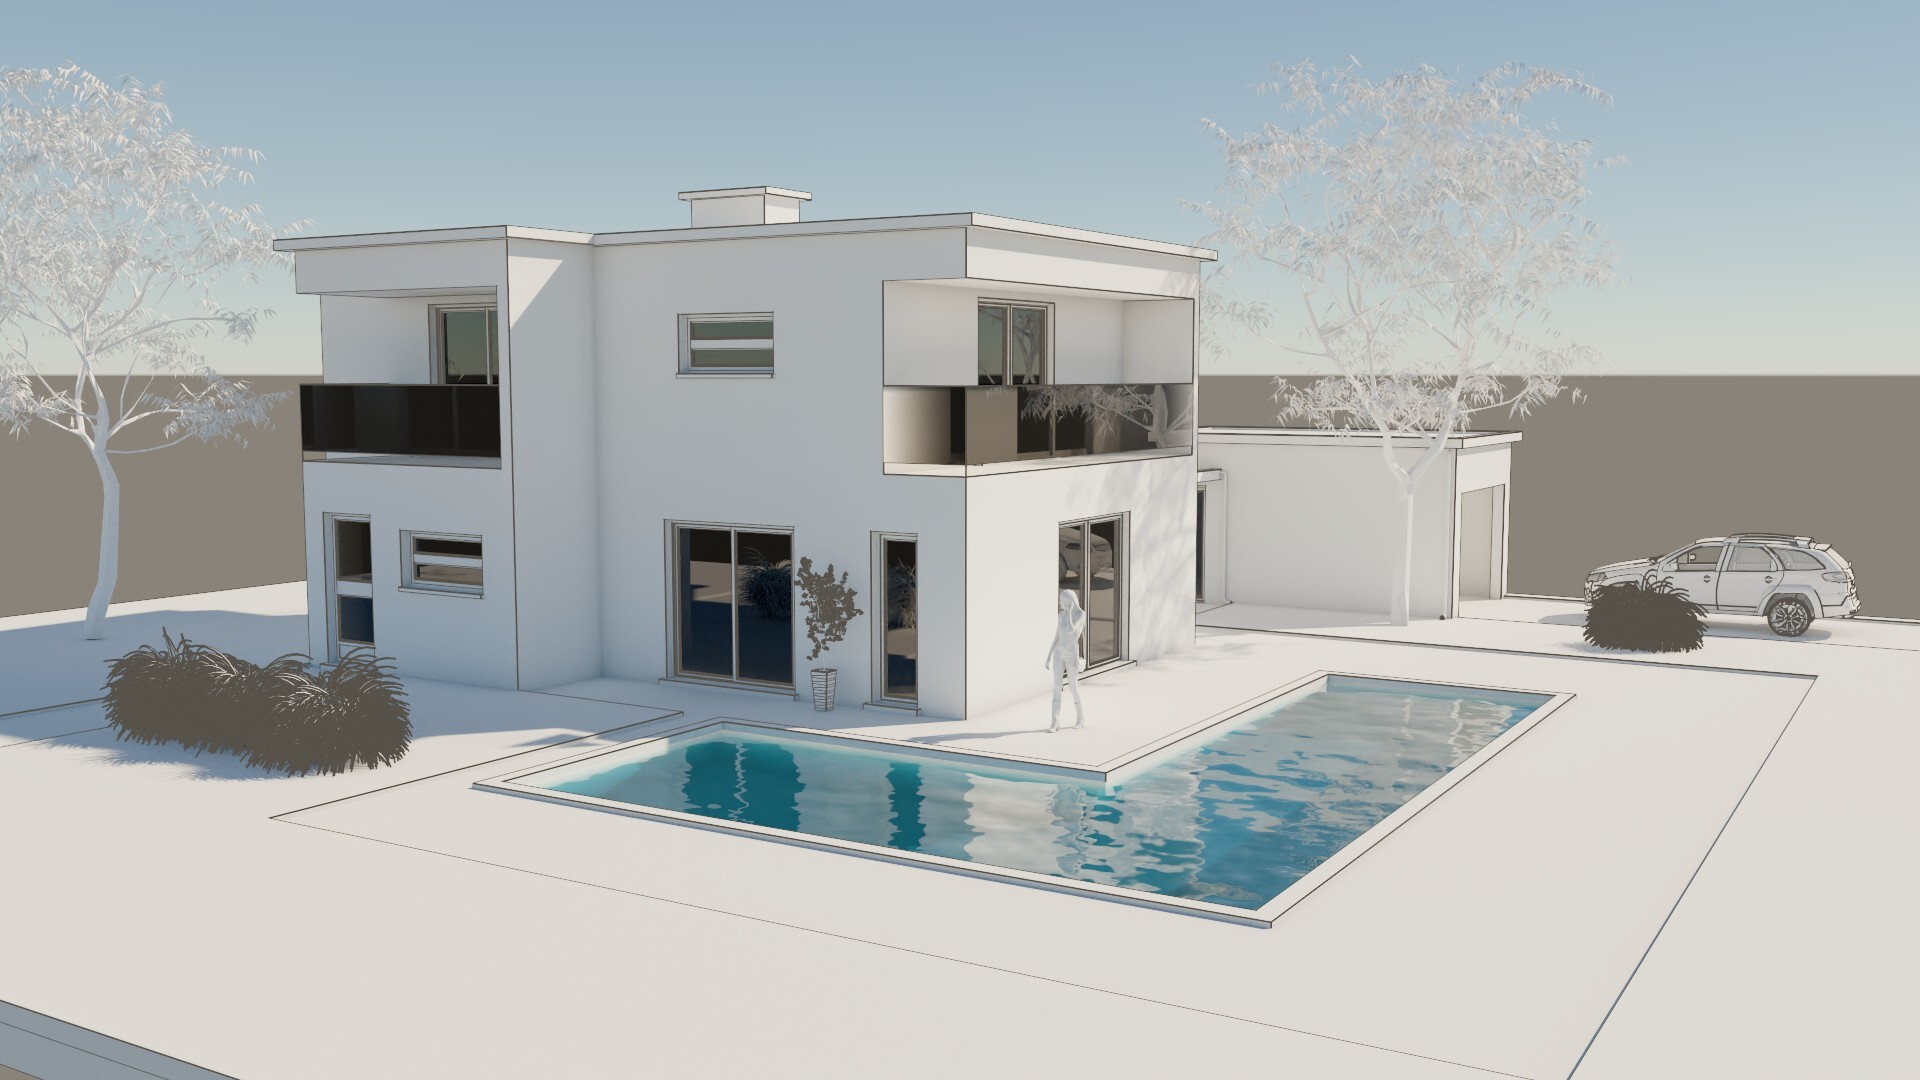
- Realistic:

- Conceptual (four (4) Styles):
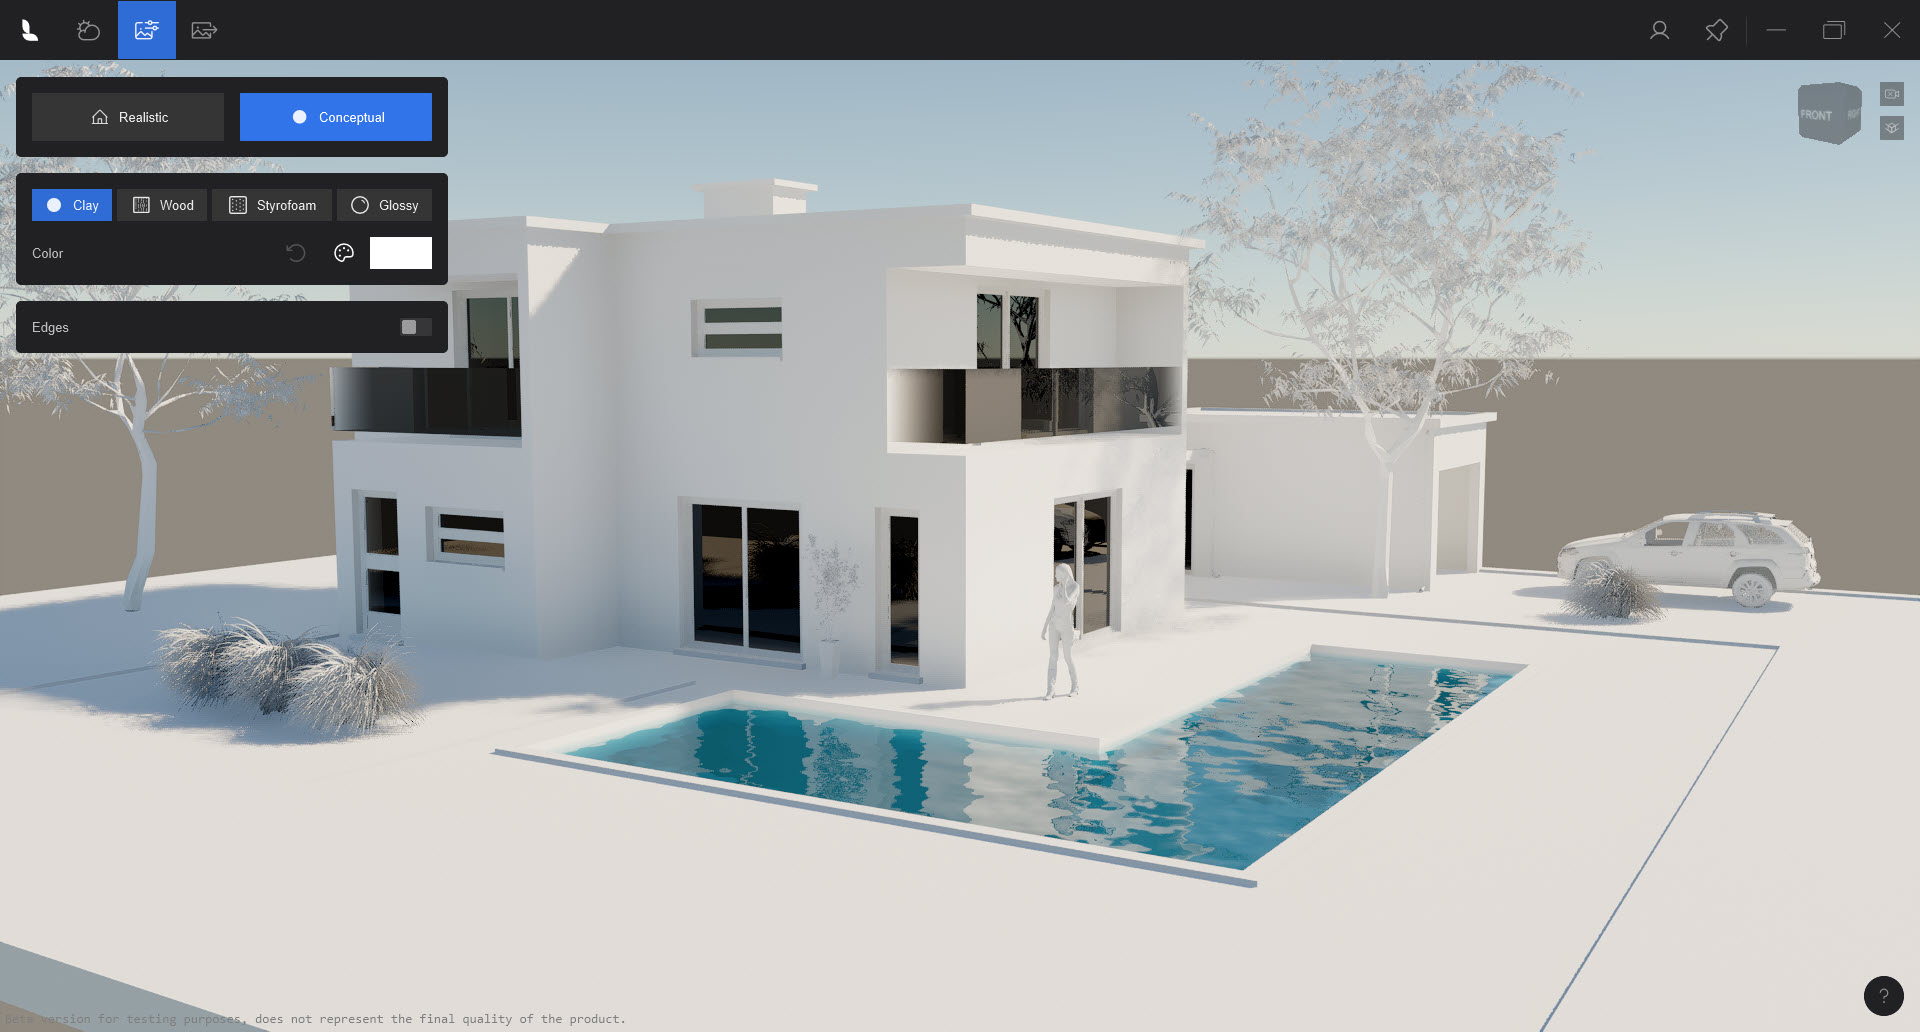
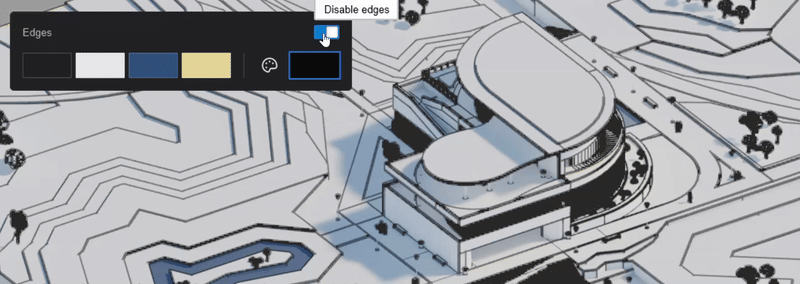
- Include Edges as part of your style choices.
5. Set your Output render options and Render:
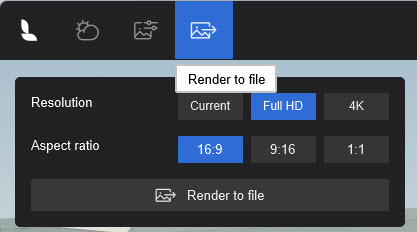
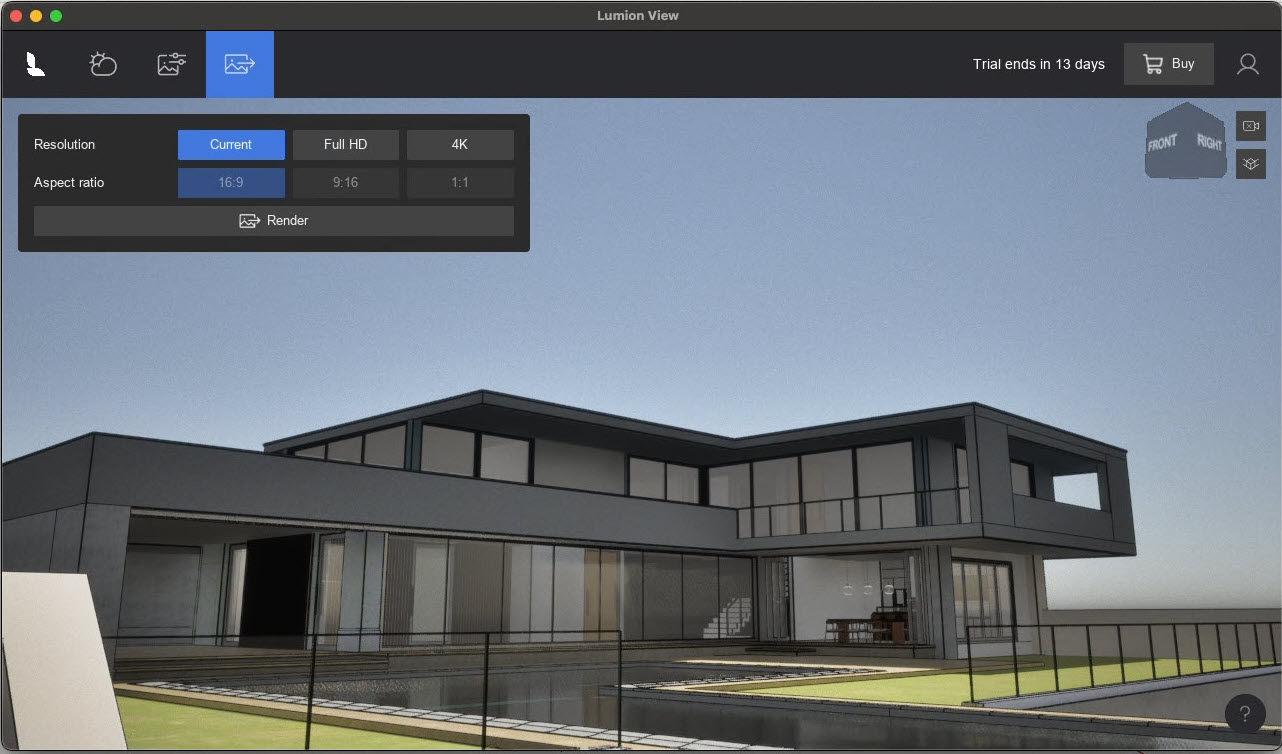
Make final output for your client as:
- Realistic:
- Conceptual:
- Conceptual With Edges:
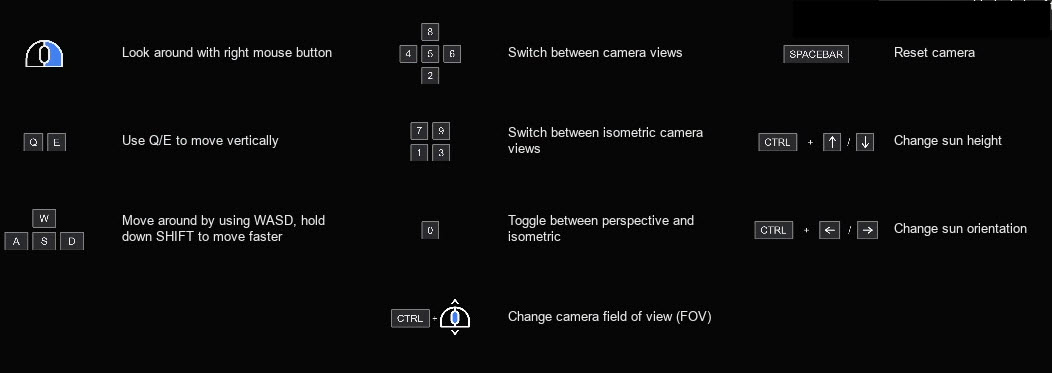
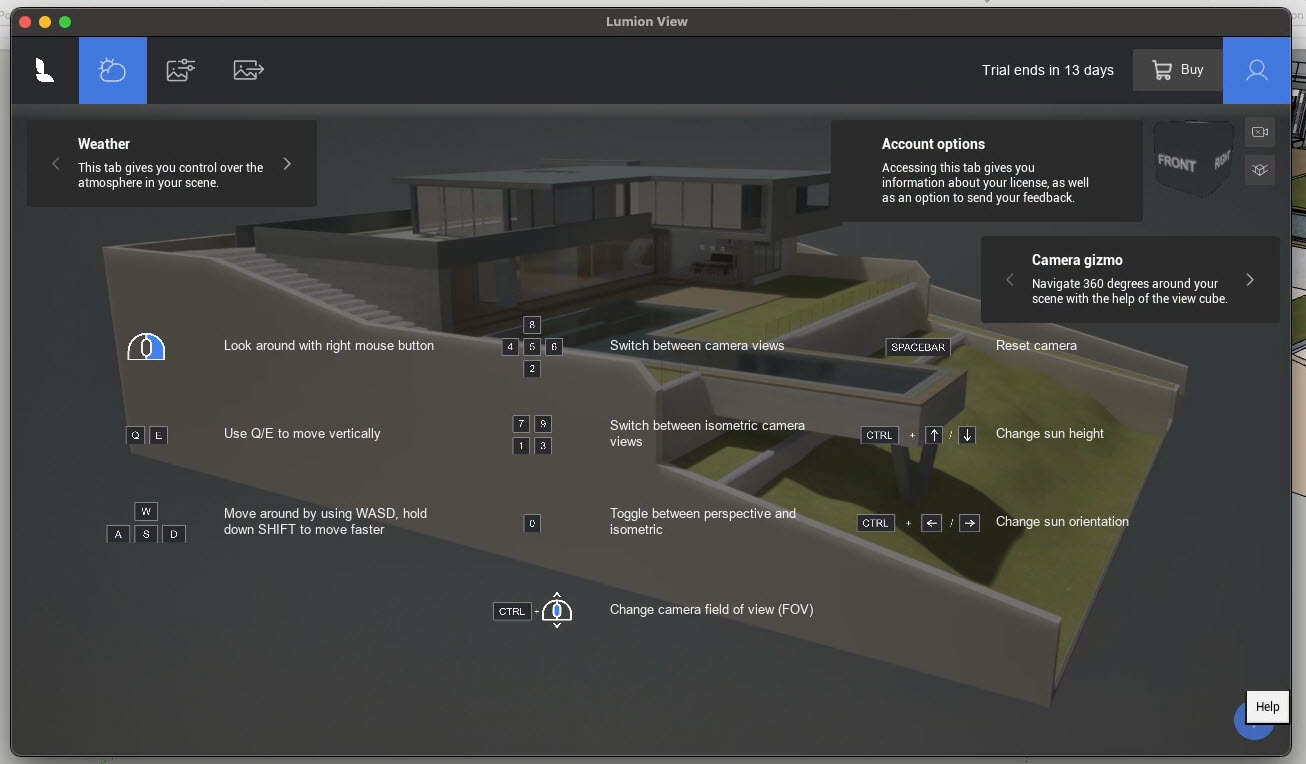
6. Camera, Keyboard and Mouse actions:
6.1: Using the Camera options
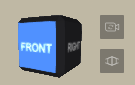
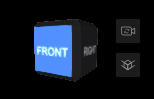
Control the View of your model with the Camera Cube.
You can also use Keyboard and Mouse actions (see below).
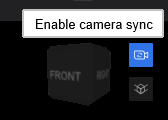
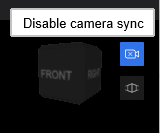
Sync the camera between SketchUp and Lumion View.

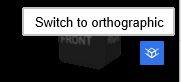
Want to change the camera type: Perspective or Orthographic.

6.2: What are the Keyboard and Mouse actions?
Simple ,easy to remember. Enough key operations for you to navigate and control your camera.
From the Help screen.
For more on the camera, keyboard and mouse:
- Knowledge Base: Camera, Keyboard and Mouse actions in Lumion View for Mac
7. Other Editor tools on the View window bar:
7.1: Account and Feedback
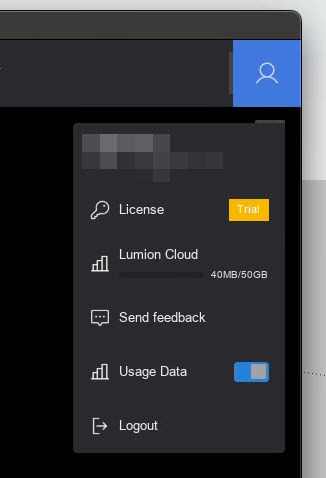
See the following article for details on your Account and Management:
- Knowledge Base: Lumion View Account and License Management
7.2: Manage the Window
Minimize, maximize, close/exit window(Stops Lumion View)
For further:
- Knowledge Base: Using the Lumion View Toolbar (Mac edition)
7.3: Help
Bottom right of Lumion View window.
One single, simple screen to help you when you need.
Notice that some Help items show information about more than one feature:

8. FAQ's
- If you open a different model in Sketchup, it will automatically Stop Lumion View and close the Lumion View window.
See also:
- Knowledge Base: Lumion View for SketchUp (Mac): FAQ