Why is your model far away from where you place it?
1. Here's why
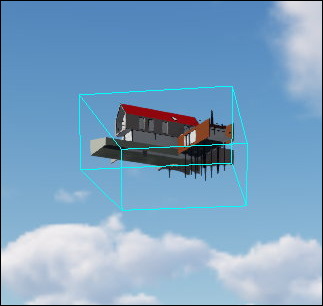
When you import your model and place it in the Scene, it will sometimes end up being far away from the Placement Point.
In this example, the model is high up because it has a height far from the world center (0, 0, 0) in your CAD software or 3D modeling software.

2. How do you move the model closer to the Placement Point?
2.1: To move the model closer to the Placement Point, you need to move the model as close to the world center (0,0,0) as possible in your CAD or 3D modeling software.
Here's how to do that in some popular 3D/CAD applications:
- Knowledge Base: Step 3.2 in Model import guidelines for SketchUp
- Knowledge Base: Step 5.1 in Model import guidelines for Revit and Revit LT
- Knowledge Base: Step 4.1 in Model import guidelines for ArchiCAD
- Knowledge Base: Step 5.1 in Model import guidelines for Autodesk AutoCAD
- Knowledge Base: Step 4.2 in Model import guidelines for Rhino
Other 3D/CAD apps are listed in the article below:
- Knowledge Base: Import & Export Questions
2.2: Once you have adjusted the model position in your CAD or 3D modelling software, simply re-import the model in Lumion. It will now be closer to the Placement Point.
3. What if you can't adjust the position of the model in your CAD or 3D modeling software?
3.1: The easiest way is to type in a position that will bring the model closer to the desired position in your Scene. Here's how:
- Knowledge Base: How do you type in position coordinates for an object?
3.2: Please note that the Object Icon might be far away from the model. Although it is still visible, it might be harder to locate and select it in some views if it's far below the Lumion Terrain.
3.3: After adjusting the position, it is usually best to lock the model so you do not accidentally move and re-position it. Here's how:
3.4: See the note at the end of this article.
4. Create a Group for the Model (Lumion 11+):
You can create a Group of that model and change the Group icon position. This has the effect of creating a new 'pivot' point that you can use like the Placement Point to move or rotate the model.
Follow these steps:
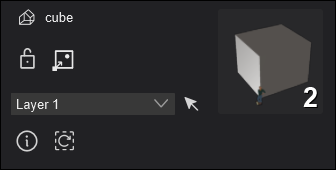
1. Add any other Object next to your Imported Model and select both items.
2. Click Add Current Selection to Group.

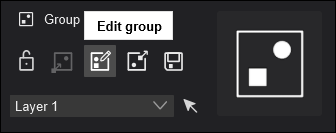
3. After the Objects are Grouped, click Edit Group.

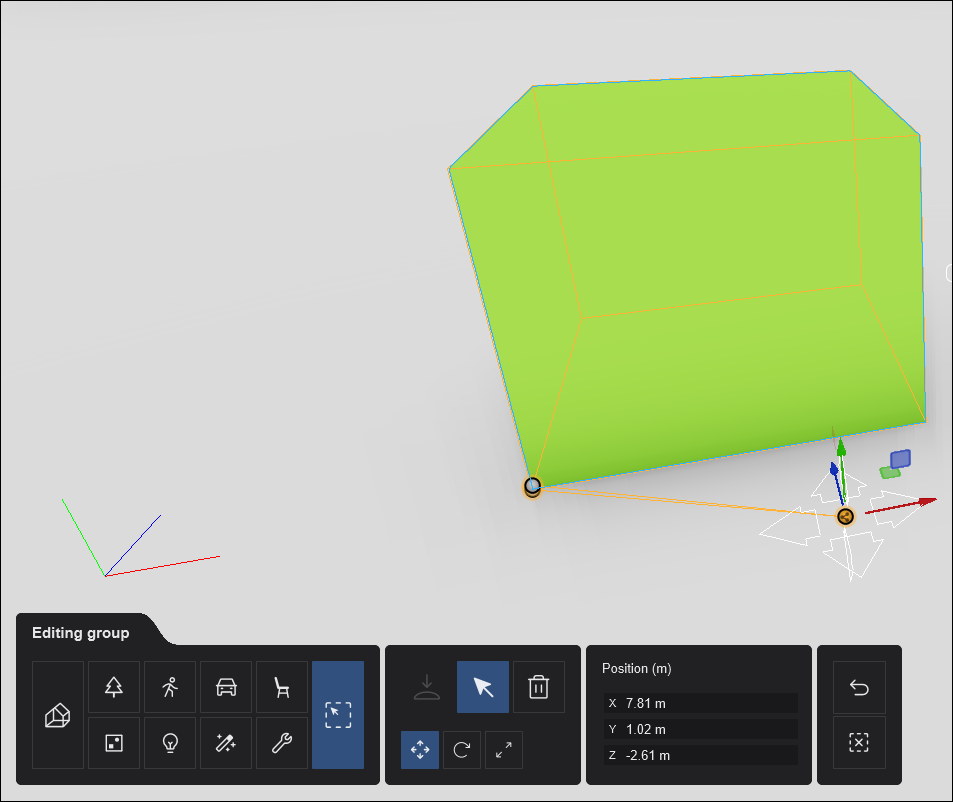
4. You will now be able to move the Group icon freely. This point works the same as an insertion point.

When you are done repositioning the Group icon, you can delete the other added Object.
Note:
If you use the methods in sections 3 or 4 then you must still make sure that the distance between the Placement Point (Insertion Point) is still not very far from the world center as that would still cause problems with the calculations needed to determine where surfaces are in the Scene. In other words, wherever possible try using the steps in section 2.

