
1. Additional Features in Lumion 2023.1, and newer
These additional features are for Lumion 2023.1 or newer. See Section 2 for other features and properties common to versions 10 to 2023.
The panel that is used to rename a Layer now has additional options (double-click a Layer Name).
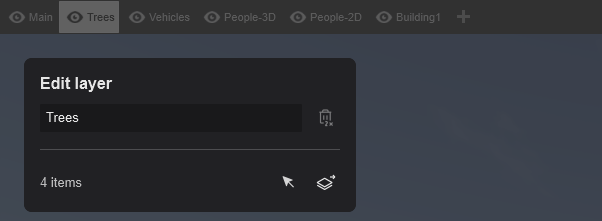
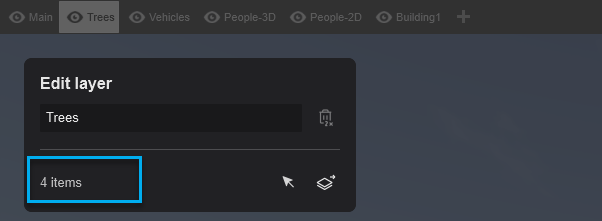
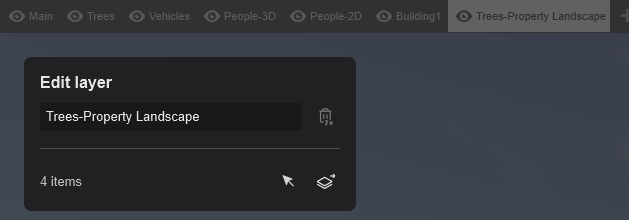
1.1: Number of Objects (items)
The panel will show the number of Objects on that active Layer:
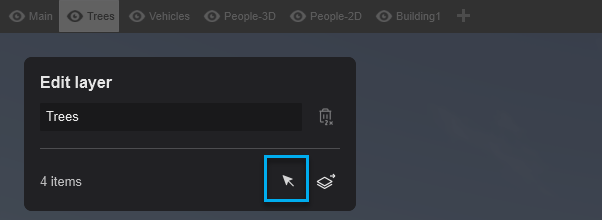
1.2: Select all Objects
You can select all Objects on that active Layer (similar functionality is available in the Object Properties Panel):
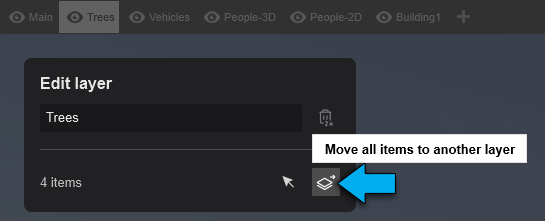
1.3: Move/Transfer all Objects
You can move/transfer all Objects on the current/active Layer to another Layer.
1.3.1: Click on the Move all Items to another Layer button:
1.3.2: The drop-down list for the Layers is shown:
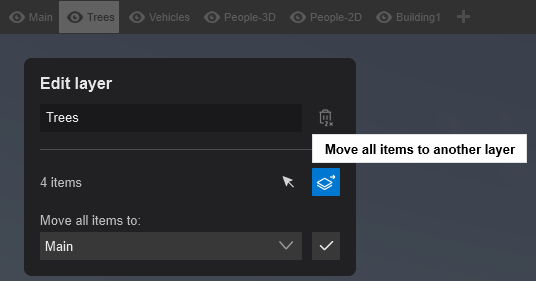
1.3.3: Select the Layer you want to move/transfer them to:

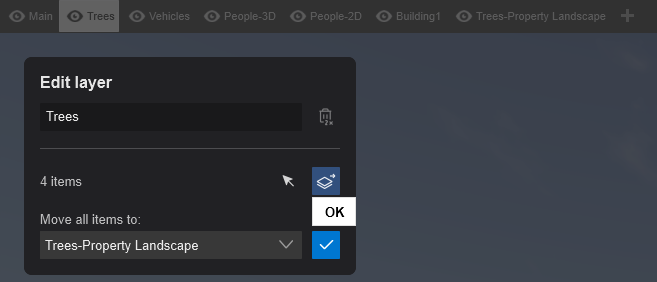
1.3.4: Click on the OK button to enable the transfer:
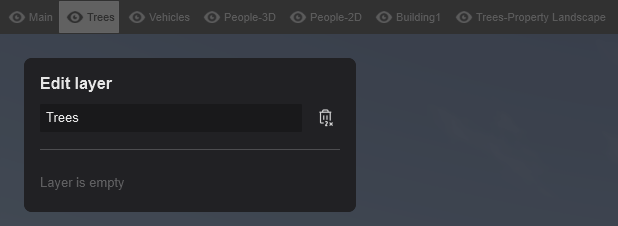
1.3.5: The Layer Panel now shows all Objects have transferred and no Objects (is empty) in the Layer:
And the Layer you wanted to transfer to now includes those Objects:
The Object Properties Panel reflects the change for those selected Objects:

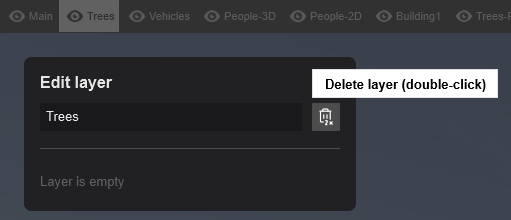
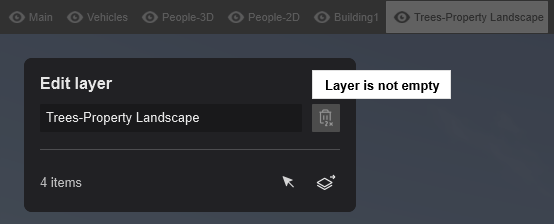
1.4: Delete a Layer
You can delete/remove that Layer when it is empty (it contains no Objects):
The Layer is no longer listed:

1.4.1: It is not possible to delete a Layer if it contains one or more Objects:
1.4.2: Note: it is not possible to delete the last remaining Layer. At least one Layer in the Project is always required.

1.5: In Build with FX you can’t edit the layers, except for their visibility.

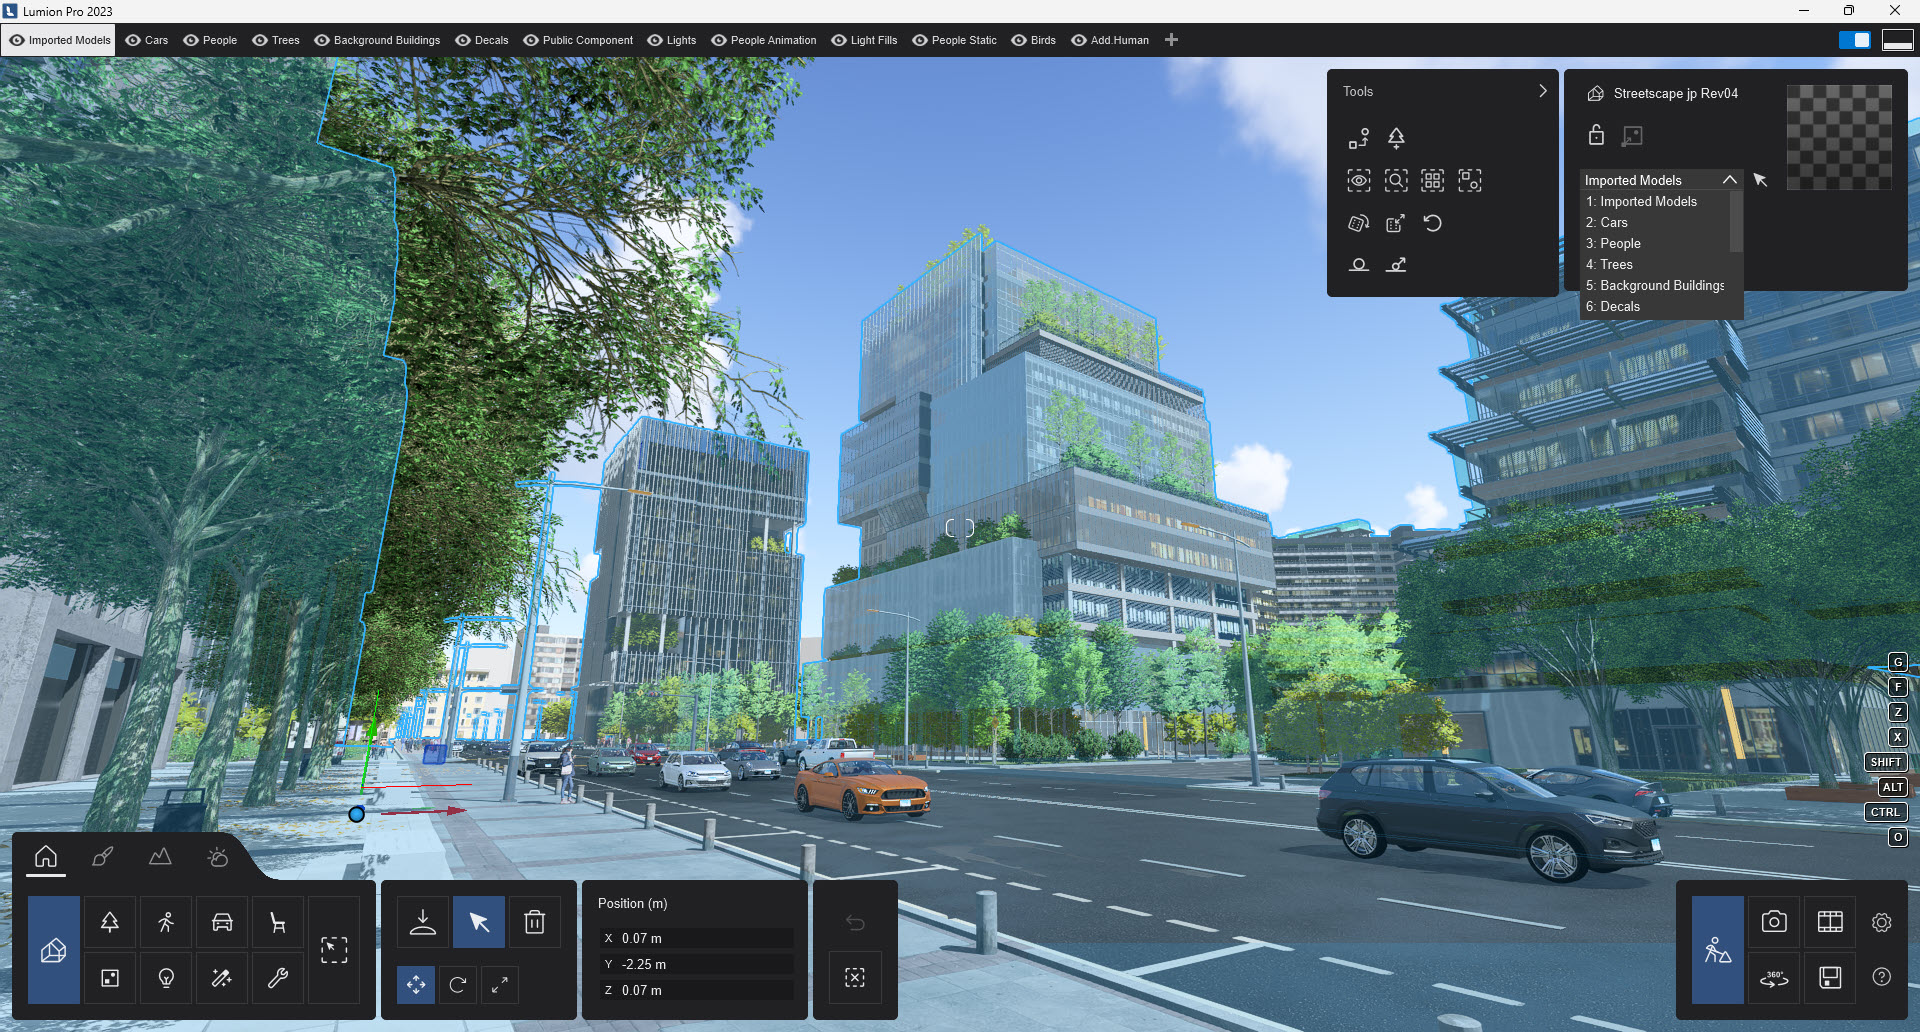
2. Here's how Layers work in Lumion 10 and newer versions
Layers are useful for organizing your models and objects in large projects. That way you can place all lights on one Layer, all trees on another Layer, and so on.

You see the Layer Bar with its Layers when you use the Content Library Mode or Materials Mode:

By default, there are five (5) Layers available in a new Project. In Lumion 12 and older versions, you can add up to 20 Layers in a Project. Lumion 12.3 and newer versions support up to 32 Layers.
2.1: If you click on the Add Layer button you can add additional Layers:

2.2: The Hide Layer buttons allow you to show or hide Layers:

A Layer cannot be hidden if it is the currently active (white) Layer.

To hide, for example, Layer 1, you need to first click on another Layer name to select the Layer such as Layer 2.

Layer 1 is now hidden and shown in red.

2.3: Double-click on a Layer to rename it:

2.4: To move one or more objects to a Layer, select the object(s) and then use the Layer selection menu in the Object Options Panel in the top right corner to assign the object(s) to the desired Layer:

2.5: Click on the Arrow button to select all objects that are currently assigned to the selected Layer:

Note: You are best to unselect all objects first before using the button to Select All in this Layer. This ensures that if you select some other Layer, the objects currently on another Layer do not get moved as in 2.4.
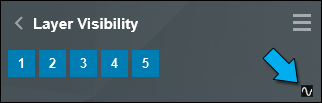
2.6: Hide/Show the Layers Bar:
You can set Lumion to show only the current/active Layer. Or to always show all Layers.
When the Always show Layers button is Off (top right above Performance Monitor) then only the current/active Layer will display when the mouse hovers near the Layers region.


The Layers will display when the mouse is close to the Layer Bar.

When Always Show Layers is On, then all Layers with the Layers Bar will always show at the top of the Lumion screen. The mouse cursor can be anywhere.


2.7: Layers in Object Animation screens:
Lumion 12.0 and newer versions include the same Layer system as in Build Mode for the Move Effect, Advanced Move Effect and Mass Move Effect.

3. Here's how Layers work in Lumion 9.5 and older versions
Layers are useful for organizing your models in large projects. That way you can place all lights on one Layer, all trees on another Layer, and so on.
3.1: If you click on the [+] button you can add additional Layers up to a maximum of 20.
3.2: The Eye buttons in Build Mode allow you to show or hide Layers.
3.3: The Arrow button is used when you want to move selected models to the active Layer.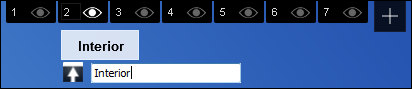
4. How does the Layer Visibility Effect work in Lumion 10 and newer versions?
4.1: The Layer Visibility Effect is available here:
Photo Mode or Movie Mode -> Add Effect ->
Lumion 2023.0 and newer: Tools & Utilities

Also in Featured, or you can Search for:
Versions Lumion 12.5 and older to 9.5: -> Objects tab
4.2: In Photo Mode you can set the visibility of Layers for each Photo using the Layer Visibility Effect:
Lumion 2023.0 and newer:
Lumion 12.5 and older:
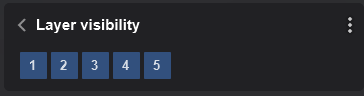
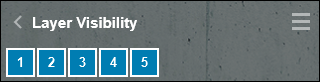
Any Layer can have an On = Show(visible) or Off = Hide(not visible) state.. Here the buttons for Layers 2 and 3 have been clicked to Off (the Objects in the Layer will be hidden):

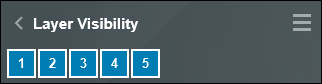
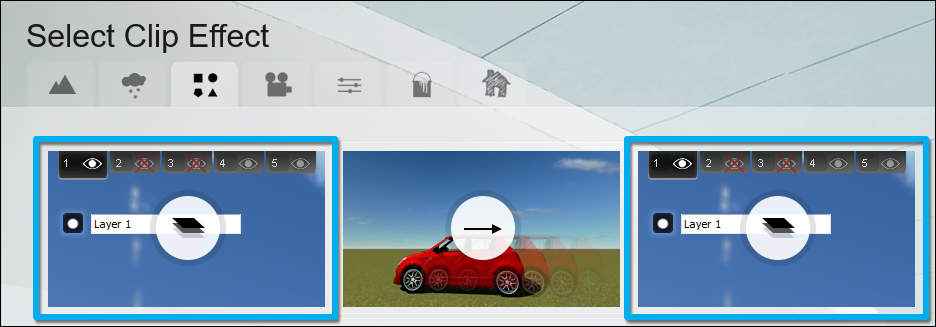
4.3: Movie Mode: Clip: As with Photo Mode, any Layer can have an On (show) or Off (hide) state. Here the buttons for Layers 2 and 5 have been clicked to Off (the Objects in the Layer will be hidden) and the whole Clip will show the Objects in the other Layers:
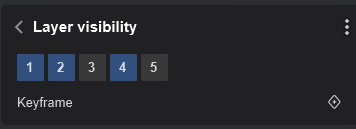
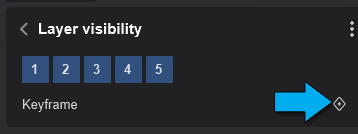
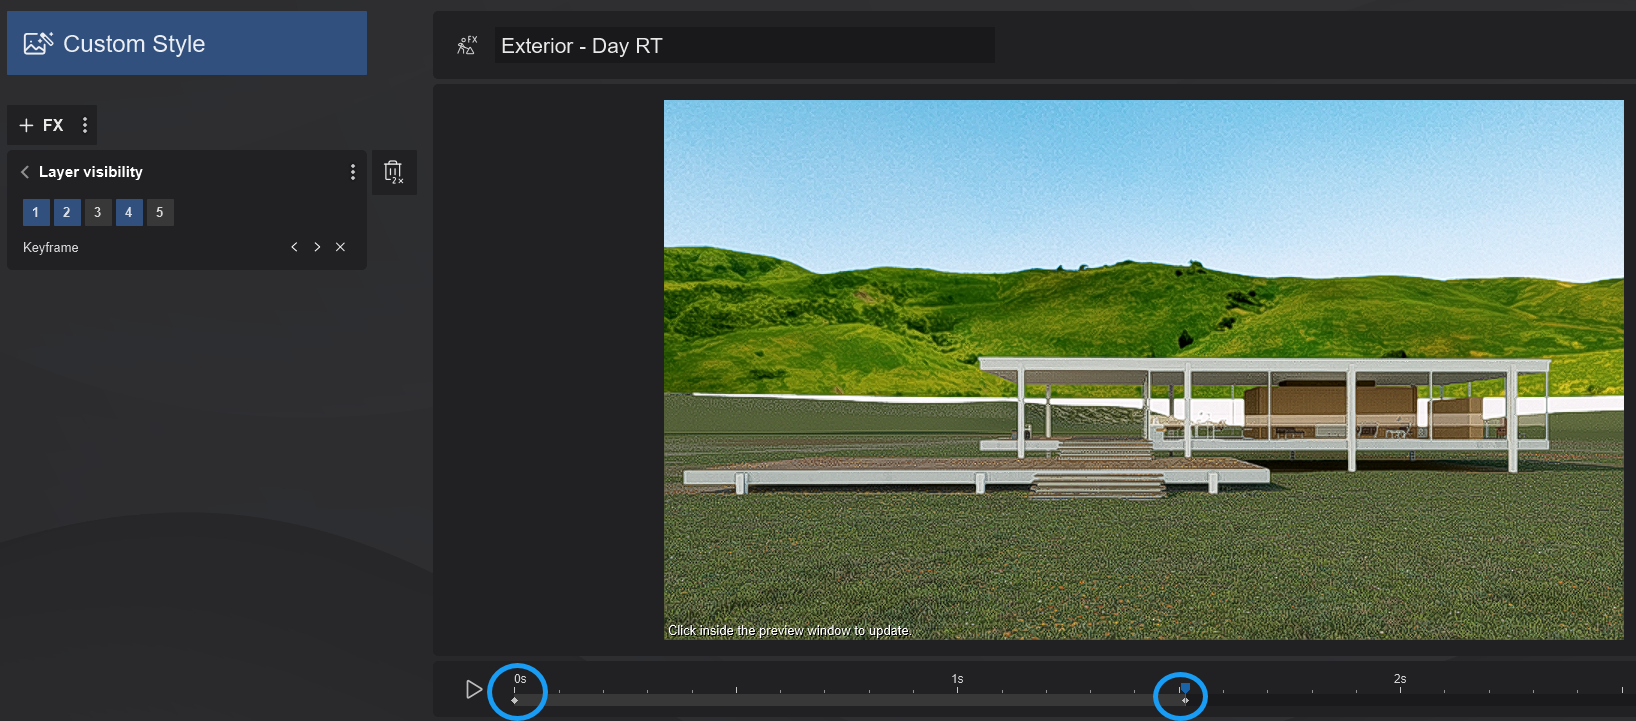
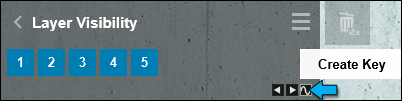
4.4: Animate the Layer states: In Movie Mode, you can also animate the visibility of Layers in your Clips with the Layer Visibility Effect.
Click on Create Key to add an animation Keyframe to the Clip:
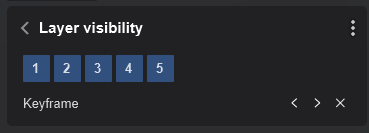
Here the first Keyframe has all Layers as Shown(visible):

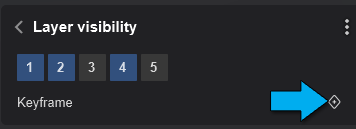
And here the next Keyframe hides Layers 2 and 5.
And you can see the result of the Objects that are now hidden when the Clip is rendered at that and further frames.
Prior to Lumion 12.5:
5. How does the Layer Visibility Effect work in Lumion 8.0-9.5?
5.1: The Layer Visibility Effect is available here:
Photo Mode or Movie Mode -> Add Effect -> Scene and Animation tab
5.2: In Photo Mode you can set the visibility of Layers for each Photo using the Layer Visibility Effect:
5.3: In Movie Mode, you can also animate the visibility of Layers in your Clips with the Layer Visibility Effect. Click on Create Key to add an animation Keyframe to the Clip:
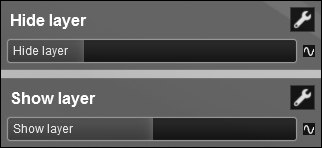
6. How do the Show Layer and Hide Layer Effects work in Lumion 7 and older versions?
6.1: The Show Layer and Hide Layer Effects are available here:
Photo Mode or Movie Mode -> New Effect -> Objects tab
6.2: In Photo Mode you can set the visibility of Layers for each Photo using the Show Layer and Hide Layer Effects:
6.3: In Movie Mode, you can also animate the visibility of Layers in your Clips with the Show Layer and Hide Layer Effects:

A Show Layer Effect only shows the one Layer (plus Layer 0 for the Lumion world). You can only use one Show Layer Effect at a time.
The Hide Layer Effect can be added multiple times to a Photo or Clip, so you can hide more than one Layer at a time.
See Also:
- Video Tutorial: Effects: Scene and Animation - The Layer Visibility Effect