How can you reduce rendering times?
1. Here's how
Render speed will decrease if your Project is 'too complex' and if your hardware is not powerful enough and/or lacks available System Memory and Virtual Memory.
The symptoms of a 'too complex' Project are that the screen may turn white and your PC becomes unresponsive while rendering.
1.1: Reduce the Complexity of the content:
To reduce the time it takes to render a Photo or a Clip, you should try to reduce the number of each of the following elements in your Project.
1.2: Change Output Settings:
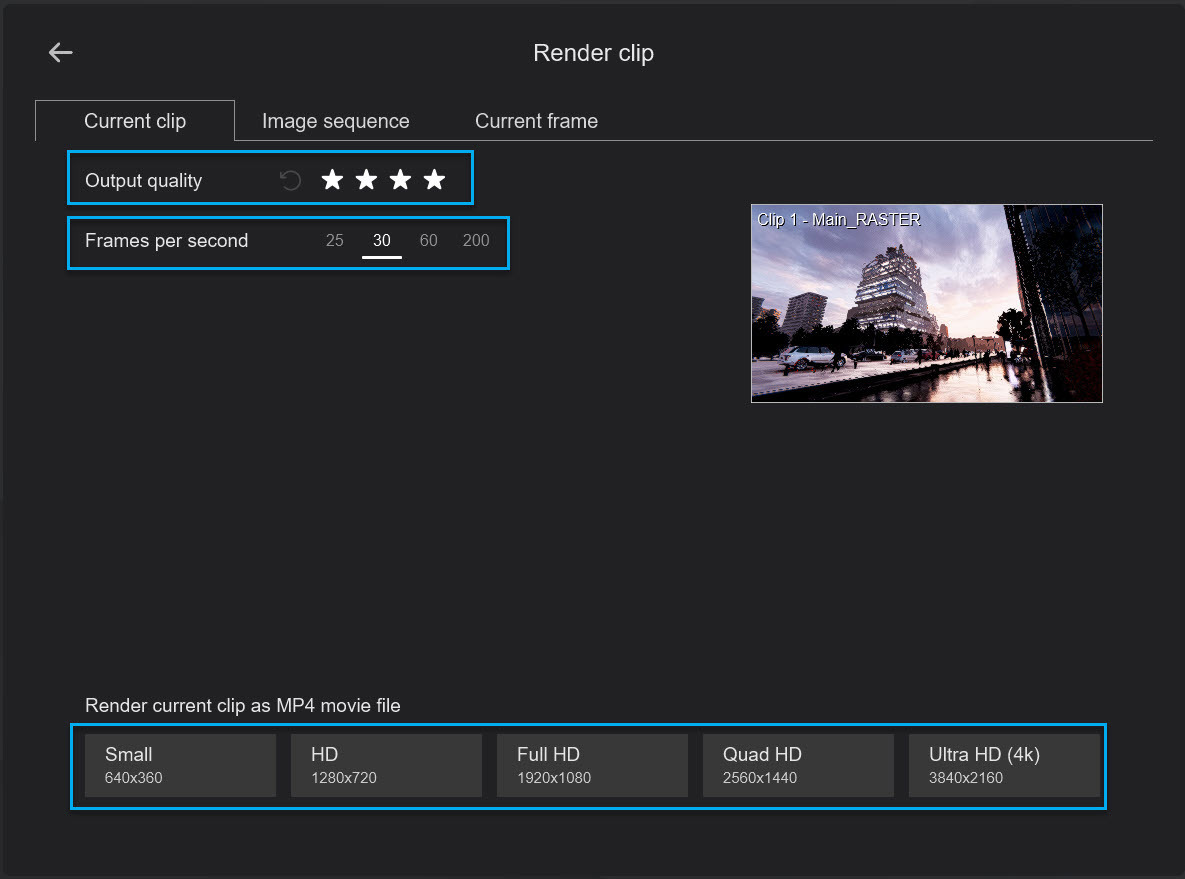
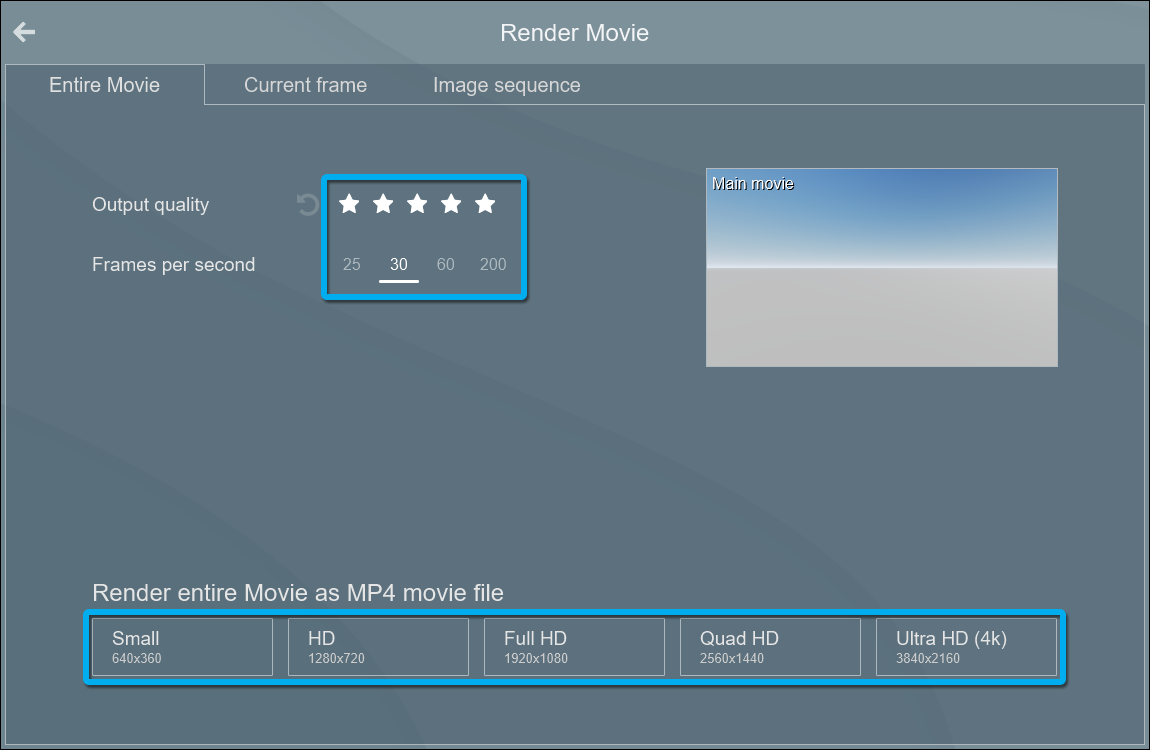
You can also shorten render times by reducing the Output quality, the Frames per second, and the Output resolution.
- For example, rendering a Clip at 1280x720 pixels in 3-star quality is a lot faster than rendering the Clip at 3840x2160 pixels in 5-star quality.
- You can directly affect the render time and cut it in half by reducing the Frames per Second to 30 instead of 60. 60 is only needed for some high speed Object animations, or fast camera pans.
- Consider also rendering per Clip where only a specific Clip might need higher frame rates, rather than for all Clips.
Version 2023 and newer:

Version 12.5 and older:

1.3: Reducing the resolution and then using upscaling software. Some upscalers are listed in this article:
1.4: Add in-between Frames with AI:
1.4.1: Reduce the length (time) of the Clip to half.
Lumion 2023:

Lumion 12:

1.4.2: After rendering, use AI (artificial intelligence) software to create the additional frames, for example, to double your frames back to the length of the Clip you had by adding a frame in-between each other of the Lumion rendered frames. Some examples of such software include:
- External Link: Flowframes - Fast Video Interpolation for any GPU
- External Link: SmoothVideo Project (check first it meets your requirements)
- External Link: FluidFrames.RIFE
2. Which content and features are the most demanding for your computer?
In general, the more textures, models, and details you add while editing your Project, the more demanding the whole Project will be on your computer.
The high-end Lumion features mentioned in table 1.1 (above) demand much more from your hardware.
Not only will your screen frame rate be affected, but the render time may also increase. A computer system that has at least the Recommended system requirements will provide you with a smooth experience, but you can always push things too far depending on what you add to your Project.
If you find that your Project has become 'too complex' and that your screen frame rate and render times have become affected, then see this article:
- Knowledge Base: How can you improve performance within Lumion?
See Also:


