How do you import 2D cut-outs of people?
Here's how
You can import 2D cut-outs of people and make them turn so that they always face (look at) the camera.
1. Character Billboards in Lumion 12 and newer.
Lumion 12 introduces a new feature of Character Billboards. With this new Object, you can easily create camera-facing 2D content. It allows you to make use of 2D people cut-outs as well as other graphics options such as graphic pointers or callouts.
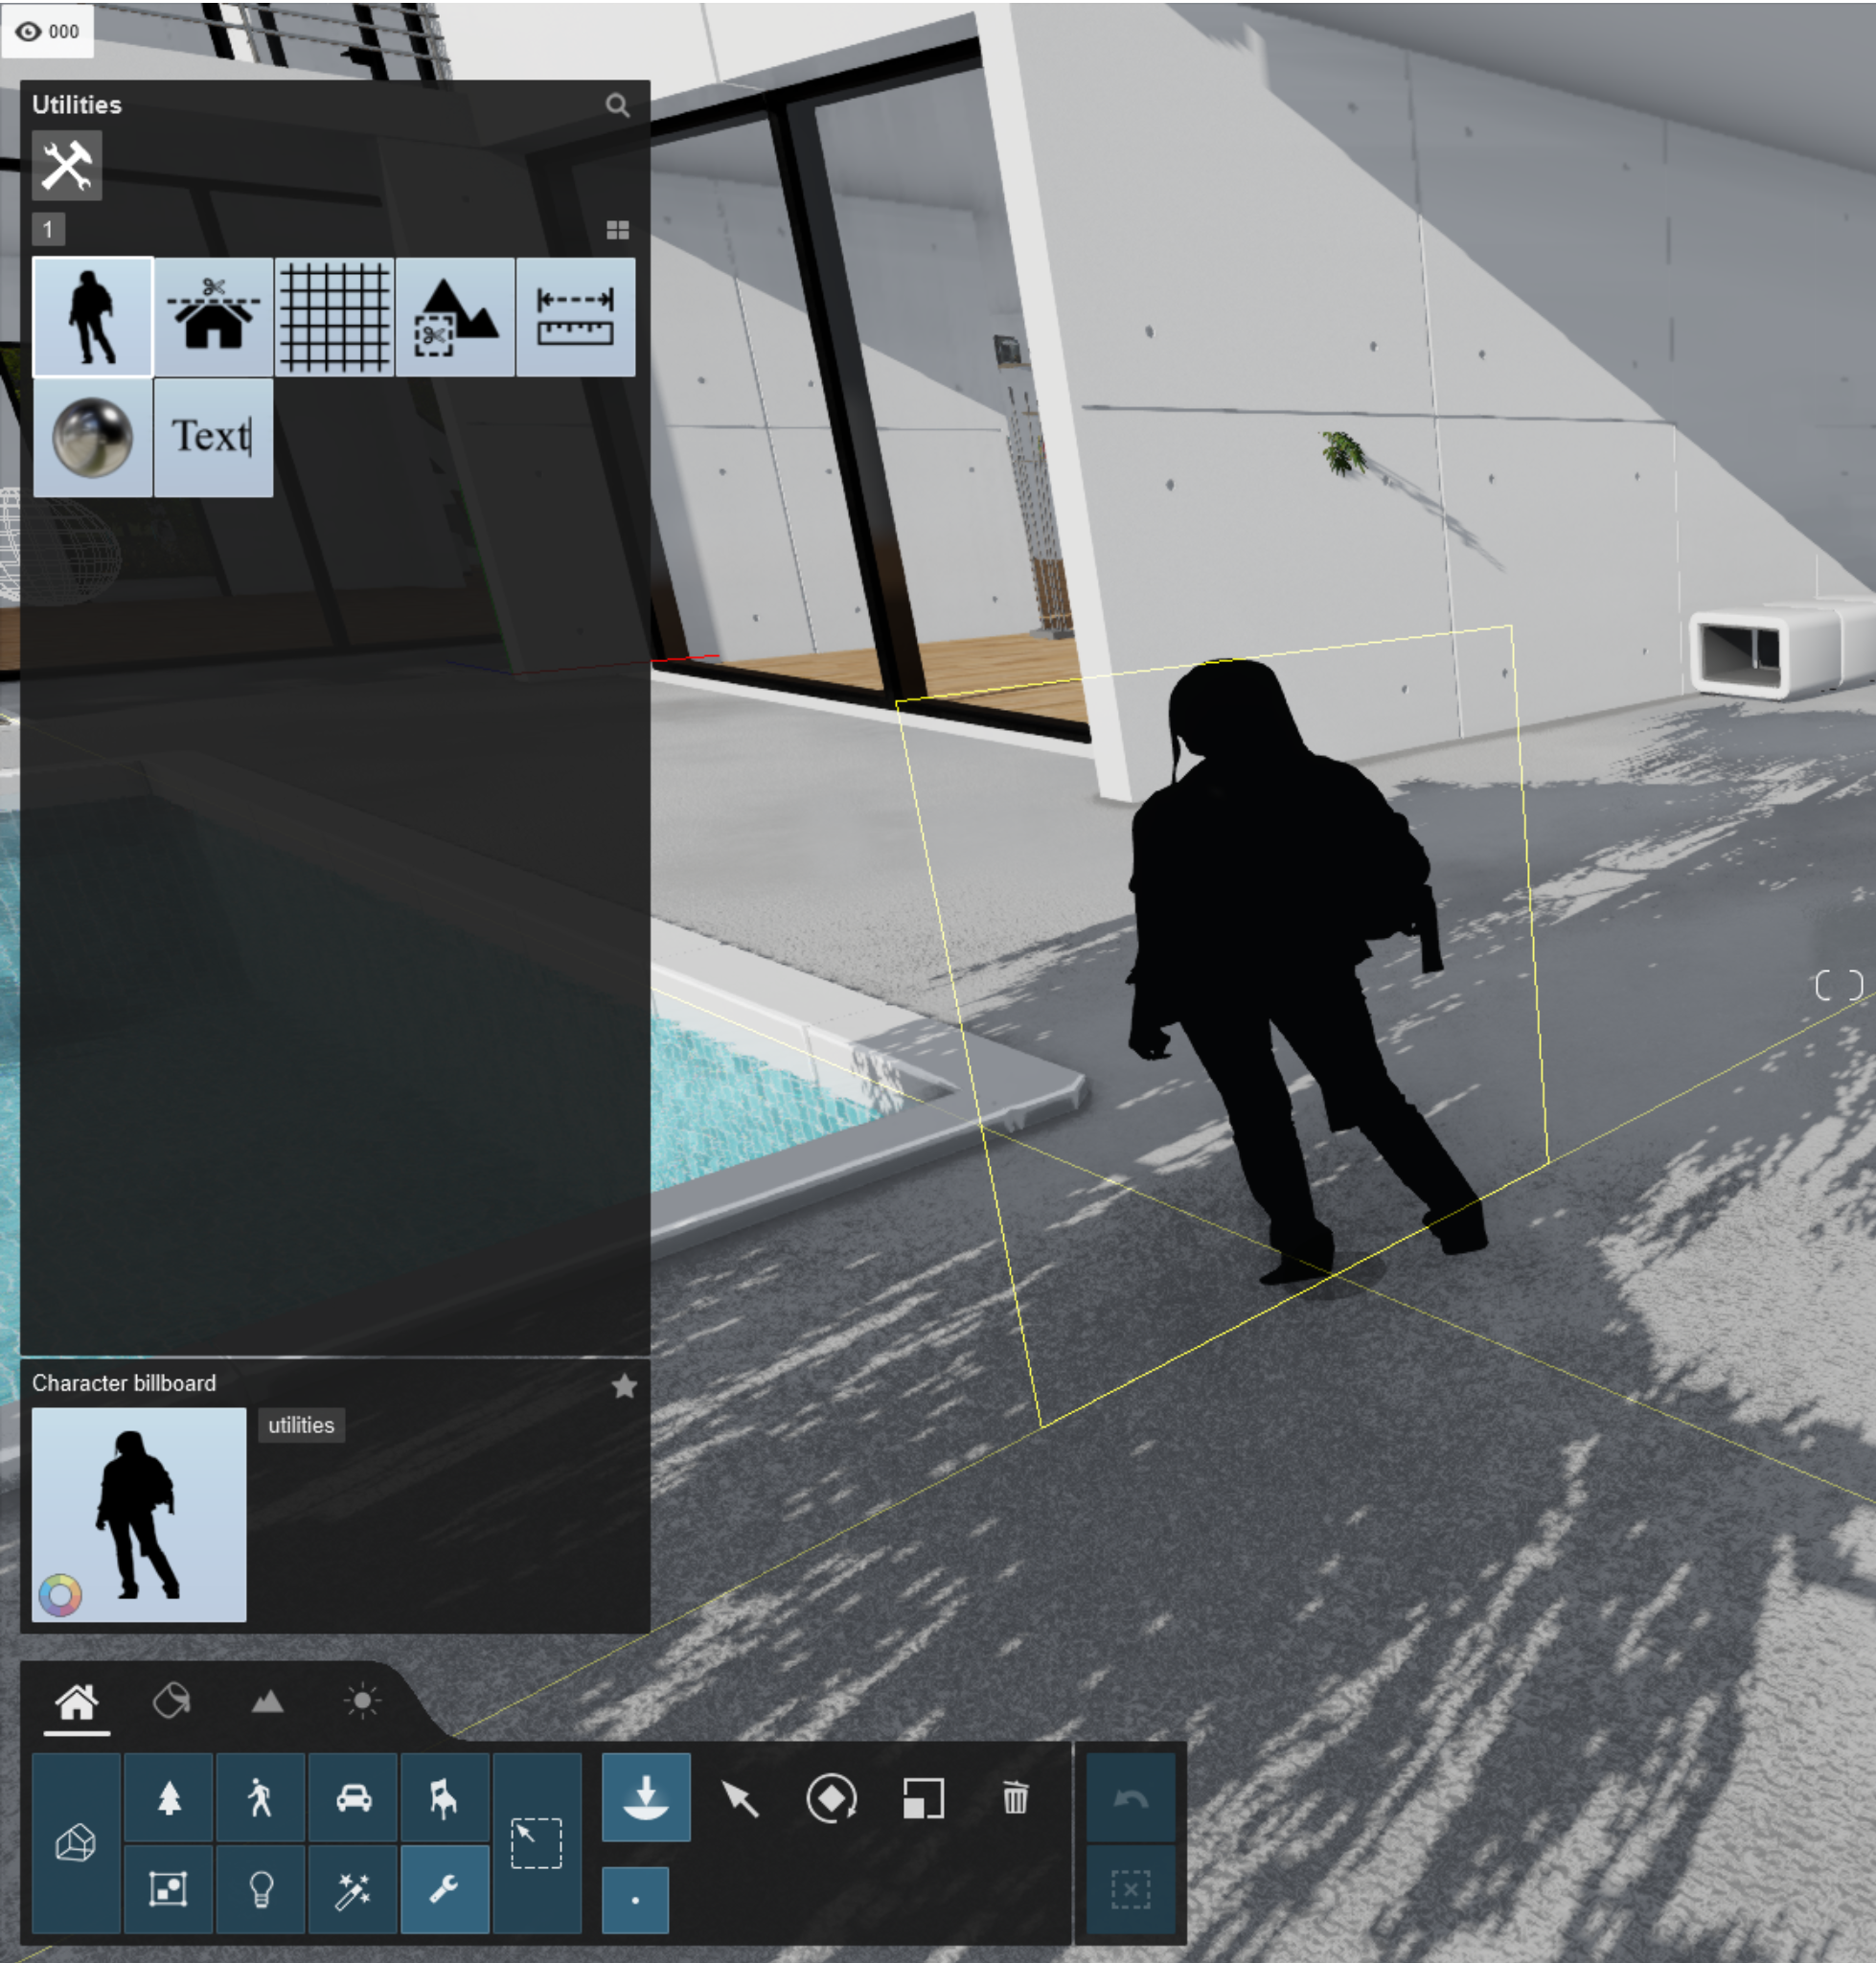
1.1: Select Place Mode and click on Utilities.
1.2: Select the Character Billboard Object type:

1.3: Place the Object in your Project:
1.4: With the Object selected, click on the Load new texture from disk button to load a 2D cut-out image from a file:

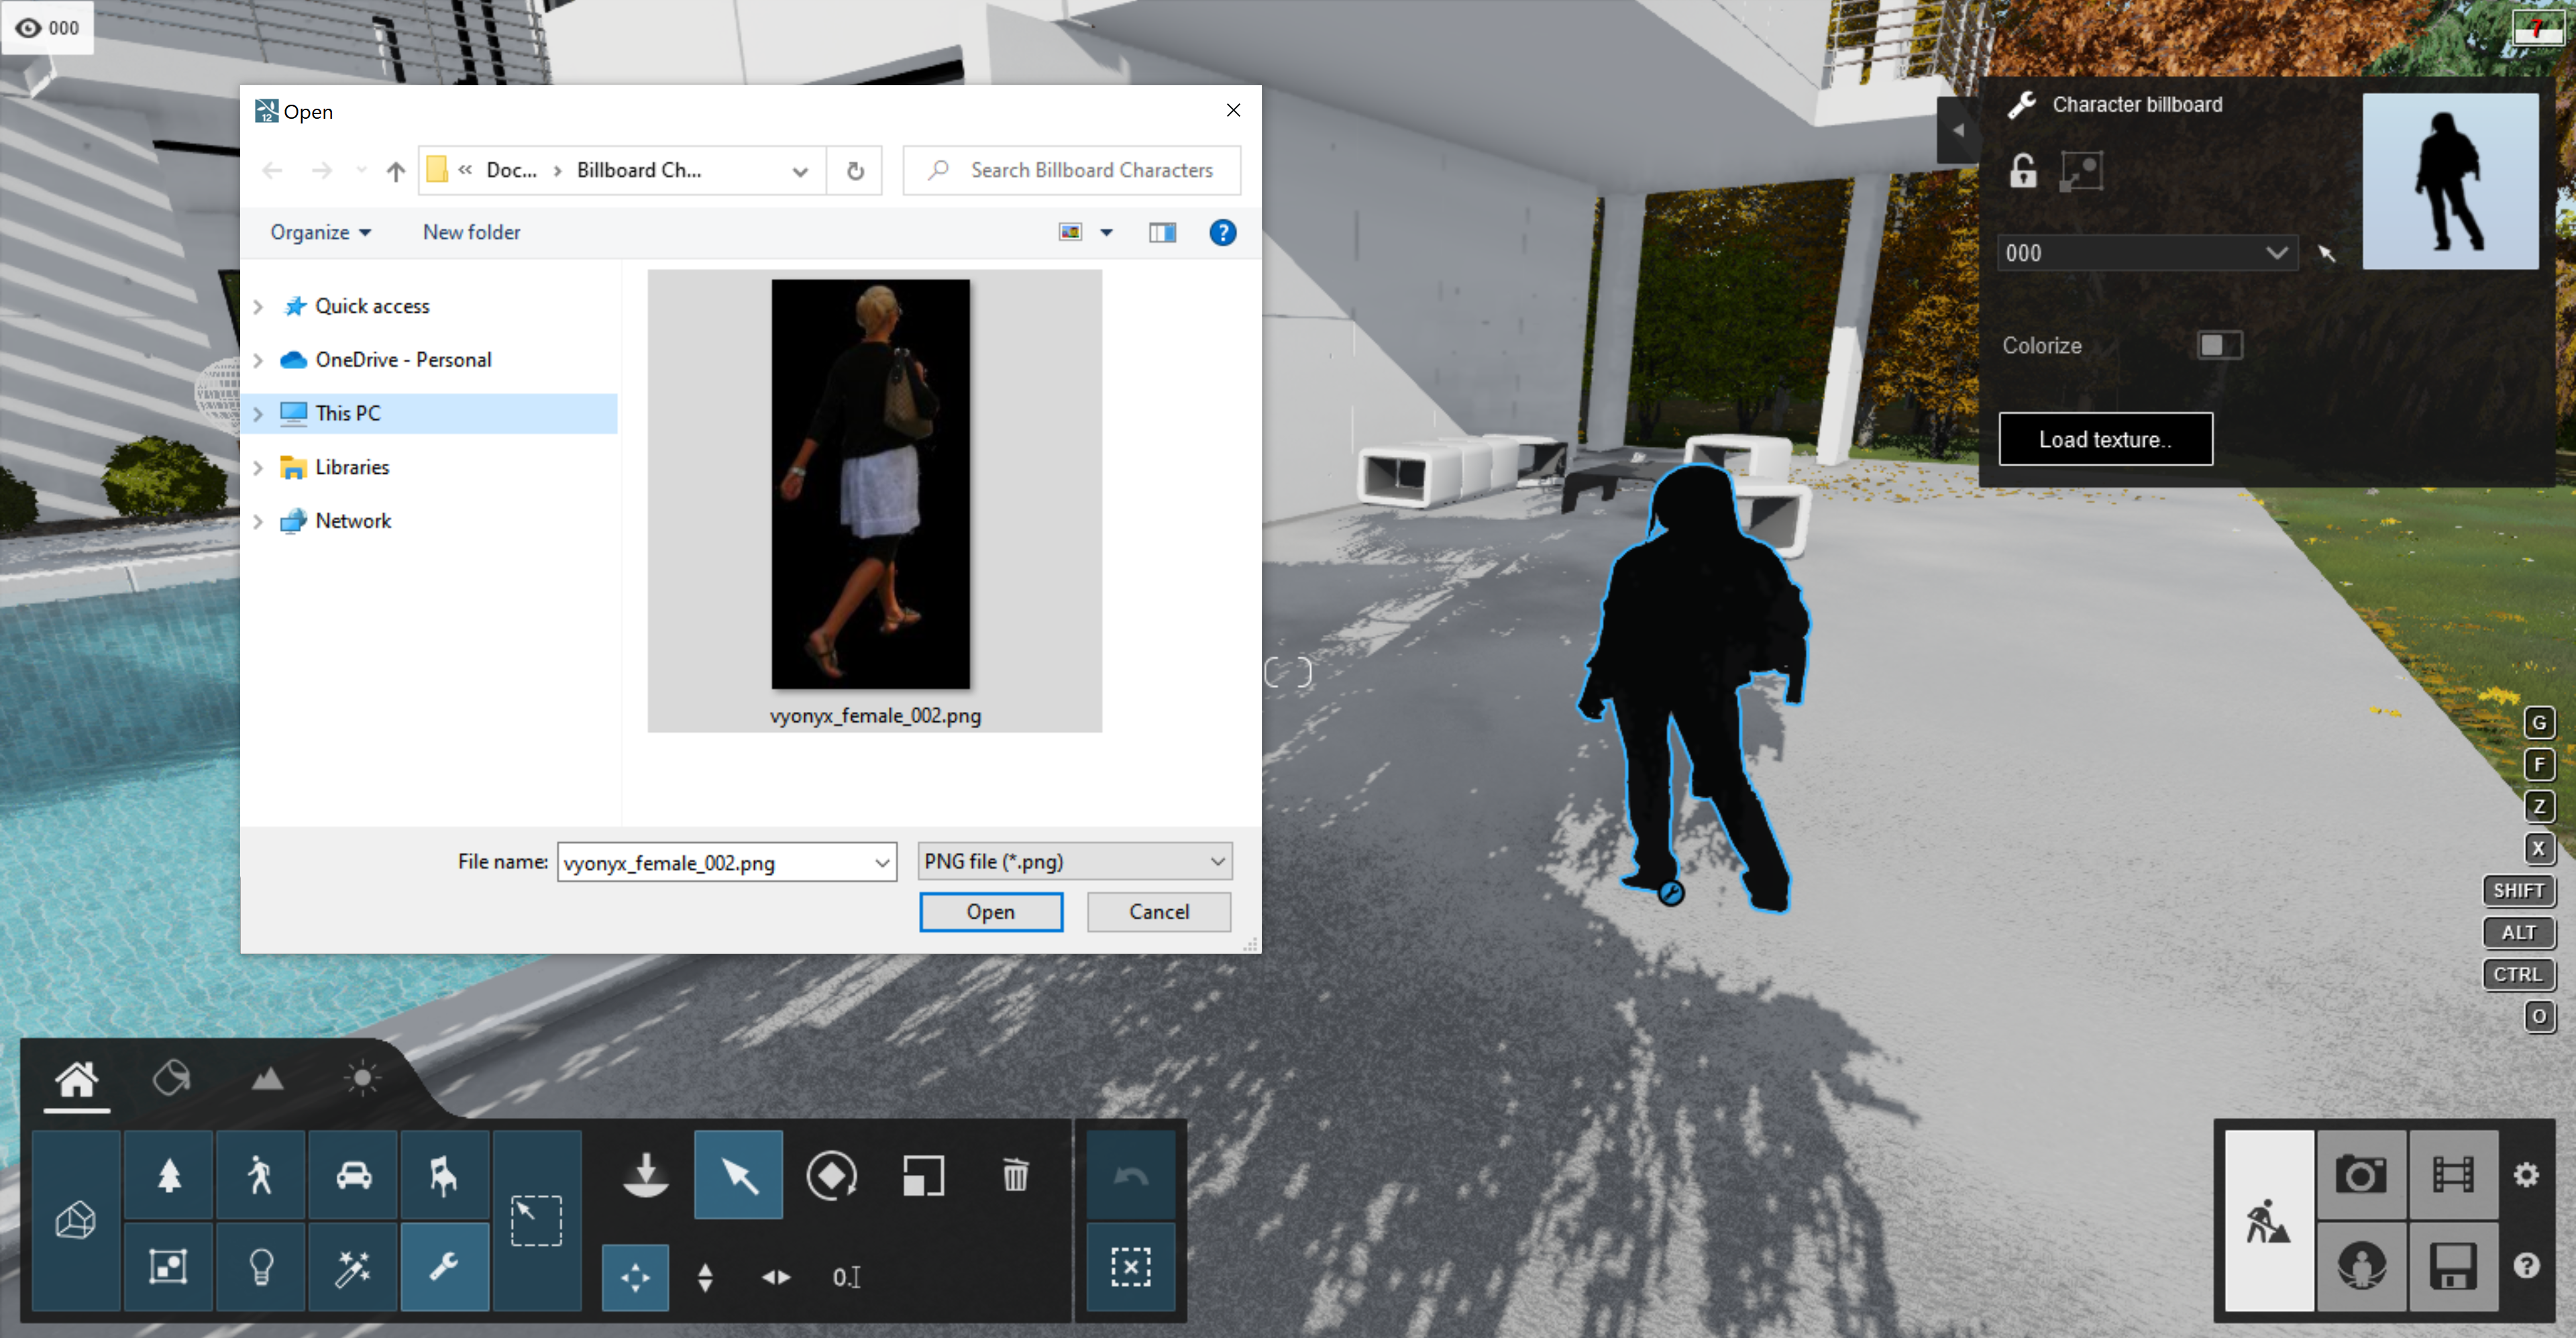

[Credits: Vyonyx.com, 2d image file: vyonyx_female_002.png]
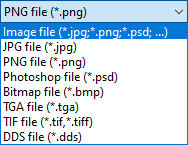
The image file for 2D people cut-outs should be in a format that has a transparent background, for example, PNG, TGA, TIFF, DDS or 32 bit BMP.
Non-transparent file formats are also supported such as JPG or non-transparent PNG, BMP.
1.5: The Object loads the texture at a default size of 1m in height. The object is sized proportionally to the resolution of the image. For example, if your image has a resolution of 900 pixels high and 450 pixels wide, then the object will be sized 1m high and 0.45m wide.
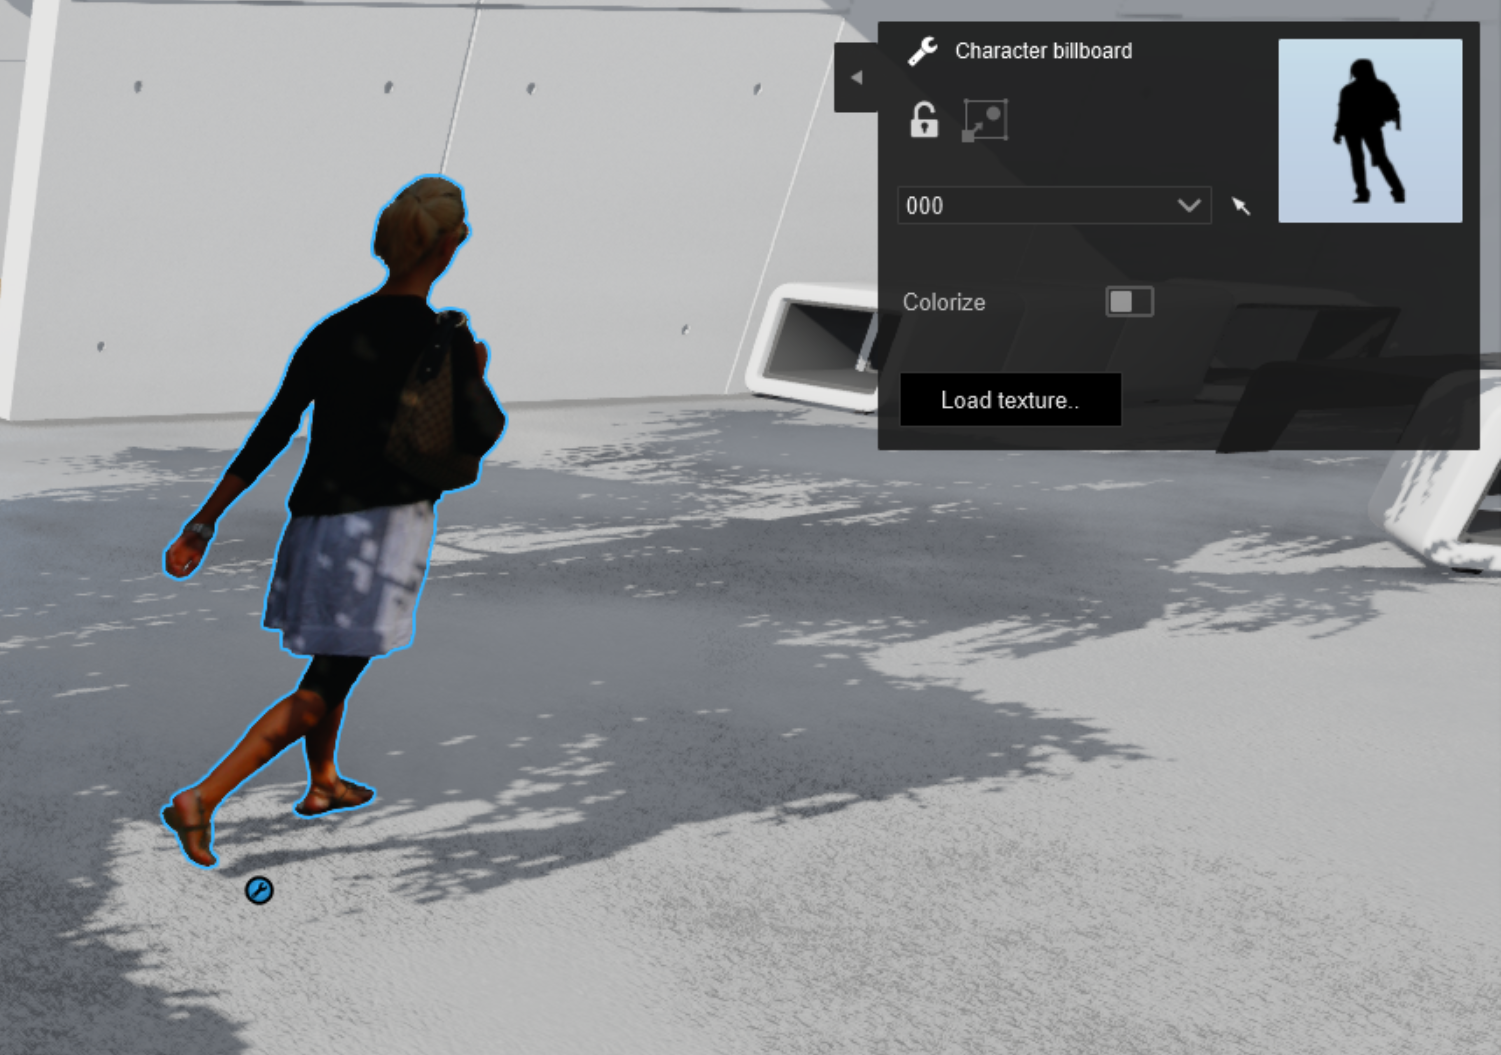
1.6: This temporary scaling of course will not fit the exact dimensions of the required real-world model.
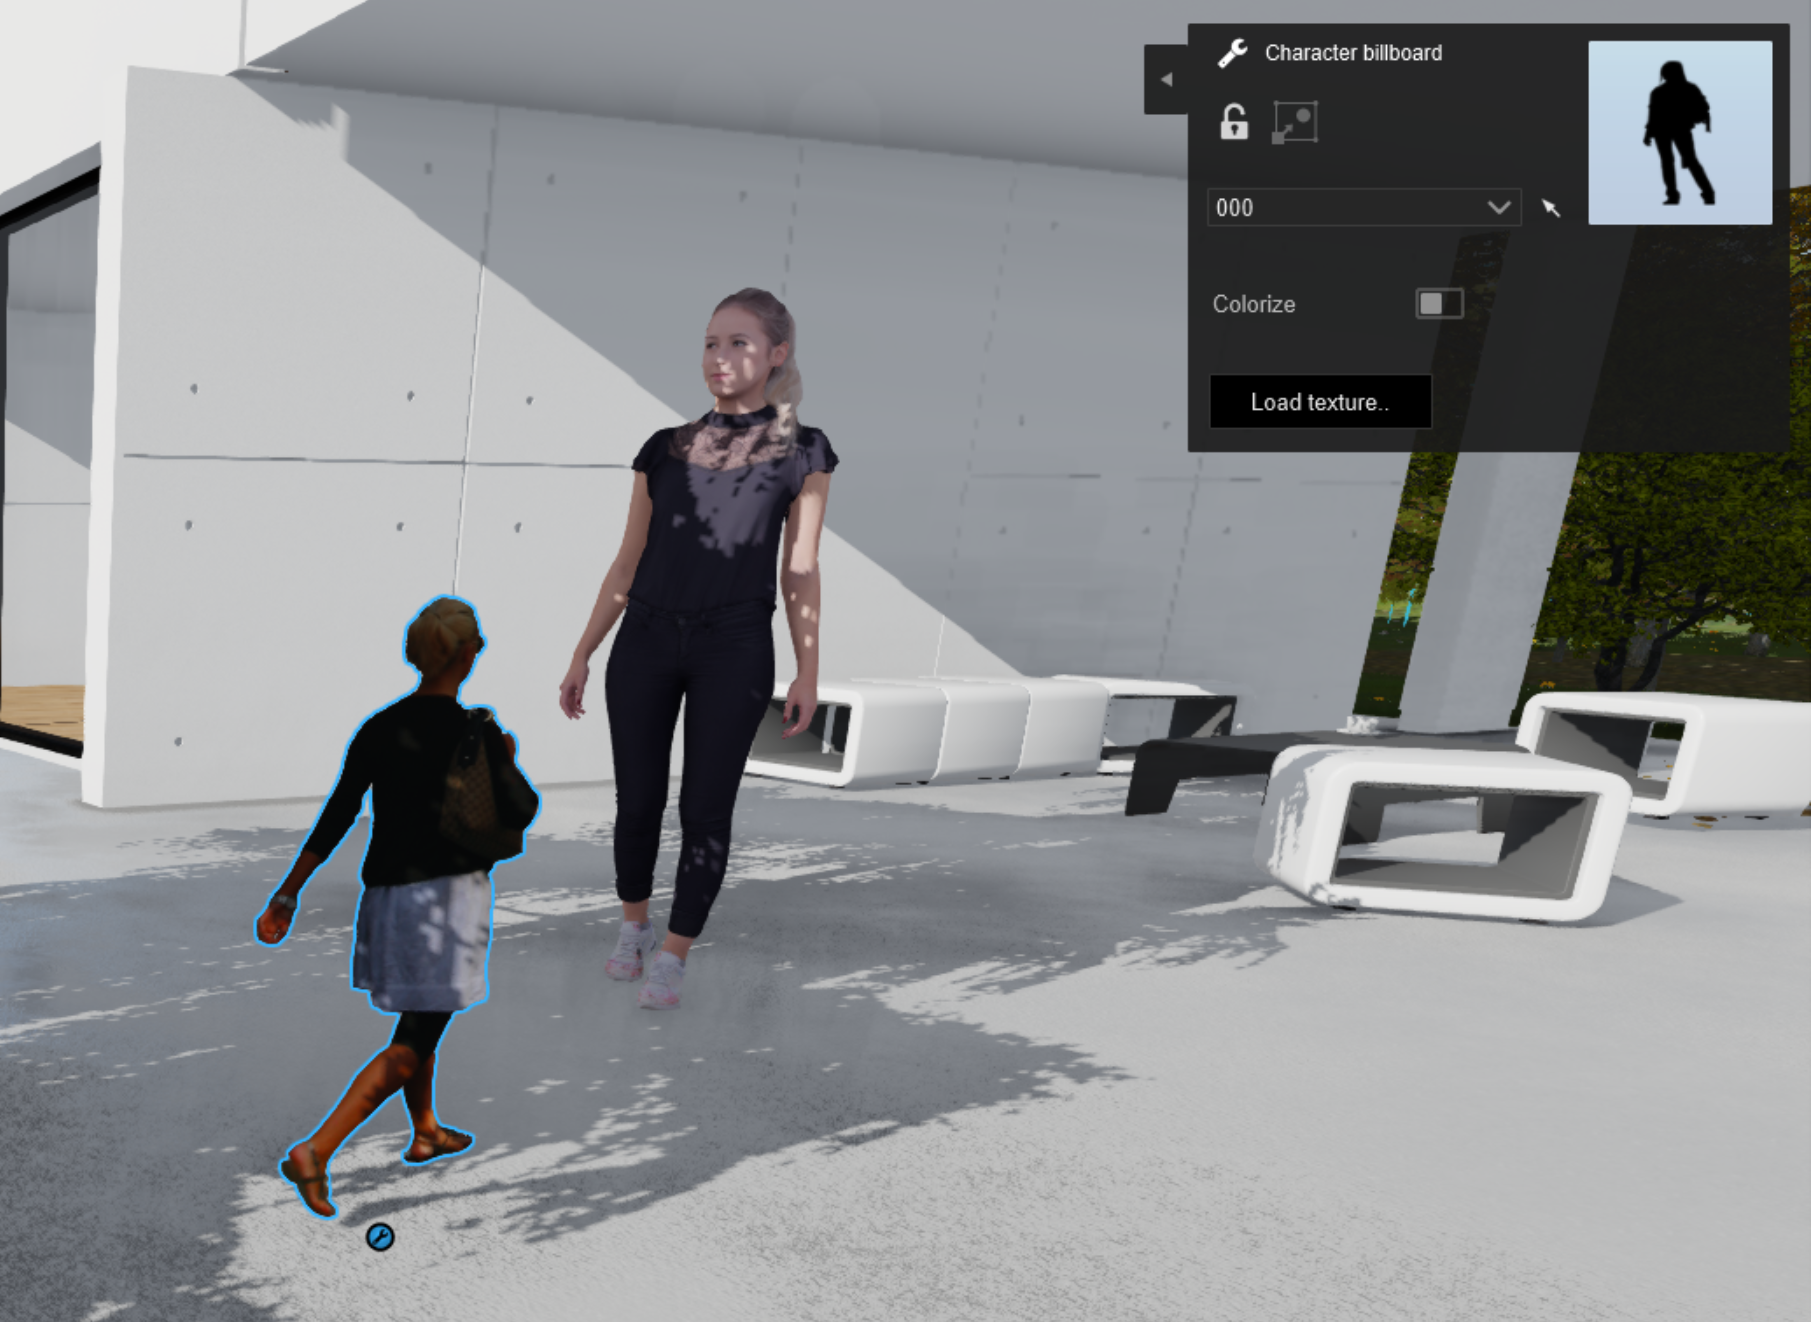
Simply use the Scale button and slider to change the size - usually as a height reference to what you need. Because the Object is correctly sized to the image proportions then you should not need to amend the width (which is not possible with the Scale tool).
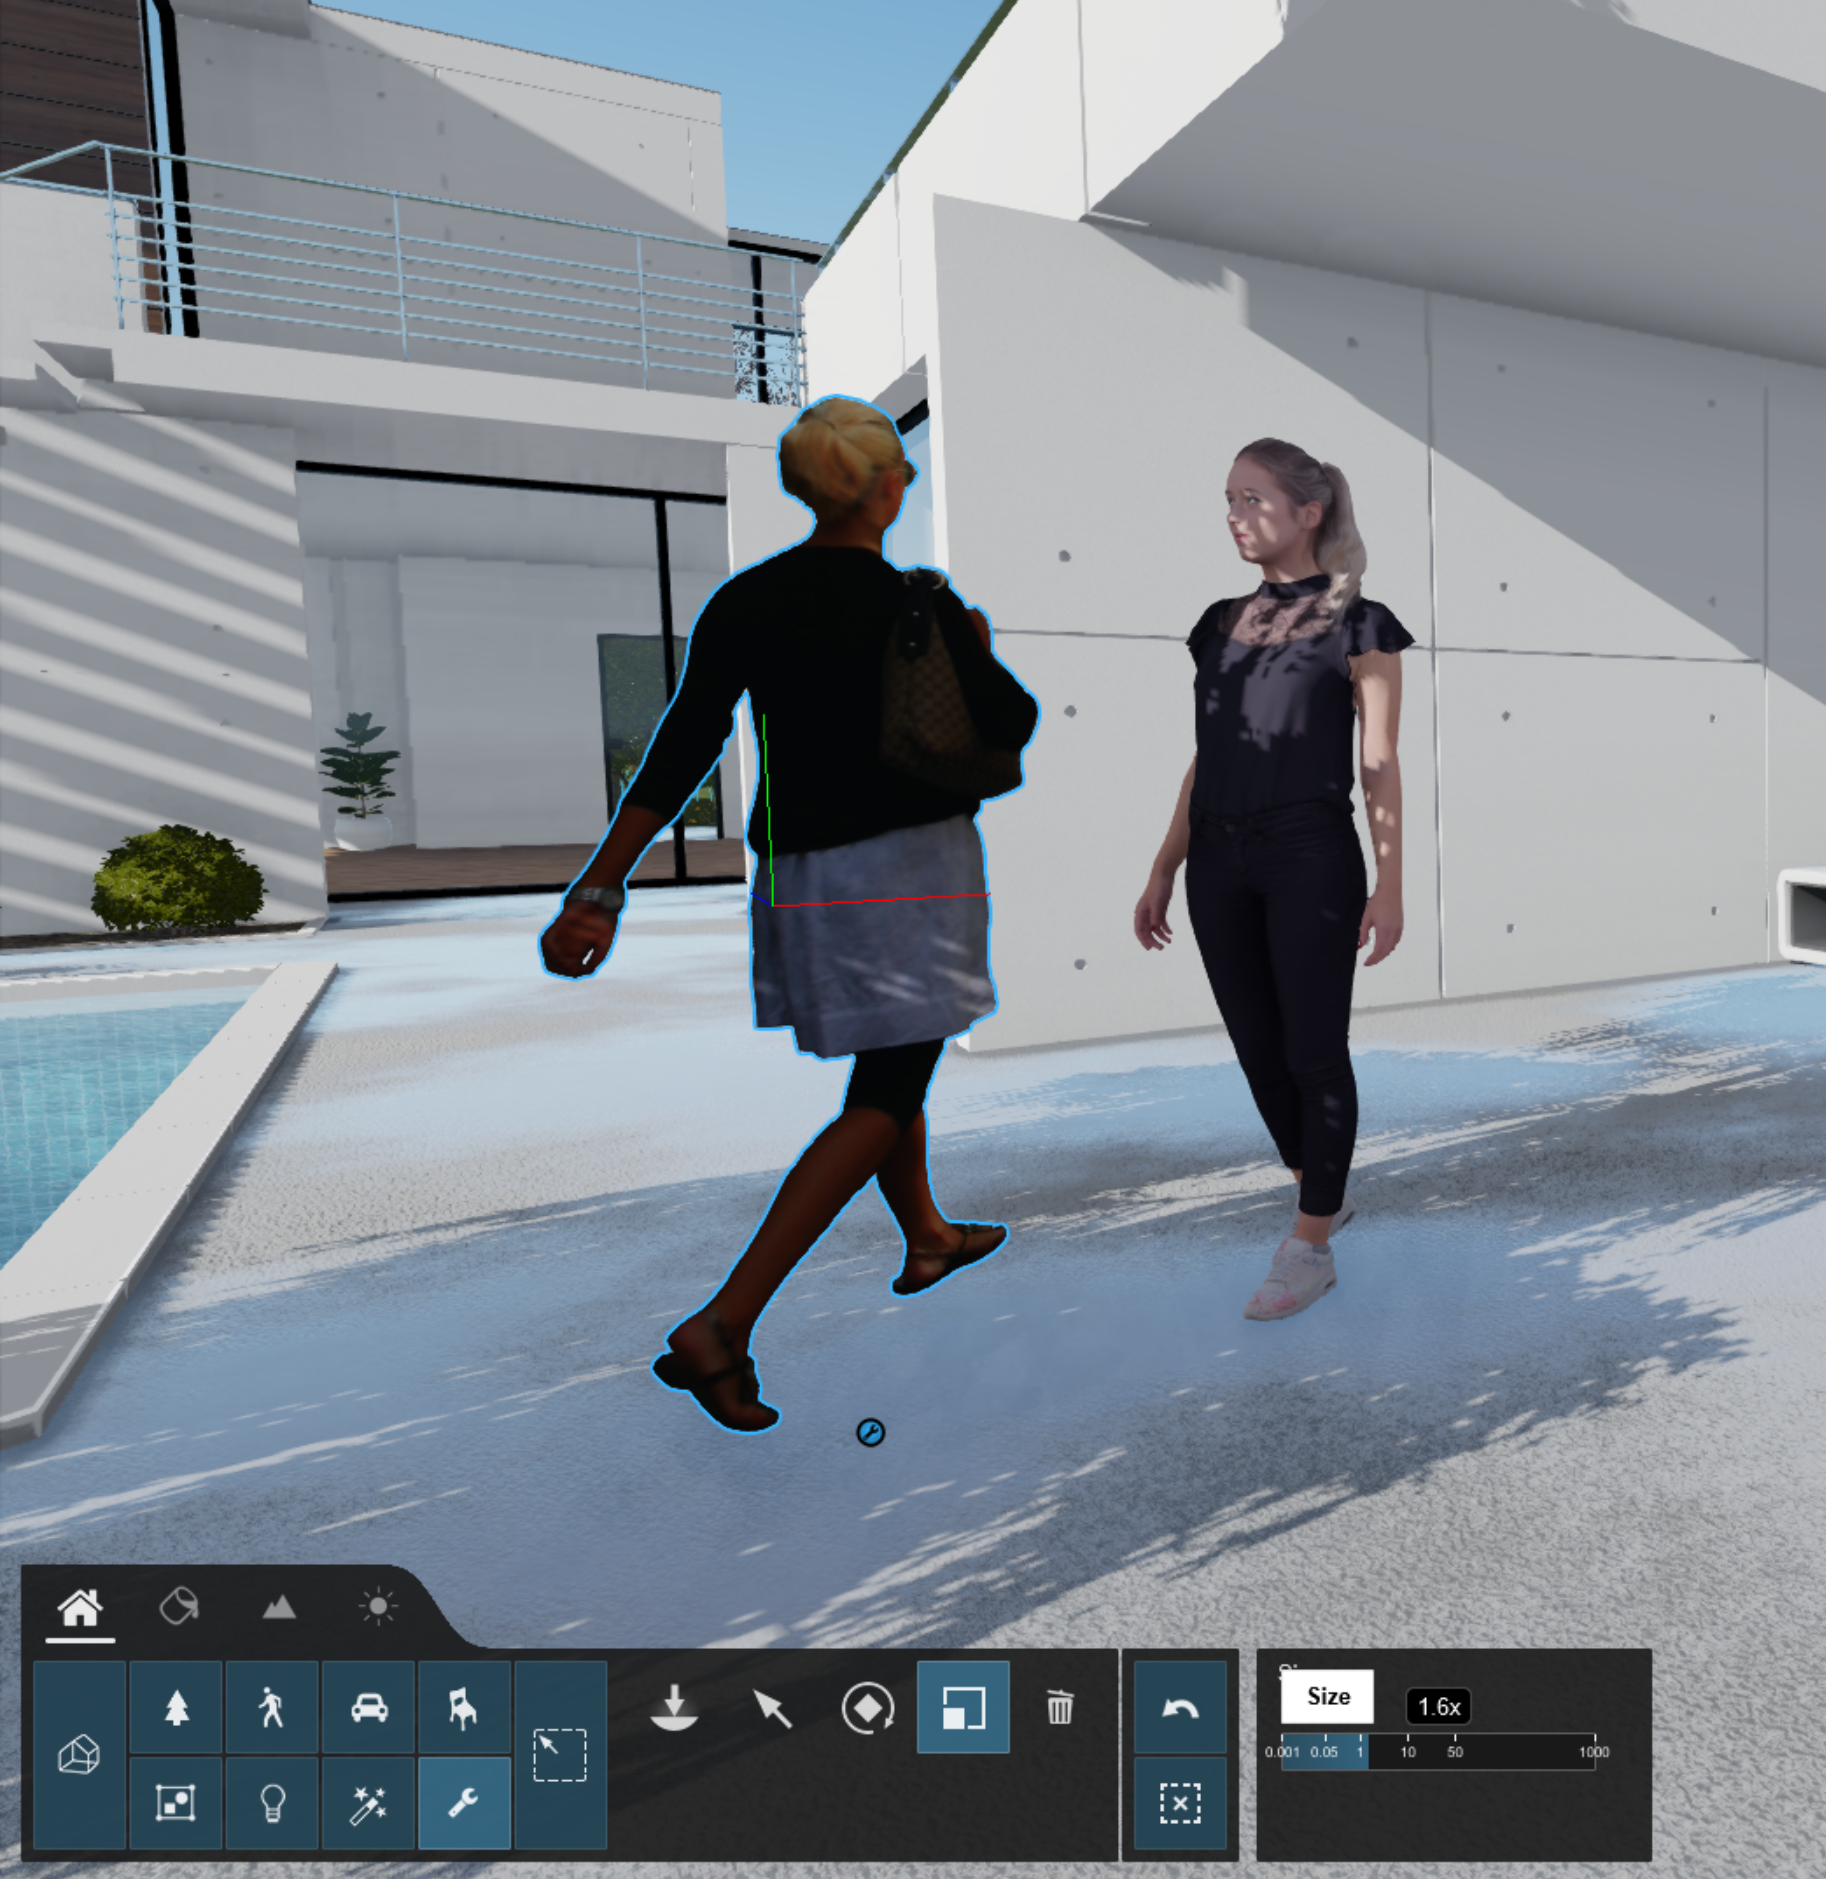
If the size of the Character Billboard Object is not as needed, then you should amend the dimensions of the image file/texture in an image editor.
1.7: Other uses of the Character Billboard Object - graphics and callouts.
Lumion includes the Simple Text Object for making text pointers. By adding your own designed graphic you can extend the way you can present your Projects including animating the Character Billboard Object in Movie Mode.
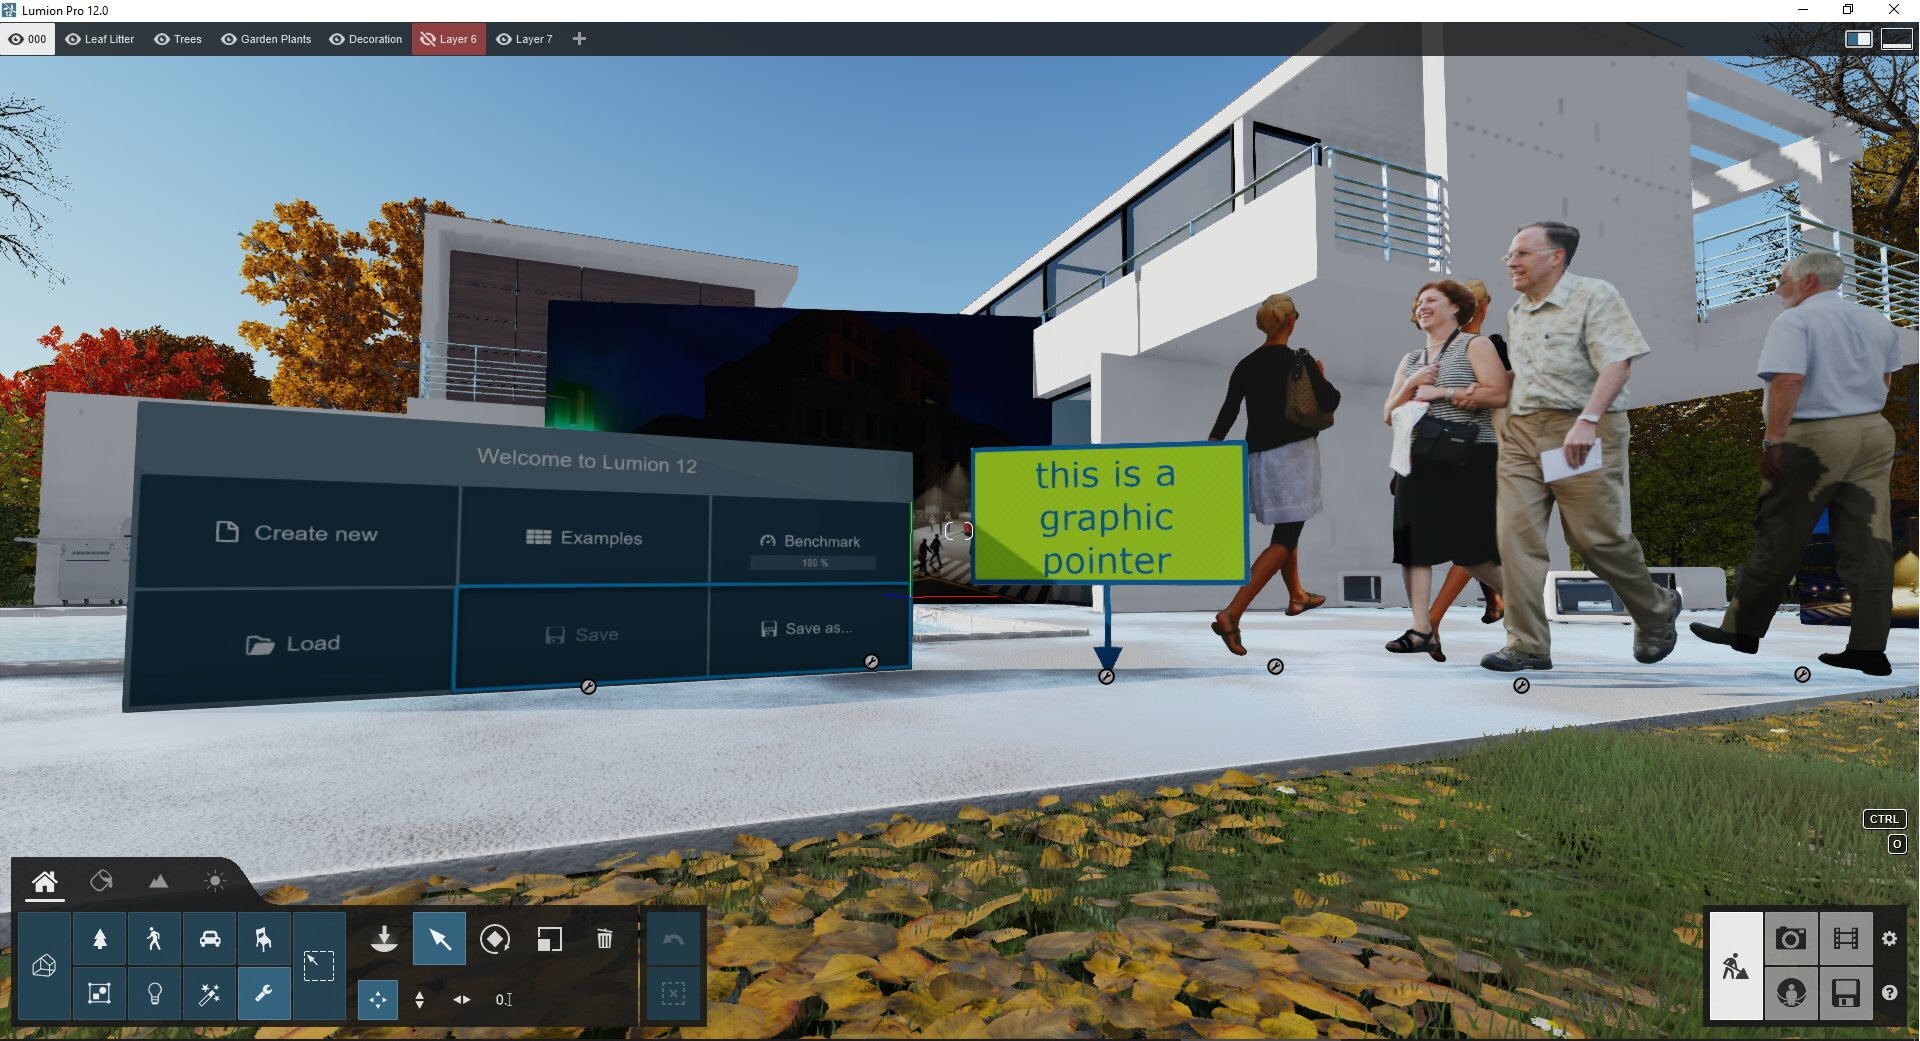
1.8: Content created with the Character Billboard Object, like Simple Text (2D) and Measure Objects are saved within the Project. There is no current option to have them in your own Library. For that, use option 2 below for importing 2D cut-outs using the Billboard Material.
2. Billboard Material in all versions of Lumion.
2.1: In your 3D modeling application, you'll need to create a plane that faces the Front view. Position the plane so that the base of the plane, i.e. the midpoint of the lowest edge, is centered at 0,0,0.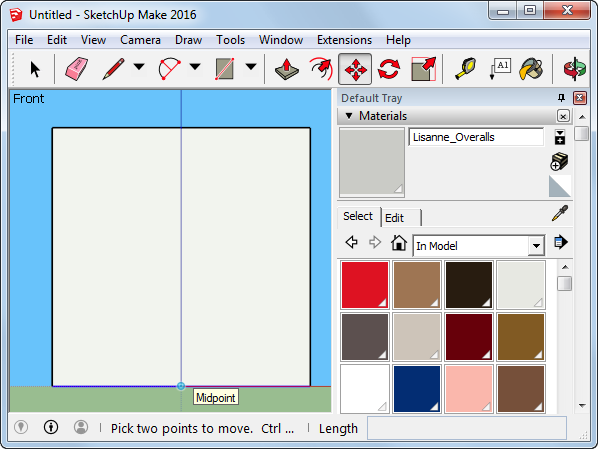
2.2: Apply a PNG texture with transparency (Click here to see some examples) or a 32-bit texture with an alpha channel (Click here for more details) to the plane and make sure that the texture is positioned and scaled correctly.
TIP: If you are using SketchUp, simply drag the texture into the 3D view and a plane will be created automatically, so that you only need to scale and center the plane at 0,0,0.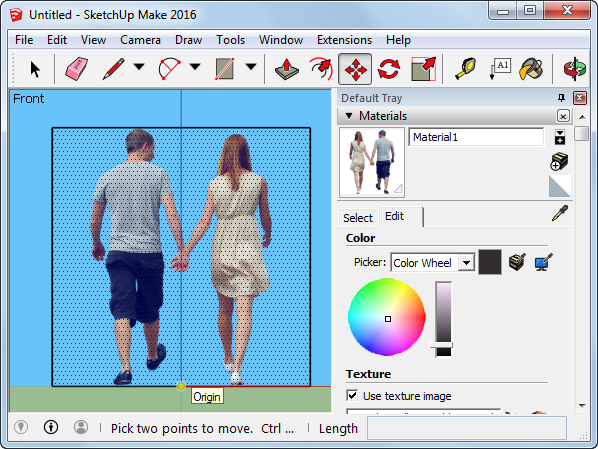
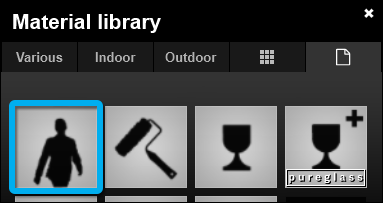
2.3: Import the plane in Lumion, and add a Billboard Material to it:
2.4: If the plane becomes invisible, it means that the plane is facing away from the camera instead of towards it. To fix this, turn it 180 degrees in your 3D modeling application and re-import the model in Lumion.
2.5: If the plane turns into a vertical line after you apply the Billboard Material to it, it means that it needs to be turned 90 degrees in your 3D modeling application before re-importing it.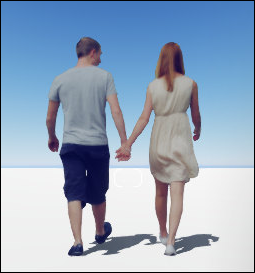
See Also:
- Video Tutorial: Lumion 9: Create Custom 2D People

