How do you create a walkthrough video at eye level?
1. Here's how
1.1: Lumion 9.0 and newer versions: Please skip step 1.2 and continue with step 1.3.
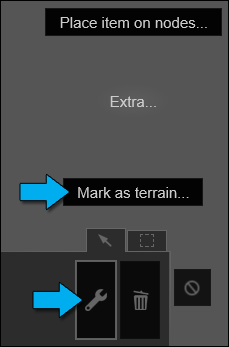
1.2: Lumion 8.5 and older versions: Import your model in Lumion and use the Mark as terrain function, even if the model includes buildings. This ensures that the Set Eye Level function in step 1.4 will work:
- Context Menu -> Click on the Object Icon -> Extra -> Mark as terrain -> On

1.3: In Photo or Movie Mode, place the camera just above the Lumion Landscape or your Imported Model.
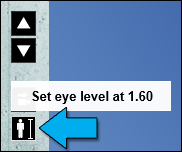
1.4: When you click on the Set eye level button, the camera will be placed at eye level, i.e. 5'3" (= 1.60m) above your Imported Model.
If no Imported Model is present below the camera, it will be placed 5'3" (= 1.60m) above the Lumion Terrain:
Lumion 9.0 and newer versions:

Lumion 8.5 and older versions:

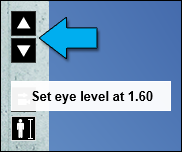
1.5: Adjust the camera height by clicking on the Move up and Move down buttons:
Lumion 9.0 and newer versions:

Lumion 8.5 and older versions:

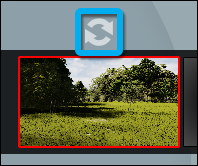
1.6: Click on the Take Photo button to save the camera keyframe:

1.7: If you are creating a camera animation in Movie Mode, repeat the steps above to add additional camera keyframes to the Clip.

