How do you create a 360 degree turntable animation?
Here's how
1. Lumion 2023 and newer
Use the Orbit Path Camera Preset
See this article for instructions:
- Knowledge Base: How do Camera Path presets work?
2. All versions of Lumion
Animate the Object using the Advanced Move Effect.
2.1: Create a Clip in Movie Mode. The Clip duration should be divisible by 4, for example, 8 seconds, 12 seconds, 16 seconds, etc.
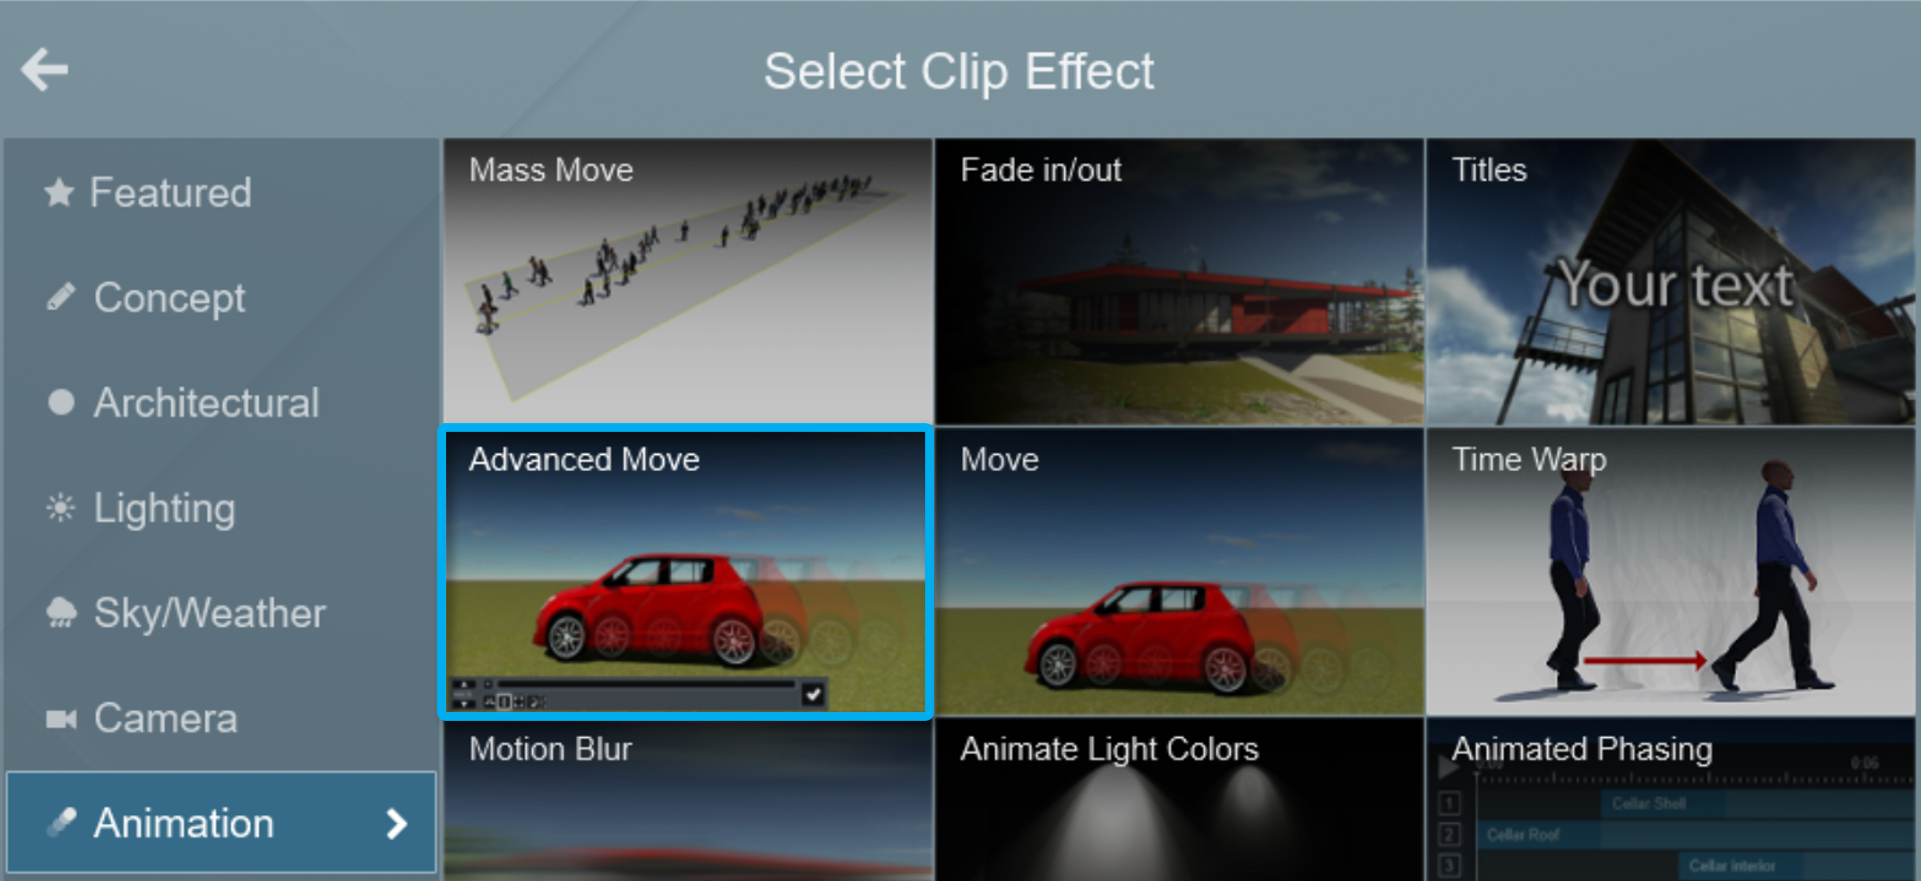
2.2: Add an Advanced Move Effect to the Clip:

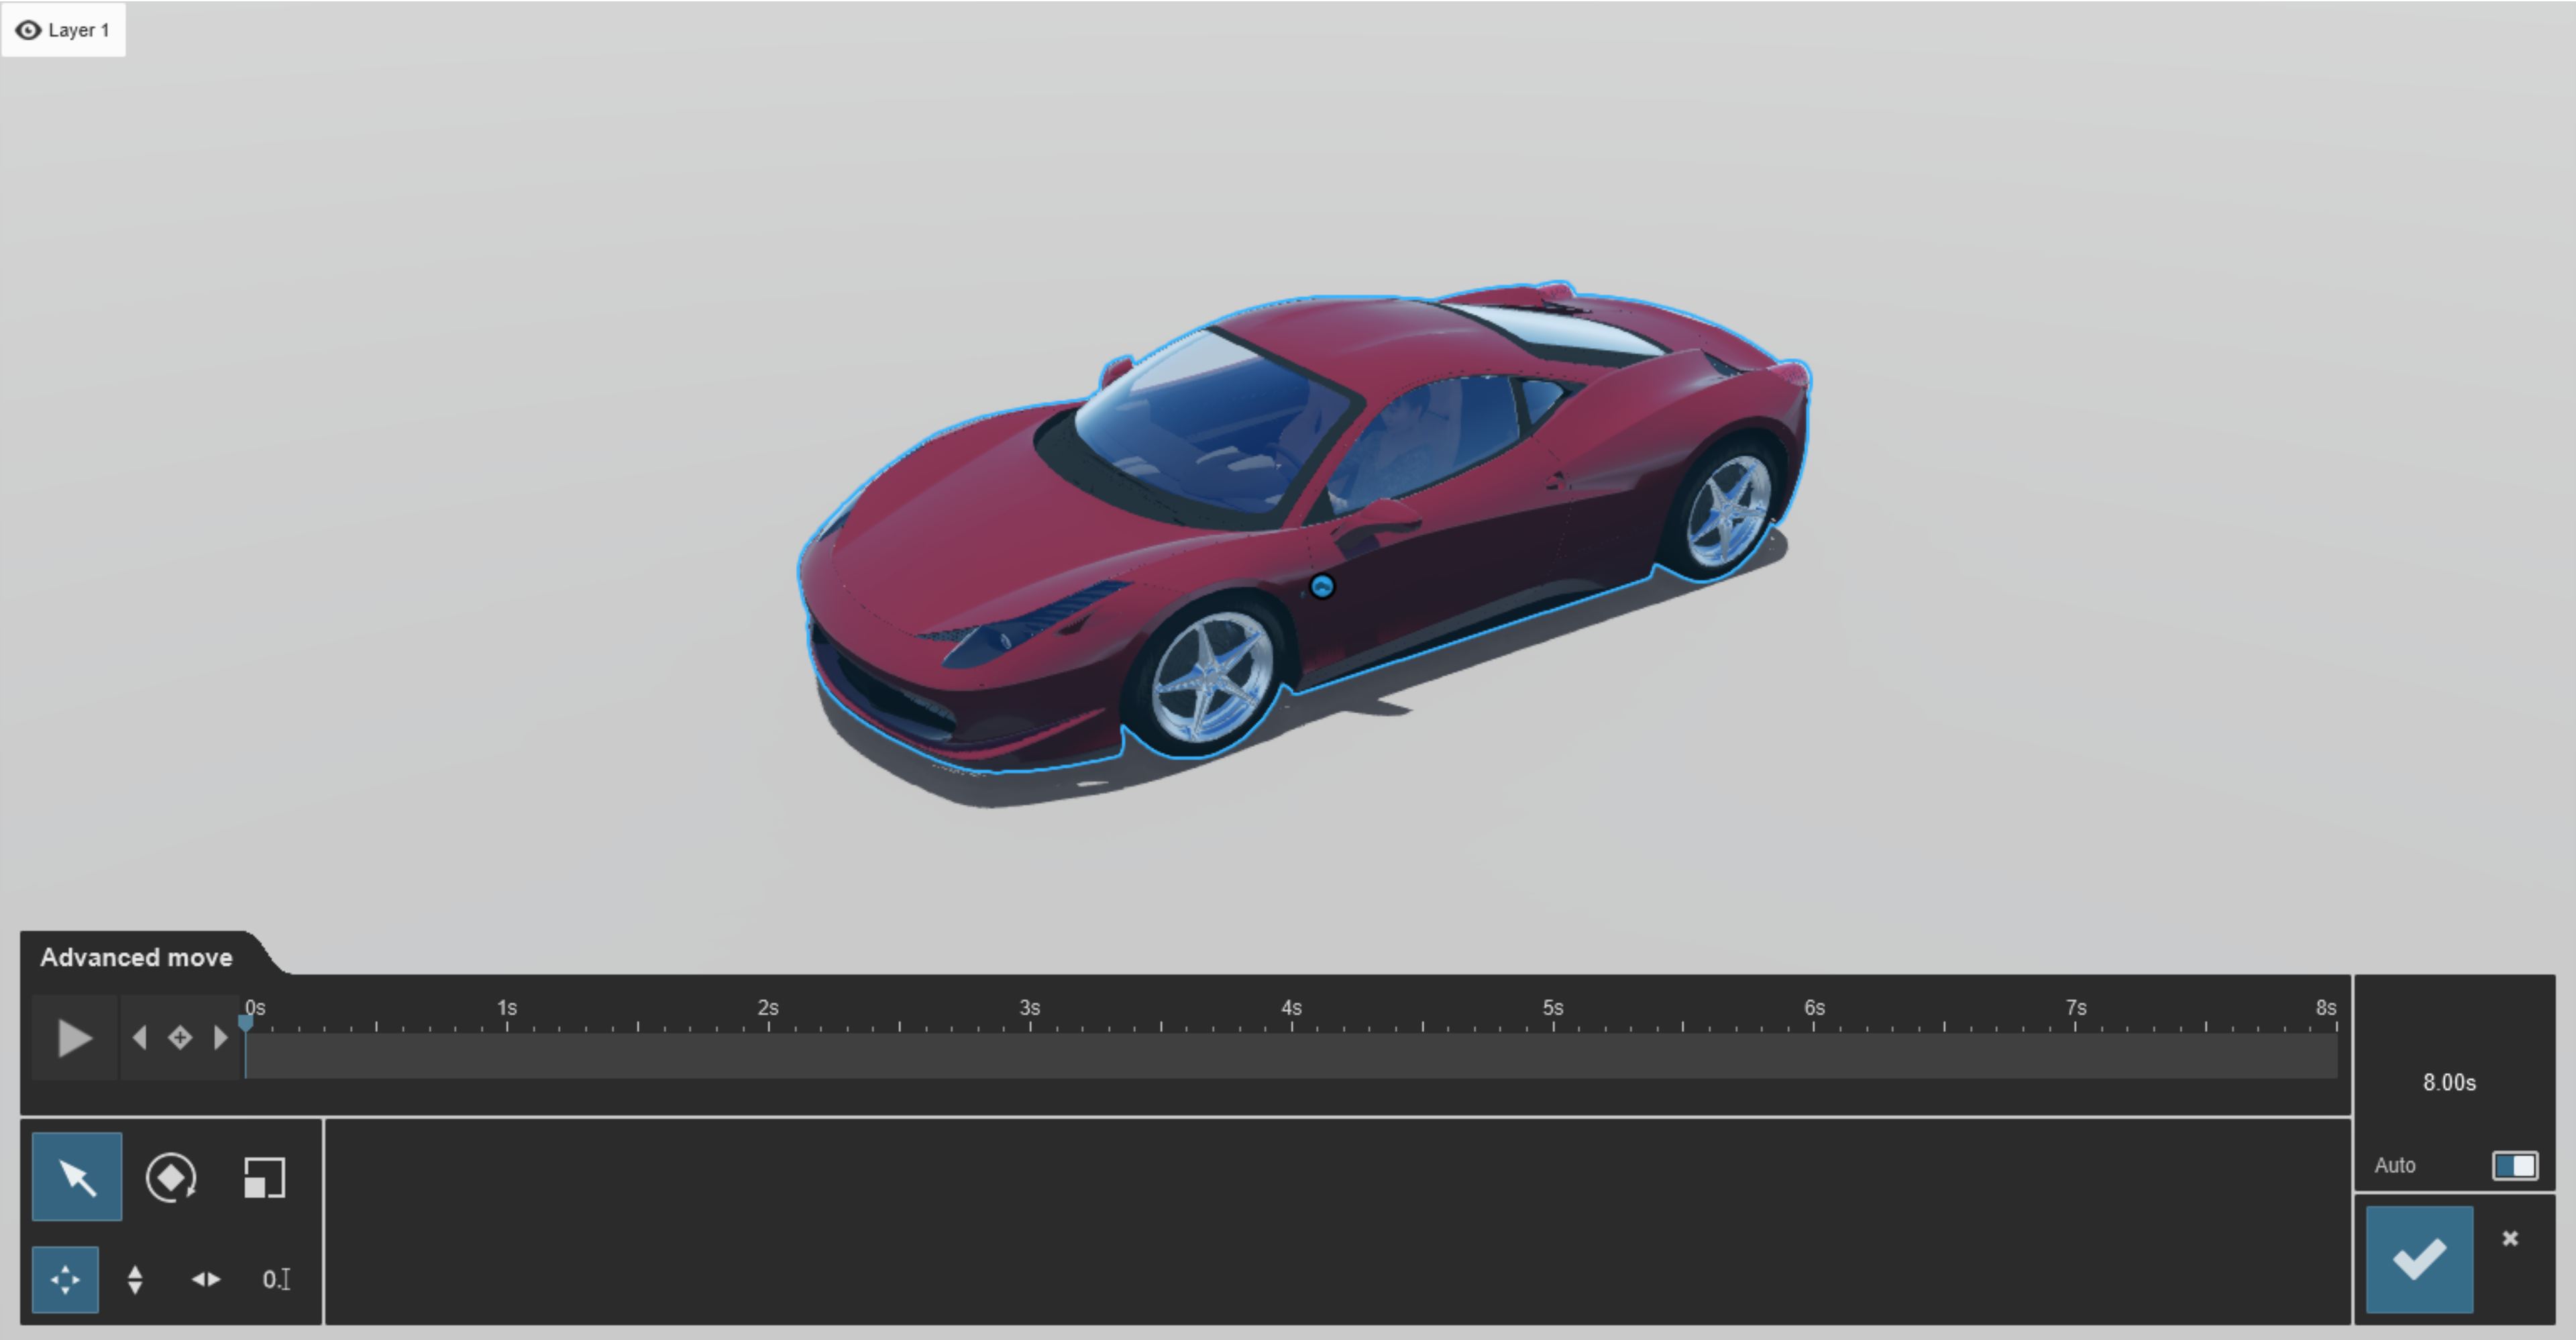
2.3: Edit the effect:

2.4: Make sure that the Max duration in the lower-left corner is the same as the duration of your Clip: for example 8 seconds:
In Lumion 12, click on the Auto button - Use Clip Length.

In Lumion 11 and older, use the time increase/decrease buttons.

2.5: Select the model you want to animate:

2.6: To make the first Keyframe:
In Lumion 12, click on Add Keyframe:

In Lumion 11 and older, rotate the object slightly with the Rotate tool, then rotate it back to the start.
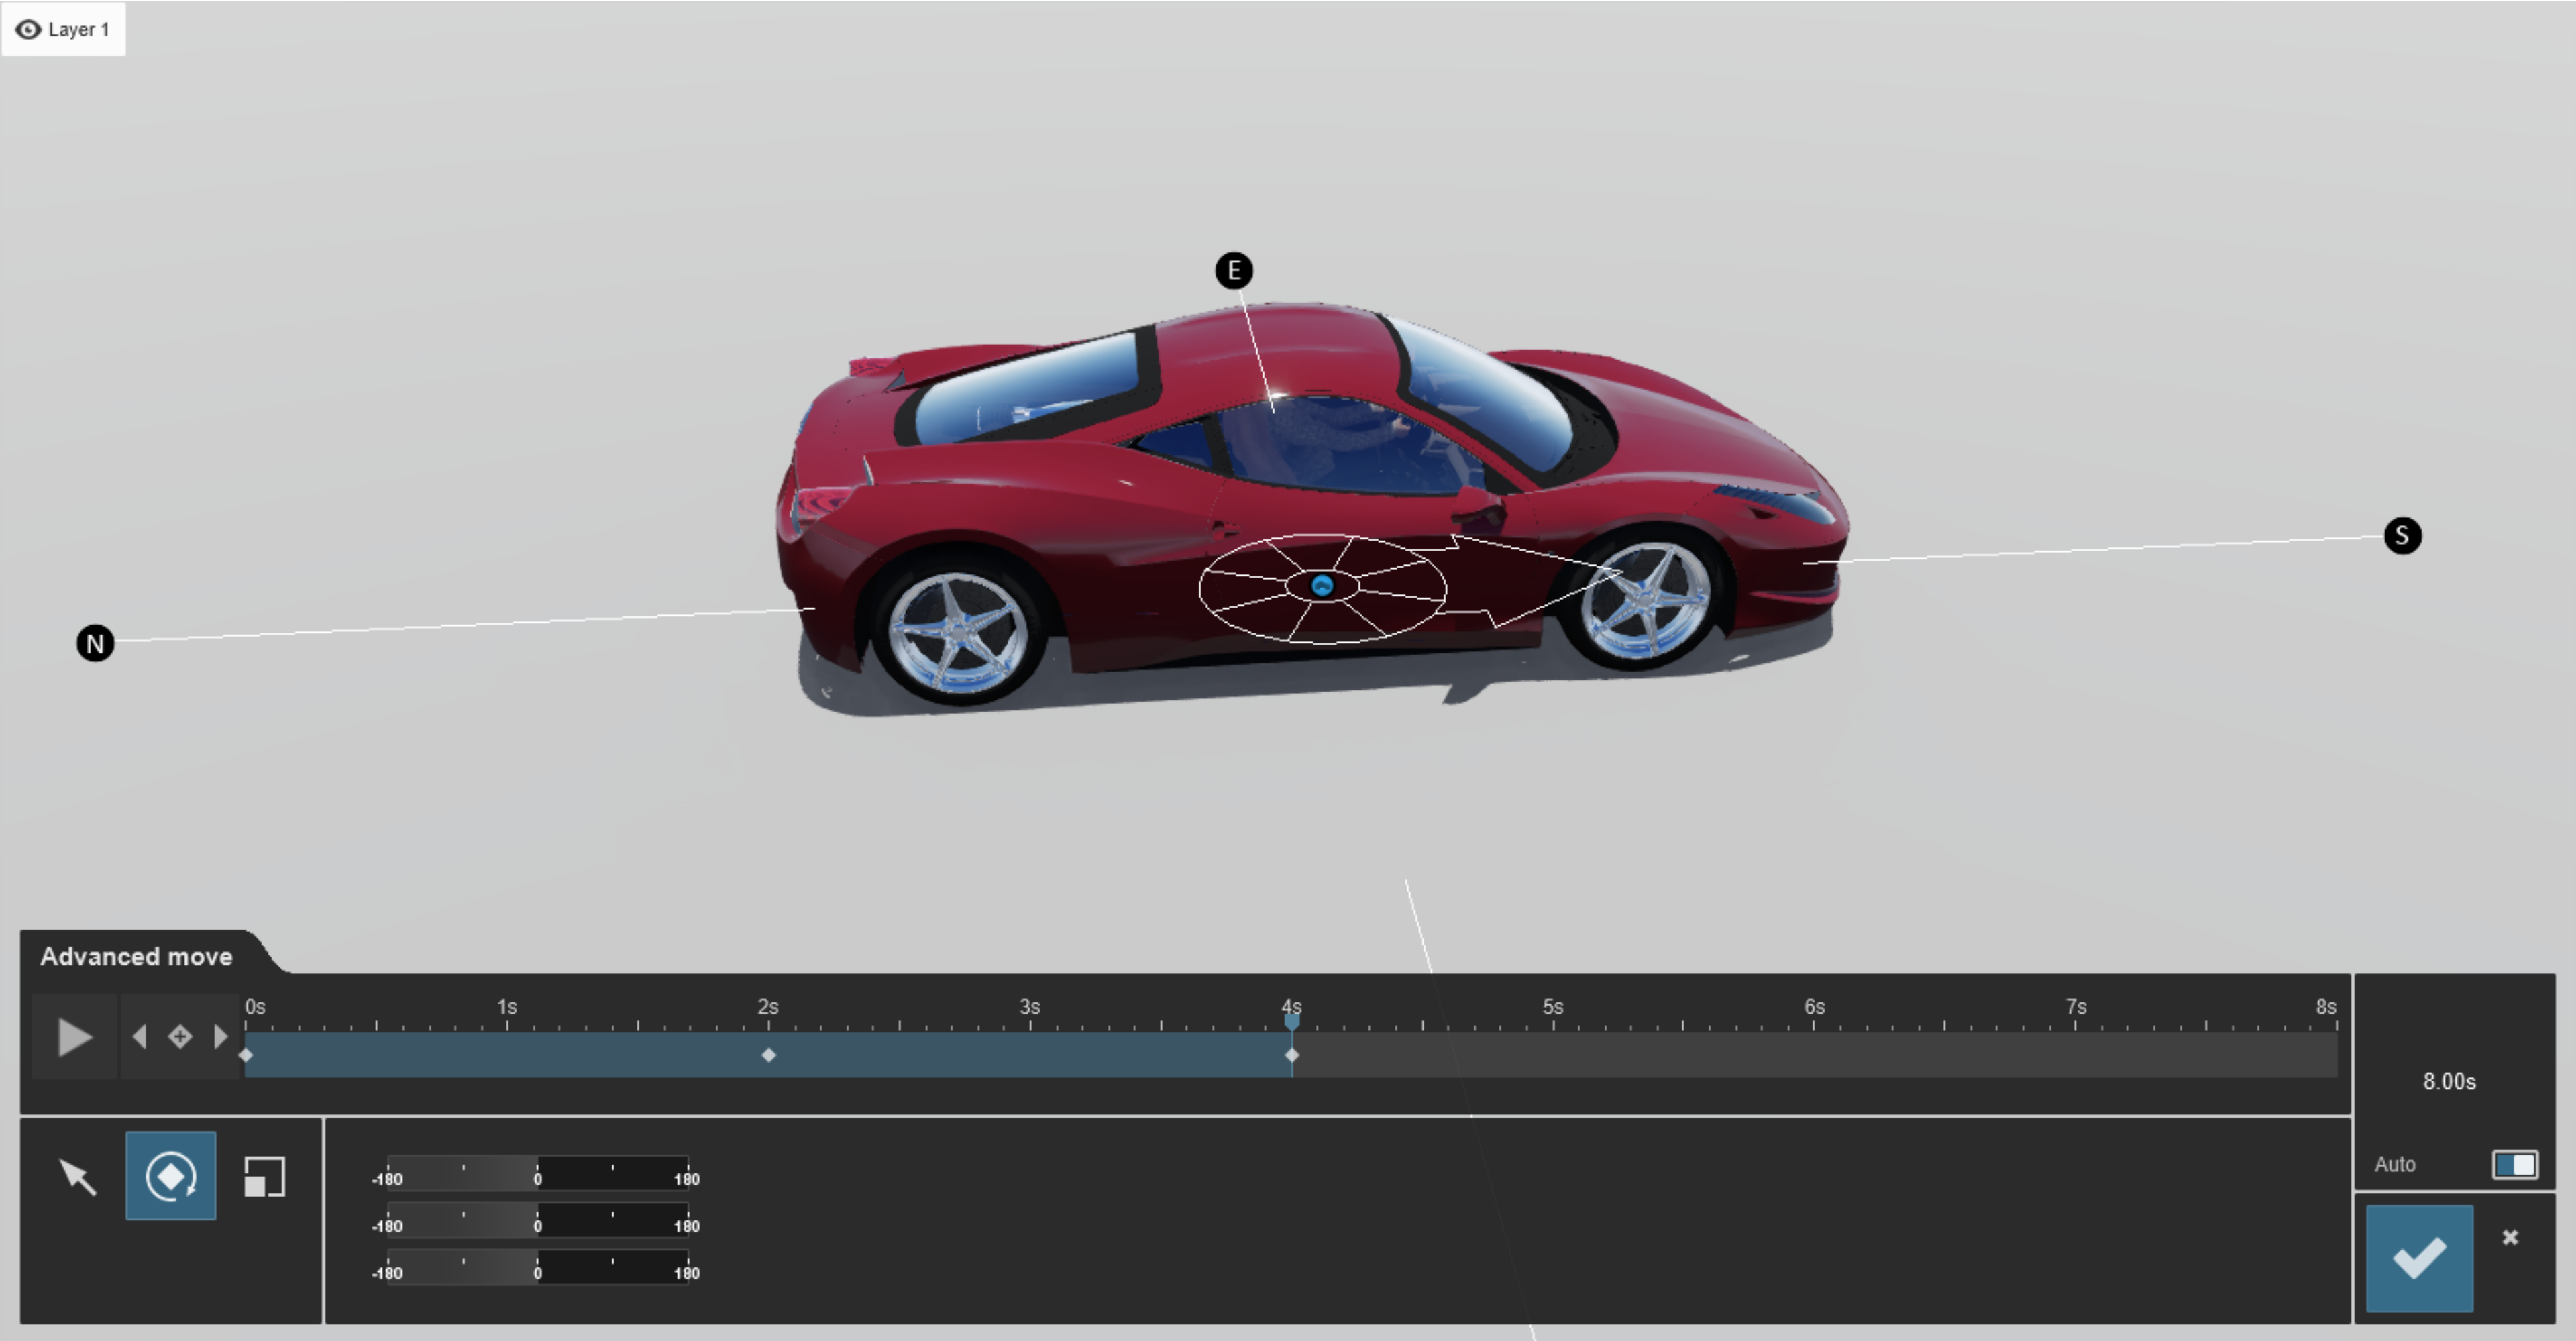
2.7: Move the Timeline slider forward by, say, 2 seconds, and rotate the object 90 degrees to add a new Keyframe. Repeat this step until the model has rotated by the desired amount:

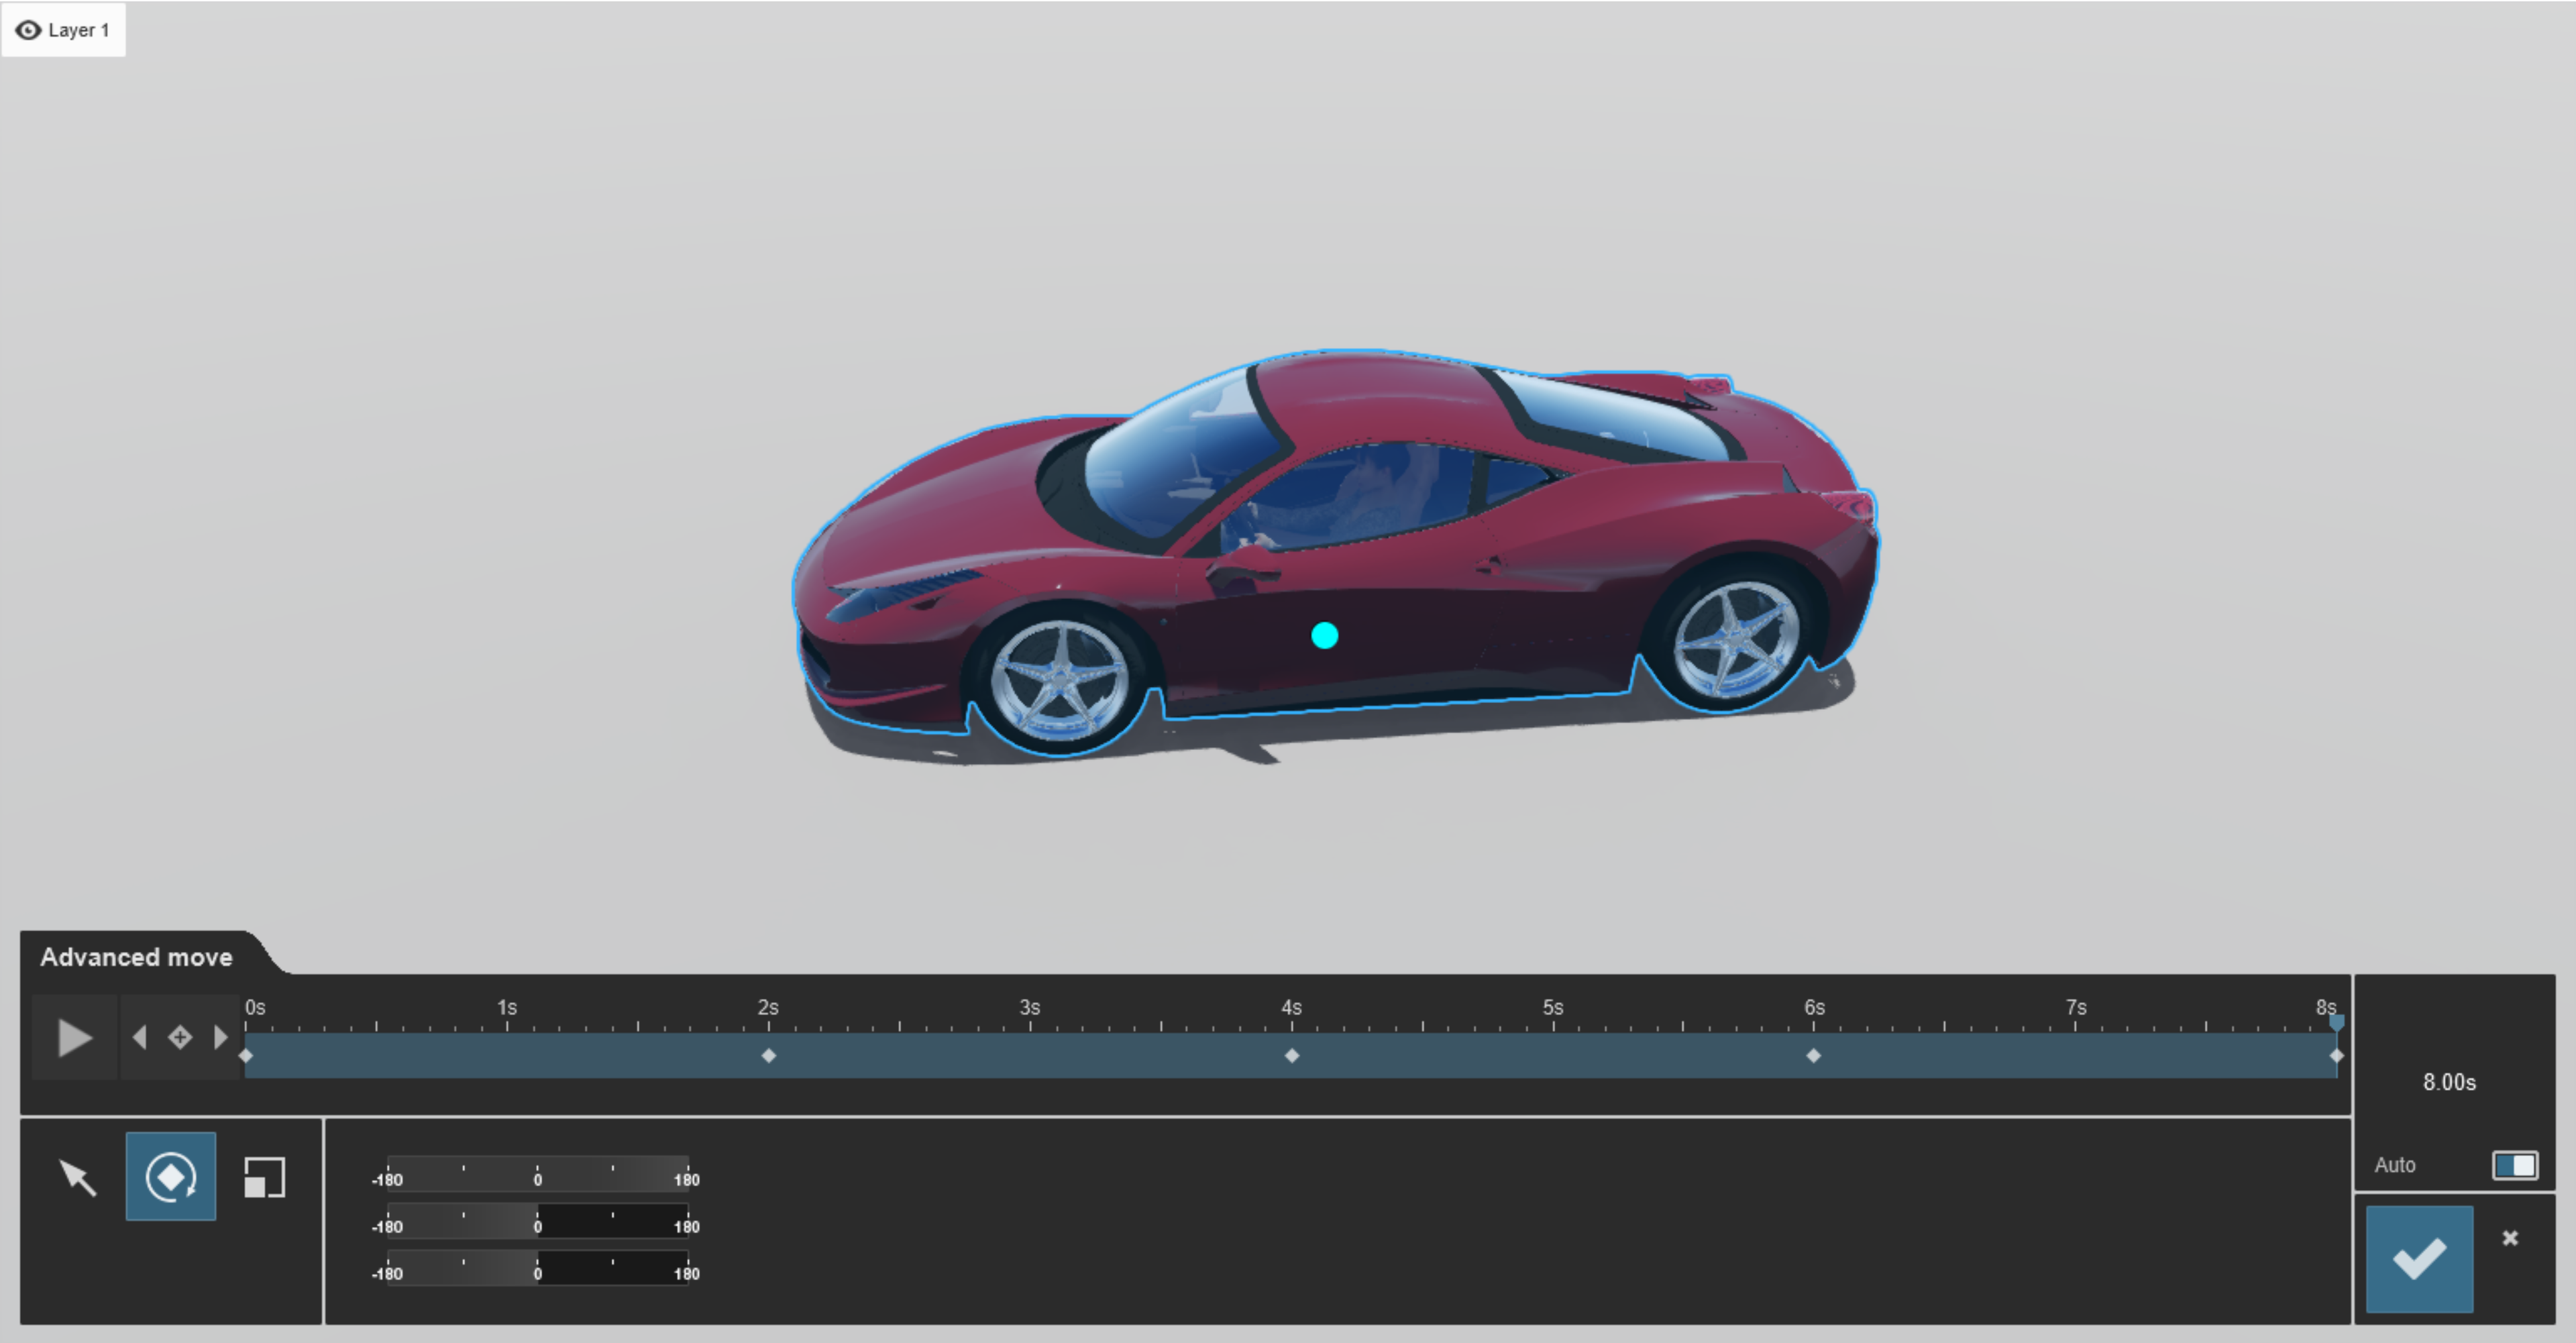
2.8: Below is an example of an 8-second Clip in which each Keyframe adds 90 degrees to the Heading of the car every 2 seconds:
2.9: If you want the animation to start earlier or later than at frame 0 of the Clip, adjust the Time Offset slider in the Advanced Move Effect. Set the slider value to a negative value if you want the animation to start later, and to a positive value if you want it to start earlier:

2.10: To create a turntable with multiple objects that all need to be rotated at the same time.
2.11: First, select all Objects and make a Group that you want to be part of the turntable animation.
- Video Tutorial: How to use Object Groups
2.12: Then create the animation using the Advanced Move Effect as per section 1 above.
Note: There is a limit of 1999 Objects per selection. If you need to include more than that, then add further selections to the Group in batches.

