How do you Re-Import a model in Lumion 9 and newer versions?
You Re-Import using one of the two buttons in the Object Panel:

1. Select the model:
1.1: Click on the Content Library tab followed by the Imported Models category button, and lastly the Select button in Build Mode:

1.2: Click on the model or on the small circular Object Icon of the Imported Model to select it. Press the Arrow Up and Arrow Down keys to cycle through overlapping Object Icons:

The file name and location can be displayed when the mouse cursor overlaps the Object Icon.
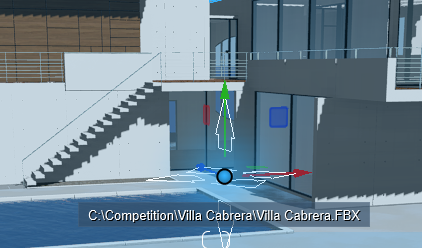
In Lumion 23.1.0 you can also mouse over the Info button:

2. If the model name and model file location are unchanged:
If the model file name and model file location are unchanged since the last import.
2.1: Click the Import button
In the Object Options panel, click on the Re-Import Model button to re-import the selected model.
Lumion 2023.1.0 and newer:
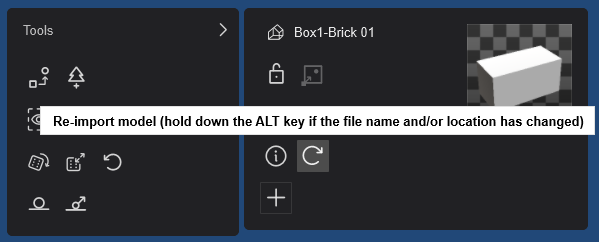
You can also change the model to import from using the ALT key, see Section 4. If you want to change the model to something else.
Lumion 23.0 and earlier:
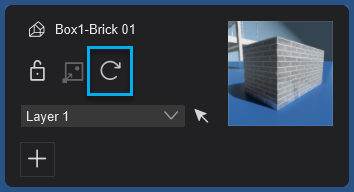
3. If the model name or model file location has changed:
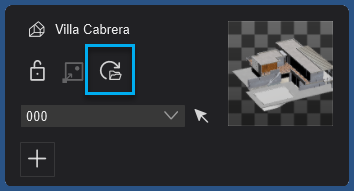
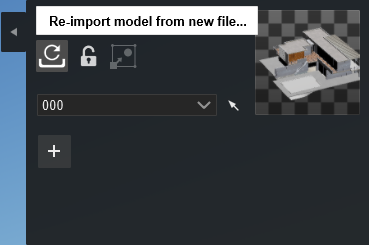
Lumion will auto-detect that the original model file is no longer available. Lumion will change the button for you to the Re-Import model from new file...
Click on the button and Lumion will open the Windows File Explorer for you to choose the model file.
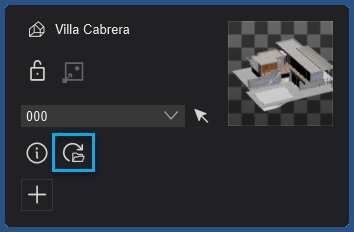

Lumion 10.5 and earlier:
Lumion does not auto-detect if the file is in the folder when previously imported.
Hold down the ALT key before clicking on the Re-Import Model button:

4. If you want to change the model to something else:
If you want to manually change the model to some other model file or location then press the ALT key and click on the Re-Import Model button as in step 3 to manually select the updated model file:


