

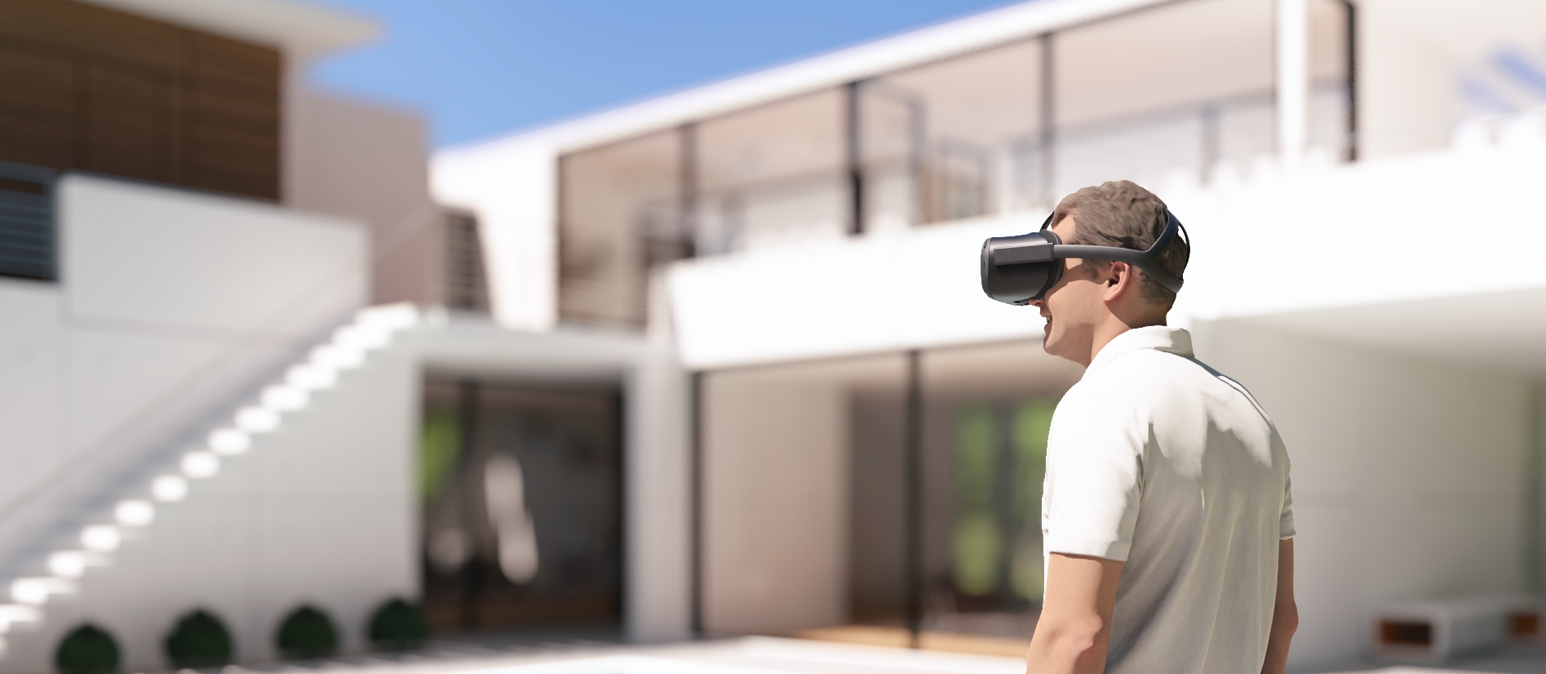
Lumion allows you to render immersive 2D or 3D 360° panoramas that can be viewed on VR headsets such as the Oculus Quest. This provides an interactive way to experience your Project, allowing viewers to look around selected viewpoints and better understand the space, scale, and atmosphere of the design.
There are two main ways to view Lumion panoramas in VR:
1. Using Lumion Cloud or for an interactive VR panorama tour with multiple viewpoints you can navigate to.
2. Using the headset’s native gallery/media viewer to view individual 360° Panorama files directly on the device.
Each workflow has different benefits depending on whether you need a guided tour or stereoscopic 3D viewing.
Option 1: View Panoramas in VR using Lumion Cloud
Lumion Cloud can be used to view 360° panoramas in fullscreen VR mode on supported headsets (currently tested in Oculus headsets). This is useful when you want to create a simple interactive experience where users can move between multiple panorama viewpoints, similar to a virtual tour.
This workflow is ideal for:
- Client presentations.
- Design reviews.
- Interior walkthroughs.
- Sharing multiple viewpoints in one experience.
- Creating a lightweight VR tour without manually transferring files to the headset.
To get started, make sure to select 'Upload to Lumion Cloud' toggle when rendering all your Panoramas at once.
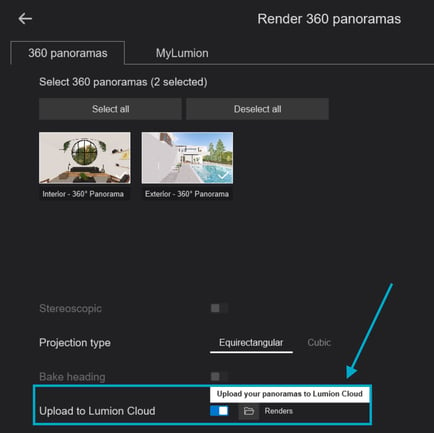
Note: Stereoscopic (3D) output is not yet supported in Lumion Cloud.
Once the Panoramas have been rendered and uploaded, open the browser on your VR headset and go to:
cloud.lumion.com
Log in to your Lumion Cloud account and navigate to the location where you saved the Panorama render. Open the Panorama to view it.
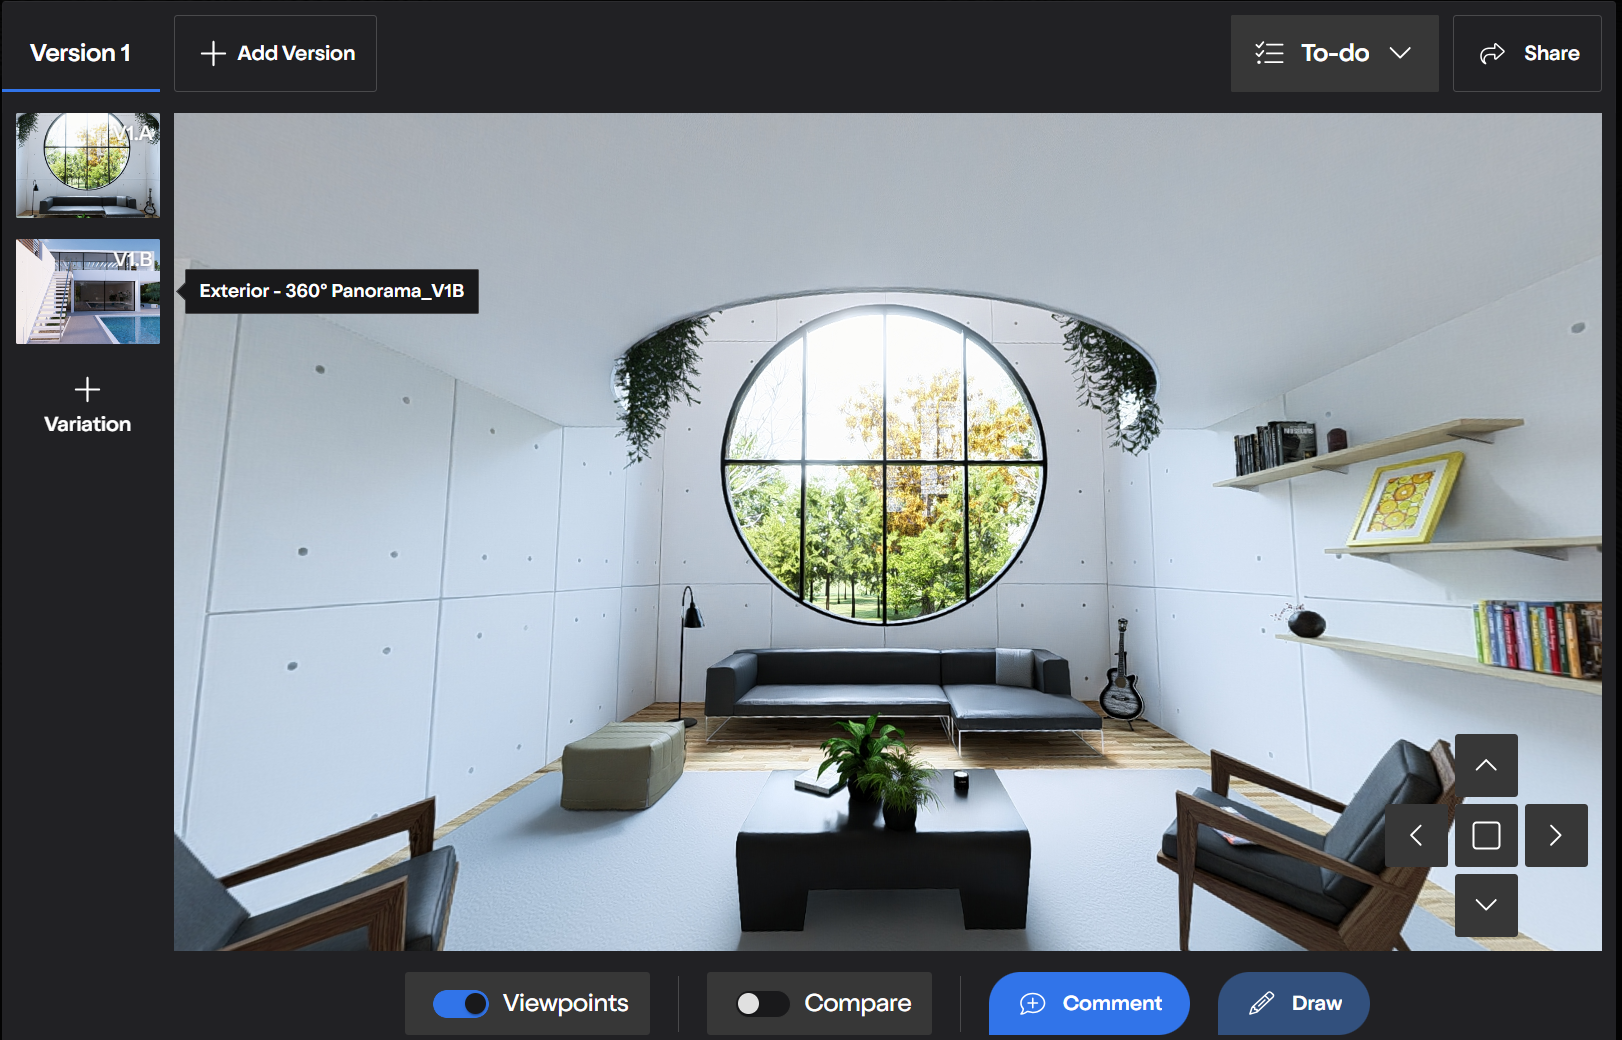
If the Panorama contains multiple Viewpoints, they will be grouped together under a single Version, allowing you to move between the different rendered locations:
When viewing the Panorama through a VR headset, you will see an Experience in VR button in the top-right corner of the screen.
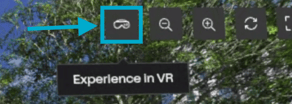
Select Experience in VR to enter fullscreen VR mode. You can then navigate between the available Viewpoints, allowing viewers to explore the project immersively by jumping between the rendered locations.
Option 2: View Panoramas using the headset’s Gallery or Media viewer
You can also view Lumion panorama files directly on a VR headset by copying the rendered panorama images to the device and opening them in the headset’s native Gallery, TV, or Media viewer app.
Note: This method supports Stereoscopic (3D) Panorama viewing, but it does not provide Lumion Cloud-style tour functionality.
This means:
- You can view the panoramas one by one.
- You cannot jump between Lumion Cloud viewpoints.
- There is no interactive tour navigation unless the headset app or a third-party viewer provides it.
Here's how:
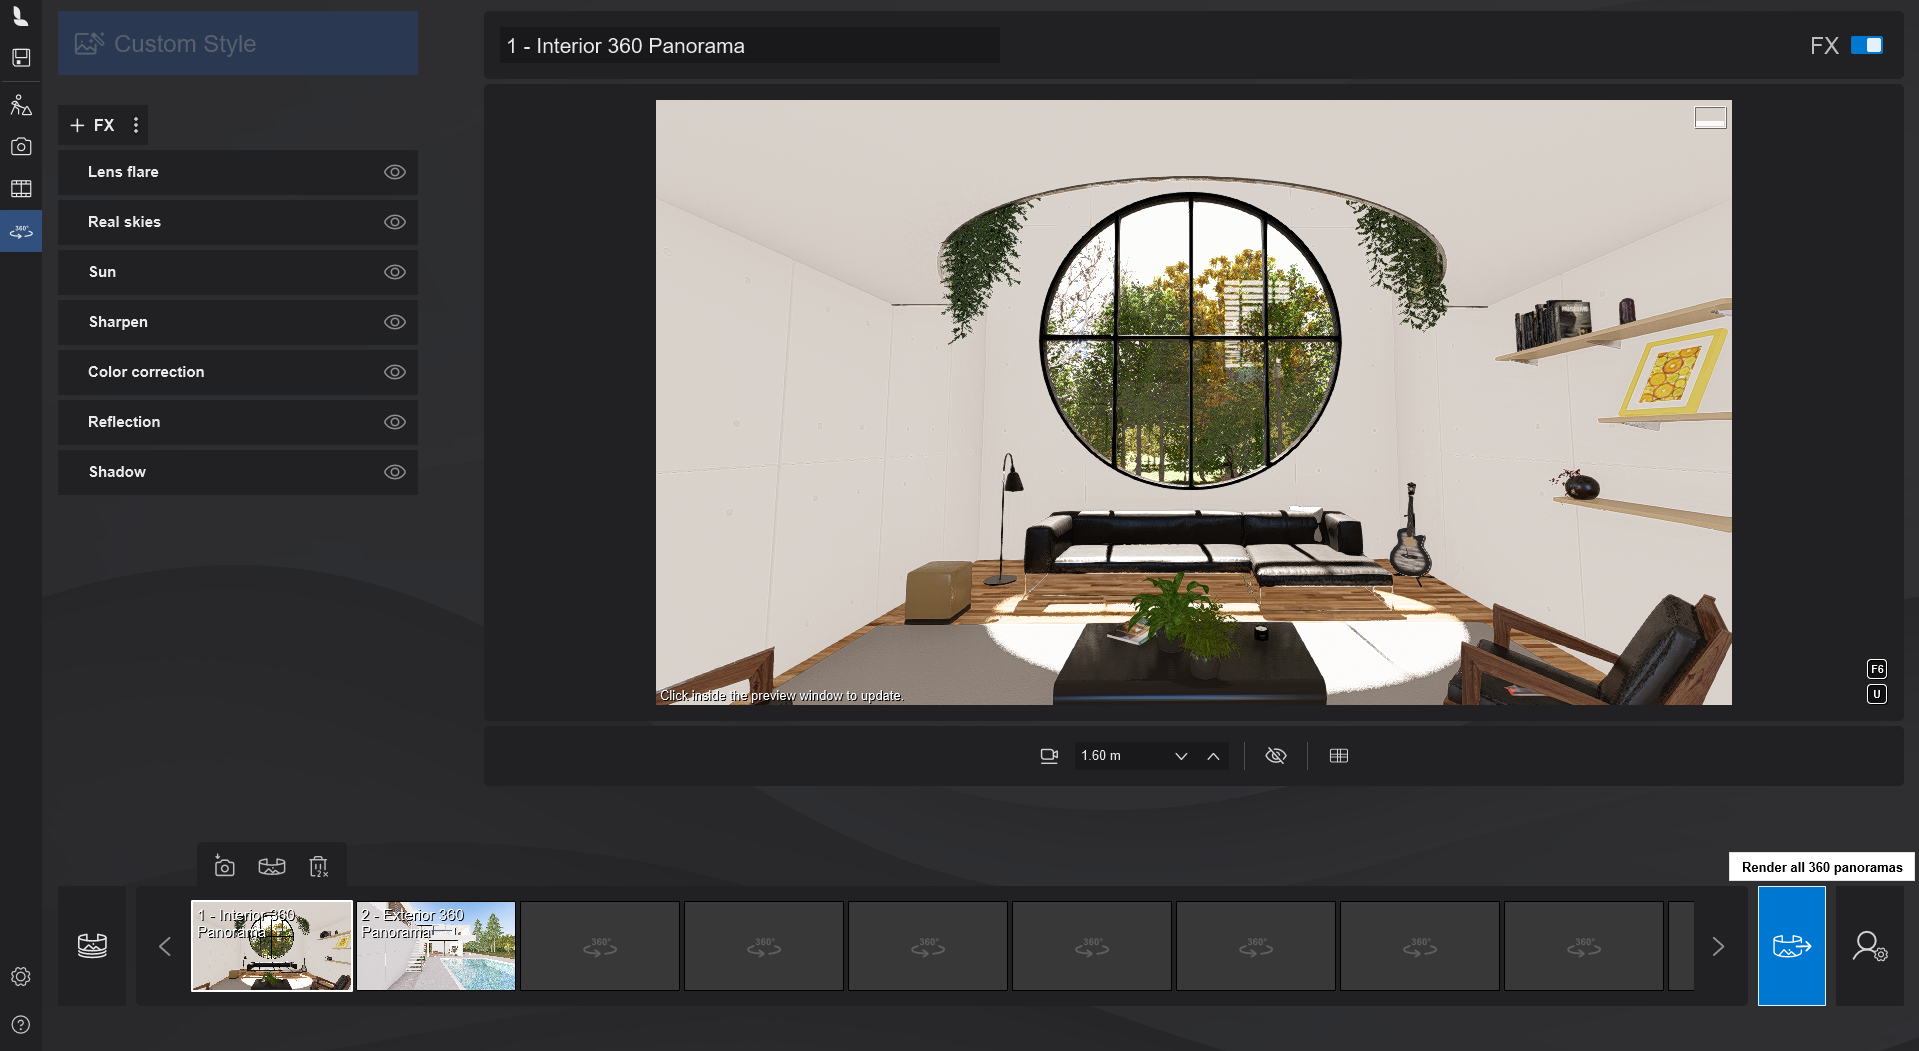
After creating one or more camera views in 360 Panorama Mode, click on the Render button:
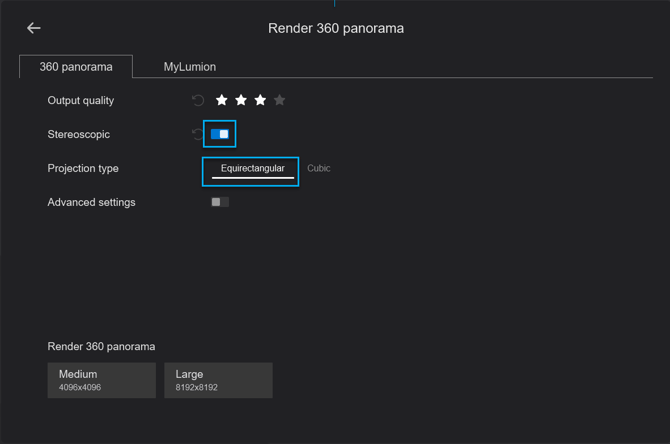
Then, on the output options for rendering 360 Panoramas, turn On the Stereoscopic setting. For Projection Type select Equirectangular.
Lumion 12.5 (and older): For Target Device select Generic Device.
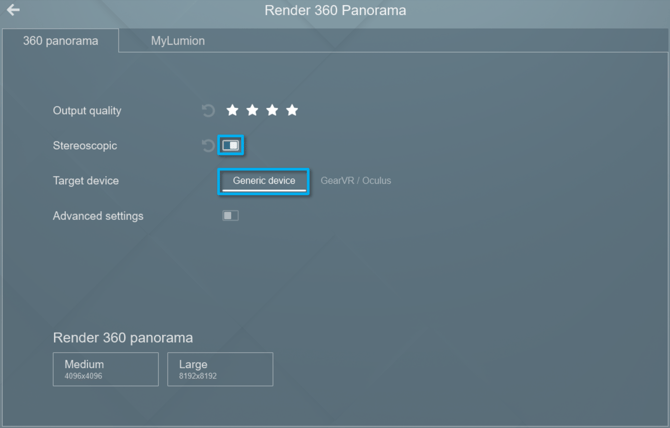
Then, select the desired resolution and make sure to save the file in .JPG format.
Uploading to a Headset
Oculus Devices
1. Plug in your Oculus Quest headset to your PC.
(Note: you may have to use a USB-C to USB-A cable for the connection. The USB Type-C to USB Type-C cable that comes with the headset might only charge the device.)
2. Put on your headset, and you should see an 'Allow access to data'' message prompt. Select 'Allow'.
3. On your PC, go to 'This PC' and click on Quest 2 -> 'Internal shared storage' -> 'Pictures'.
4. Place your rendered 360 Stereoscopic Panorama files in the 'Pictures' folder.
5. Go to the 'Gallery' or 'TV App' on your Oculus Quest, and select 'Your Media'.
Your rendered images will appear in the 'TV App' and you will be able to experience them in VR.
If you render a standard Movie using the Side by Side 3D Stereo Effect for a 3D stereoscopic video (not VR video) then the same steps are needed.
If you turn Advanced settings on, you can adjust the Horizontal Slices value (a quality setting that also has a big impact on render times).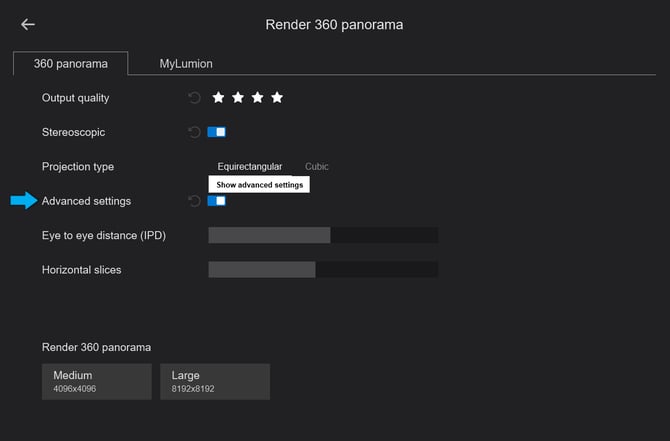
For more information on these settings, see our article:
- Knowledge Base: What do the render settings mean in Panorama Mode?
Note:
In more recent times (August 2021) there were some reports about the Oculus TV App not working well for the user's headset. This is an Oculus App issue:
-
Lumion Community: viewing 360° stereoscopic panoramas
And see also the following discussions:
- Lumion Community: 360 Panorama render settings for Quest 2
- Lumion Community: Viewing 8K Stereo Panoramas in Meta Quest?
See Also:
- Lumion Community: Creating 360° Virtual Tours of your Lumion Projects