How do you copy a camera view from one Project to another or within the current Project?
In Lumion 12 and newer versions:
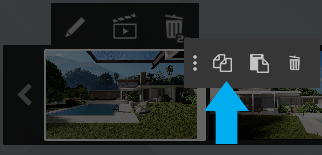
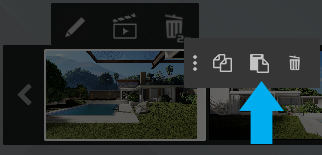
You can easily copy-paste Photos , Clips, or Panoramas between Projects using the Copy/Paste buttons found in the Context Menu.
You can also use copy-paste between Modes, for example copy and paste a Photo to a Clip in the same Project.
To do that, click the three dots (Context Menu) in the top right corner of a Photo, Clip, or Panorama:
In Lumion 11 and older versions:
It is not possible to copy or save the camera viewpoint to a file or between Projects using copy/paste.
But copying a camera viewpoint from a Photo slot in one Project to another Project can be done using the following series of steps. It's a bit long-winded, but it works.
Alternatively, use the Merge feature (Pro only). See section 2 below.
1: Using a Clip:
There are two separate tasks that when combined work to get a Photo from one Project into another.
You might be familiar with these when doing other tasks in Lumion, so let's first cover those briefly, then see how they can be combined to achieve the goal.
1. You can copy a Photo from Photo Mode to a Clip in Movie Mode in the same Project.
And, also do that the other way around, which is going to be useful for what we need to do.
2. You can copy a Clip from one Project to another.
3. So if we combine these two then we can copy the Photo (or Photos) across.
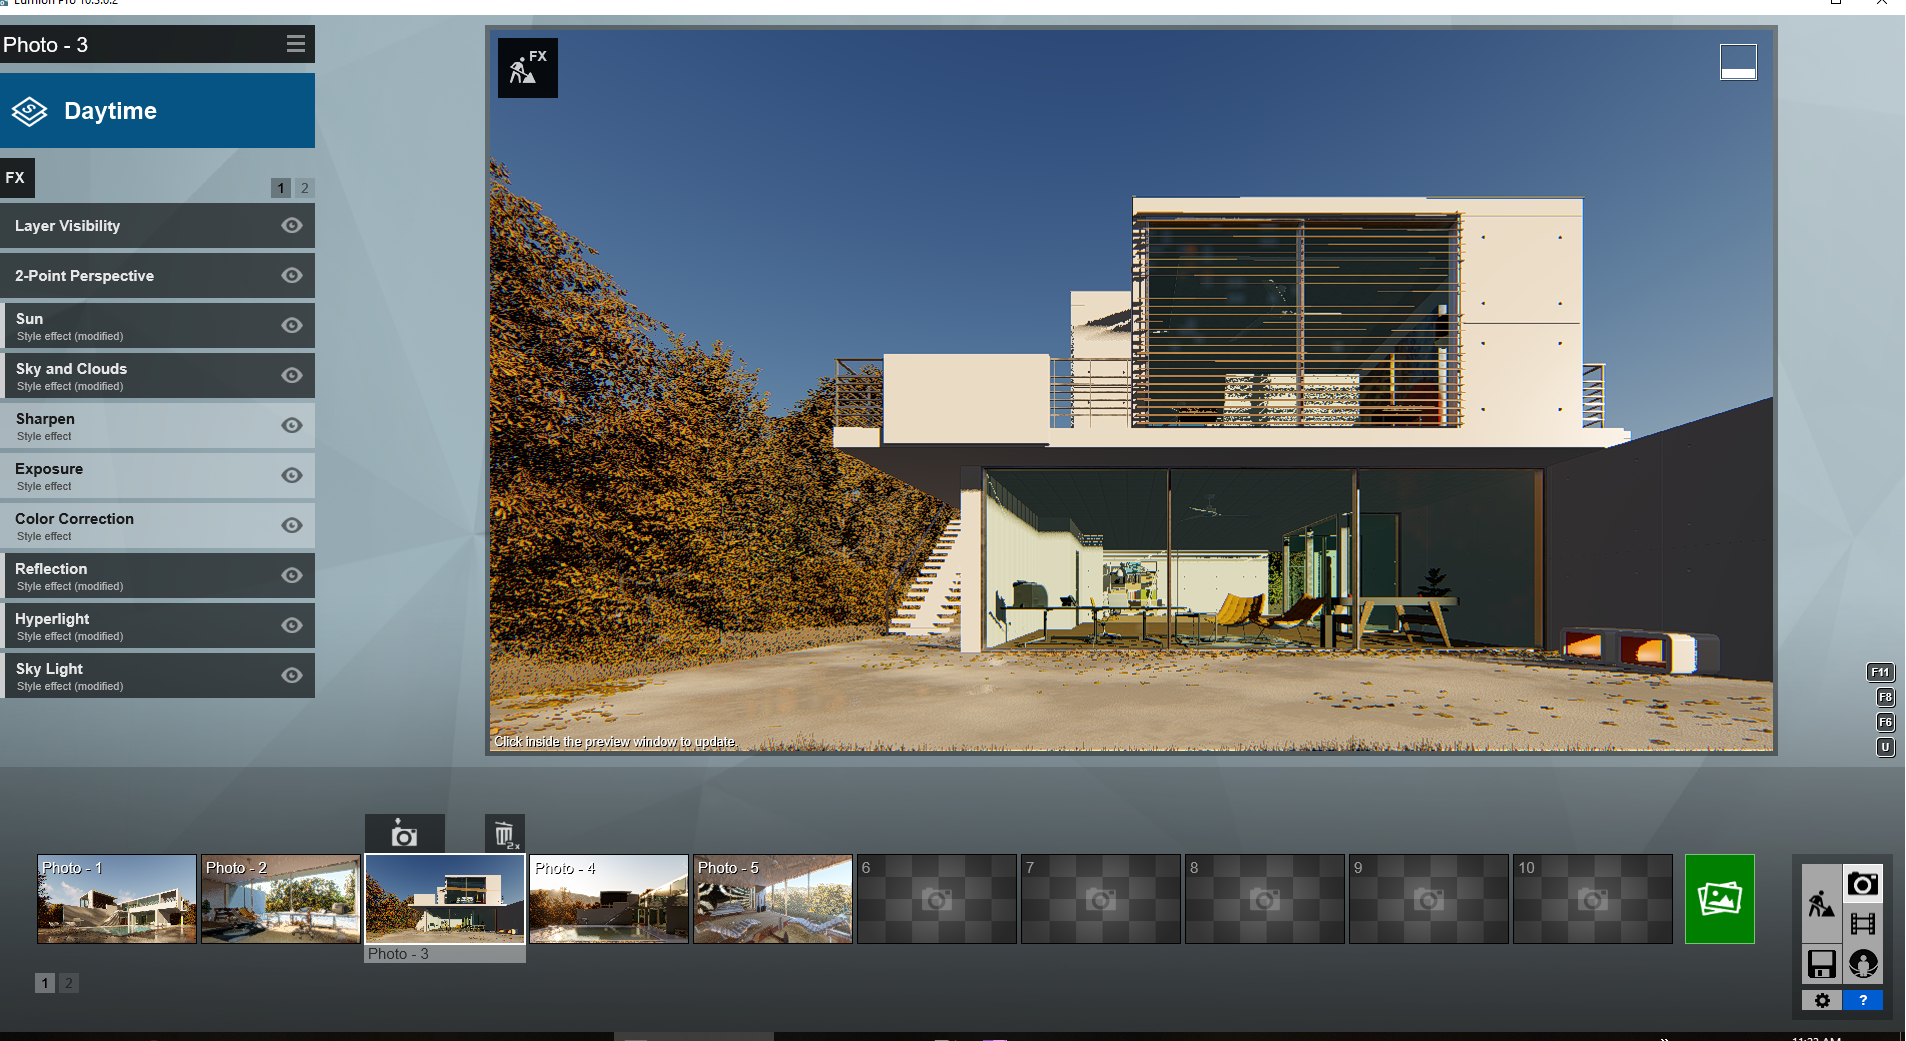
This example uses the Example Project Villa Cabrera, Photo 3 is selected in Photo Set 1.
1. Copy a Photo from Photo Mode to a Clip:
1.1 In Photo Mode select the Photo.
1.2 In Movie Mode go to an empty Clip Set and an empty Clip.
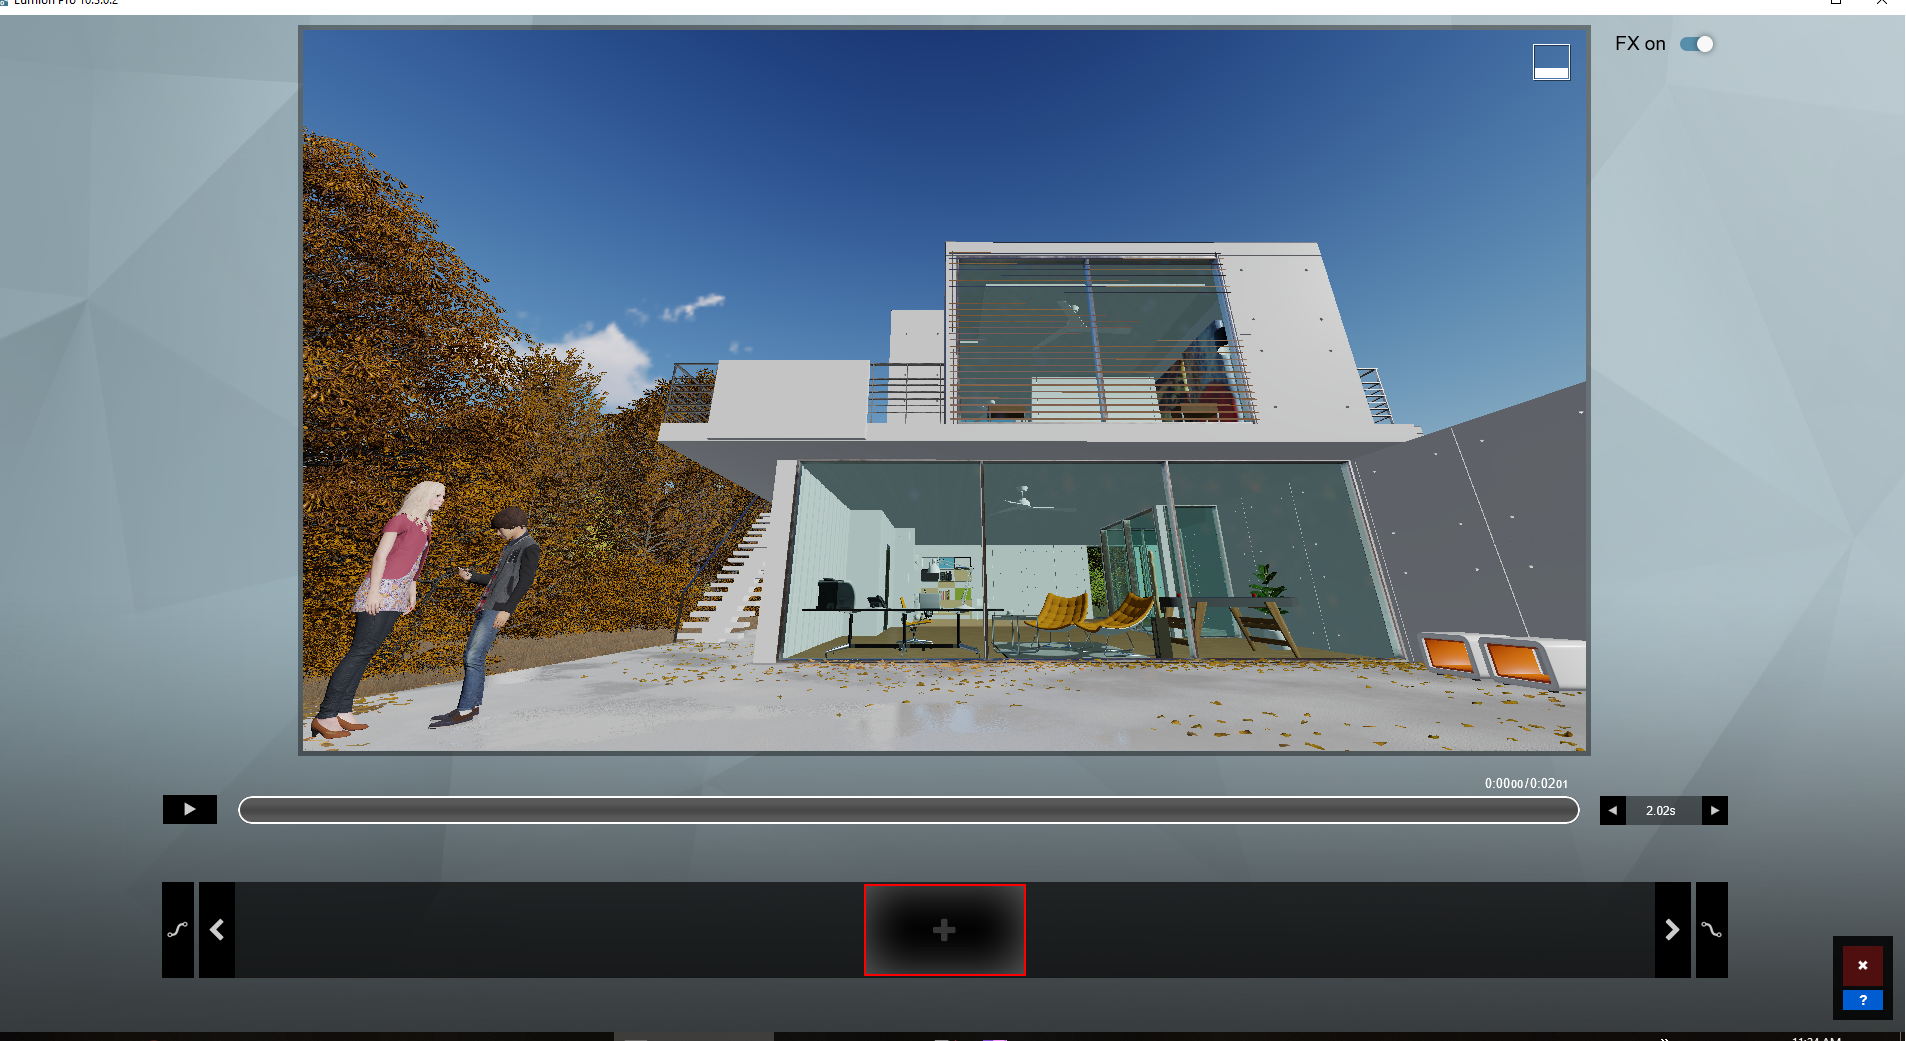
1.3 Click on Record to create a new Clip. Click on the '+' to add a Camera Keyframe. Or you can use the restore hotkey for the Photo - which was Photo 3, so SHIFT + number key 3.
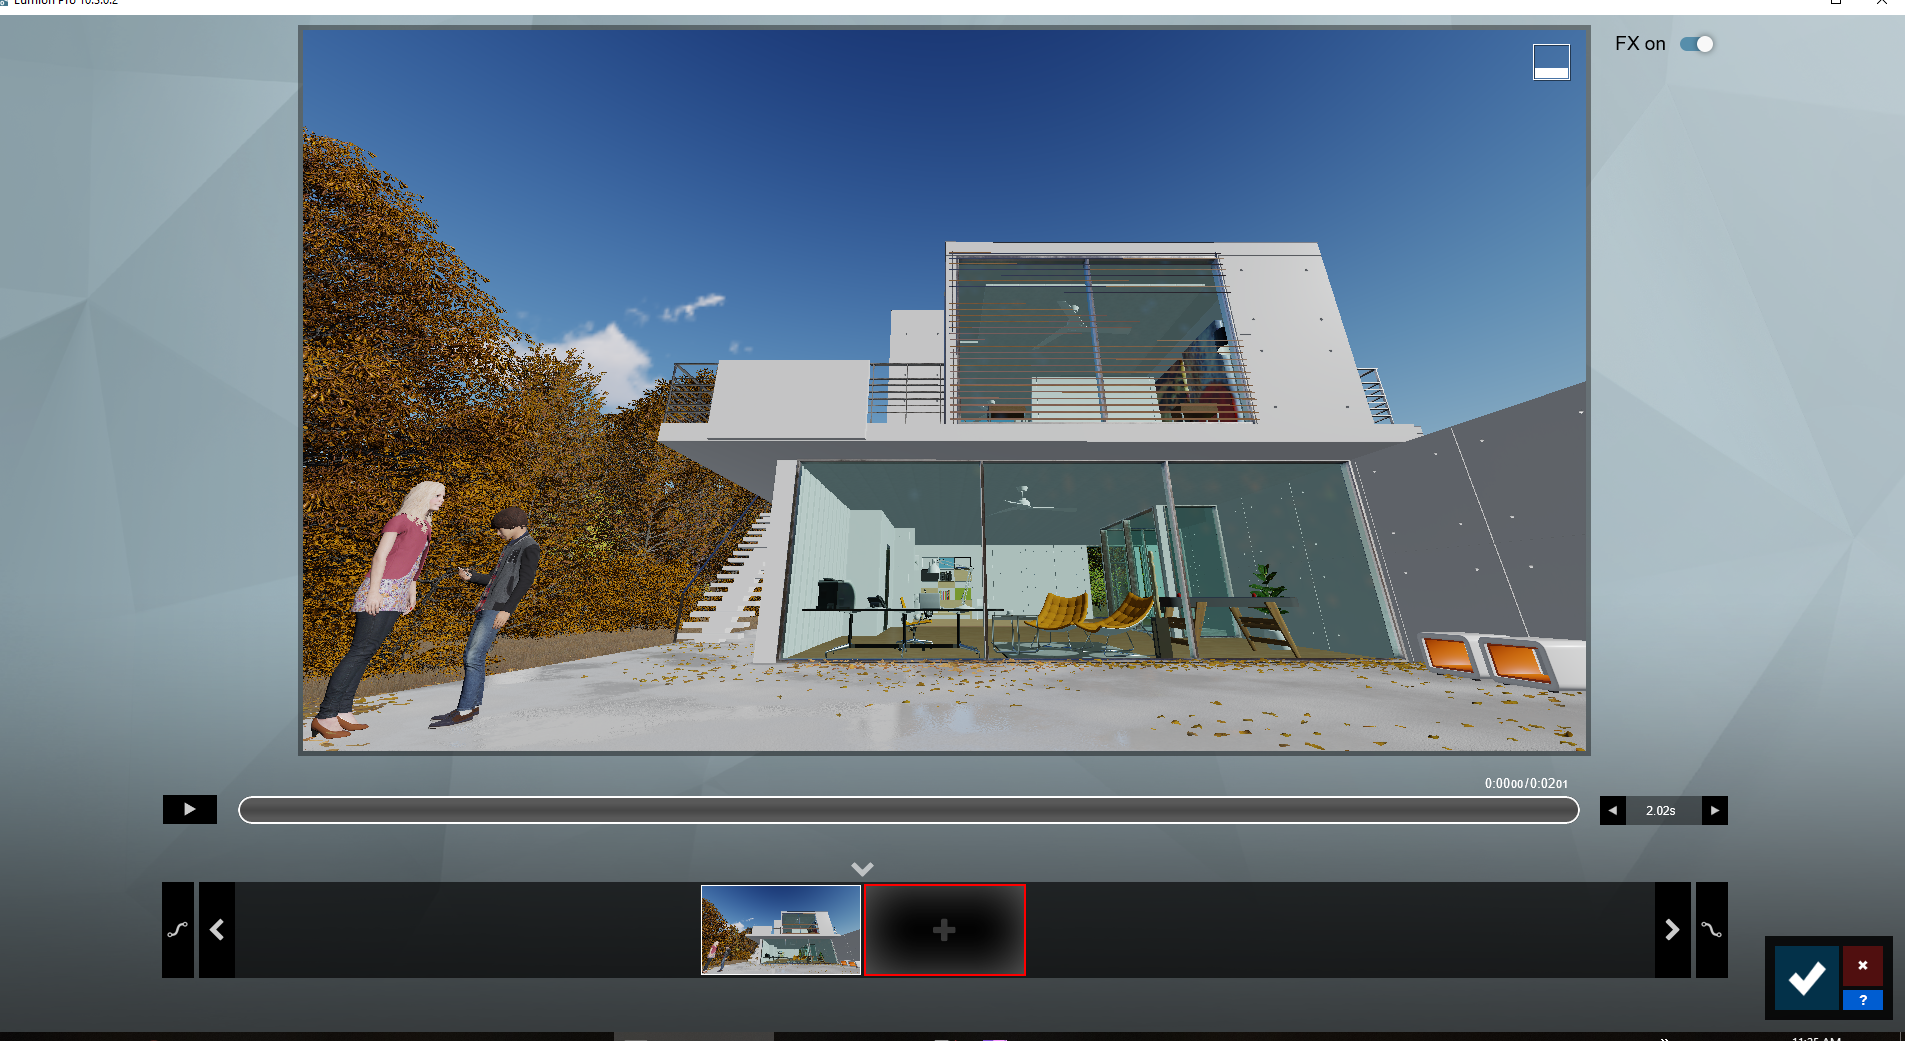
The Clip is now ready: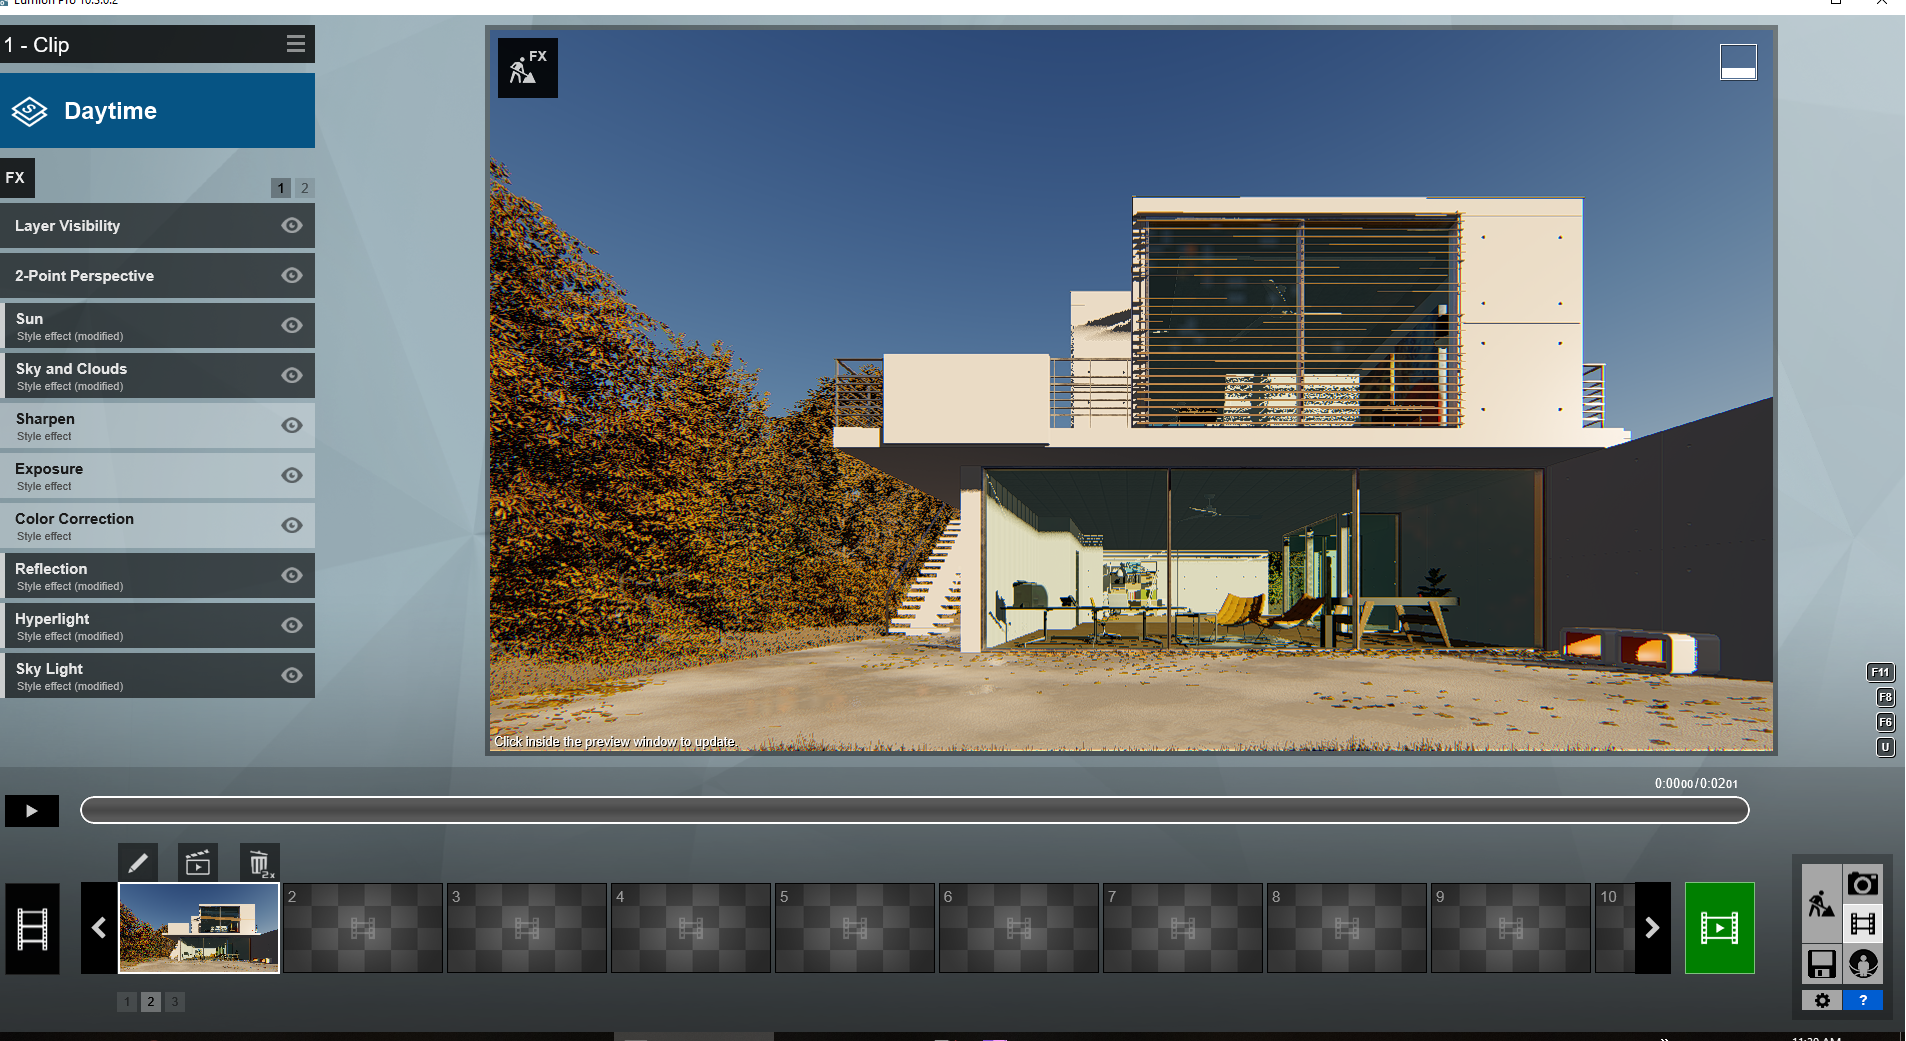
1.4 Optional: copy the Effects Stack from the Photo to the Clip.
2. Copy a Clip and paste it to a Clip in a different Project:
2.1 Select the Clip you want to transfer and copy it. Context Menu -> Edit -> Copy Clip.
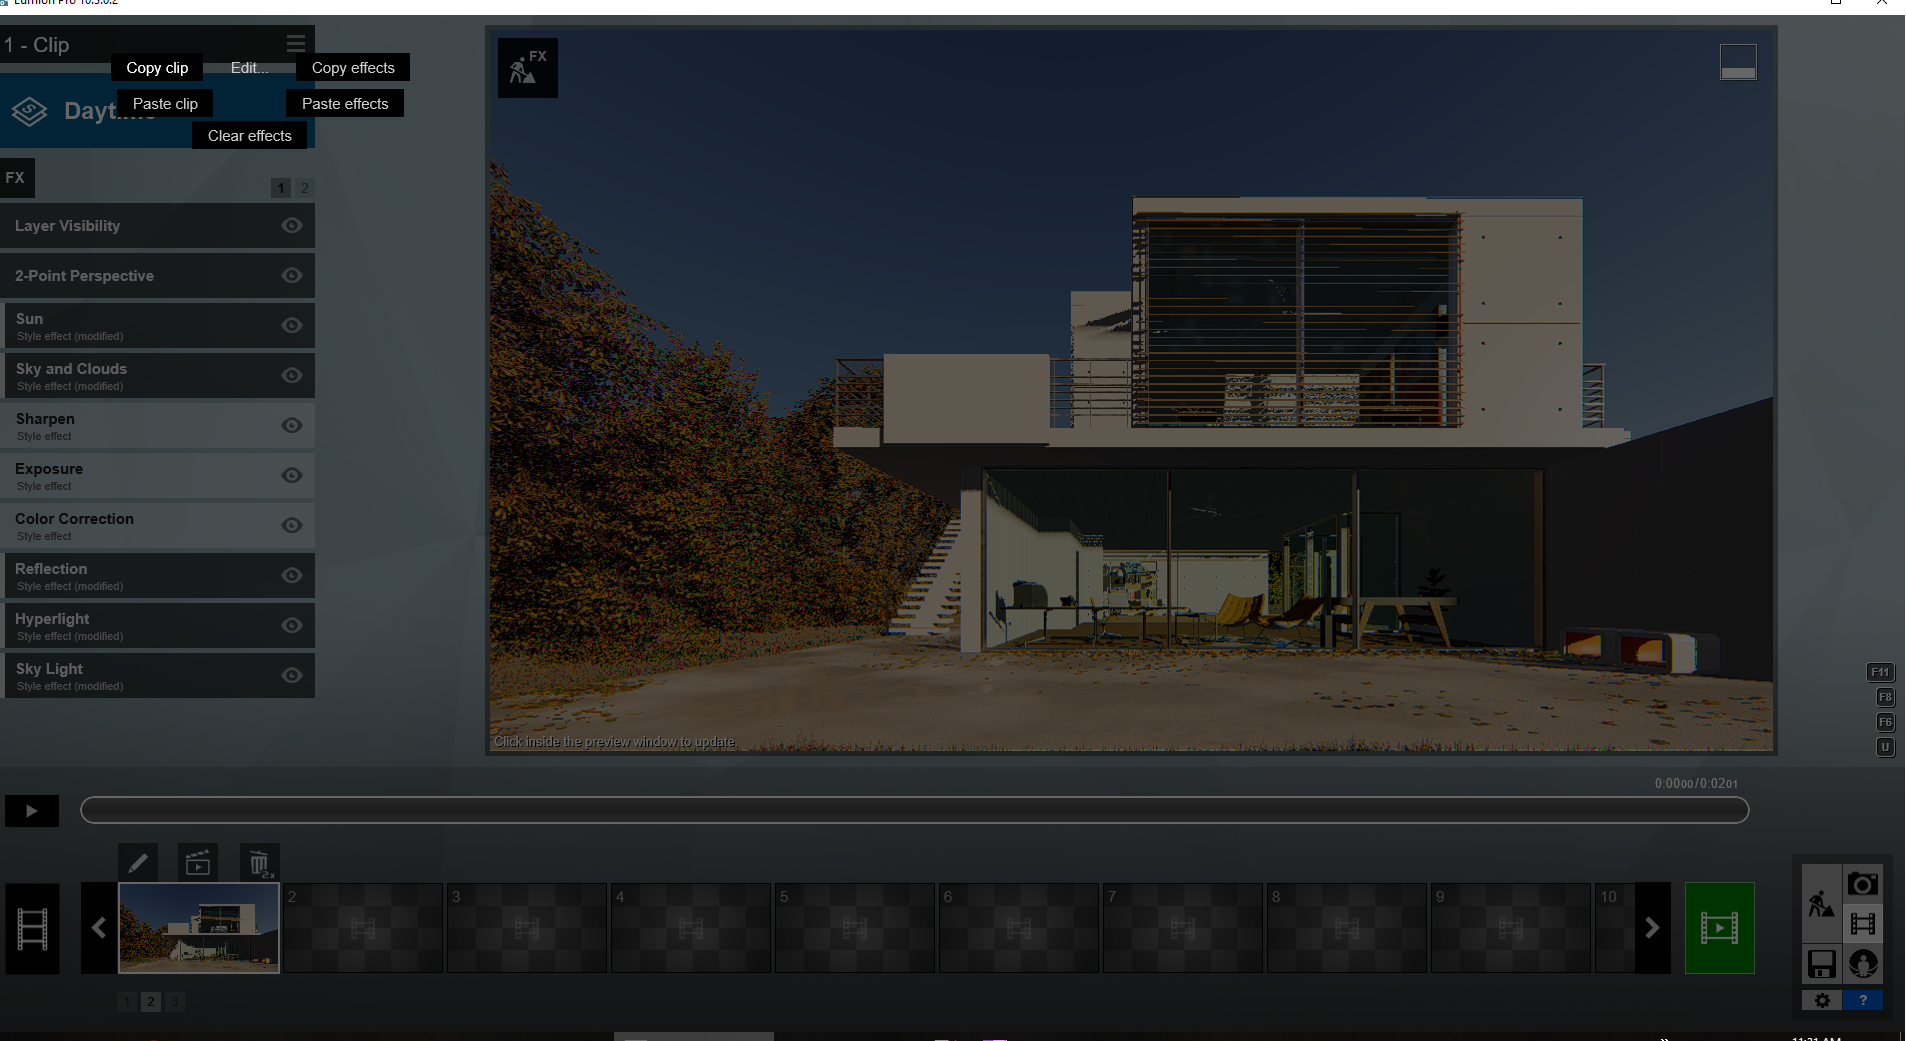
2.2 Load Project B.
2.3 Select or create a Clip.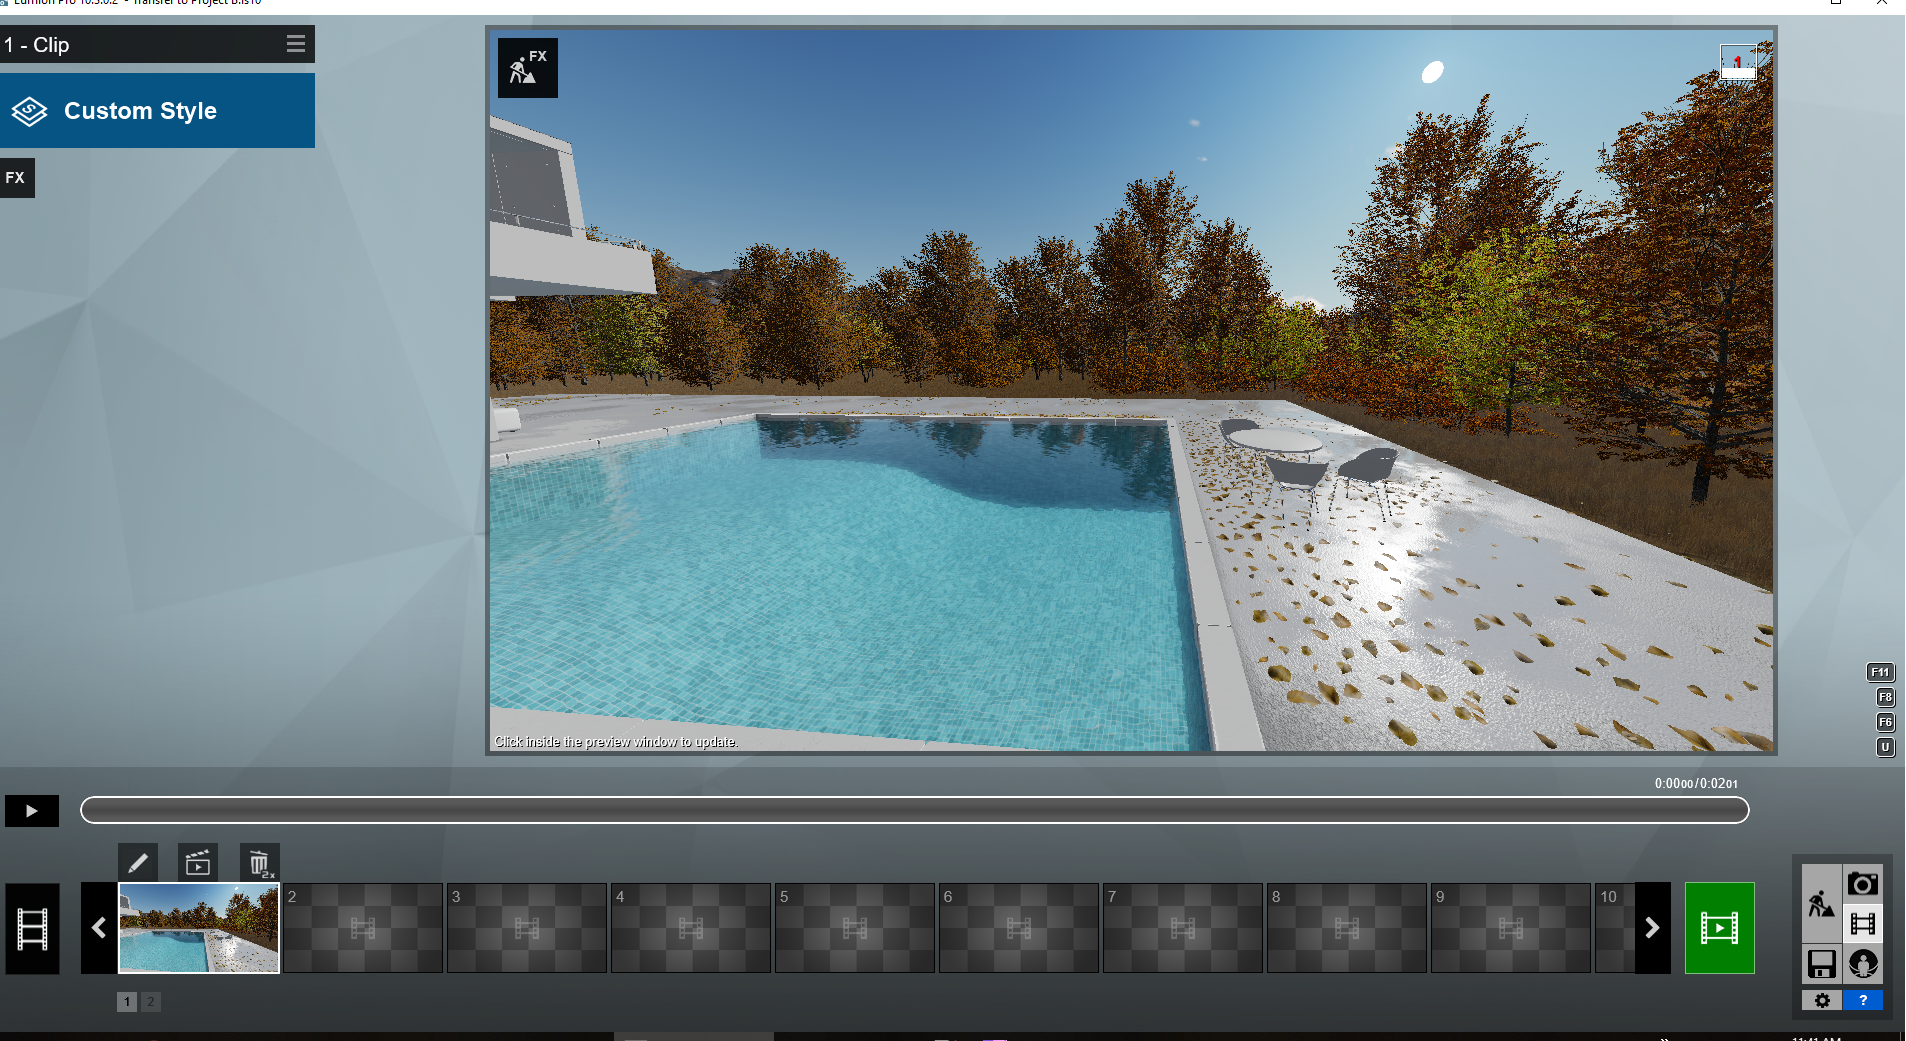
2.4 Paste the Clip: Context Menu -> Edit -> Paste Clip.
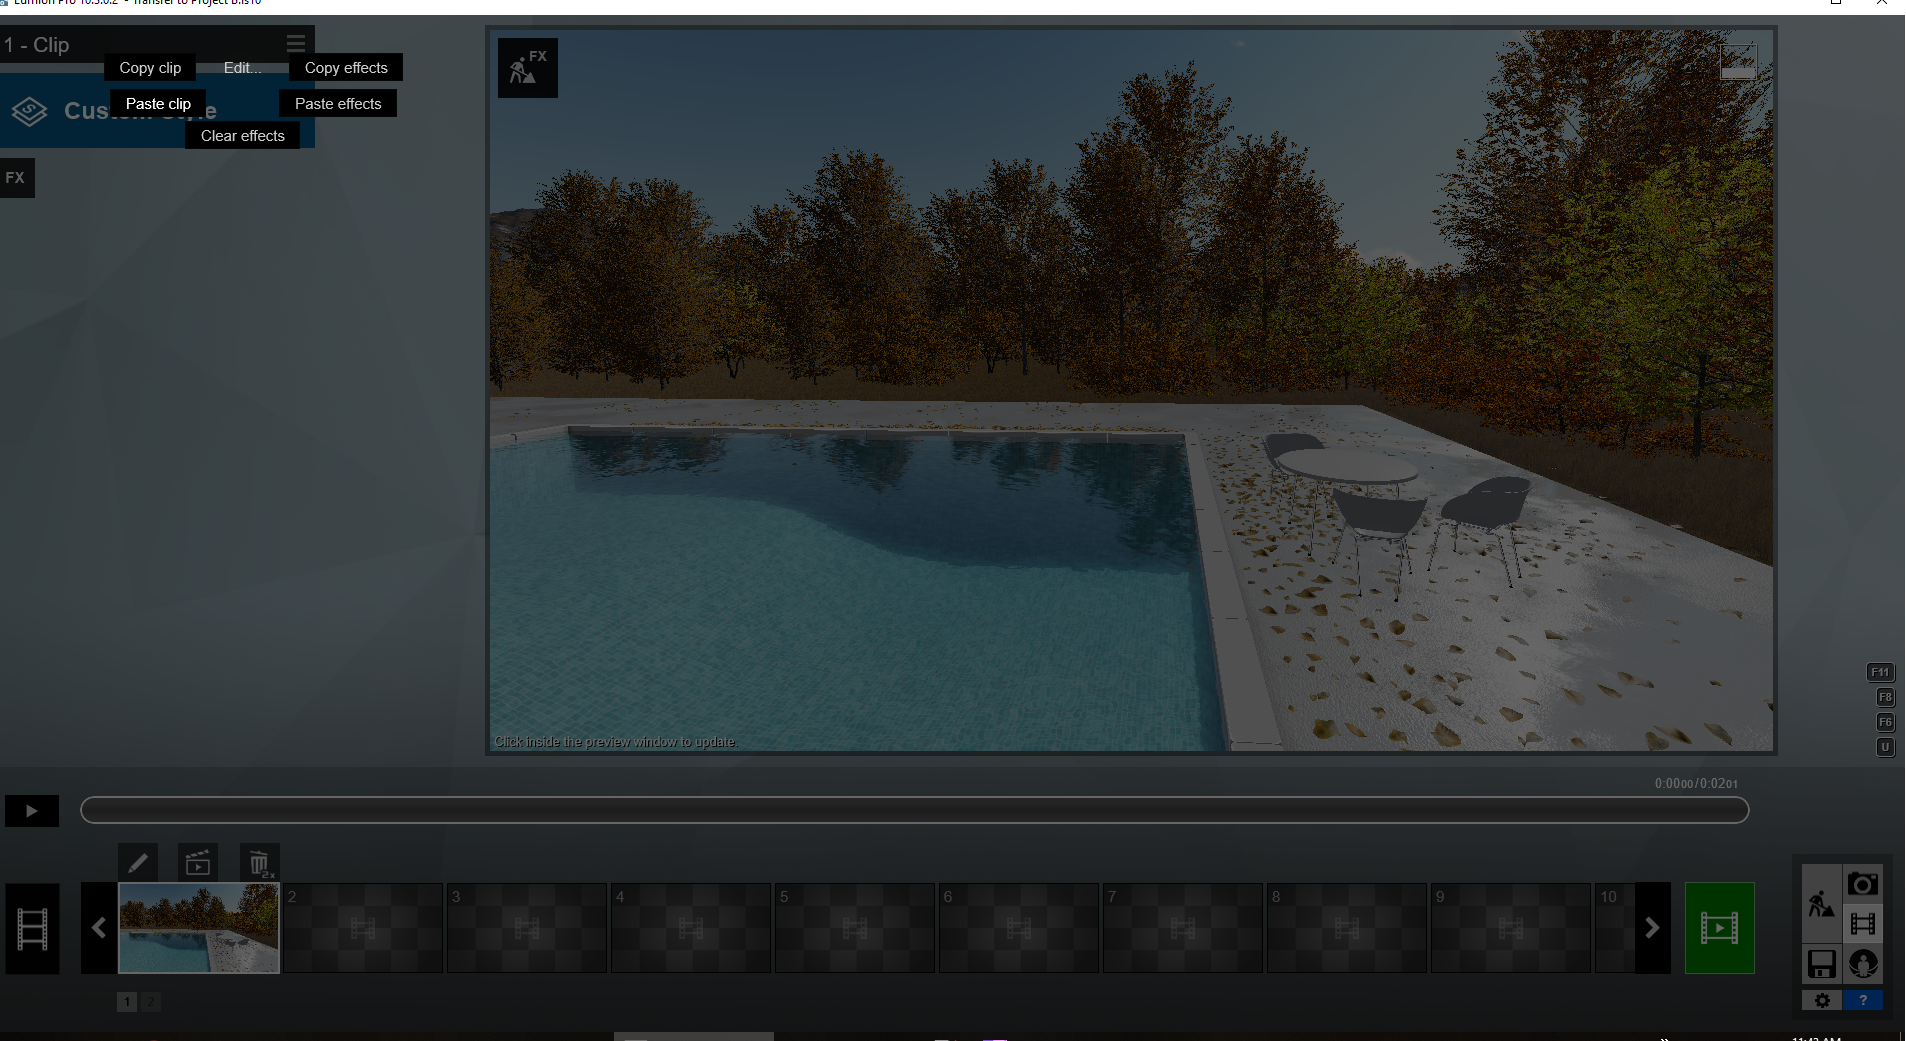
2.5 The Clip now contains the Photo view.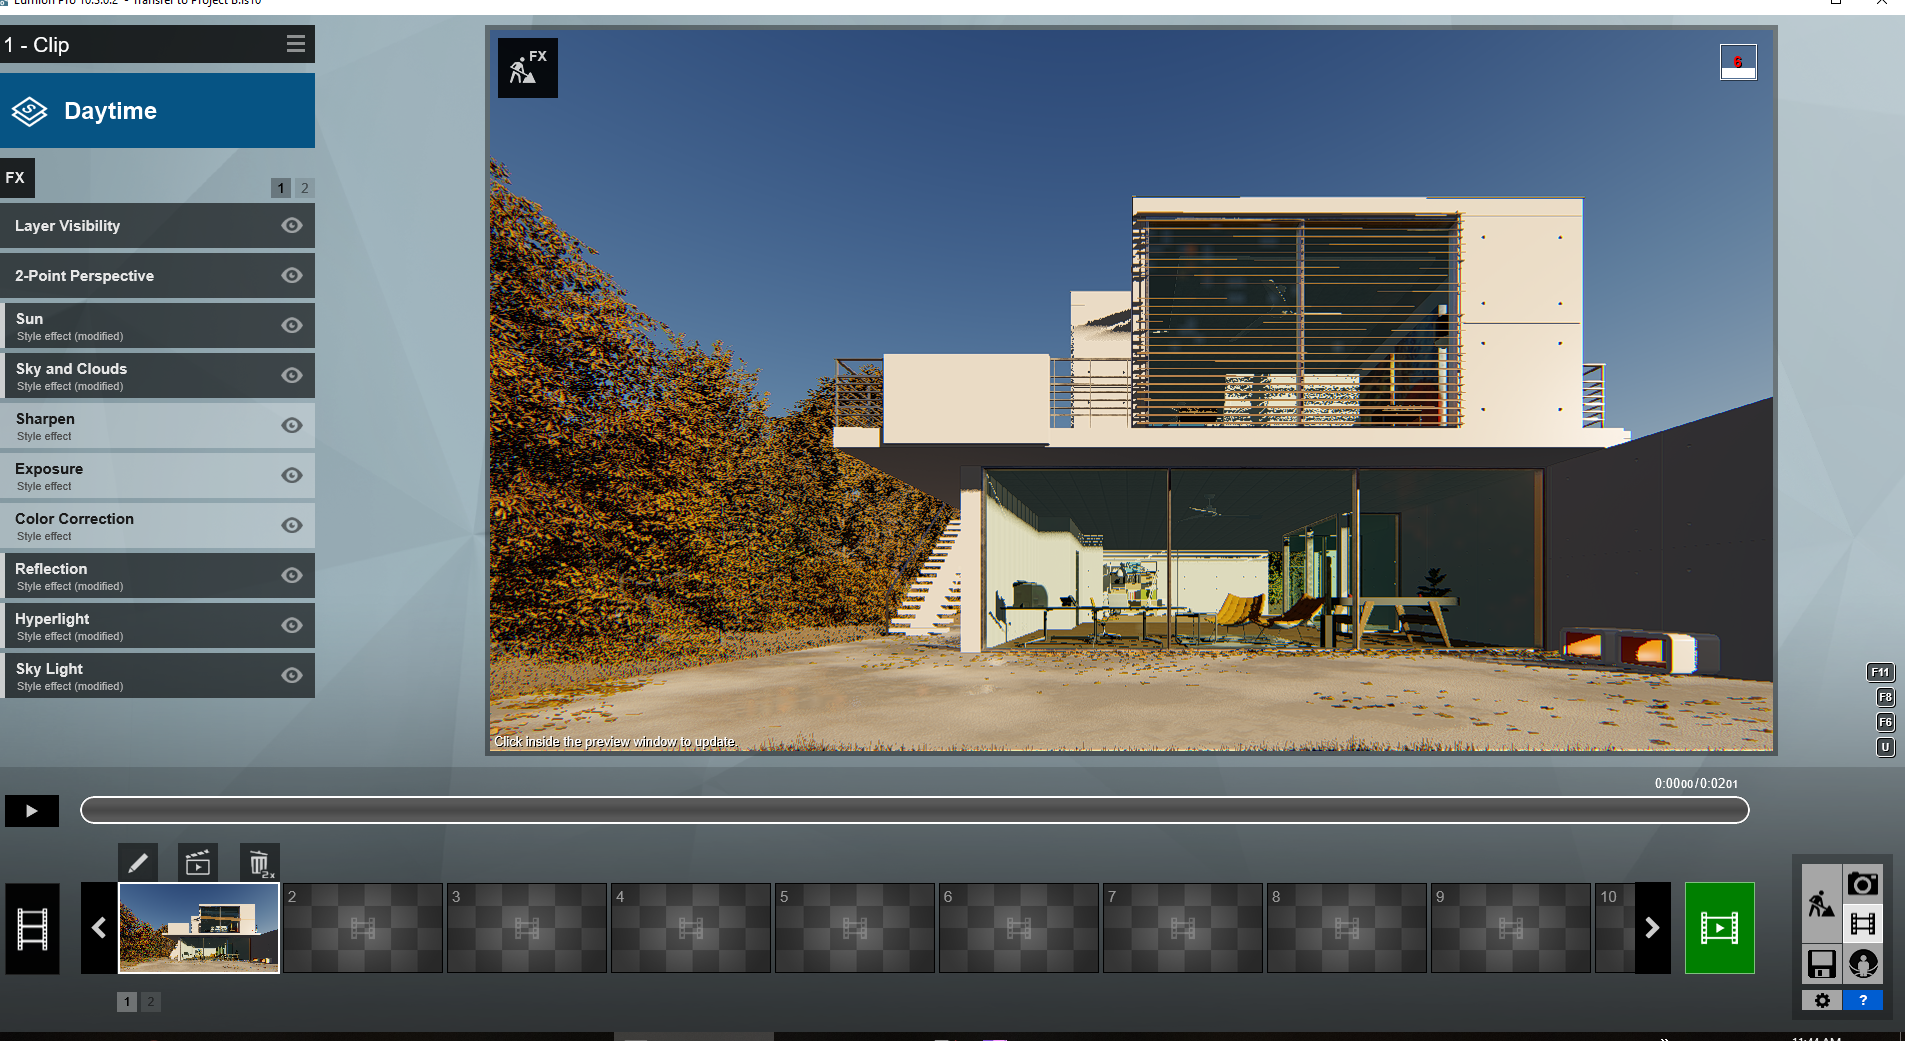 2.6 Clip Editor -> select the Camera Keyframe:
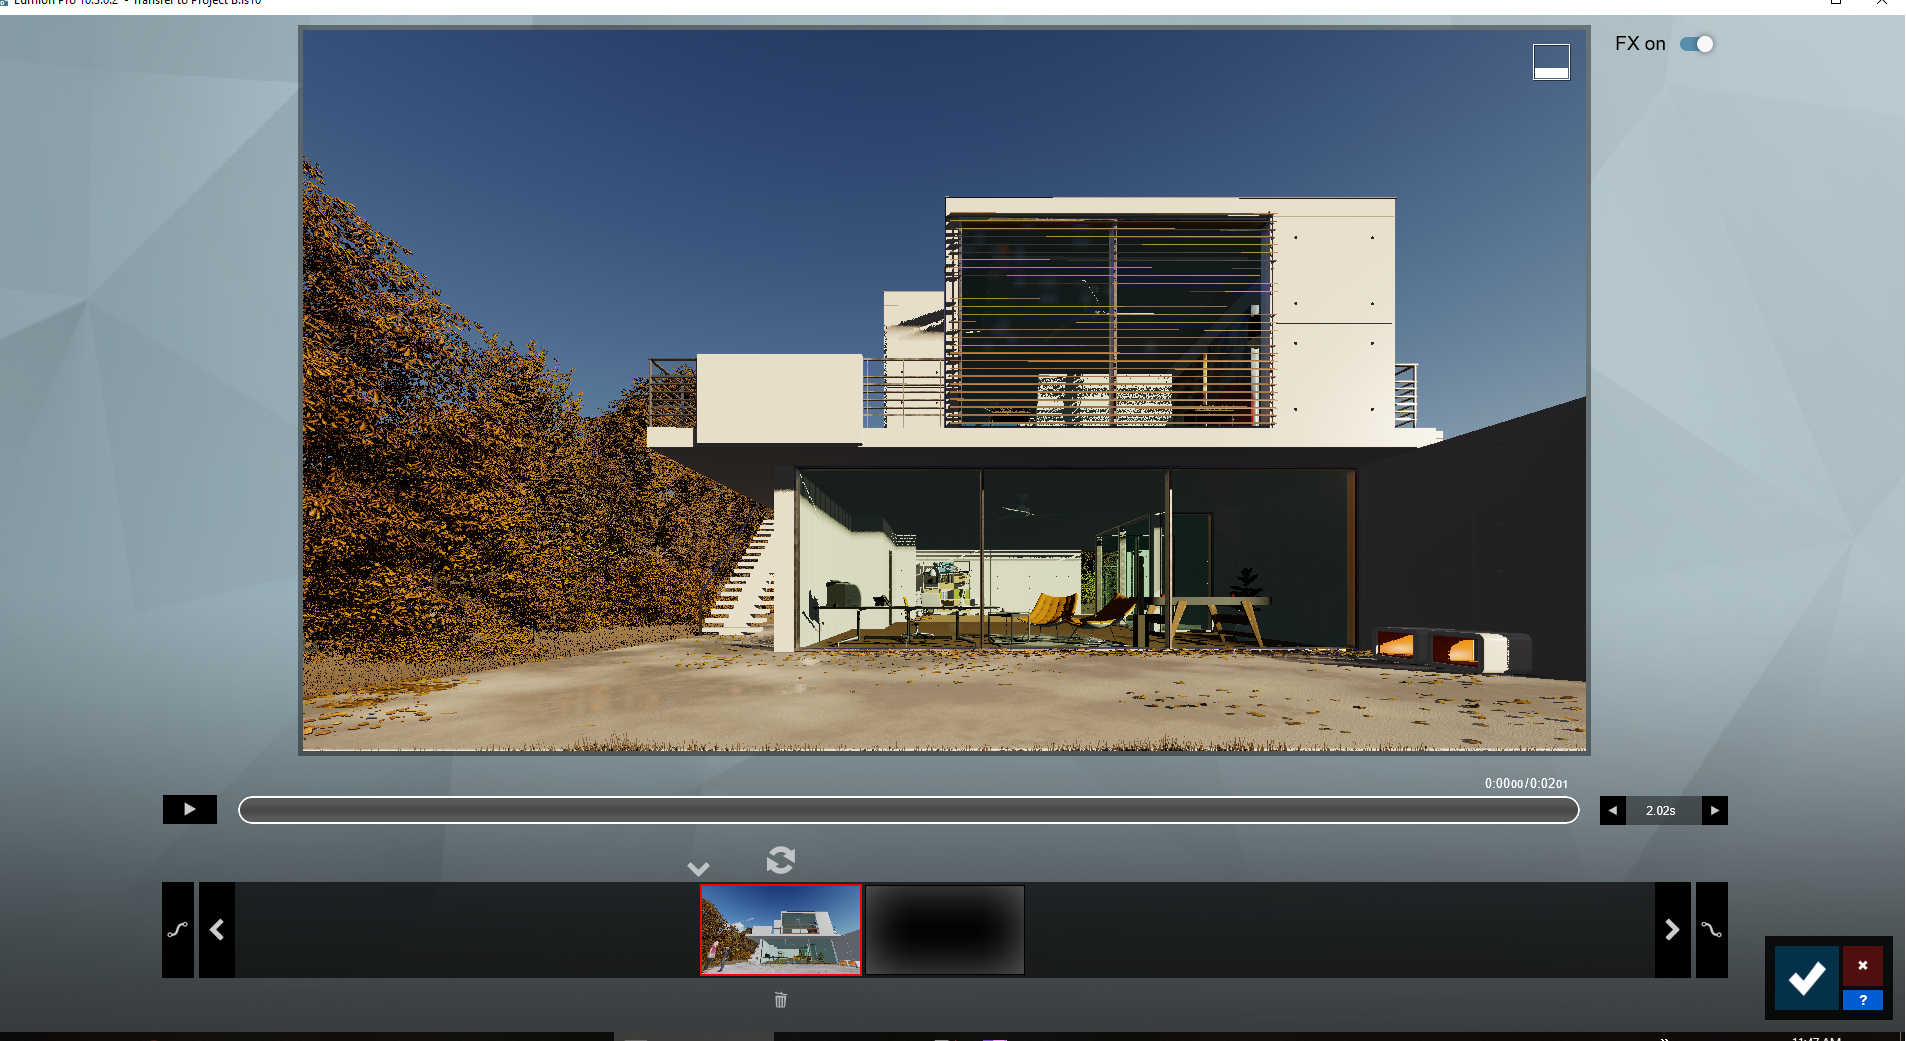
2.7 Go to an empty slot in Photo Mode or use the Create Camera hotkey to an empty slot. Here we have used CTRL + number key 9.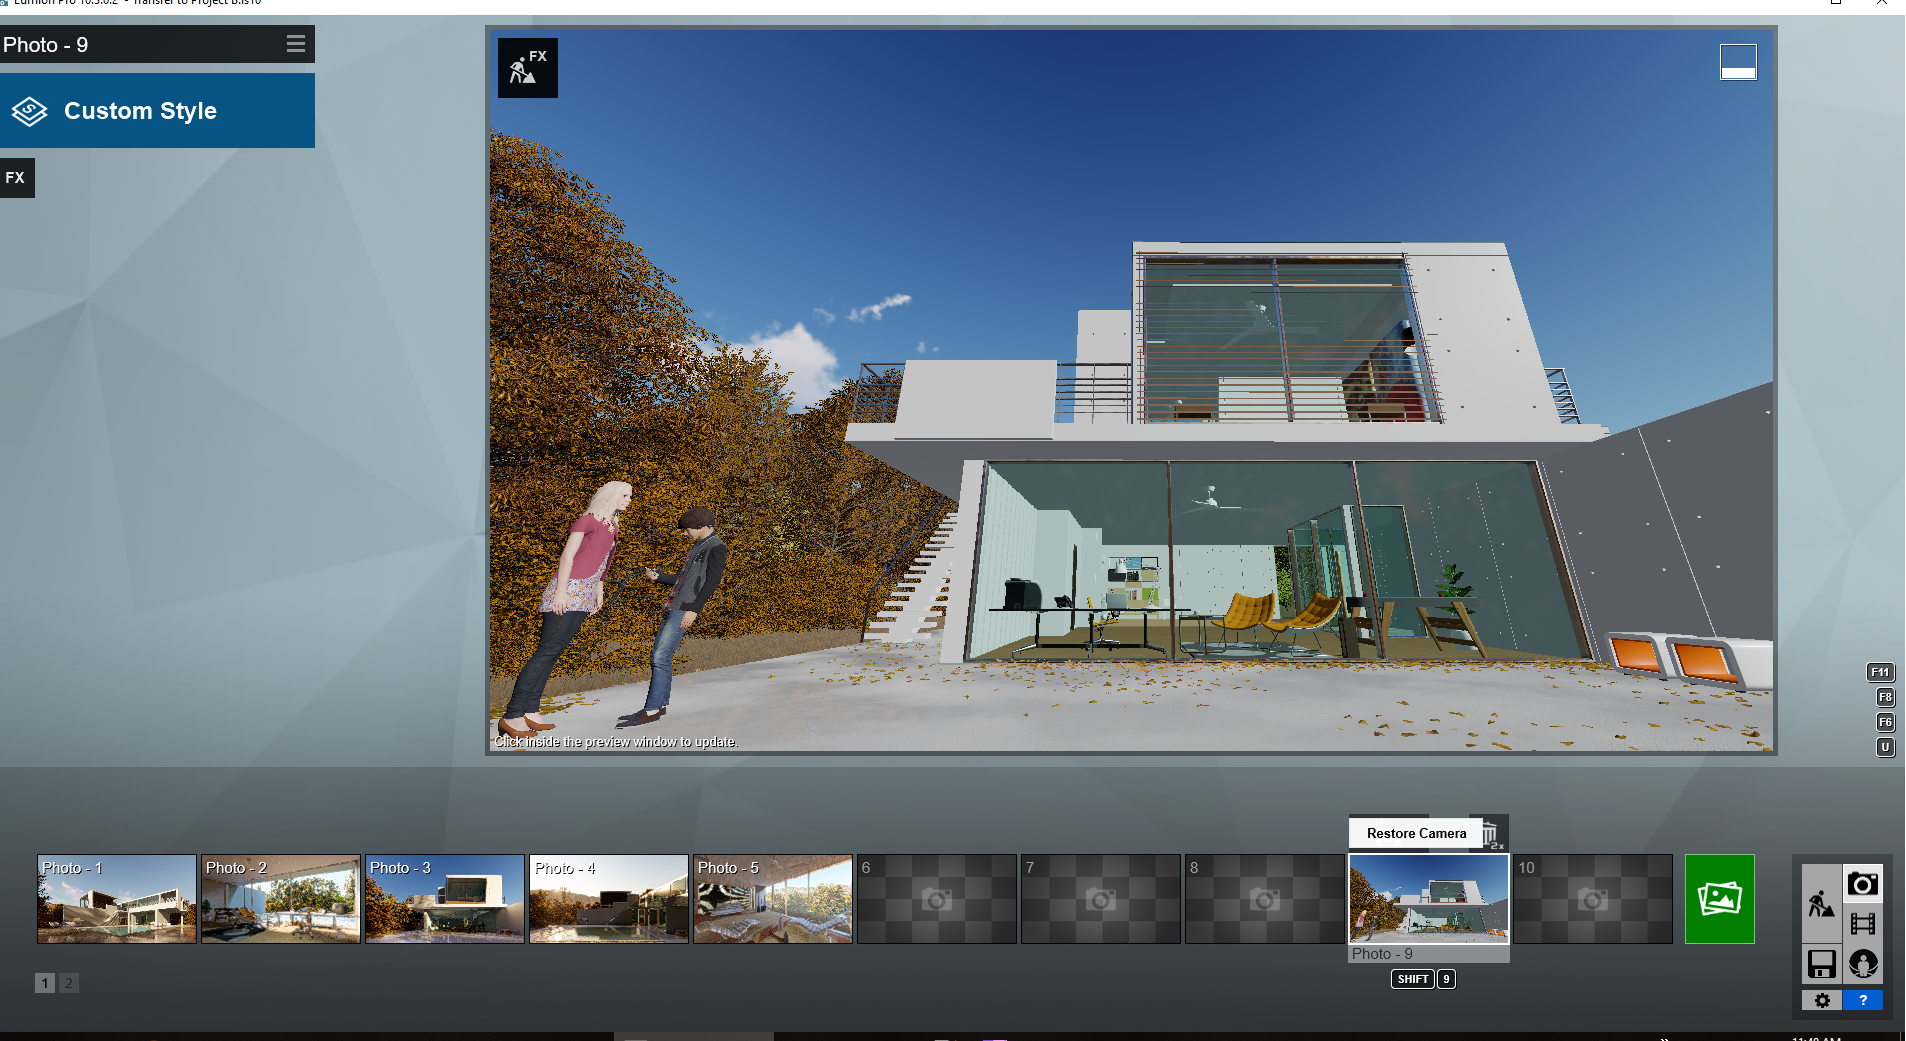
2.8 The camera view is created in Photo Mode. If we include the Effects stack it now looks the same as our comparison Photo 3.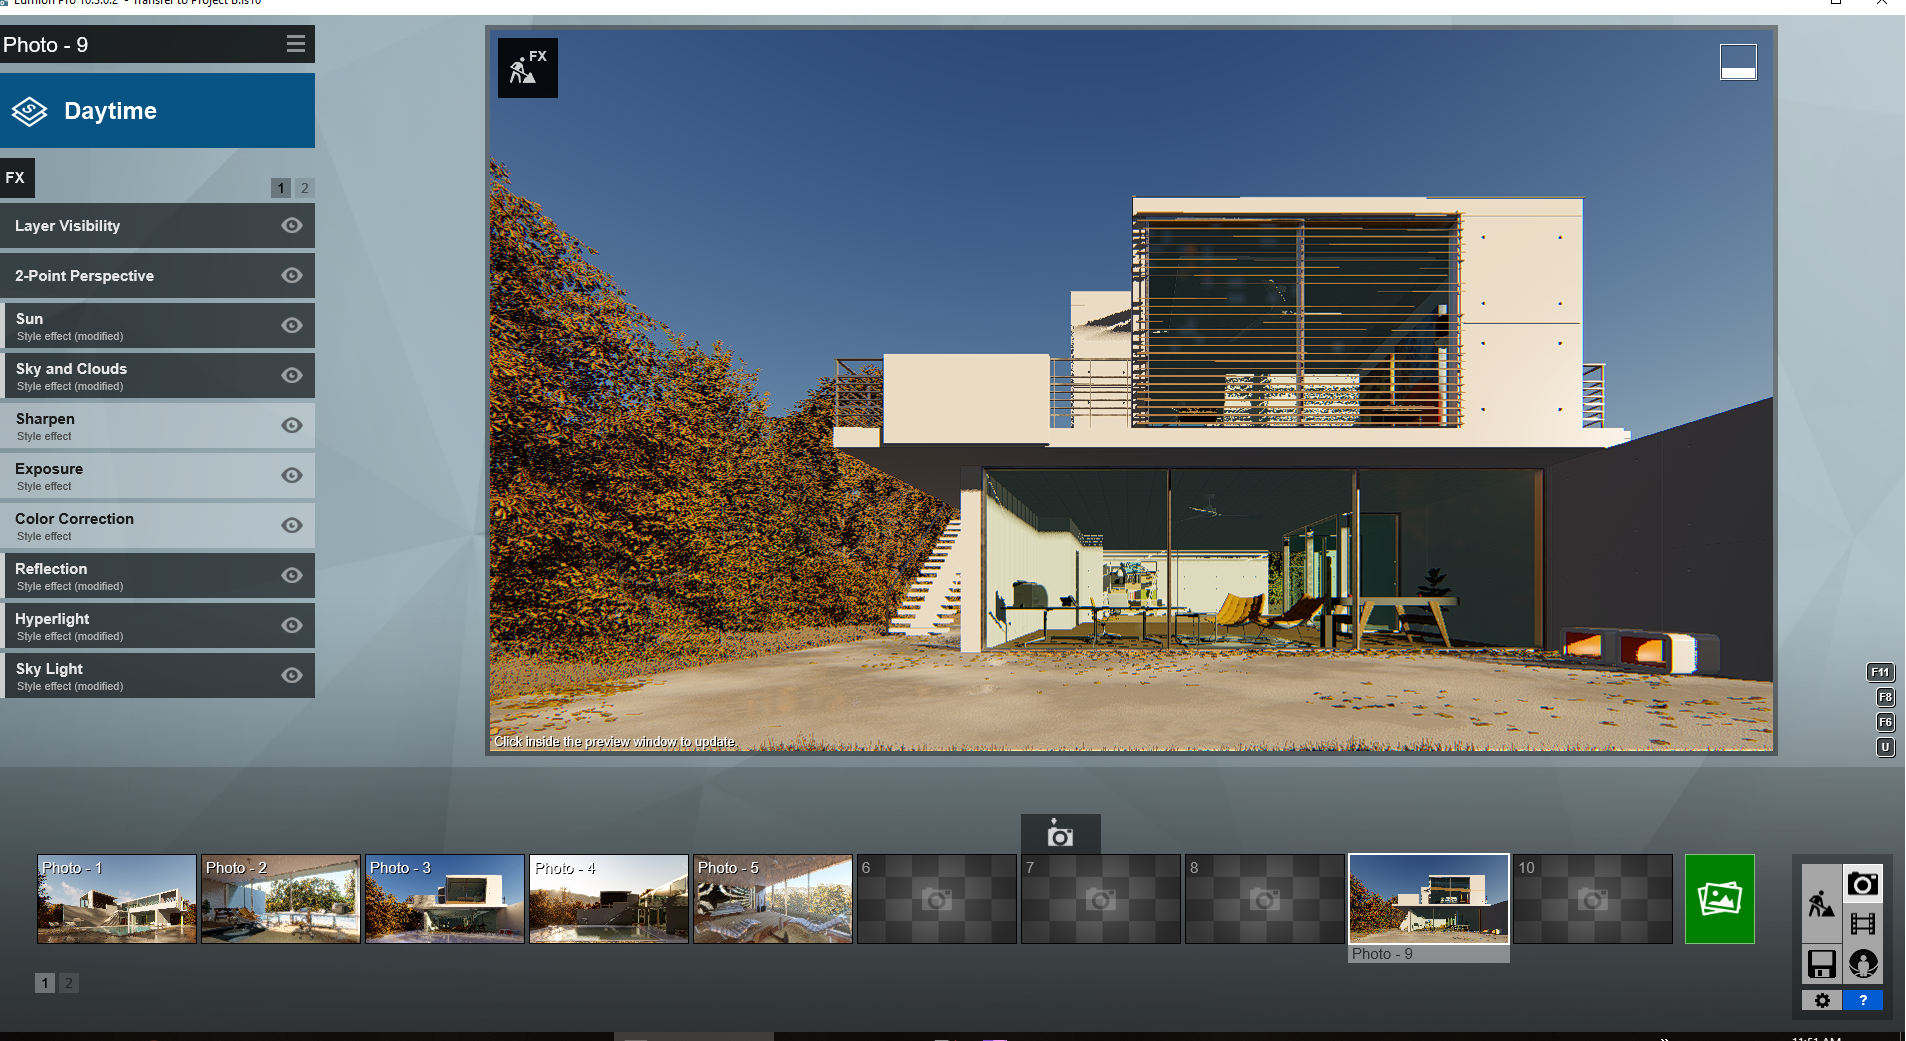
You can also include the Effects from a Photo or use the Context Menu -> File -> Save Effects to file, then Load Effects in the other Project. It's optional what method you chose.
Notes:
You can use a single Clip or even multiple Clips to copy more than one Photo. Each Camera Keyframe in the Clip can be used to 'transfer' to a slot in Photo Mode.
2. Using Merge:
Alternatively, and if you are using V11 or newer, use the Merge feature (Pro only).
This transfers all Photos but will overwrite any you already have in existing Photo slots. So if you do have Photos in a Project where you want to keep them and use the Merge, then it is suggested to first copy/paste those Photos from their Photo Set to a free unused Photo Set. The free Photo Set must also not be one already used by the other Project you are going to Merge from.
Once you have that done, save your Project, then use the Merge feature.
Versions prior to V11 you can also transfer using the Merge feature. This, however, overwrites any Photos in Photo Set 1 only.
See Also:
- Knowledge Base: How do you copy and paste a camera Keyframe from one Clip to another?
- Knowledge Base: How do you save and load Effects in Photo & Movie Mode?
- Knowledge Base: How do you transfer objects or scenes from one Project to another Project?
- Knowledge Base: Is there a list of all the keyboard shortcuts in Lumion 11?

