

Initially, all materials for a surface (except those for auto-created Glass and Water) are an Imported Material.
You use a Standard Material to apply changes to the look and quality of your model in Lumion.
The Standard Material is used for many surfaces and is also the base material type used in many of the Lumion Library Materials.

1. Textures
When you change a surfaces material from an Imported Material to a Standard Material, the Color Map texture is transferred. Other types of material or textures are not present in Imported Materials. So you often need to change or add other texture types to enhance the surface looks of a model.
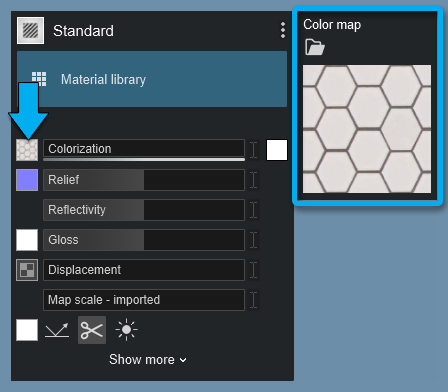
1.1: Color Map slot
This texture slot allows you to add your own Color Map (Diffuse/Albedo) texture to your model. A Color Map texture can include a so-called Alpha Channel for a static image file which can be used for a variety of purposes. Please see section 3 below for more information.
You can also assign an .MP4 video file to the Color Map slot. This allows you to display animated textures for a variety of purposes, for example for a TV screen or a video wall. MP4 video textures are not able to support an Alpha Channel as this is a limitation of the MP4 format used. Click on the link below for more information:
- Knowledge Base: How do you add a Video Texture to a TV?
Please note that textures that were assigned to the model outside of Lumion cannot be copied or saved to a Material Set, although currently, they can be for a Material File.

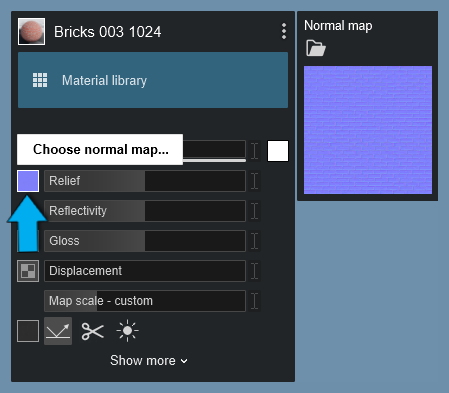
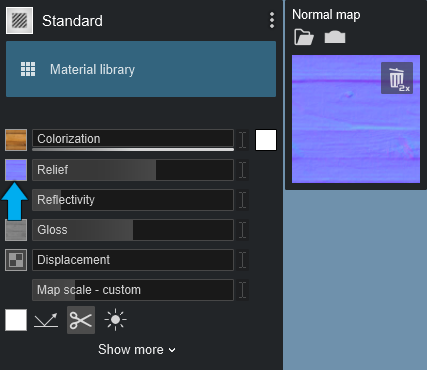
1.2: Normal Map slot
This texture slot lets you add your own Normal Map (Relief) texture to your model. Normal Maps add depth and better definition to the material.
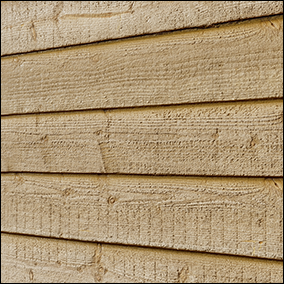
Example of additional depth details from a Normal Map:
Embedded Alpha Maps:
Lumion 12 continues to support materials from prior versions. Or, if you still follow the steps required in earlier versions of embedding the Alpha Map in a texture file. It will apply the same as in earlier versions.
If your Normal Map contains an Alpha Channel, it will be used as a Gloss mask. This mask type supports 8 bits, i.e. all 256 grayscale tones in the Alpha Channel.
See also:
Directly Adding Alpha Maps:
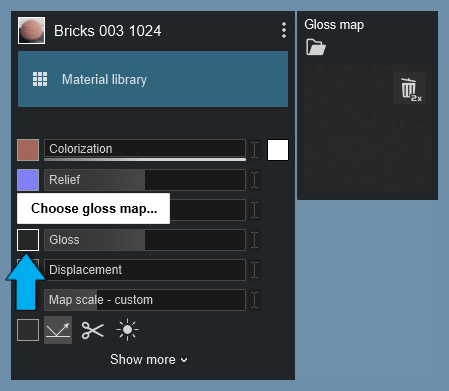
If you want to add a Gloss Map (mask) to the material, use the separate map slot on the left of the Gloss slider.
This mask type supports 8 bits, i.e. all 256 grayscale tones in the Alpha Channel.
See also below Section 3.0: Texture Alpha.
1.3: Create Normal Map
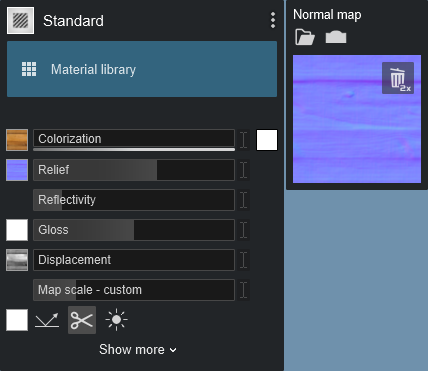
If you add a new Color Map texture to your material, Lumion will automatically create a Normal Map and a Gloss mask in the Gloss Map slot.
The Color Map loaded - a wood texture:
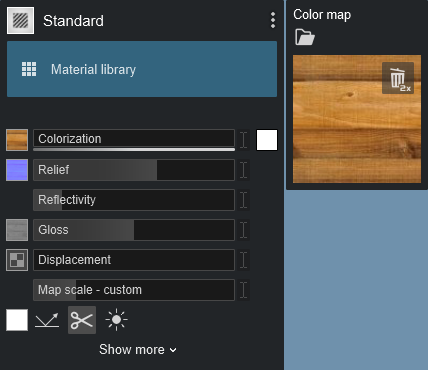
The Normal Map made automatically as well as the Gloss Map:

Or you can add your own Gloss Map using the map slot and loading the map from a file.

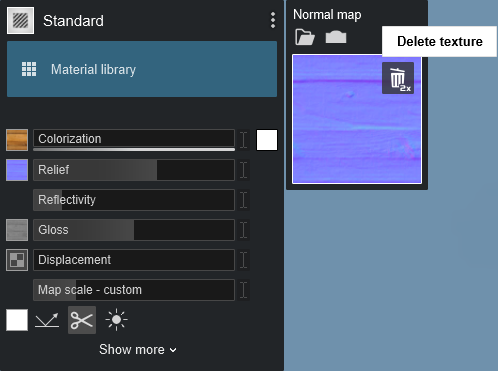
If you remove the existing Normal Map by clicking on the Normal Map - Delete Texture button, you can:
- Click on the Normal Map slot to load a file of your own.
- Or, get Lumion to automatically make it for you, see Section 1.3.1: Create Normal Map from Color Map below.
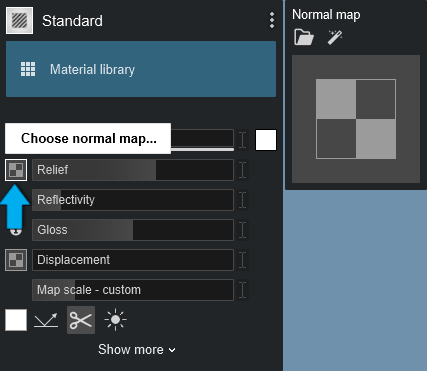
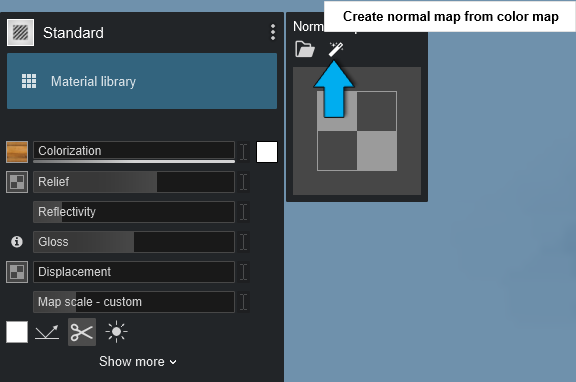
1.3.1: Create Normal Map from Color Map
Click on the Create Normal Map from Color Map button to get Lumion to automatically create a Normal Map and a Gloss mask based on the Color Map texture you are using.
This is available when the Normal Map slot is empty (has not been created or loaded to the Normal Map slot).
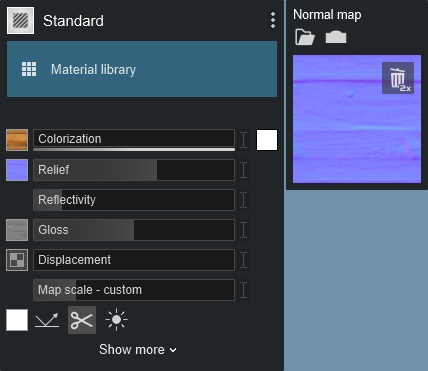
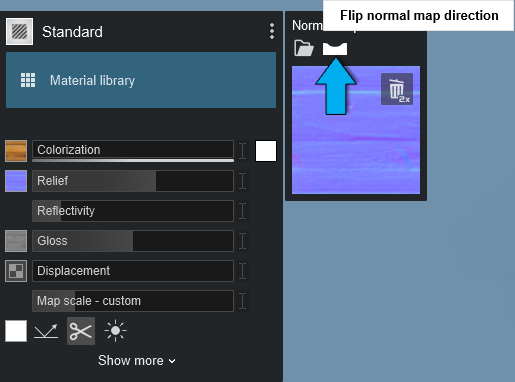
1.4: Flip Normal Map direction
After Lumion has created a Normal Map based on your Color Map, or you have loaded a map, you can invert the depth direction by clicking on this button:

Normal Map has been inverted:

And you can flip it again to change it from inverted to normal relief:

See this article for more information on how to use the Normal Map Generator:
- Knowledge Base: How do Normal Maps work in Lumion 12 and newer versions?
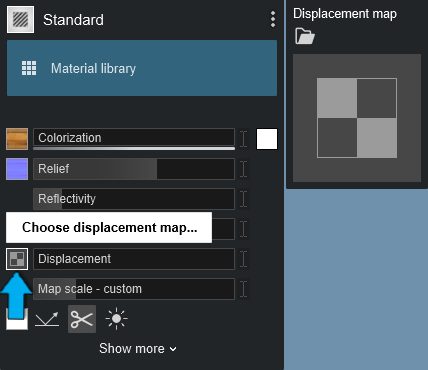
1.5: Displacement Map slot
This texture type makes flat materials appear to be 3D dimensional.
A Displacement Map is a greyscale mask texture with 256 offset values ranging from black (0) through grey to white (255). The greyscale tones of the texture determine the offset of the surface. Areas with pure black values are not offset at all whereas areas with pure white values are offset the most.
The image should be divisible by 4. For example 2048, 1052.
And to avoid artifacts it is best that the image is the same resolution for width and height. A square. For example 2048x2048, 1052x1052.
If your source Color Map texture file is either not divisible by 4 or square, then you will need to adjust the image in an image editor and Reload the Color Map and Displacement Map. For an example please see this topic:
- Lumion Community: Custom Textures Displacement Map Issue
You can import your own Displacement Maps in Lumion 10.3 and newer versions.
For the best performance, import textures only up to a maximum width/height of 4,000 pixels.
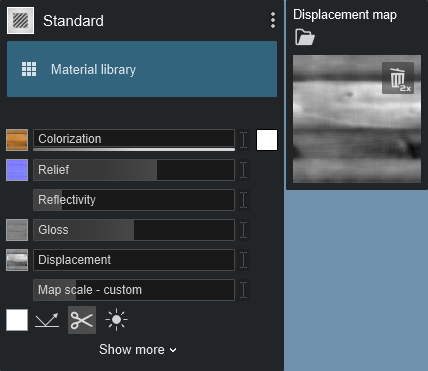
Materials with the 'D' icon in the Material Library include premade Displacement Maps:

See this article for more information on how to use Lumion to generate a Normal Map from a Displacement Map:
- Knowledge Base: How do Normal Maps work in Lumion 12 and newer versions?
2. Standard sliders
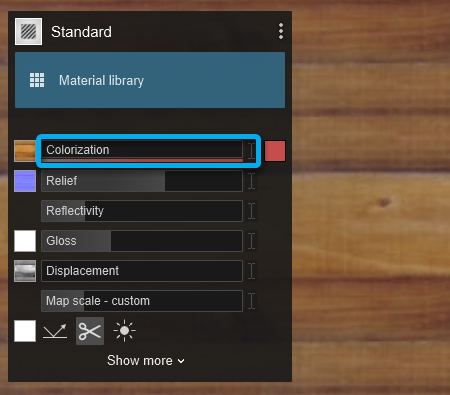
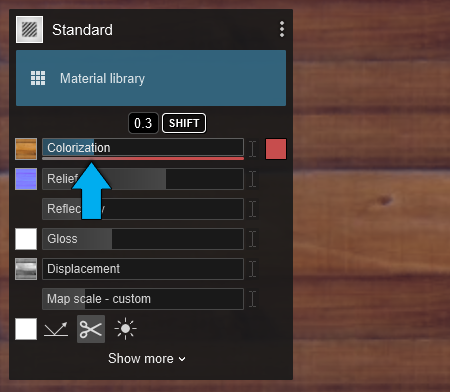
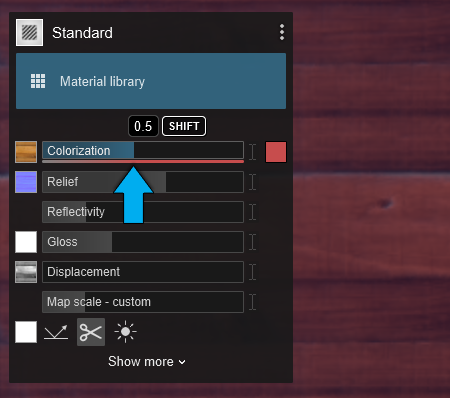
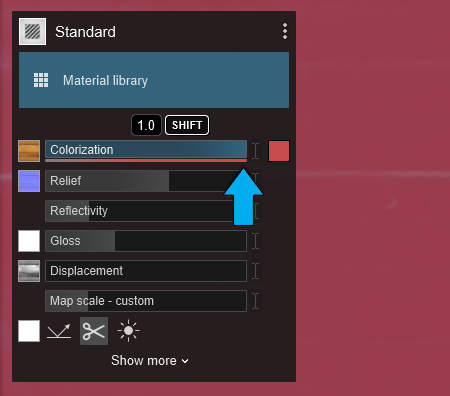
2.1: Colorization
Slider values:
- Between 0 and 0.5, the Color Map is tinted more and more by the color in the color selector.
- Between 0.5 and 1, the texture of the Color Map is progressively replaced by the selected color.
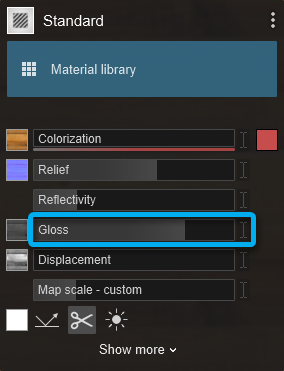
2.2: Gloss
Change the Gloss slider value to sharpen or blur reflections.
Using a Gloss mask:
- In the Alpha Channel of the Normal Map (Click here for more information).
- Or you have loaded a texture as a Gloss mask to the separate Gloss Mask slot.
Slider values:
- 0.0 corresponds to no glossiness (very blurry reflections)
- 1.0 corresponds to the grayscale value of the Gloss mask.
- Slider values above 1.0 will multiply the Gloss mask value by 1x to x2 (the result is capped at 2.0).
- If no Gloss mask is present, it assumes that the mask is 100% white (i.e. fully glossy at a slider value of 1.0-2.0).
2.3: Reflectivity
Change the Reflectivity slider value to alter the strength/amount of reflections.
Slider values:
- Between 1.0 and 2.0, the material switches to metallic reflections which will tint the reflections with the material color.
Using a Reflection mask:
- You have an embedded Reflectivity mask in the Alpha Channel of the Color Map.
- You have loaded a texture as a Reflectivity mask to the separate texture Alpha Clip Map slot.
See also Section 3.0: Texture Alpha, below.
Slider values:
- 0.0 correspond to no reflections and 1.0 corresponds to the grayscale value of the Reflectivity mask.
- Above 1.0 will multiply the Reflectivity mask value by 1x to x2 (the result is capped at 2.0).
- The closer to 2.0 the slider value is, the more it will look like a clean mirror (assuming the Gloss slider is set to a high value).

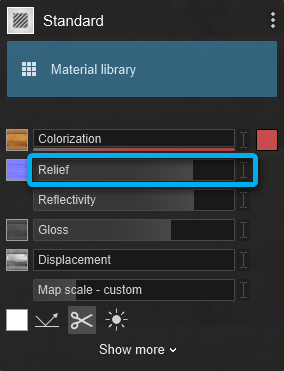
2.4: Relief
Material roughness - provided that the material uses a Normal Map.
2.5: Displacement
Modify the intensity of the 3D effect if the material uses a Displacement Map,


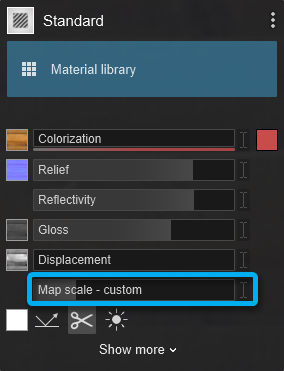
2.6: Map Scale
Material size.
Slider values:
- To 0: the material will use imported texture coordinates from your 3D modeling application (Imported Texture Placement).
- To more than 0: the material will switch to box mapping with automatically applied texture placement.
- To 1.0: and if you use a texture with a square shape (i.e. not rectangular), the texture will cover exactly 1x1 meter on the model (assuming the model has not been scaled up or down).
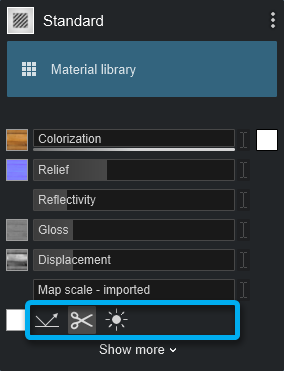
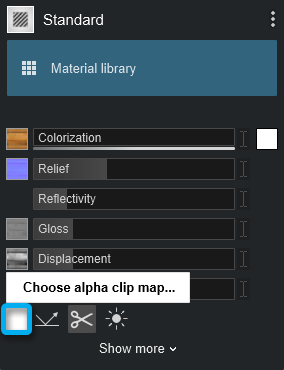
3.0: Texture Alpha for the Color Map

The three buttons let you specify whether one of these maps is used as a Reflectivity mask, a Clip mask, or as an Emissive mask.
- There is an embedded Alpha Channel in the Color Map.
- You loaded a texture to the Alpha Clip Map slot.
By default, Lumion will set as On, the second button -Texture Clips Object.
To make some parts of a material more or less reflective, transparent, or emissive using masks with the Texture Alpha function please read the following articles:
- Knowledge Base: How do you make some parts of a material more reflective?
- Knowledge Base: How do you make some parts of a material transparent?
- Knowledge Base: How do you make some parts of a material more emissive?
Example of using a Reflection mask:
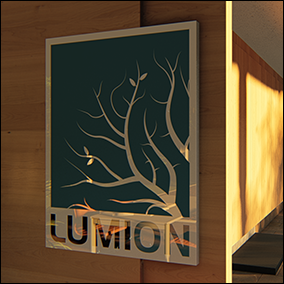
Example of using a Transparency mask:
Example of using an Emissive mask:
4. Expanded Settings:
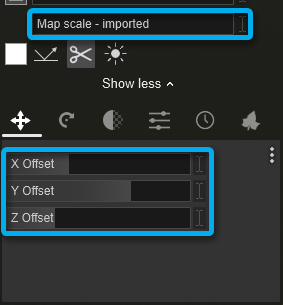
4.1: Position tab
X/Y/Z Offset: Adjust these sliders to change the position of the Color Map and Normal Map. This is only possible when the Scale slider value is above 0.
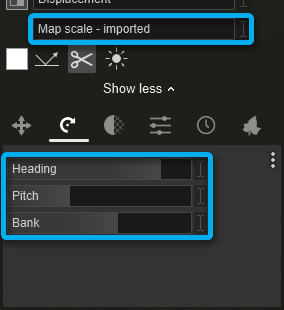
4.2: Orientation tab
Heading/Pitch/Bank: Adjust these sliders to change the orientation of the Color Map and Normal Map. This is only possible when the Scale slider value is above 0.
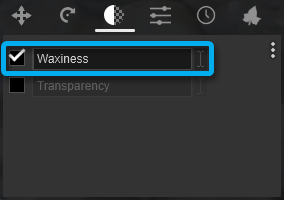
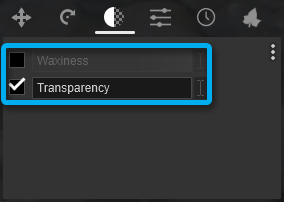
4.3: Transparency tab
Note: In Lumion 12.3 and newer versions, the Waxiness and Transparency sliders are now two separate unlinked sliders and can be configured separately from each other.
4.3.1: Waxiness: Adjust this slider to change the waxiness of the material.
Just like in real life, bright materials will allow more light through than dark materials (that absorb the light), so black materials will not seem to have any effect, even when the Waxiness slider is set to the maximum amount.
The Waxiness function only works with sunlight and Area Lights or Line Lights. Other artificial light sources such as SpotLights and OmniLights will not work. This is a known technical constraint (versions 11.5 and newer).
Example of Waxiness:

4.3.2: Transparency: Adjust this slider to change the transparency of the model.
- You use a Transparency mask in the Alpha Channel of the Color Map (See Section 3.0: Texture Alpha, above).
- You have loaded a texture as a Transparency mask to the separate texture Alpha Clip Map slot.
Slider values:
- 0.0 corresponds to no transparency.
- 1.0 corresponds to the transparency value of the Transparency mask.
The final transparency value is converted to different levels of transparency based on the Output Quality setting that you render your images/movies with:
- 4-star Output Quality: 16 levels of transparency.
- 3-star Output Quality: 8 levels of transparency.
- 2-star Output Quality: 4 levels of transparency.
4.4: Settings tab

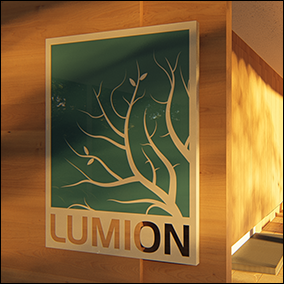
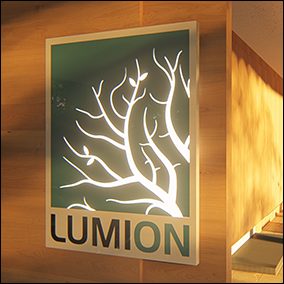
4.4.1: Emissive:
A low value brightens the material and a high value makes it glow.
- You use an Emissive mask in the Alpha Channel of the Color Map (See Section 3.0: Texture Alpha, above).
- You have loaded a texture as a Transparency mask to the separate texture Alpha Clip Map slot.
Slider values:
The Emissive slider will only affect the masked areas (See section 3.0 above).
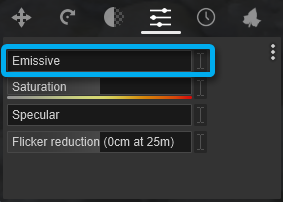
4.4.2: Saturation: A low value desaturates the Color Map texture and a high value makes it more saturated.

4.4.3: Specular: This slider allows you to boost specular highlights in the material.

- External Link: YouTube video by CWeltonDesign: Specular Maps in Lumion comparison
- External Link: YouTube video by Luminous Labs: Make Metal Materials POP with the SPECULAR Slider in LUMION!!
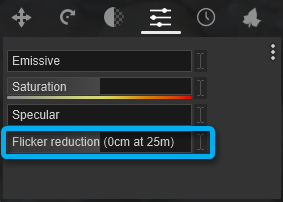
4.4.4: Flicker Reduction: You should only use this setting if overlapping surfaces flicker or disappear when you move the camera.
Avoid extreme Flicker Reduction values - you should only adjust it a little bit while holding down the Shift key and moving the mouse cursor left or right until the surface stops flickering.
The best method is to make sure that your surfaces are offset a bit in your 3D modeling application so that the flickering is less likely to occur in the first place.
4.5: Weathering tab
4.5.1: Weathering: This slider adds aging and weathering effects, dirt, worn edges, moss, and rust to materials.
The first step is to select a Weathering Preset that matches the material you are using. Then set the slider value.
- Presets (from top left to bottom right):
- Stone, Wood, Leather
- Brushed steel, Silver/Aluminium, Gold
- Iron, Copper, Plastic
- A value of 0 means that the material is brand new.
- A value of 0.0 to 0.5 makes it look increasingly old.
- A value of 0.5 to 1.0 makes it increasingly dirty in addition to looking old.

Example of Weathering:
4.5.2: Edges: This slider smooths the edges of objects.

Example of Edges:

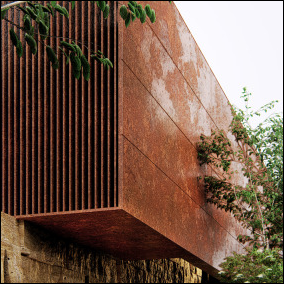
4.6: Foliage tab
4.6.1: Spread: Adjust this slider to change the distribution amount of the leaves.
If your Foliage leaves are distributed too thinly or unevenly on your surface, please read this article:

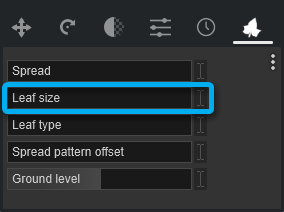
4.6.2: Leaves Size: Adjust this slider to change the size of the leaves.
4.6.3: Leaves Type: Adjust this slider to change the leaf type. There are 9 presets.

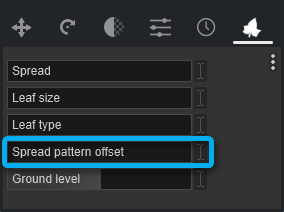
4.6.4: Spread Pattern Offset: Adjust this slider to randomize the distribution of the leaves on the model.
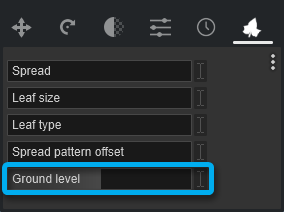
4.6.5: Ground Level: Adjust this slider if your model is above or below the Lumion Landscape. The slider value is in meters or feet depending on the chosen Units on the main Settings screen.
See also:
- Knowledge Base: How do you copy, paste, save and load materials in Lumion 12?