How do Normal Maps work in Lumion 12?
1. Background
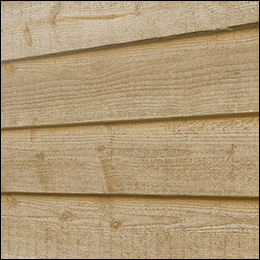
A material without a Normal Map will often look flat and lifeless:
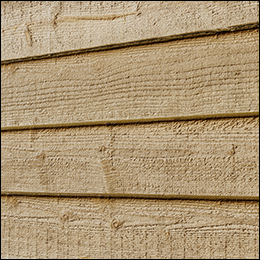
Adding a Normal Map to the material will make it appear more three-dimensional when it is lit up by the sun or by artificial light sources:
There are two ways to add a Normal Map to a material:
- Use the Normal Map generator in Lumion to create a Normal Map for your material.
- Use a Normal Map from a 3rd party application and assign it to your material.
2. Using the Normal Map generator
2.1: From Imported Color Map textures:
If you have imported a textured model in Lumion and assigned a Standard Material to it a default 32x32 pixel Normal Map is created at the time.
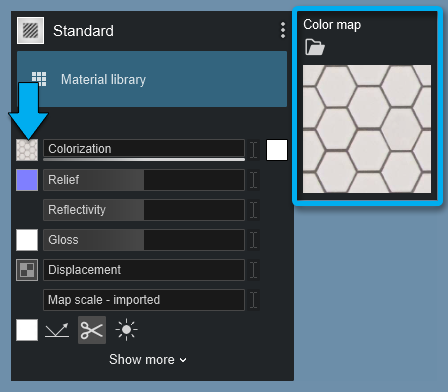
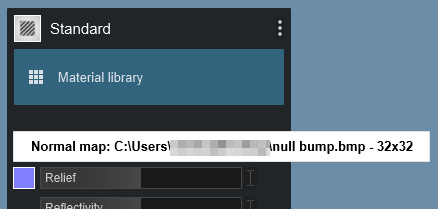
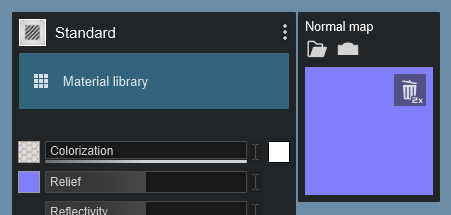
You can improve the depth details from the texture by:
1. Deleting the default map:
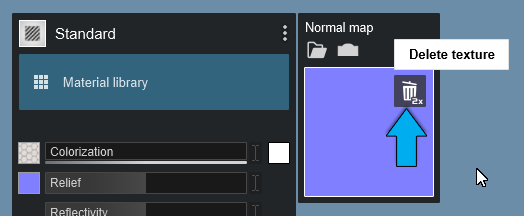
2. Click on the icon for Create Normal Map from Color Map button:
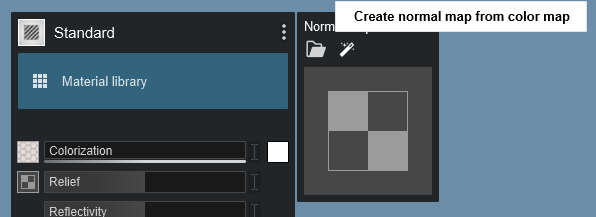
The Normal Map generated for you:
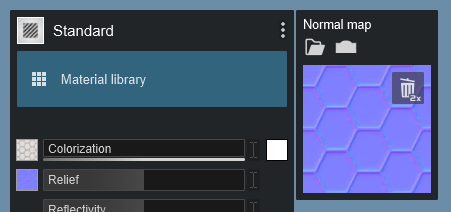
In addition to the Normal Map, it also generates a Gloss mask in the alpha channel of the Normal Map which will improve the way the material reflects its surroundings. Depth can also be represented using a Displacement Map. See:
2.2: From Loaded Color Map texture:
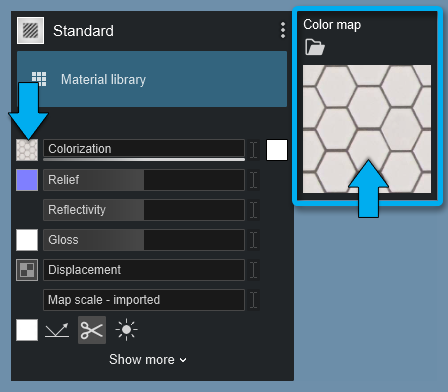
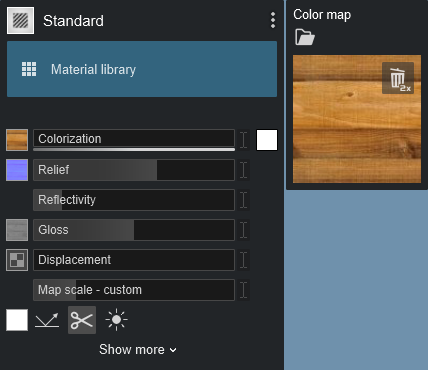
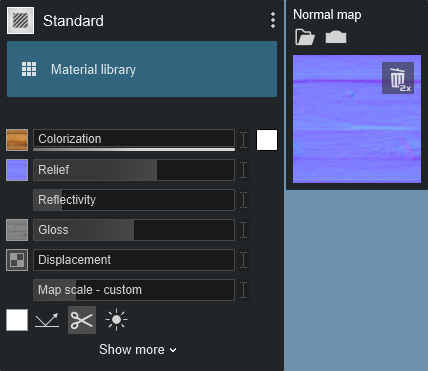
If you prefer to load a Color Map of your own inside Lumion, click on the Color Map slot and pick a Color Map file. The Normal Map generator will automatically generate a new Normal Map and Gloss mask based on the Color Map texture you chose:
Color Map replaced with:
The new Normal Map generated:
2.3: From Loaded Displacement Map texture:
You can generate a Normal Map from a Displacement Map.
If there is no Color Map.
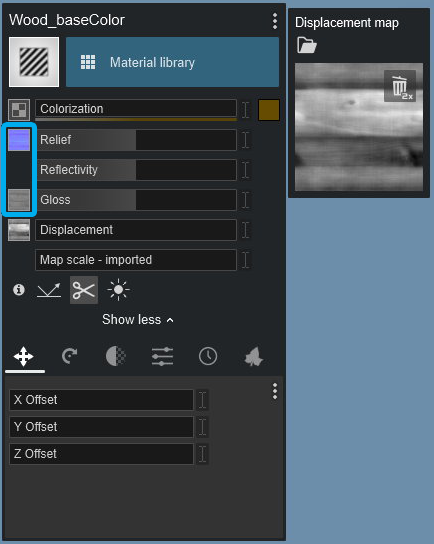
Load a Displacement Map. The image should be a greyscale image for example:
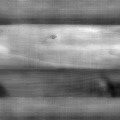
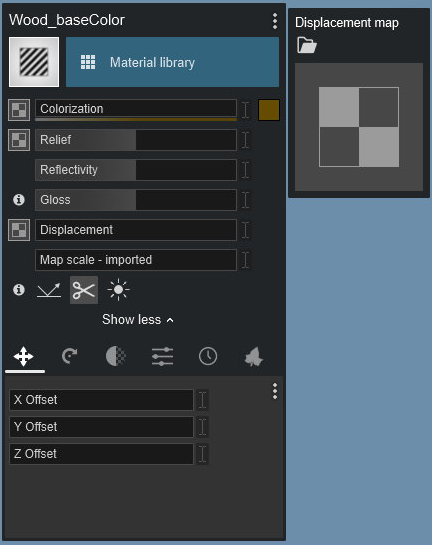
The Normal Map and Gloss Maps are auto-generated for you by Lumion:
Where there is a Color Map.
Load the Color Map or you can replace the existing Color Map with a different one:
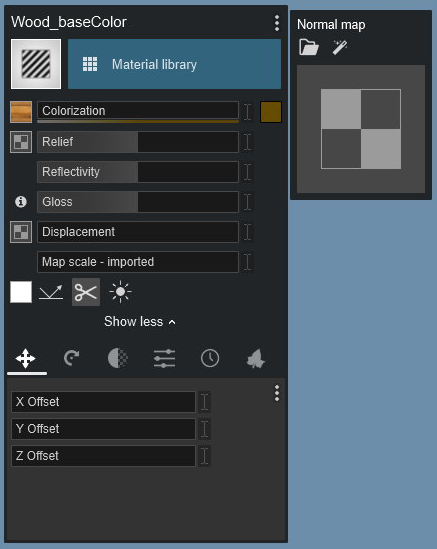
At this point, you can only generate a Normal Map from a Color Map (there is no Displacement Map).
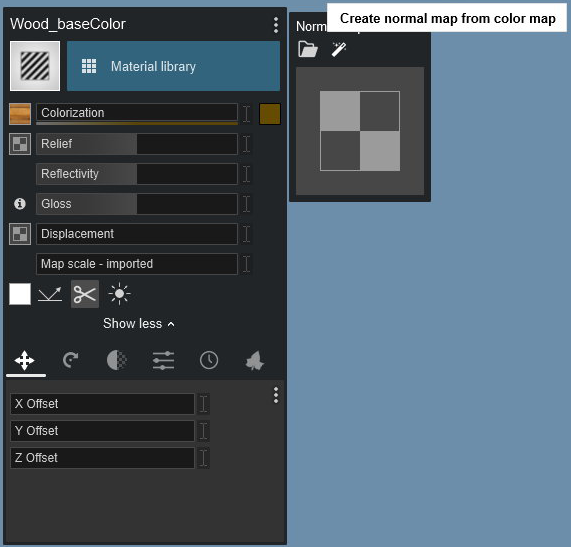
The Normal Map using Lumion would at this point be generated from the Color Map (as is the Gloss Map):
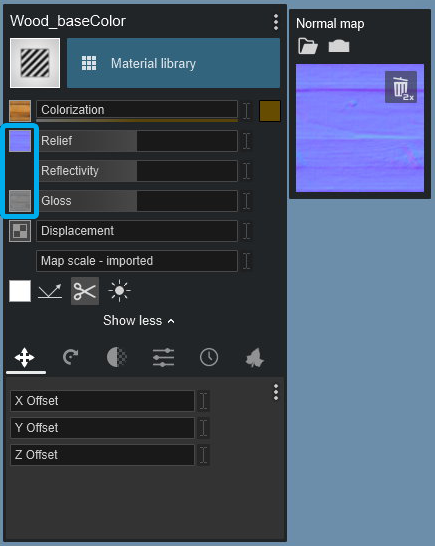
So you now need to load the Displacement Map:
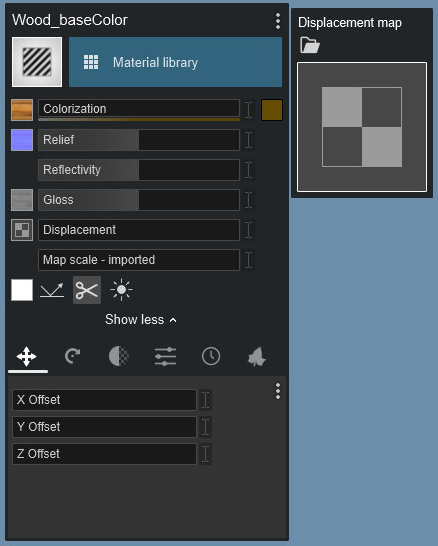
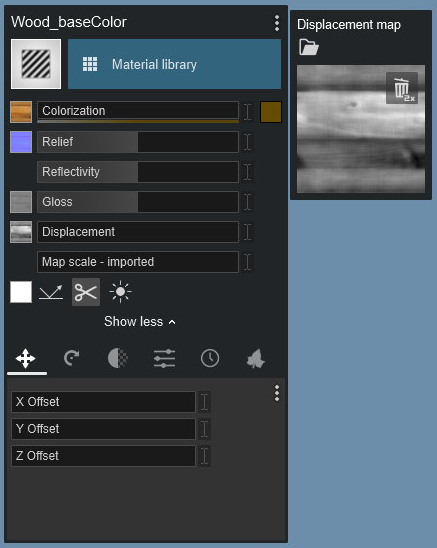
When you load the Displacement Map, Lumion will auto-generate a Normal Map (and also a Gloss Map). It does that based on the Displacement Map and not the Color Map:
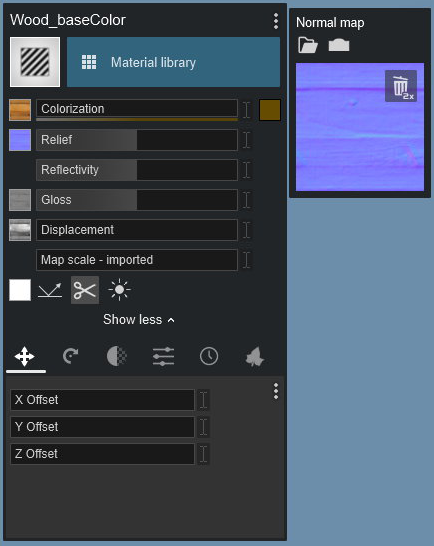
At any time you can get Lumion to generate a new Normal Map from the Displacement Map:
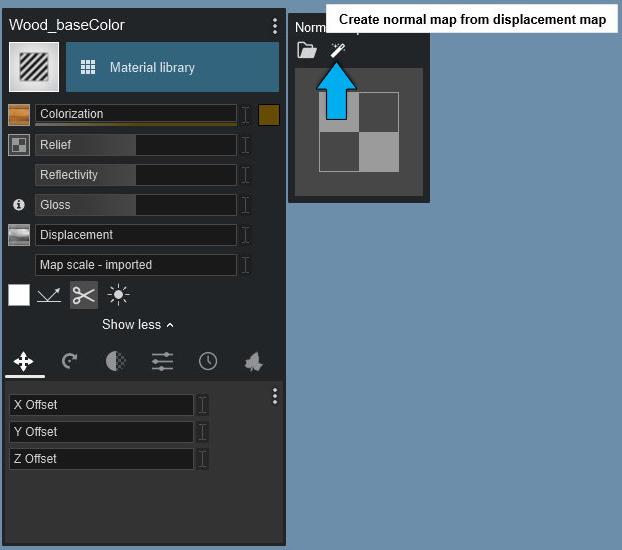
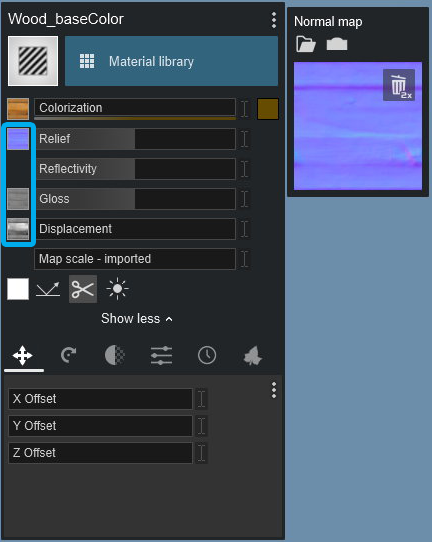
Note: you can do this in either order. Load the Color Map first or the Displacement Map first. If there is a Displacement Map Lumion will generate a Normal Map from the Displacement Map.
2.4: Normal Map Direction:
Make sure that the sun or a Spotlight is lighting up the surface when evaluating the result. Usually, the first one generated from the Color Map is the one to use. But if the depth details of the material appear to be wrong, simply click on the Flip Normal Map direction button to reverse the direction:
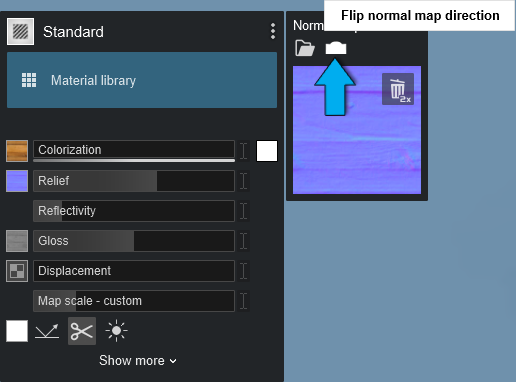
Normal Map is flipped:
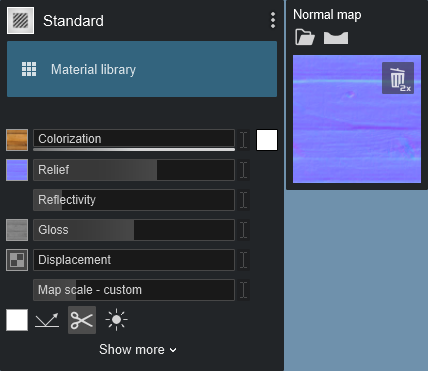
or flip it again:
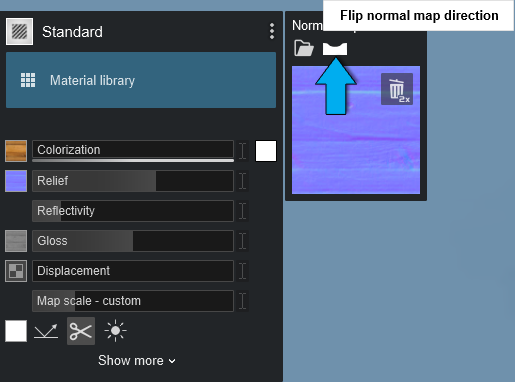

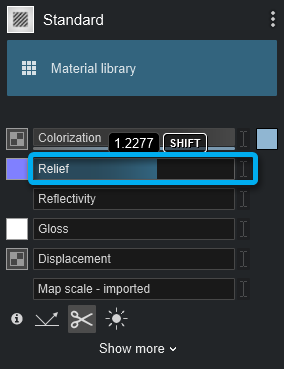
2.5: Amount of Depth/Relief:
Adjust the Relief slider to your liking. A high Relief slider value will enhance the depth details:
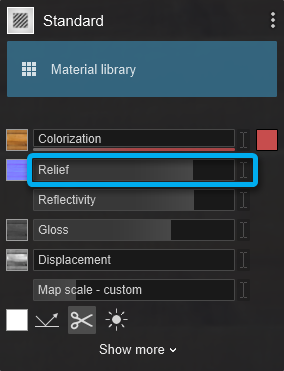
3. Using Normal Maps from 3rd party applications
Normal Maps can be created in many different applications. Here are some examples:
Example of a Normal Map for brick texture:
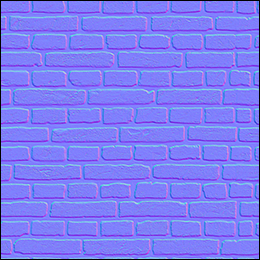
3.1: To get the best possible result, you should also create a Gloss mask if possible. Some of the applications above can create a Gloss mask for you. The Gloss mask should be added to the Alpha Channel of the Normal Map in Adobe Photoshop or a similar image editor:
Example of a Gloss mask for a brick texture:
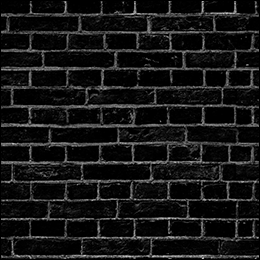
3.2: If you are using Adobe Photoshop, please click on the link below to see how to add an Alpha Channel to an image:
- External Link: Adobe Photoshop Help: Create and edit alpha channel masks
3.3: Then paint the Alpha Channel with grayscale tones. A pure black color will result in very blurry reflections in Lumion and a pure white color will result in sharp, mirror-like reflections. Grayscale tones will result in more or less sharp reflections depending on how close they are to pure black and pure white.
3.4: Once you've added the Gloss mask to the Alpha Channel of the texture, please click on the link below to see how to save it to a 32-bit Color Map (Diffuse) texture in TGA, BMP or TIFF format.
- External Link: Adobe Photoshop Help: Save files in graphics formats
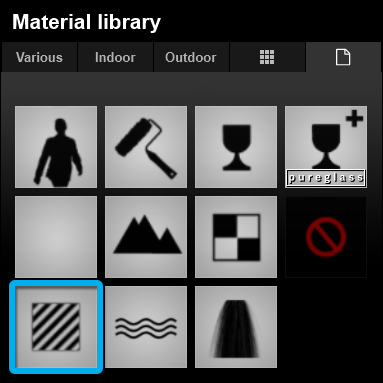
3.5: Then open Lumion and add a Standard Material to the surface:
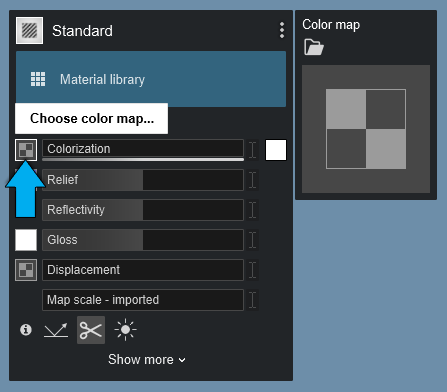
3.6: If your material does not have a Color Map texture, then click on the Color Map slot to load the texture:
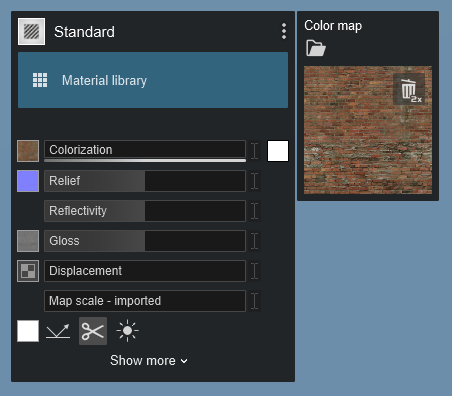
3.7: Lumion automatically creates a Normal Map based on the Color Map texture you loaded.
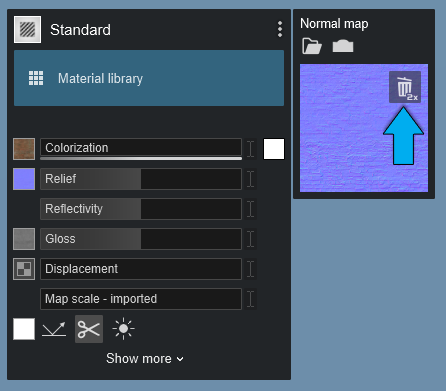
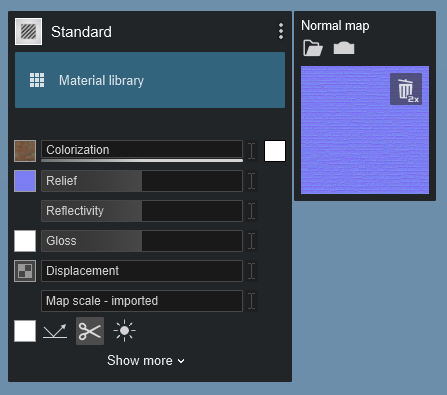
To use your own Normal Map texture, double-click on the Remove Normal Map button:
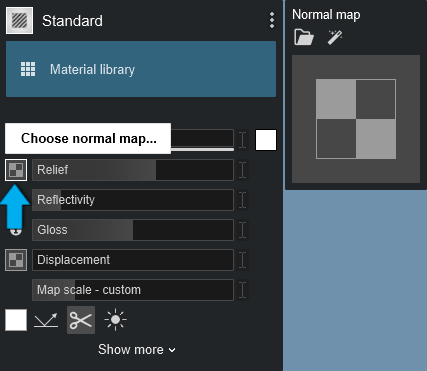
3.8: Then click on the Normal Map slot to load the Normal Map texture you created earlier:
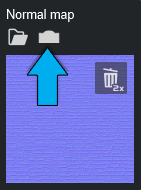
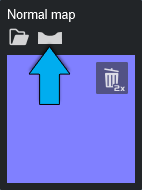
3.9: If the depth details of the material appear to be wrong, simply click on the Flip Normal Map direction button to reverse the direction::
3.10: Adjust the Relief slider to your liking. A higher Relief slider value will enhance the depth details:
See Also:

