Guide: Working with OpenStreetMap in Lumion Pro 2023 and newer

1. Guide:
This article applies to Lumion 2023 Pro and newer versions.
Other versions are covered in the following articles:
- Knowledge Base: Guide: Working with OpenStreetMap in Lumion 12 Pro
- Knowledge Base: Guide: Working With OpenStreetMap in Lumion 11 Pro
- Knowledge Base: Guide: Working With OpenStreetMap in Lumion 11 Pro
- Knowledge Base: Guide: Working With OpenStreetMap in Lumion 10 Pro
- Knowledge Base: Guide: Working With OpenStreetMap in Lumion 9 Pro
- Knowledge Base: Guide: Working With OpenStreetMap in Lumion 8 Pro
- Knowledge Base: Guide: Working With OpenStreetMap in Lumion 7 Pro
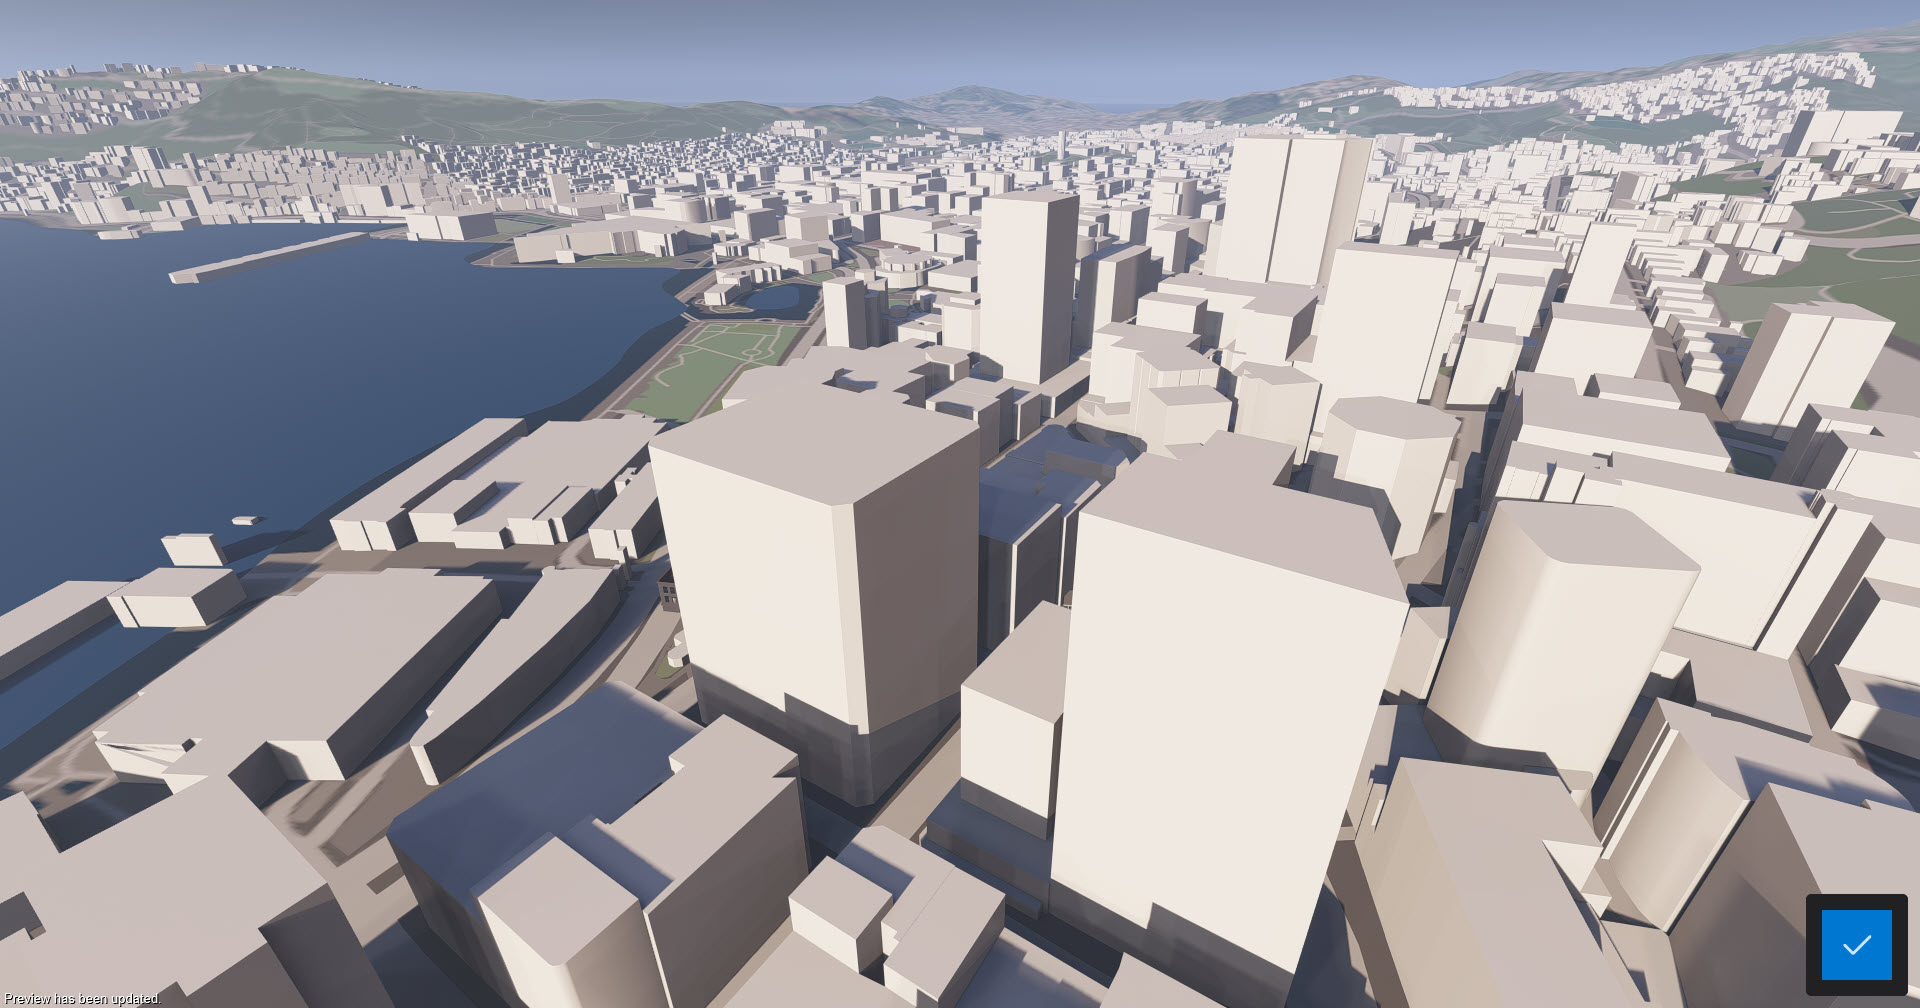
Lumion 11 Pro and above integrates OpenStreetMap, elevation data, and satellite imagery to provide rapid in-context and masterplan content to a visualization.
- This feature makes it possible to import buildings, roads, water, green spaces, and transit infrastructure as simple 3D shapes.
- Rapidly add a whole suburb or city area to your visualization.
- Simply search for the location and download the map and satellite imagery directly into Lumion.
- This feature is currently in beta status.
2. Here's how
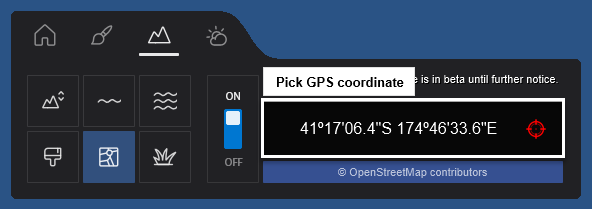
2.1: Click on the OpenStreetMap button on the Landscape tab and turn the OpenStreetMap on/off button on:


2.2: Click on the Pick GPS Coordinate button.

2.3: Click on the Search field to type in a place name or click anywhere on the map to place or move the GPS Coordinate pin.
- Hold down the left mouse button to pan.
- Use the mouse scroll wheel to zoom in/out.


You can also copy and paste coordinates directly into the search field (only numbers):

2.4: Drag the OSM Range slider to adjust the radius of the OpenStreetMap area that will be downloaded.

2.5: Drag the OSM Orientation slider to adjust the rotation of the OpenStreetMap area that will be downloaded.

2.6: The square represents the 10 x 10 km Lumion Landscape. The circle is the OpenStreetMap area that will be downloaded. The triangular, blue arrow represents the camera position in your Lumion Scene. The red marker corresponds to 0,0,0 in Lumion (the red, green, and blue axis origin).

2.7: Click on the Download Heightmaps button to include elevation data for the Lumion Landscape:

2.8: Click on the Clamp Heightmaps button to set the lowest point in the heightmap to 0 on the Lumion Landscape:

2.9: Click on the Download satellite maps button to include satellite imagery for the Lumion Landscape:

2.10: Click on the Start Download button to download the chosen area and wait for the download process to finish:


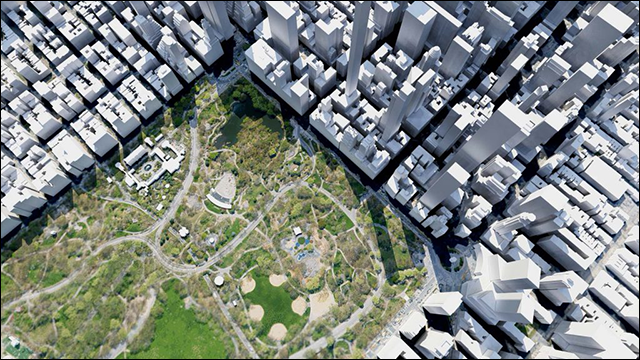
This whole area (New York City) was built in a couple of minutes. Download and finalization speeds are dependent on Map Range (size), your location, and your local connection speeds.

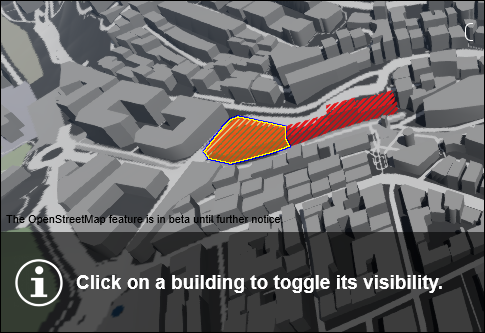
2.11: To show or hide individual buildings in the OpenStreetMap model, click on the Hide Buildings toggle button and then click on buildings to show or hide them:


2.12: Click on the Select Preset button to select a different look for the OpenStreetMap model:

2.13: Click on the tick boxes to show or hide water, earth, buildings, land-use, and roads:
2.14: Use the Buildings Minimal Height and Randomize Buildings Height sliders to adjust and randomize the height of OpenStreetMap buildings that use default heights (i.e. not correct heights from the real world):

2.15: Adjust the Buildings Alpha sliders to set the transparency level of the OpenStreetMap buildings.

2.16: To work with the elevation data (Heightmaps) use the Lumion Landscape tools available on the Landscape tab.

2.17: Remove or flatten all the landscape: Once you have downloaded Heightmap data, it is retained in the Project. The Heightmap button, when turned Off, is not intended to flatten or remove the Heightmap data already downloaded. It is purely an on/off button for the download. So how do you remove or flatten the landscape if you do not want the Heightmap? Simple, use this button:
- Landscape -> Height Tools -> Flatten Landscape map

2.18: It is not possible to assign the OpenStreetMap model to one of the Layers if you wanted to control visibility. It exists on a special Lumion Layer only. So you need to turn off OpenStreetMap to fully hide the model.
2.19: Switching off OpenStreetMap before saving the Project means that the model will not be saved as part of the .LSF Project file.
To avoid having to download the OpenStreetMap model again, please make sure you turn OpenStreetMap back on again before saving the .LSF Project file.
See also:
- Knowledge Base: How do you resolve OpenStreetMap errors?
- Knowledge Base: How do you work with terrains in Lumion 12?

