How do you use the Material Editor in Lumion 2023 and newer?
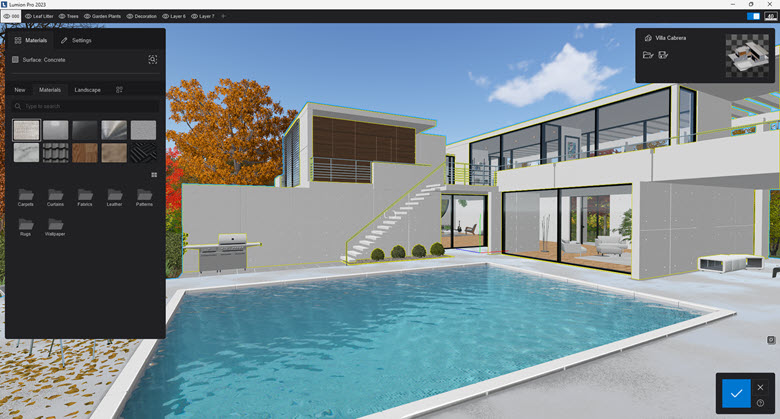
Lumion 2023 introduced substantial changes to the properties supported for a Material along with a new user interface. Lumion 2024 continues that change with the same interface and feature set,
Lumion uses a fully compliant PBR (physically based rendering) pipeline for materials and rendering using the Metalness/Roughness workflow.
- Video Tutorial: Lumion 2023: Full PBR Material Workflow
The Material Editor provides common features/functionality for various material types. For example, the Copy and Paste button can be found in the Standard Material, Glass Material, and Library Materials.
At the top of the window, there are two tabs:
- Access to the Materials Library.
- Access to Material Settings (Properties) for the material of a selected surface.

Click on either tab to switch between those two main modes/views.
You can do these things: Summary of Features
- Access materials organized in categories for the Lumion Library of Materials.
- Get quick selection and access to the material settings of any surface.
- Locate a material if used from the Library.
- Search for the name of a material.
- Change Thumbnail size.
- See an enlarged clear view of the material.
- Choose to use the different main types of material:
- New:
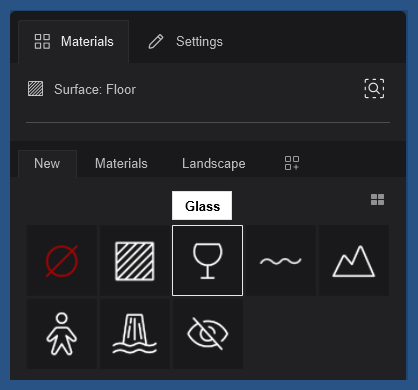
- Choose from the 8 different types such as Glass, Standard or Water, etc.
- Library:
- Choose from 10 types of common materials such as Fabrics, Stone, Metals.
- Landscape:
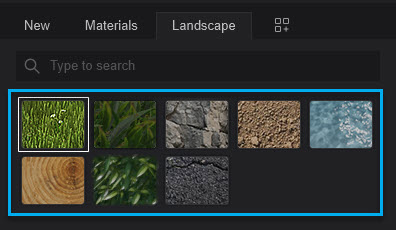
- Choose from 8 different material types specifically for the Lumion Landscape/Terrain such as Grass, Soil, Rock, etc.
- Make a custom material:
- As your own saved materials.
- Supporting your own folder organization.
- New:
- Common functions:
- Copy/Paste a material.
- Context Menu for:
- Save and Load a material to a file
- Save a material as a Custom material.
- All materials of a model can be saved and selectively loaded to another model using a Material Set.
- Access Extended Settings to refine the looks of a surface:
- Define general properties such as Emissiveness and Displacement.
- Change the UV ( texture mapping) Coordinates.
- Add and define Weathering effects such as rust.
- Add Foliage (leaves) directly to a surface.
- Define other settings such as for the softening of edges or applying a Clear Coat.
- Change the Map/texture for a property:
- Load a different image/texture file.
- Remove/delete the map.
- Generate or alter the map/texture type for different mapping needs.
- Enable pre-defined materials that are automatically created for you (via LiveSync).
1. How to access the Materials Editor and the material for a Surface:
To access the Materials Editor click on the Materials button - Build Mode:
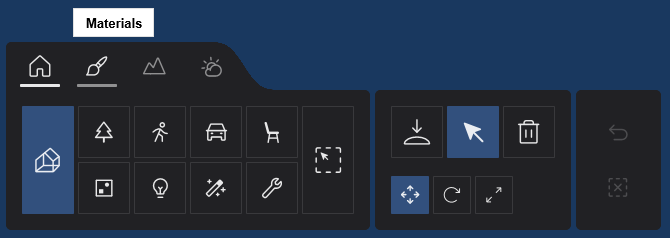
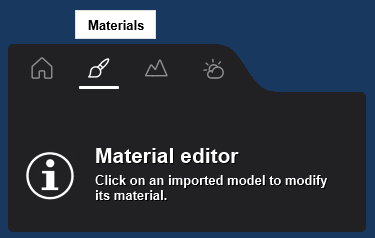
- Click on any surface of an Imported Model.
- Double-click a surface to directly open the Settings tab.
2. The main Materials and Settings tabs:
At the top of the panel, there are two tabs:- Materials (New, Library, etc) and Material Settings (for the selected surface).

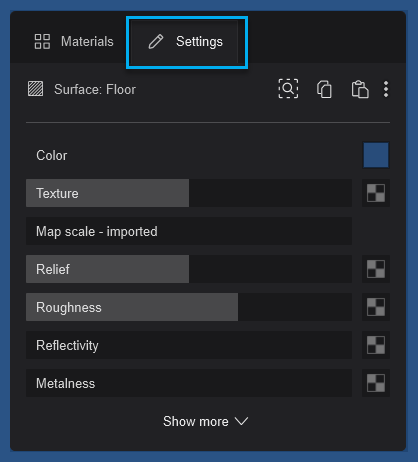
- If you double-click a surface it will open the Material Settings tab to get you directly to the properties you may want to edit.
- Both tabs list the name of the selected surface.
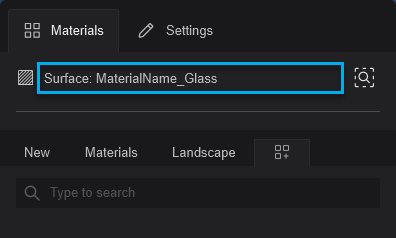
- To the right is a button to locate the material if it is in the Library: Find Material in Library.
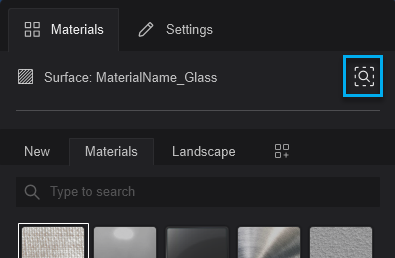
- Below that is the Search function.
Available for Materials, Landscape, and Custom Materials.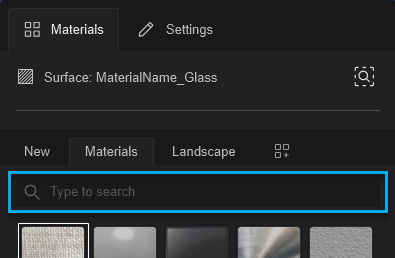
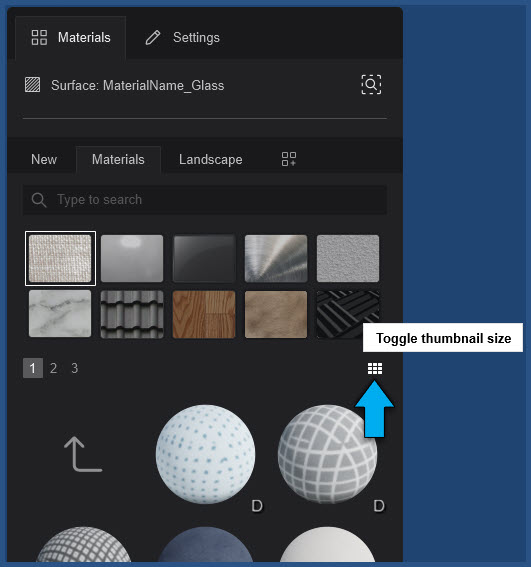
- You can toggle between small and large Thumbnails.
3. The Materials tab:
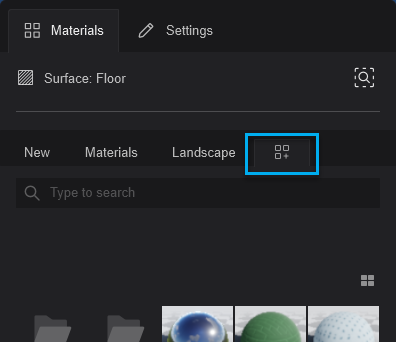
The Materials Tab provides access to four main Modes of materials:
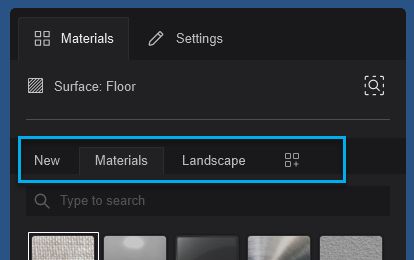
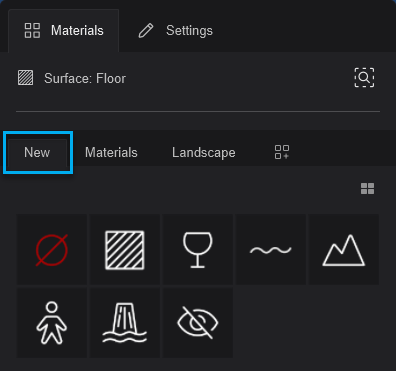
1. New:
To make a New material.
There are 8 New Material Types.
See Section 4. New Materials: Overview of Material Types: .
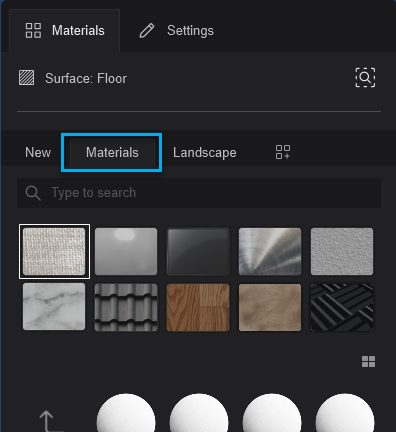
2. Materials:
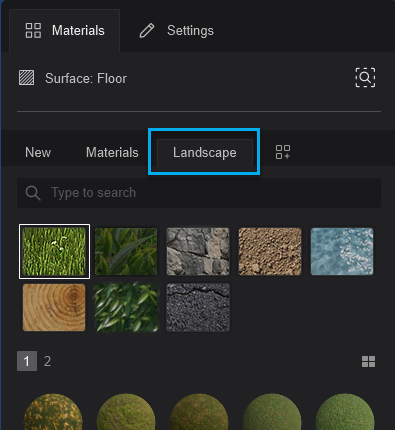
3. Landscape:
Materials you can save and reuse; your favorite materials.
Save to a folder for your own organization.
These files are saved by default (non-changeable) to the Documents\Lumion\Materials\Custom folder or subfolders.
Lumion 2023.1.0 and newer.
See also:
- Knowledge Base: How do you improve the thumbnail for a Custom Material?
4. New Materials: Overview of Material Types:
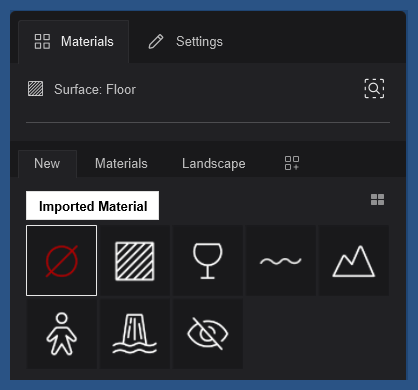
1. Imported Material:
Includes the properties such as a texture Map that have been imported from the 3D/CAD model.
You can revert any other Material Type back to the Imported Material at any time.
The material is set with the same properties as a Standard Material for it to be used in the PBR Materials pipeline. This is a change from prior versions (Lumion 12 and older) where the Imported Material itself had no properties to access.
Changing any Setting will change it to a Lumion edited material: a Standard Material, which will be saved in the Materials data file LMS (and Material Set, LMS).
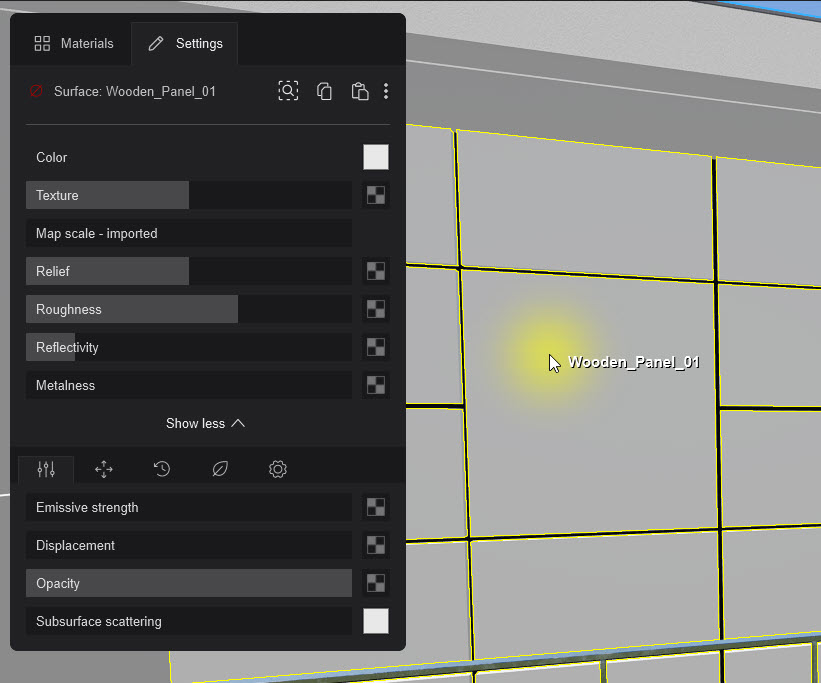
Example Project - Villa Cabrera - first floor, master bedroom exterior walls before the wood material from the Lumion Library Materials was applied
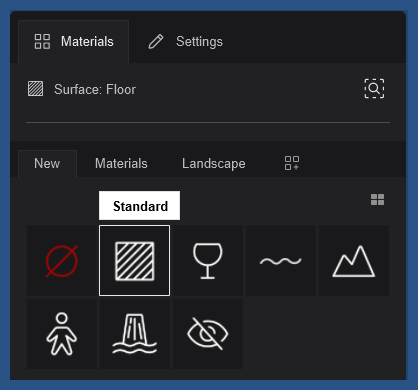
2. Standard Material:
The most common type and the one you will most often use to change a material from an Imported Material.
Standard Materials are used as the foundation material type for many Lumion Library Materials.
For details on the material, see this article:
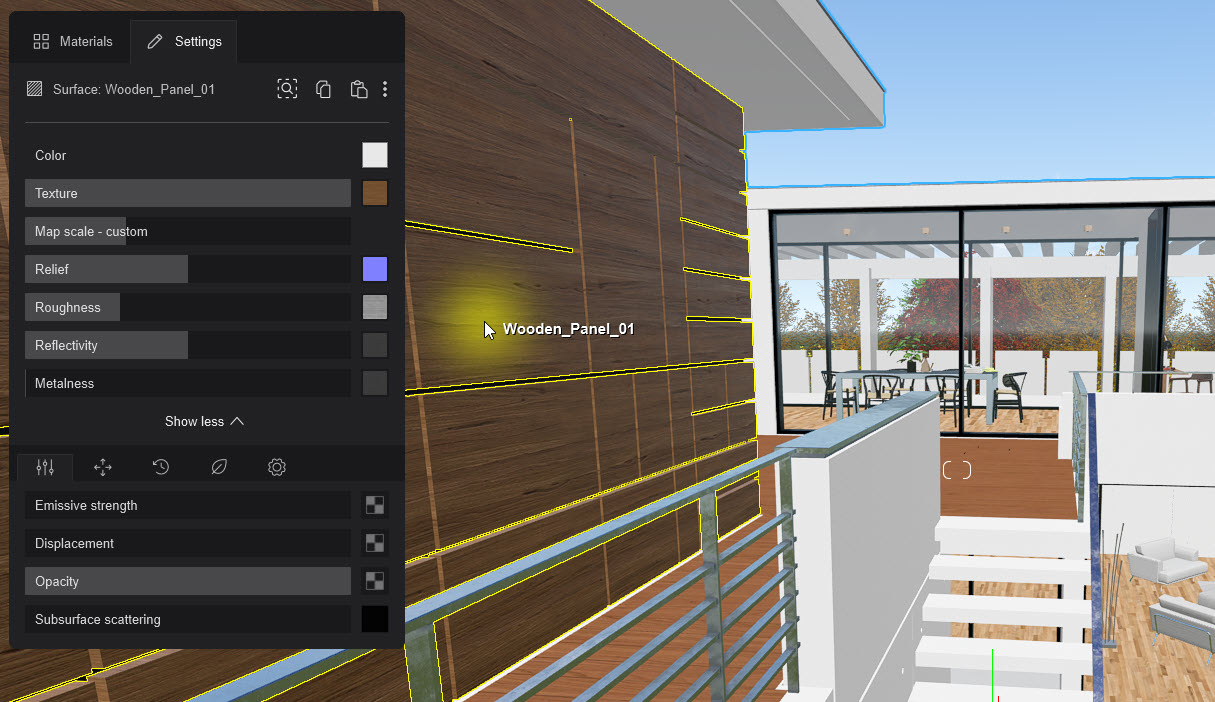
Example Project - Villa Cabrera - exterior walls
3. Glass:
Used for surfaces with very transparent properties such as windows, glassware, etc.
Rendering a Glass Material in versions of Lumion 2023 is subject to some current limitations of the Ray Trace rendering pipeline. See this article:
- Knowledge Base: How do you make Glass work best with Ray Tracing (Lumion 2023)?
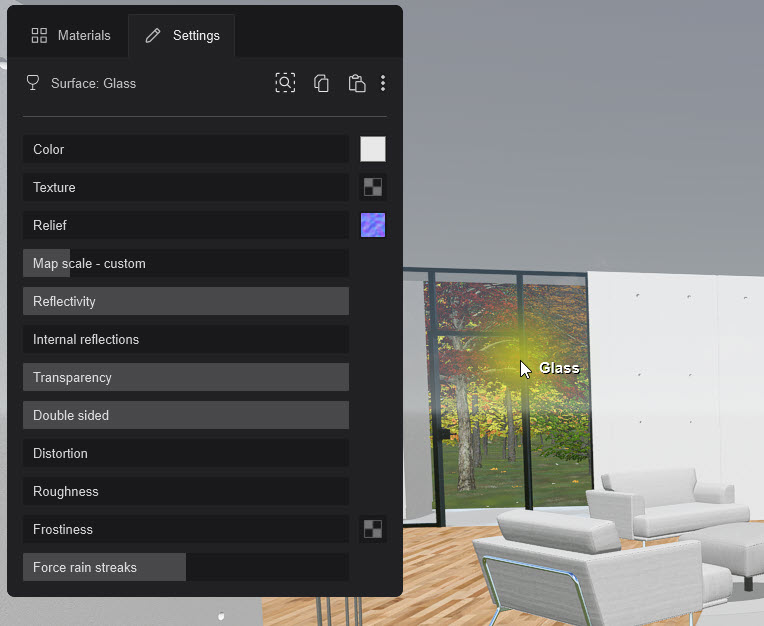
Example Project - Villa Cabrera - lounge main windows looking out over the swimming pool
4. Water:
Water surfaces such as a swimming pool.
You may sometimes also need to use this material for a large surface in place of the Ocean (available in Build Mode and not as a material)
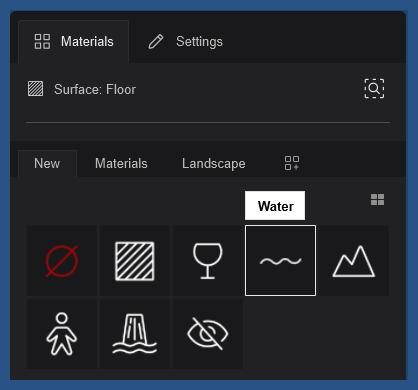
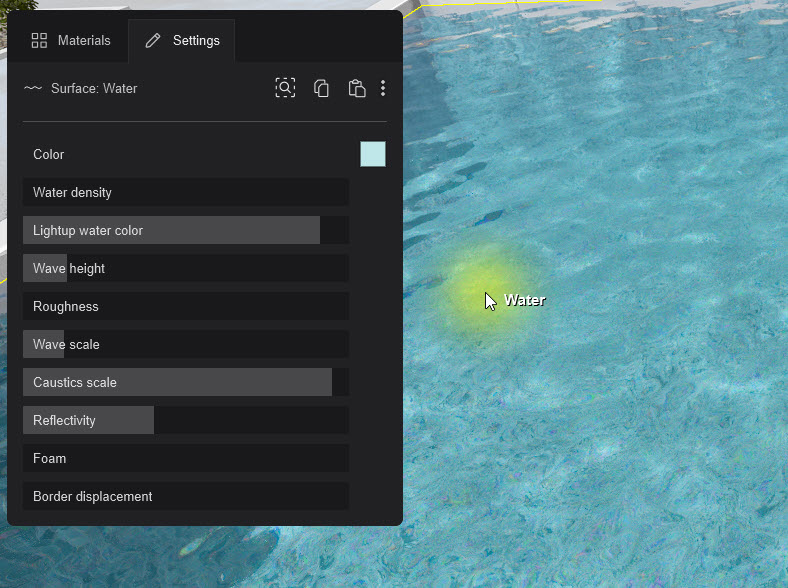
Example Project - Villa Cabrera - swimming pool water surface
5. Landscape:
Allows the surface to have the look of the underlying Lumion terrain/landscape you set in Build Mode, for example, with Landscape Grass.
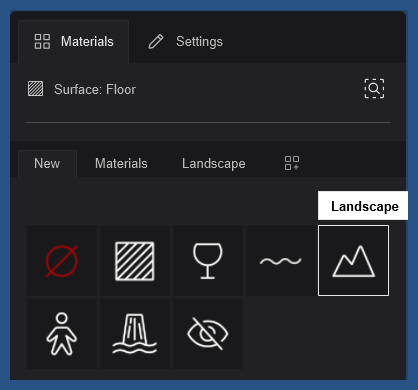
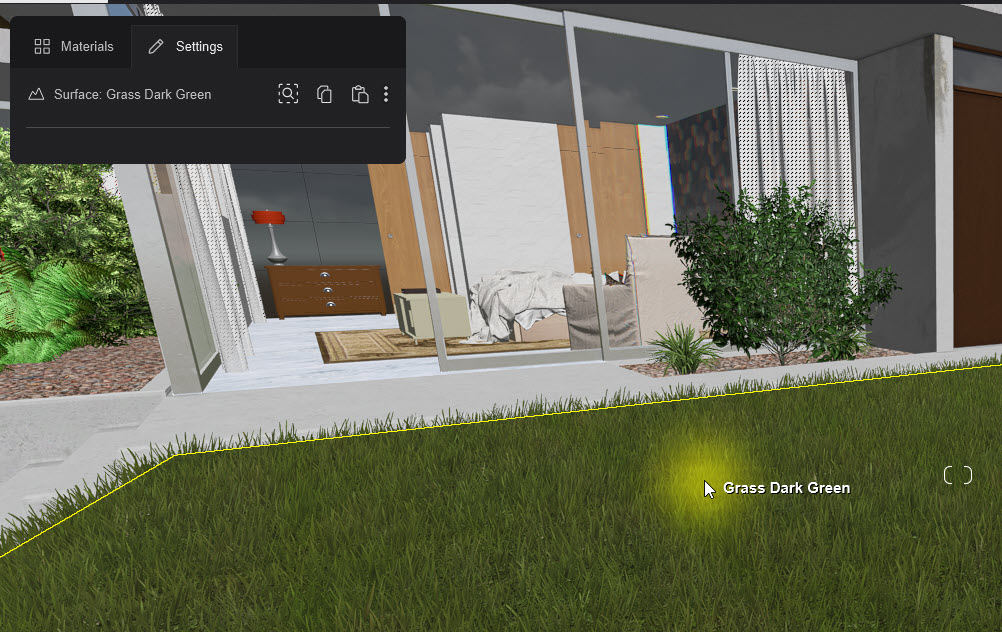
Example Project - Kaufmann residence with long Landscape grass
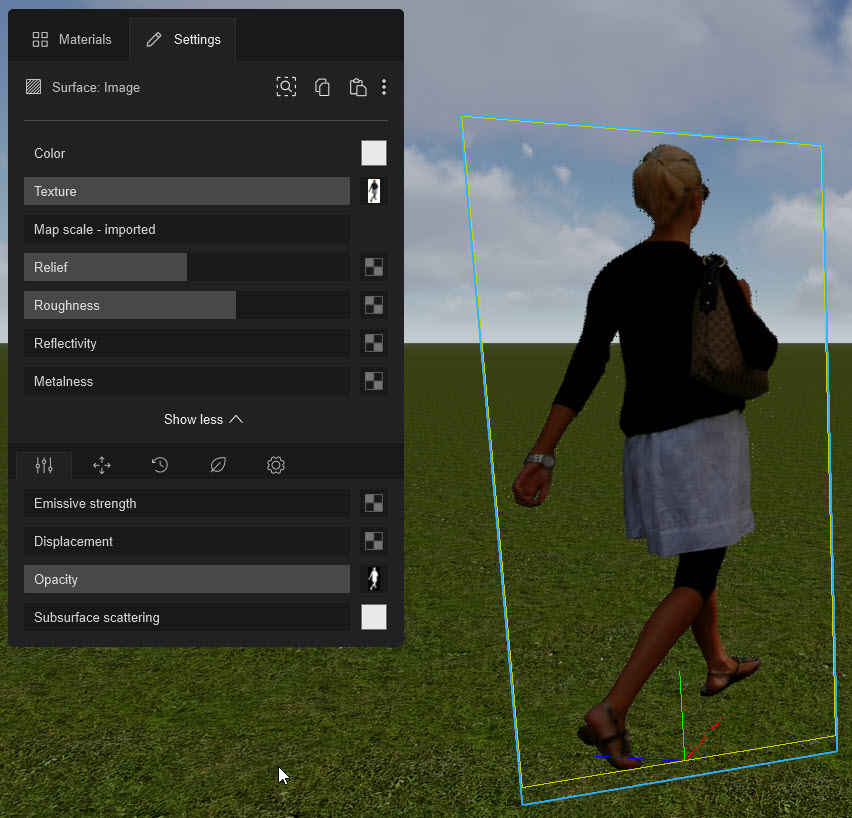
6. Billboard:
For models that are camera-facing. Use this material for such things as 2D People, Silhouettes (the Lumion Object Library also includes a number of 2D People).
You can also use the Character Billboard Object (Utilities) in place of importing your own model and assigning this material.
See also:
- Video Tutorial: Lumion 12: Character Billboards
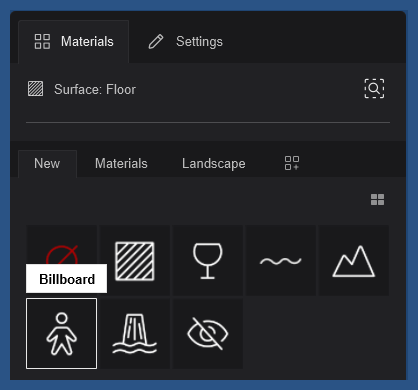
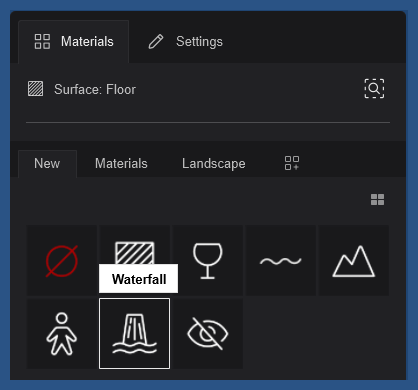
7. Waterfall:
As the name suggests. Provides for vertical or near vertical-based flowing water and has some different properties from the Water Material.
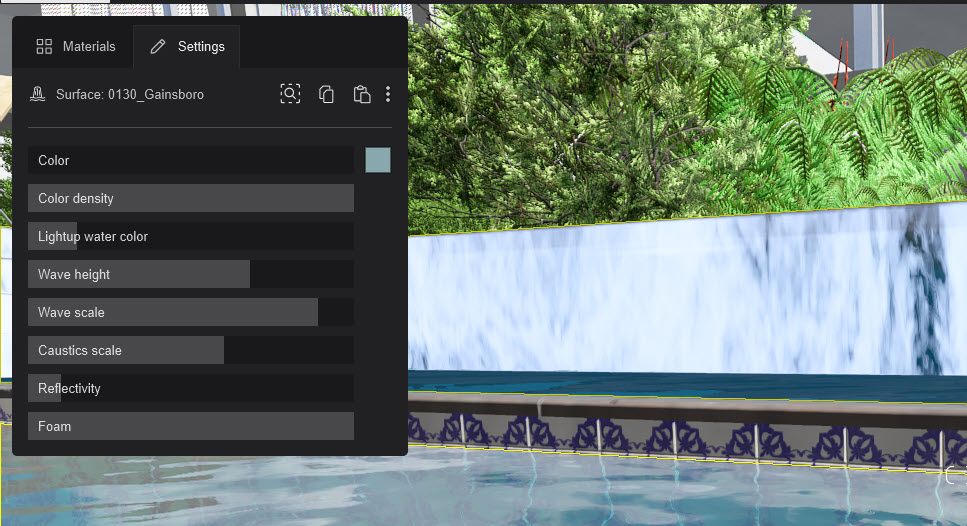
Added to the Example Project - Kaufmann - residential, if we had set the garden wall to this material
8. Invisible:
The surface becomes invisible.
You can still select it to change it to another material, as needed. Useful when you only want one surface of a two-sided surface to be seen. Or to allow, for example, sunlight to pass through one side of a model.
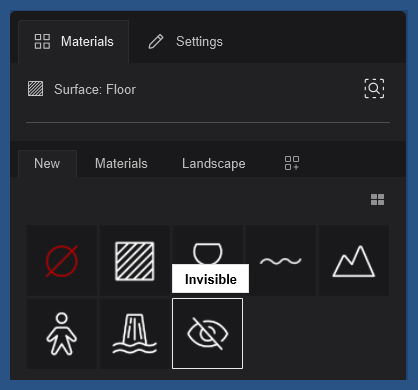
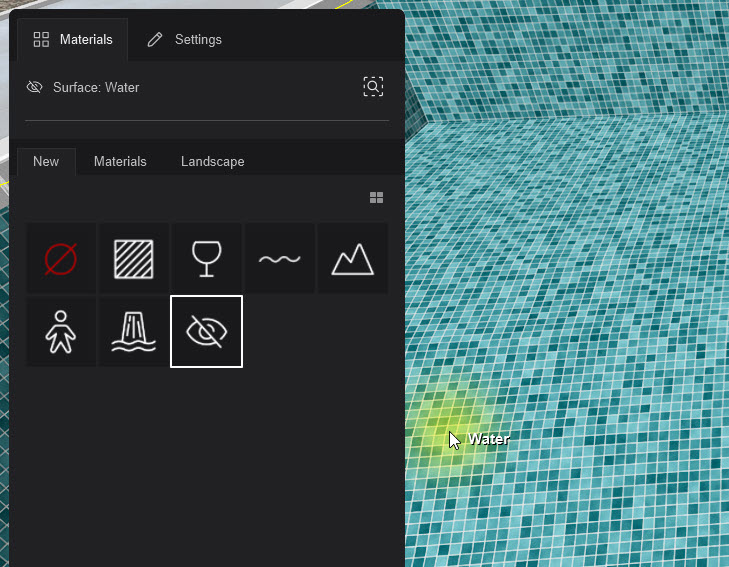
Example Project - Villa Cabrera - swimming pool water surface no longer visible
5. Library of Materials:
5.1: Materials Tab
Fabrics, Plastics, Glass, Metals, Plaster, Stone, Roofing, Wood, Fur and Assorted.
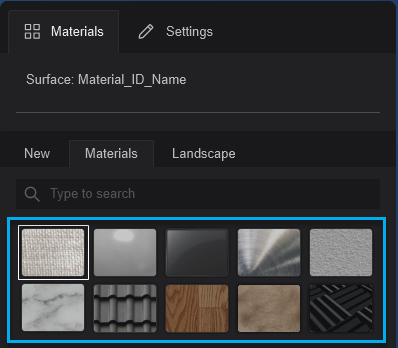
Each Material Category of the Library Materials includes one or more materials pre-organized into folders of materials.
Find the material you want to use, or to use as a base for a material, by navigating through the Library.
You can also use the Search tool.
For example Metals Category (large thumbnails) and Stone Category (small thumbnails):
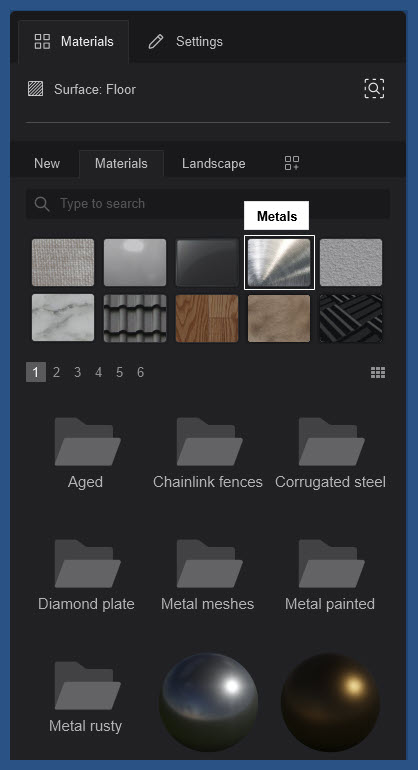

Materials with a 'D' (see the Stone Category) have a Displacement Map.
See also:
- Knowledge Base: Which content is available in the Model & Material Libraries?
5.2: Landscape Tab
Grass (2D), 3D Grass, Rock, Soil, Water, Woodland, Leaves, Asphalt
6. Settings:
6.1: Common Functions
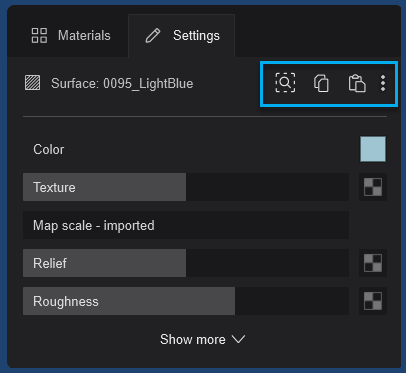
6.1.1: Find Material in the Library
Also available in the Materials Tab.
If you have previously applied a material to a surface and it was from the Lumion Materials Library then this is a convenient and quick way to locate the original material.

6.1.2: Use a Material elsewhere
Copy Material and Paste Material for an individual material from a surface you have selected(clicked on) and then paste to a different surface:


See this article:
6.1.3: Material Sets
The above article also covers using the Material Set which is a very useful workflow tool and available on the right-hand Object Properties Panel for a model.
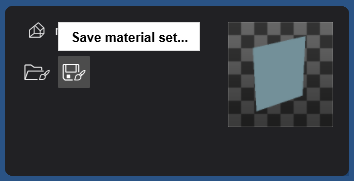
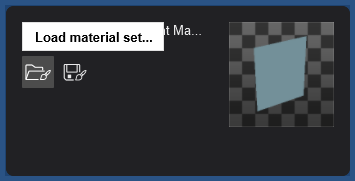
6.2: Context Menu
The Context Menu allows for other, less-used functionality such as Load and Save a Material File for the current material you are working with.
Common features such as Copy and Paste material are always presented in the Material Editor.


6.3: Show More/Show Less
Click on the Show More or Show Less button to expand the interface for the other Properties of a Material.
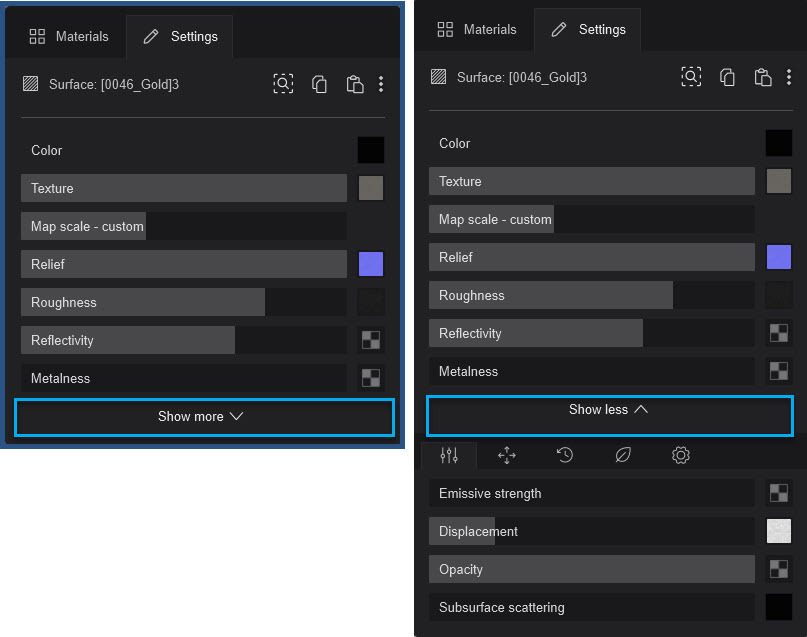 These Extended Properties are usually for the Standard Material, see Sections 8 to 12 in:
6.4: Context Options for a Materials' Settings/Properties
6.4.1: Map Tools
These Settings/Properties have a Map - an image/texture that can be added or removed from the material:
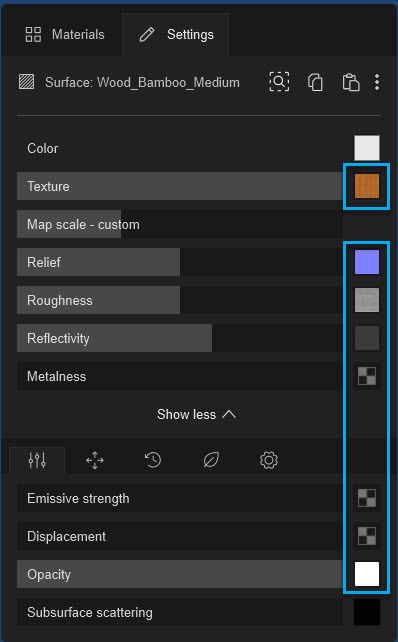
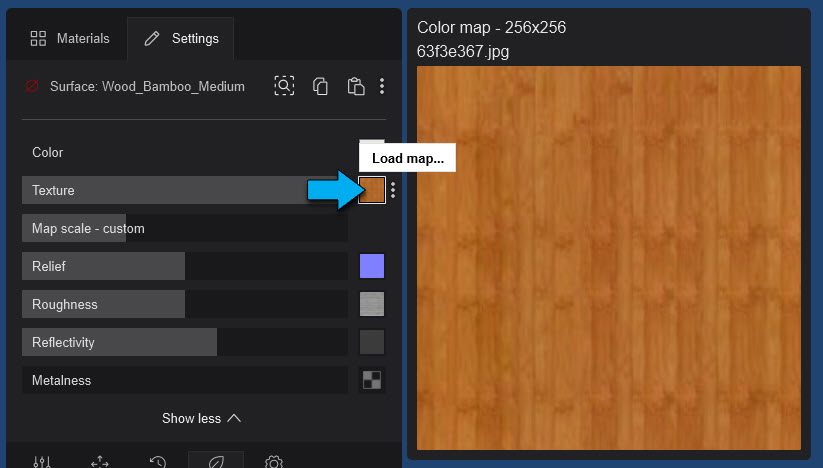
Load Map: click on the small thumbnail. When the image file is loaded, a large thumbnail/Preview is shown:
Each Setting/Property may have a different set of Context Tools available from the Context Menu options
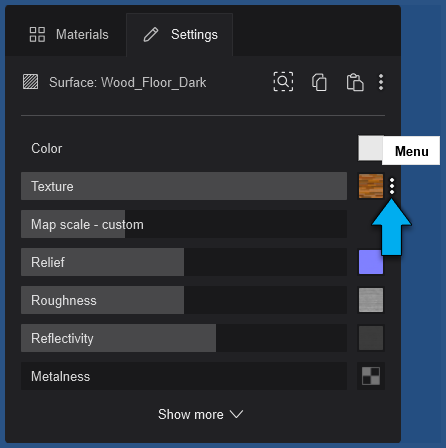
For example, the Relief Setting has three tools - Inverse, Flip Green Channel, Delete:

The Roughness Setting:

Whereas the Texture only has Delete:

7. The Materials Workflow:
7.1: How and Why do the materials work as they do?
To make it much quicker to apply or update materials and to optimize the model for performance in Lumion, all surfaces with the same material name are combined.
- Knowledge Base: Why can't I select just a part of the imported model?
7.2: Surfaces that can automatically be assigned a Material
See the section: Why are some materials automatically converted to water and glass in Lumion?
That section will be in your relevant CAD software article, using the Knowledge Base article: Model import guidelines for ...
- Knowledge Base: How do you import a model from your CAD software?
7.3: Workflow
Change the properties and values of any surface for a model.
Replace a Map with another texture/image file to change its surface look.
You can update the materials at any time. Those changes can be done in Build Mode or using the Build Mode with Effects from Photo or Movie Modes.
Use fully pre-defined materials from the Library. Then edit those to suit the look including changing a Map.
All changes you make are saved in a material definition file for the model in the Lumion\Library subfolders.
Revert to the state of the material when it was last imported.
Make use at any time of advanced functions to help streamline your workflow such as using Material Sets for the current or other models.
See Also:
- Video Tutorial: Lumion 2023: Full PBR Material Workflow
- Video Tutorial: Lumion 2023: Create Ultra Realistic Materials in Lumion (by Architecture Inspirations)
- Video Tutorial (Chapter: Material Editor Interface, 6:19): Lumion 2023: Top Features You Must Try ft. Nuno Silva
- Video Tutorial (3:25 Chapter: Feature no.3 - PBR Workflow, 3:25): Lumion 2023: Game changing new features ft. Upstairs
- Knowledge Base: What do the properties of the Standard Material mean in Lumion 2023 and newer?
- Knowledge Base: How do you copy, paste, save and load Materials in Lumion 2023?

