How do you use the Color Correction Effect?

Whether adjusting the overall mood of a scene, emphasizing specific elements, or ensuring consistency across different renders, the Color Correction EFfect provides a flexible and intuitive means to elevate the quality and coherence of architectural visualizations in Lumion.
It allows you to fine-tune various settings to balance color and composition, helping you achieve the desired aesthetic with precision. In Lumion 2024 and newer versions, adjusting the parameters no longer resets the preview. This makes it easier to fine-tune settings in real-time without having to update the preview after each change.
All the Effect's settings are explained in detail below:
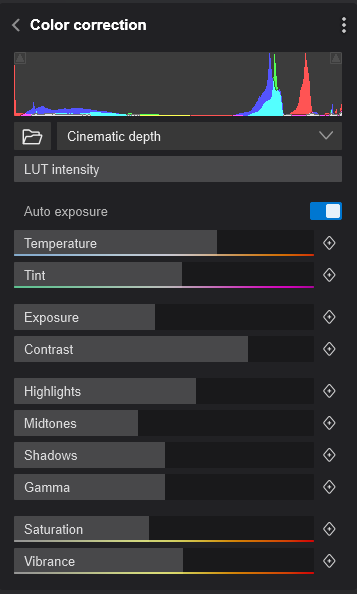
Lumion 2023 now includes a Histogram in the Color Correction Effect.
A Histogram is useful in editing your renders because it allows you to see the distribution of colors, light, and dark tones in a graph. By analyzing this graph, you can adjust the settings of the Effect more impactfully to achieve a more balanced and visually appealing result.
The horizontal axis of the histogram represents the tonal range of an image, from black on the left to white on the right.

The vertical axis represents the number of pixels in the image that have a particular tone. The higher the peak of the histogram, the more pixels have that particular tone.
An underexposed image will have a Histogram that is bunched up toward the left, while an overexposed image will have a histogram that is bunched up toward the right.
 The ideal curve for a Histogram depends on the specific image and the desired outcome. However, in general, a well-exposed image should have a dome-like curve that is spread out evenly across the tonal range, with no significant peaks or troughs on either end.
Clipping
Clipping occurs refers to the loss of image detail in the highlights or shadows of an image and occurs when there are areas of a photo that have no information. When an area is clipped, it is either pure white (Highlights) or pure black (Shadows).
Highlight Clipping occurs when the brightness of an area of the image is too high, causing details in that area to be lost. To toggle Highlight Clipping, click on the red triangle button on the top right of the Histogram:
![]()
When this toggle is on, Highlights that are being clipped will be displayed in red:

Shadow Clipping occurs when the darkness of an area of the image is too low. To toggle Shadow Clipping, click on the blue triangle button on the top left of the Histogram:
![]()
When this toggle is on, Shadows that are being clipped will be displayed in blue:

It's important to check this tool as Clipping is often undesirable in photo editing because it results in a loss of detail and can make an image look less realistic.
Keep in mind that the Histogram only represents what is currently visible on-screen so the graph and Clipping will change when you update the High-Quality Preview.

The LUT (Look Up Table) color grading function can change all the tones of your image. Use only the LUT option to set the tones in one step. Or use it to establish the base tones you want and then tweak the results using the other Color Correction settings.
Choosing a LUT:
- Choose one of the LUT presets available in the drop-down menu.
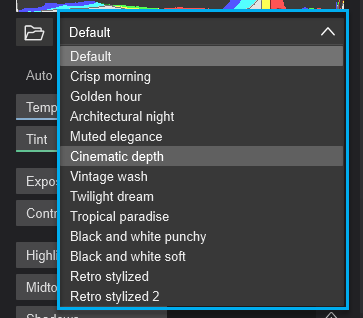
- Or browse using the folder button for custom LUT files (.cube).
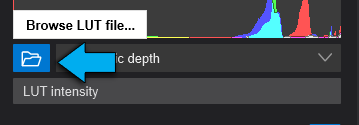
LUT files (.cube) can be found by searching Google or using this Lumion Ressource:
- Lumion Community: LUTs ((Look Up Table) for color grading):
The intensity of the tonal changes can be controlled via the LUT Intensity slider.

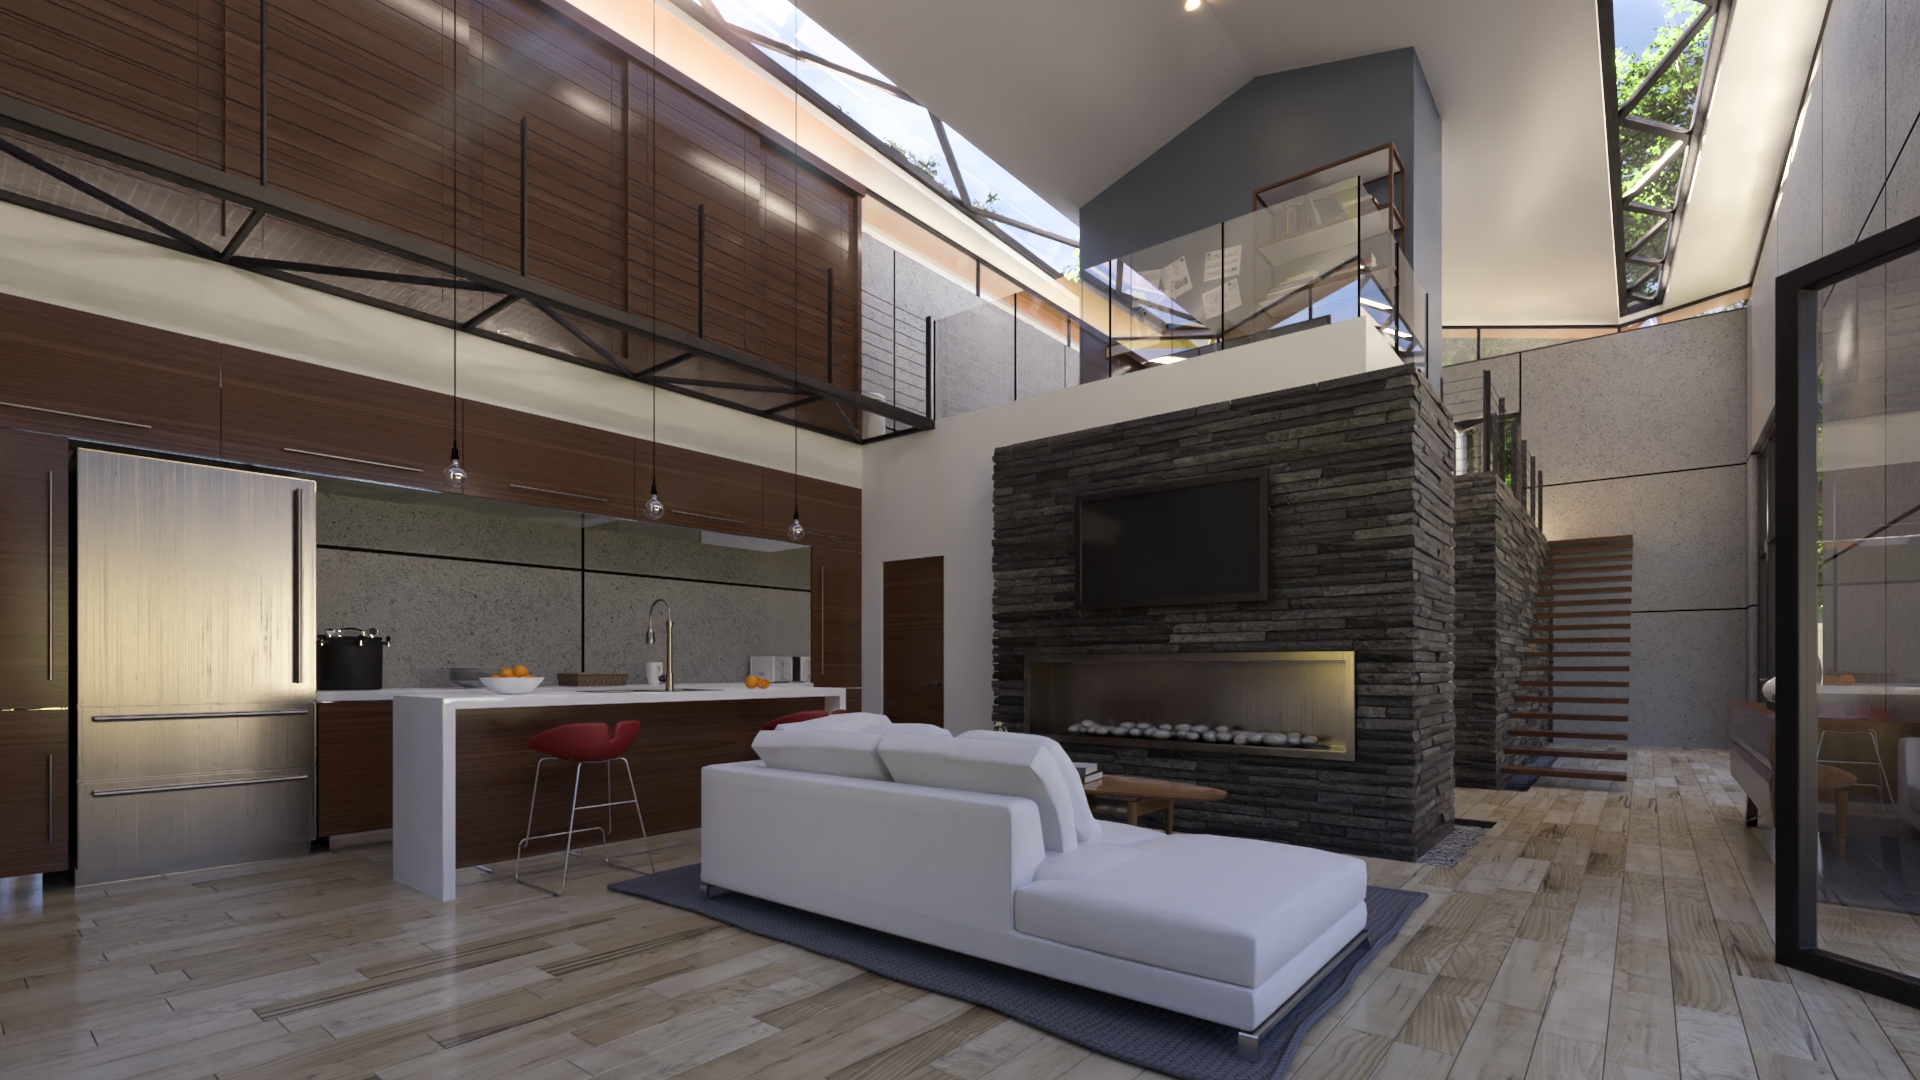
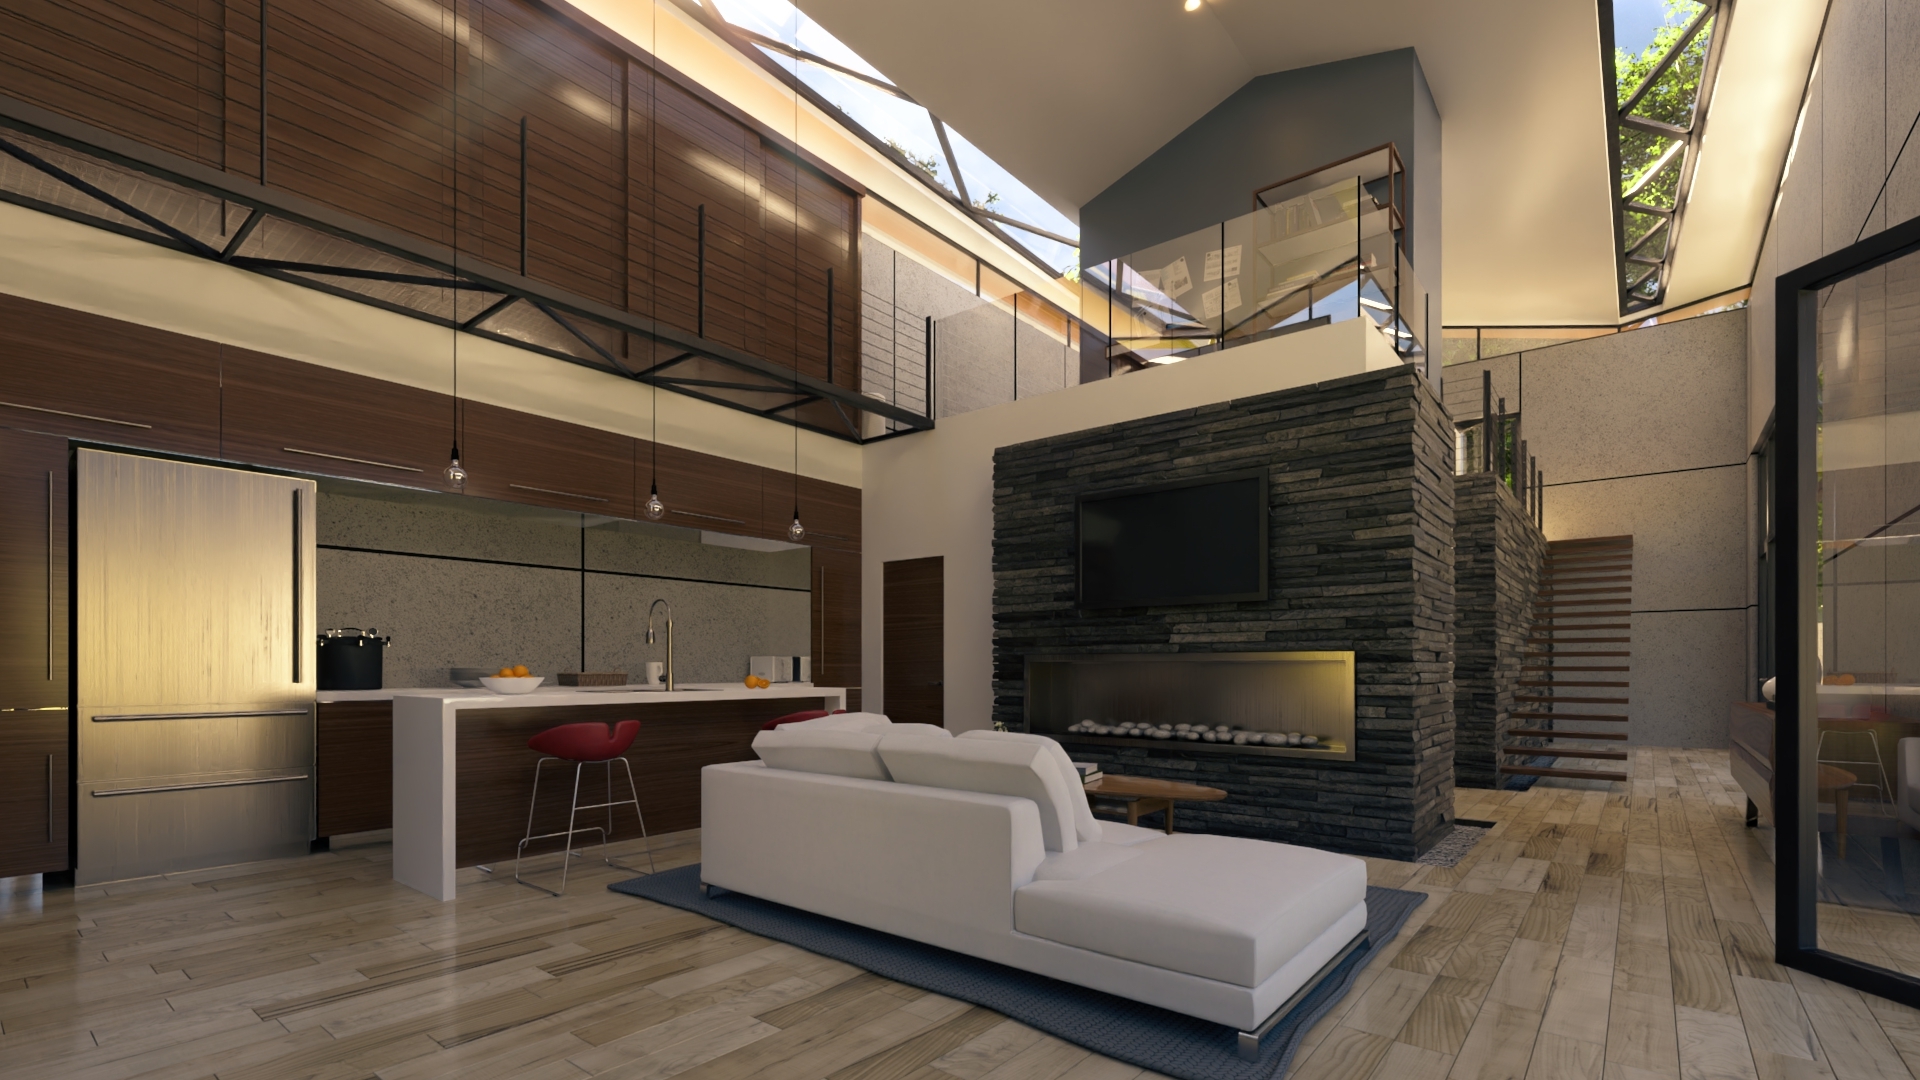
The Temperature setting can greatly affect the overall feeling and tone of your image.
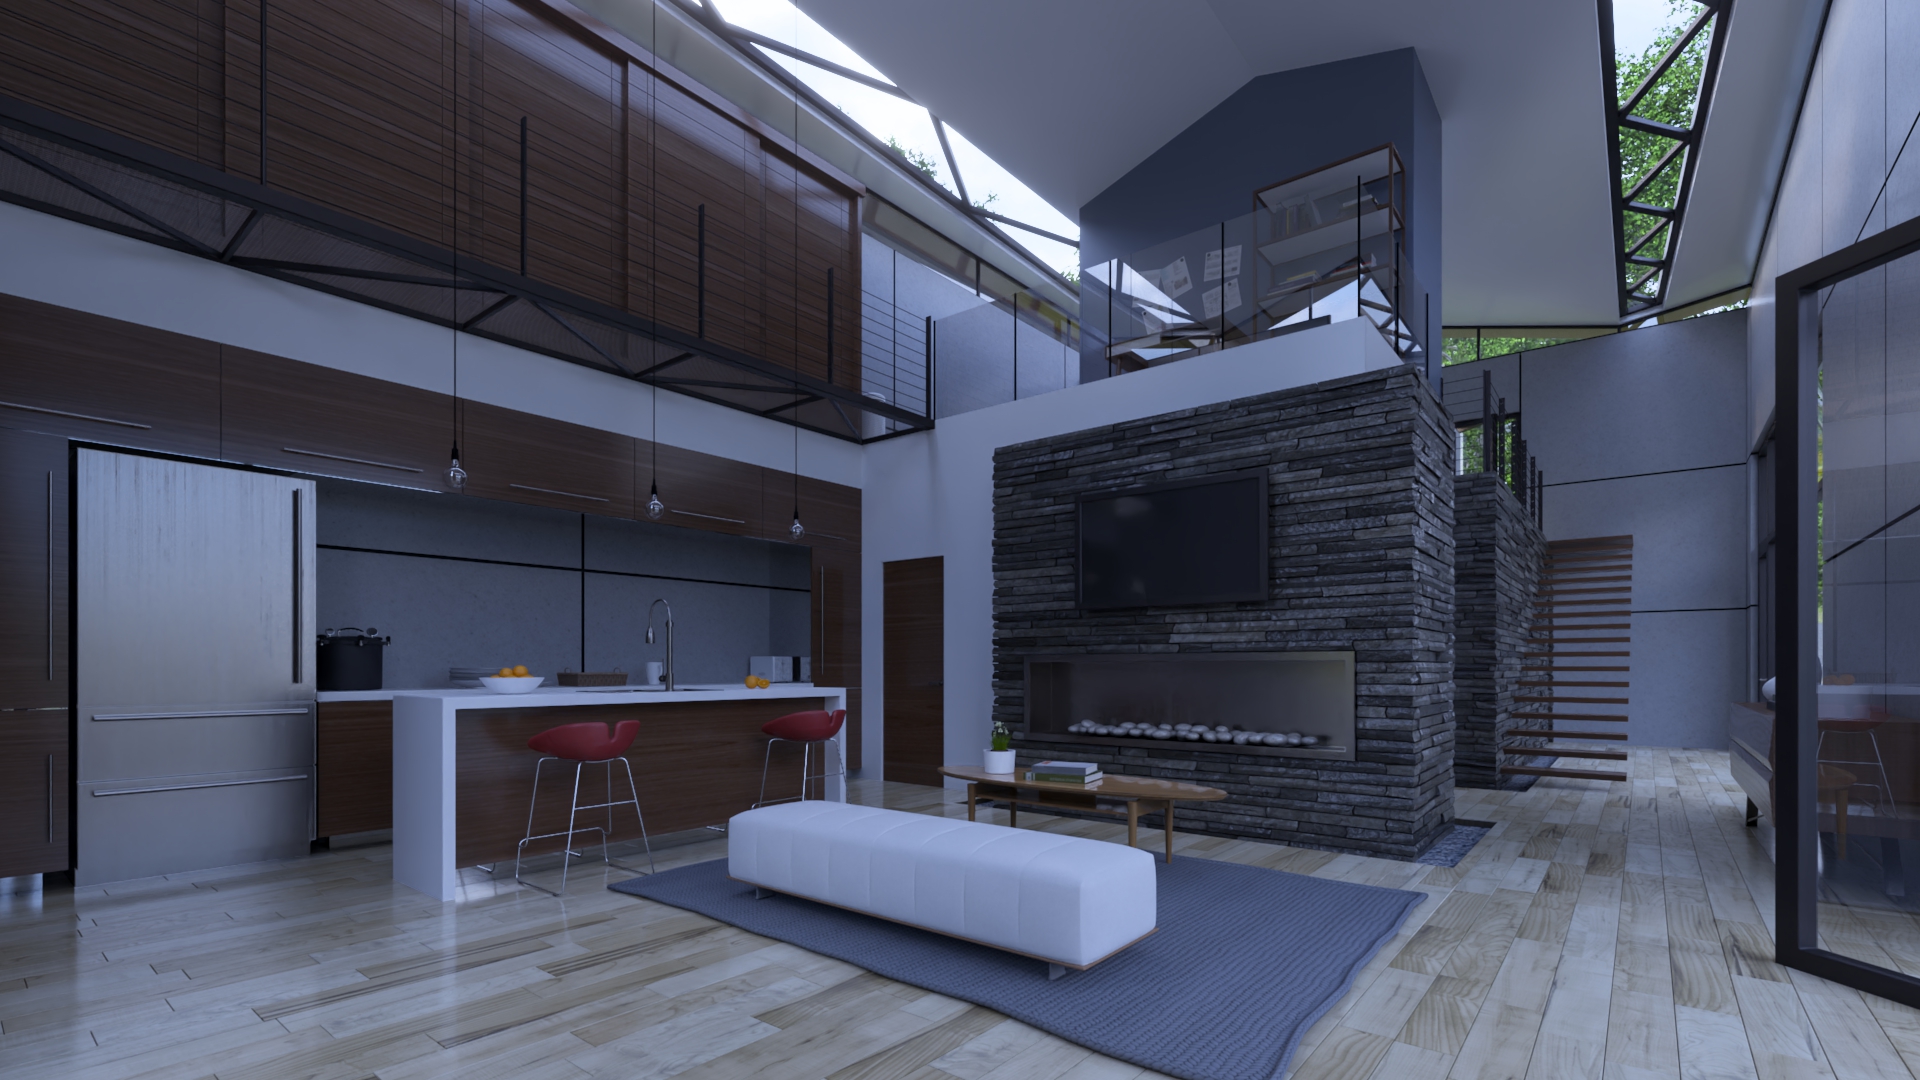
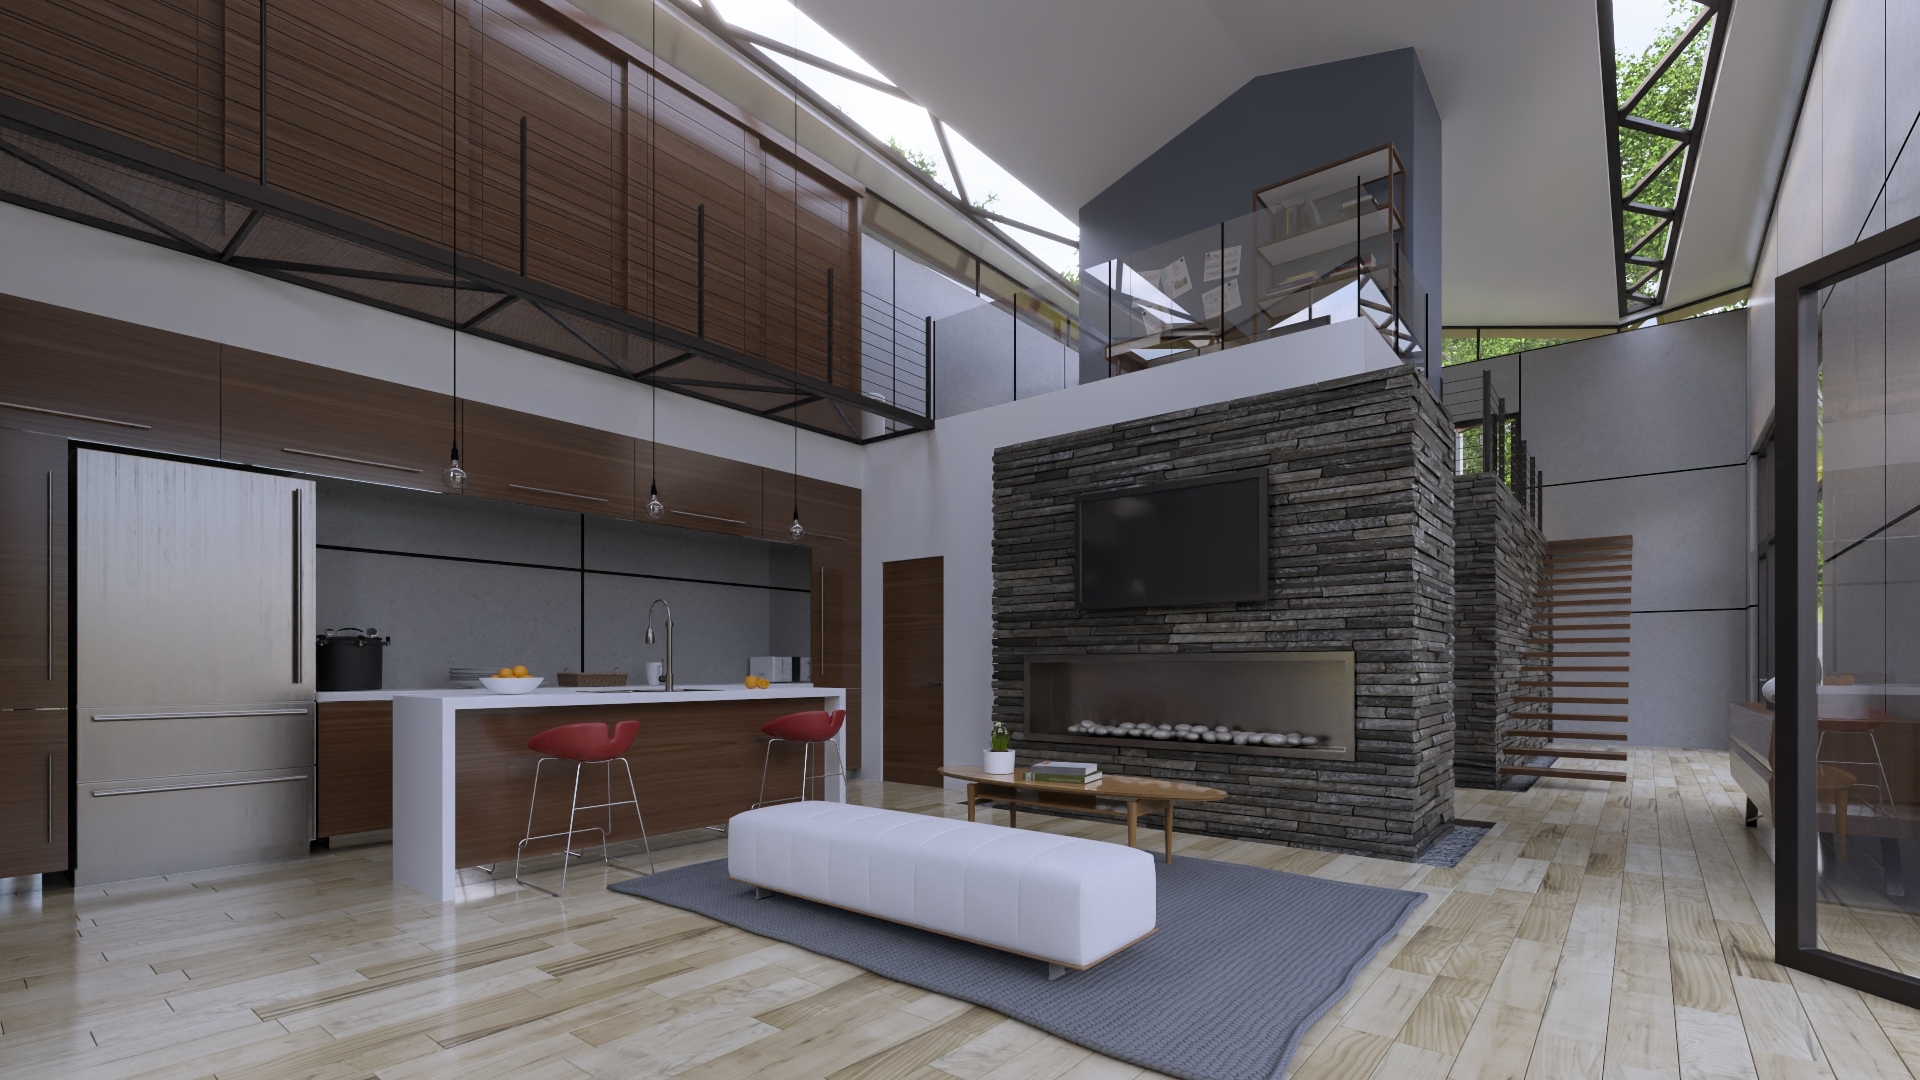
Lower Temperature settings will result in a colder, more serene, and melancholic mood (ideal for cloudy days or sundown settings), while higher Temperature settings can create warmer, more cozy, and inviting atmospheres that can represent sunny days very well.
Adjusting the Tint of an image is typically done to correct any color imbalances in the image or to achieve a specific desired effect.
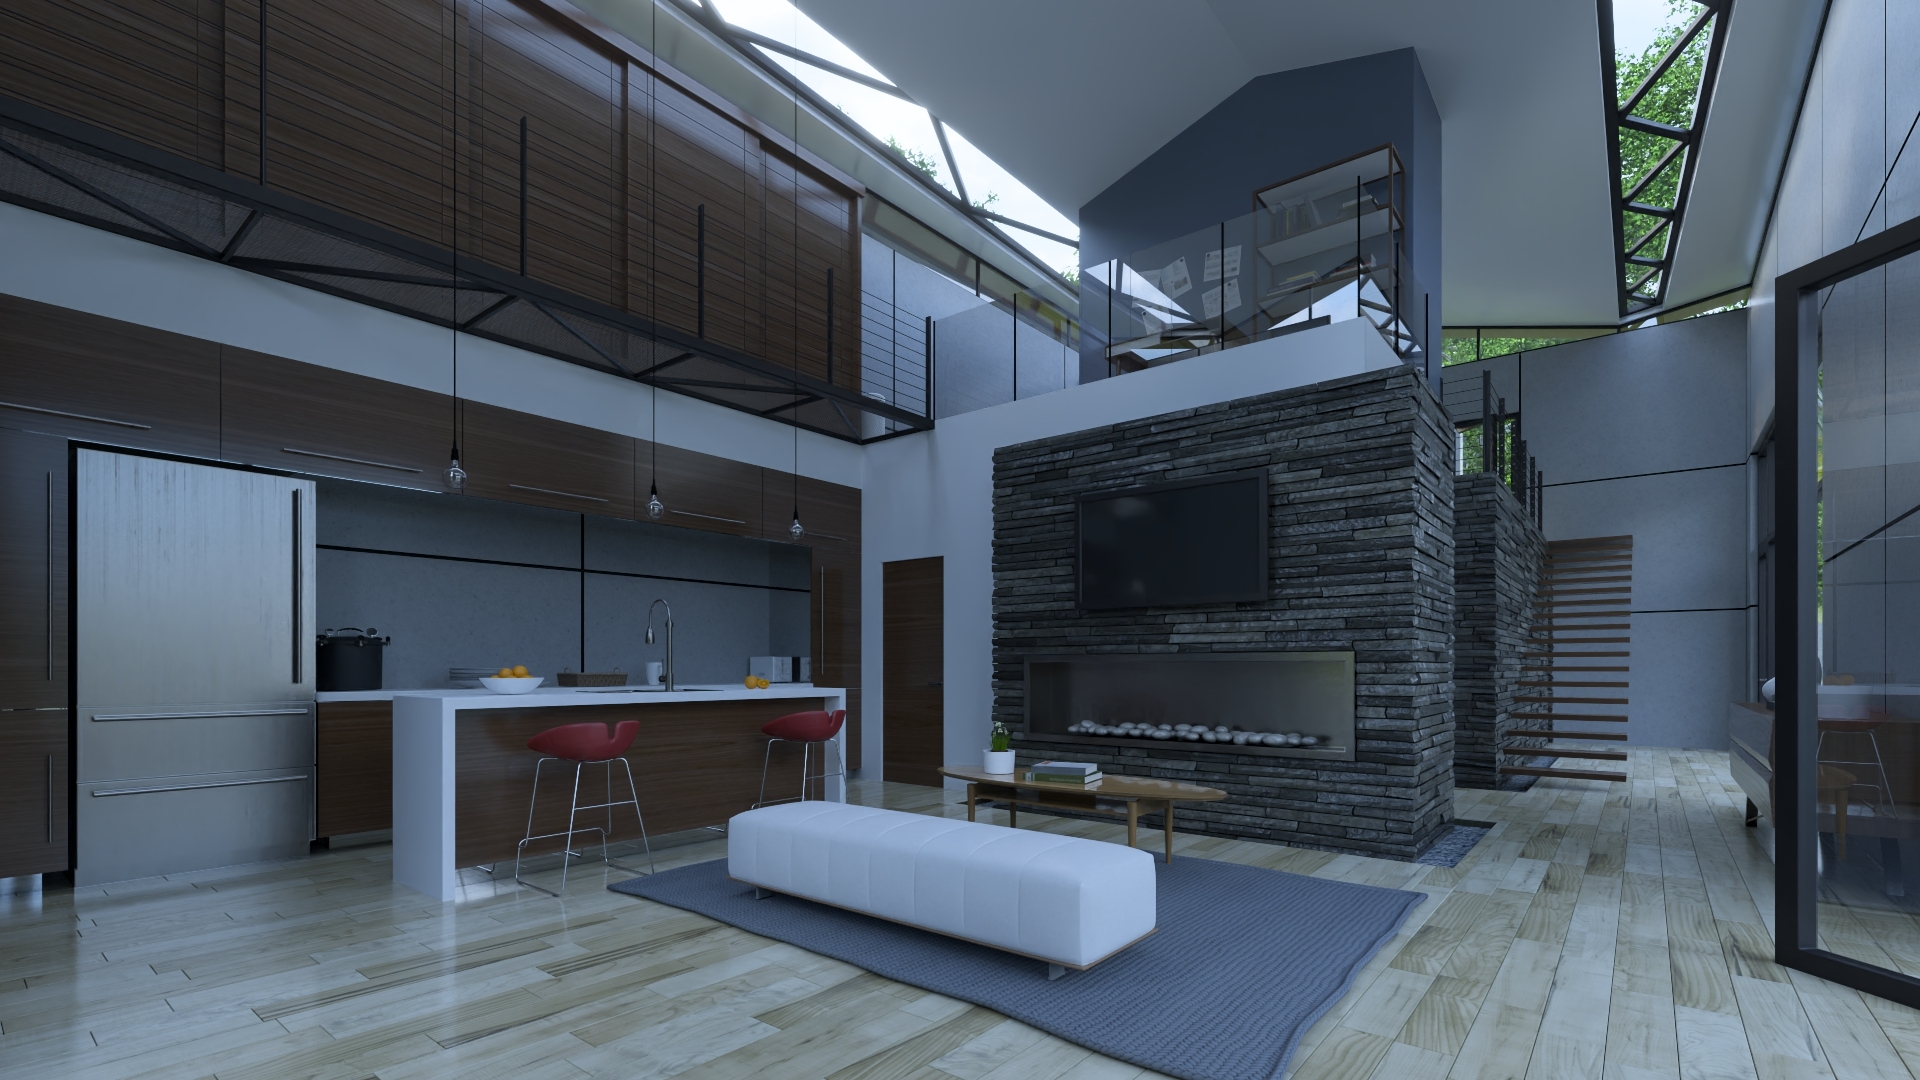
Reducing the slider will correct for a magenta Tint, while increasing it will correct for a green Tint.
For example, if a photo taken indoors under artificial lighting appears too yellow or orange, adjusting the Tint can help correct it.
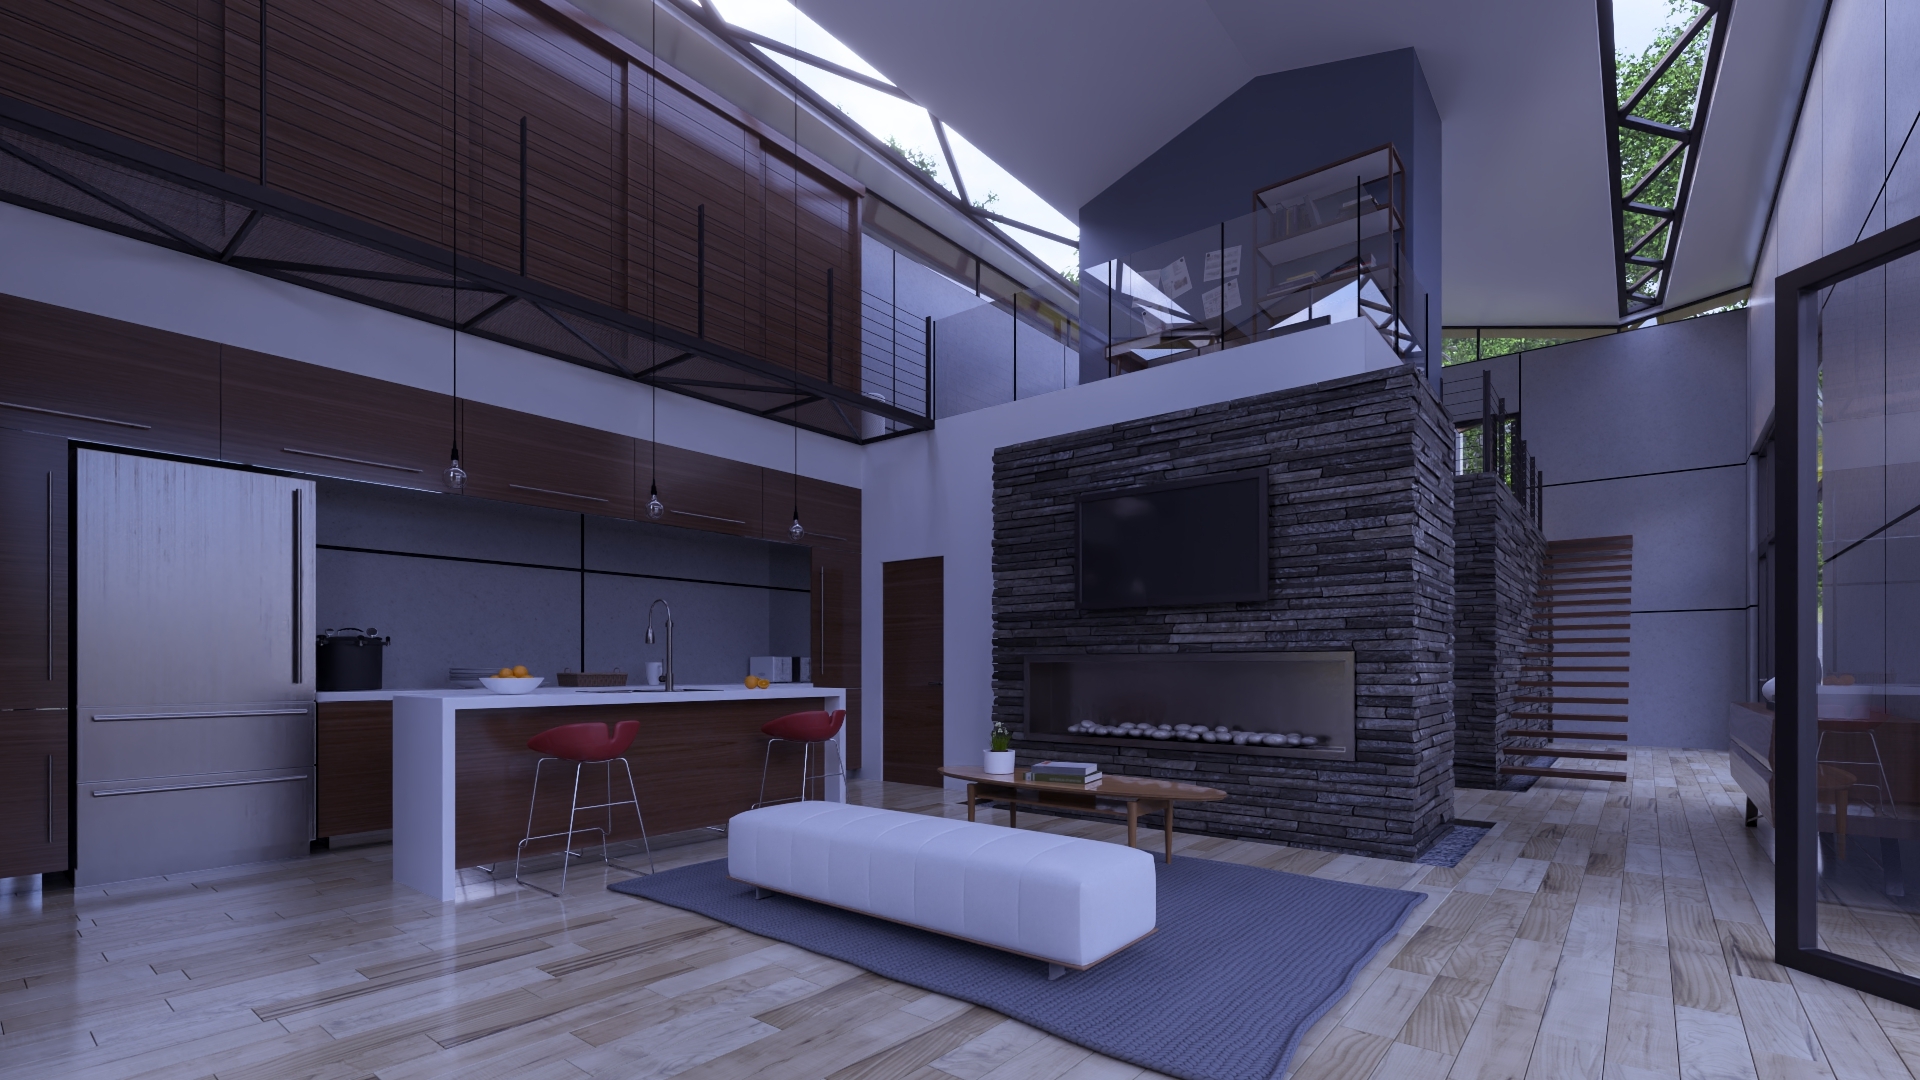
Exposure is now integrated within the Color Correction Effect. This is perhaps one of the most important settings to adjust, especially when the Ray Tracing Effect is activated, as it can easily correct under or over-exposure.
It is also useful for balancing lighting and enhancing details in the image, particularly in the shadows or highlights. This can improve the overall quality of the image and make it appear more crisp and clear.
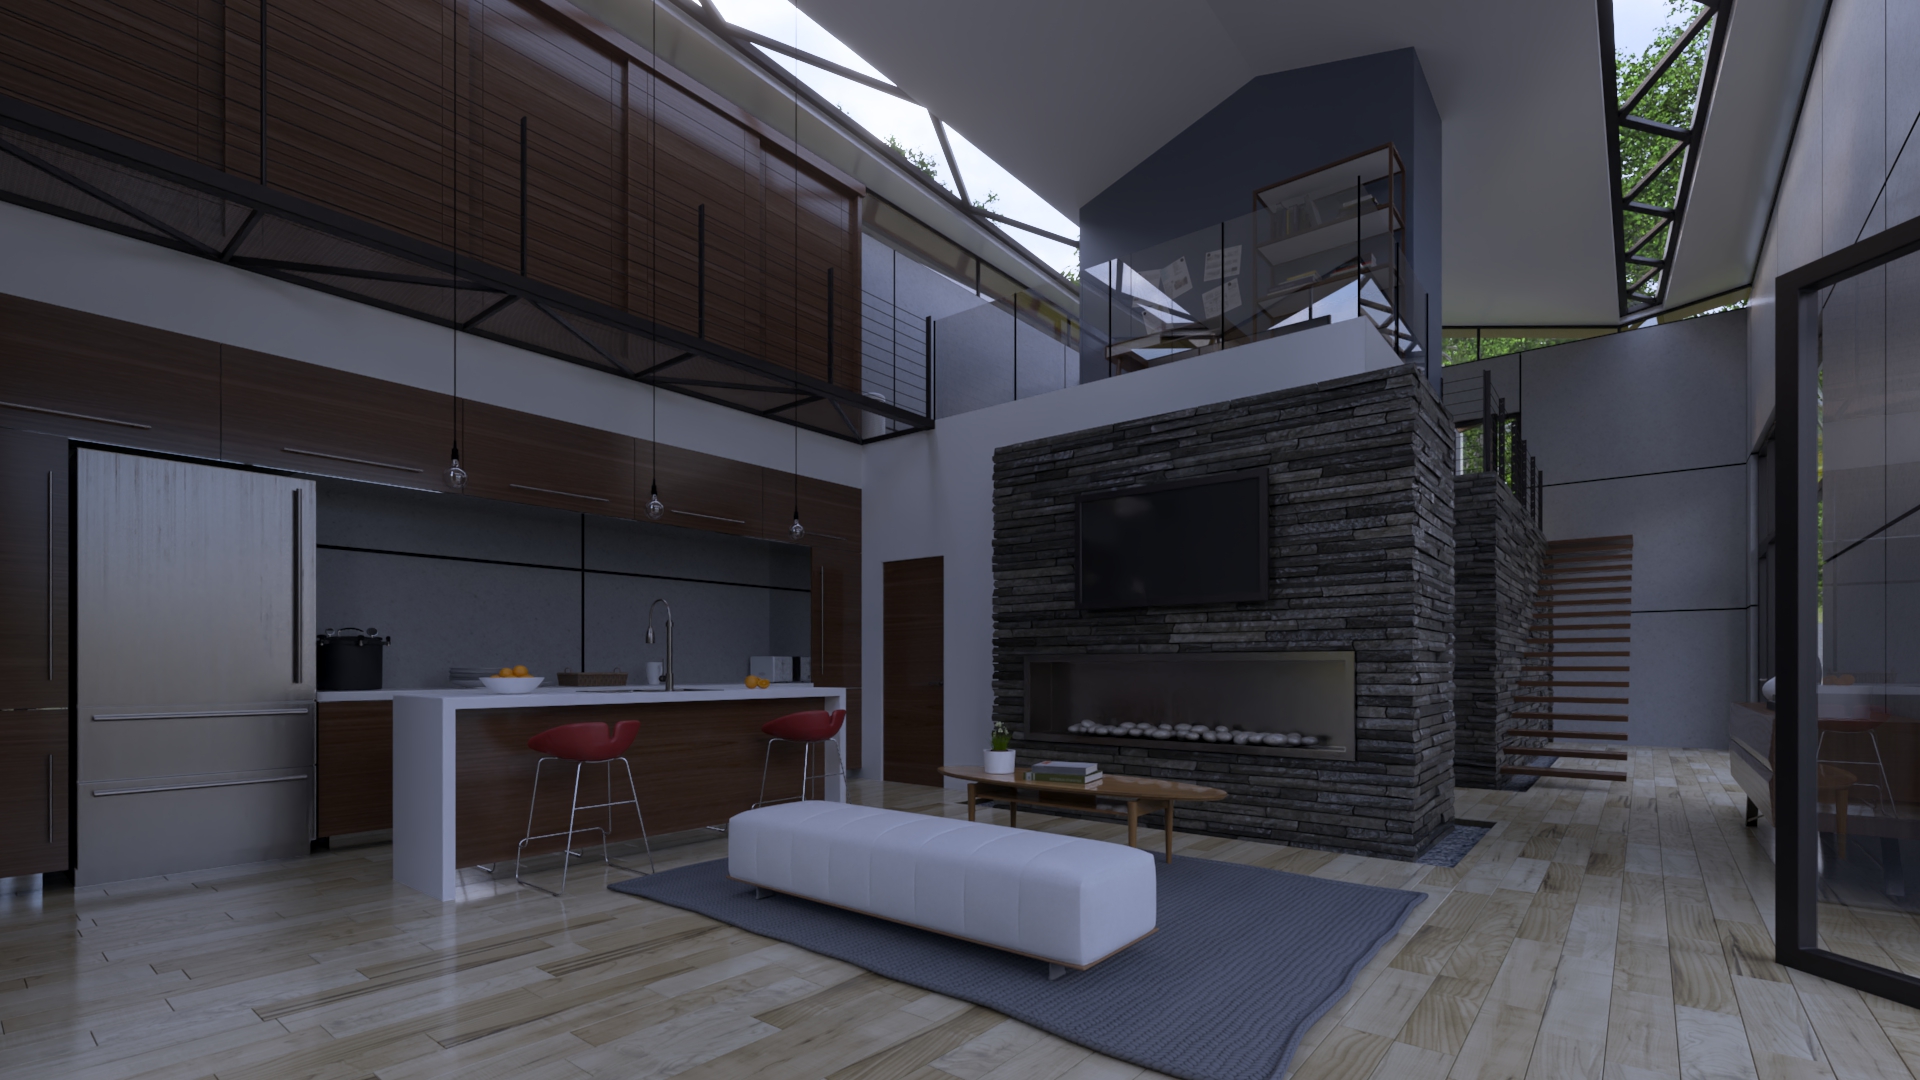
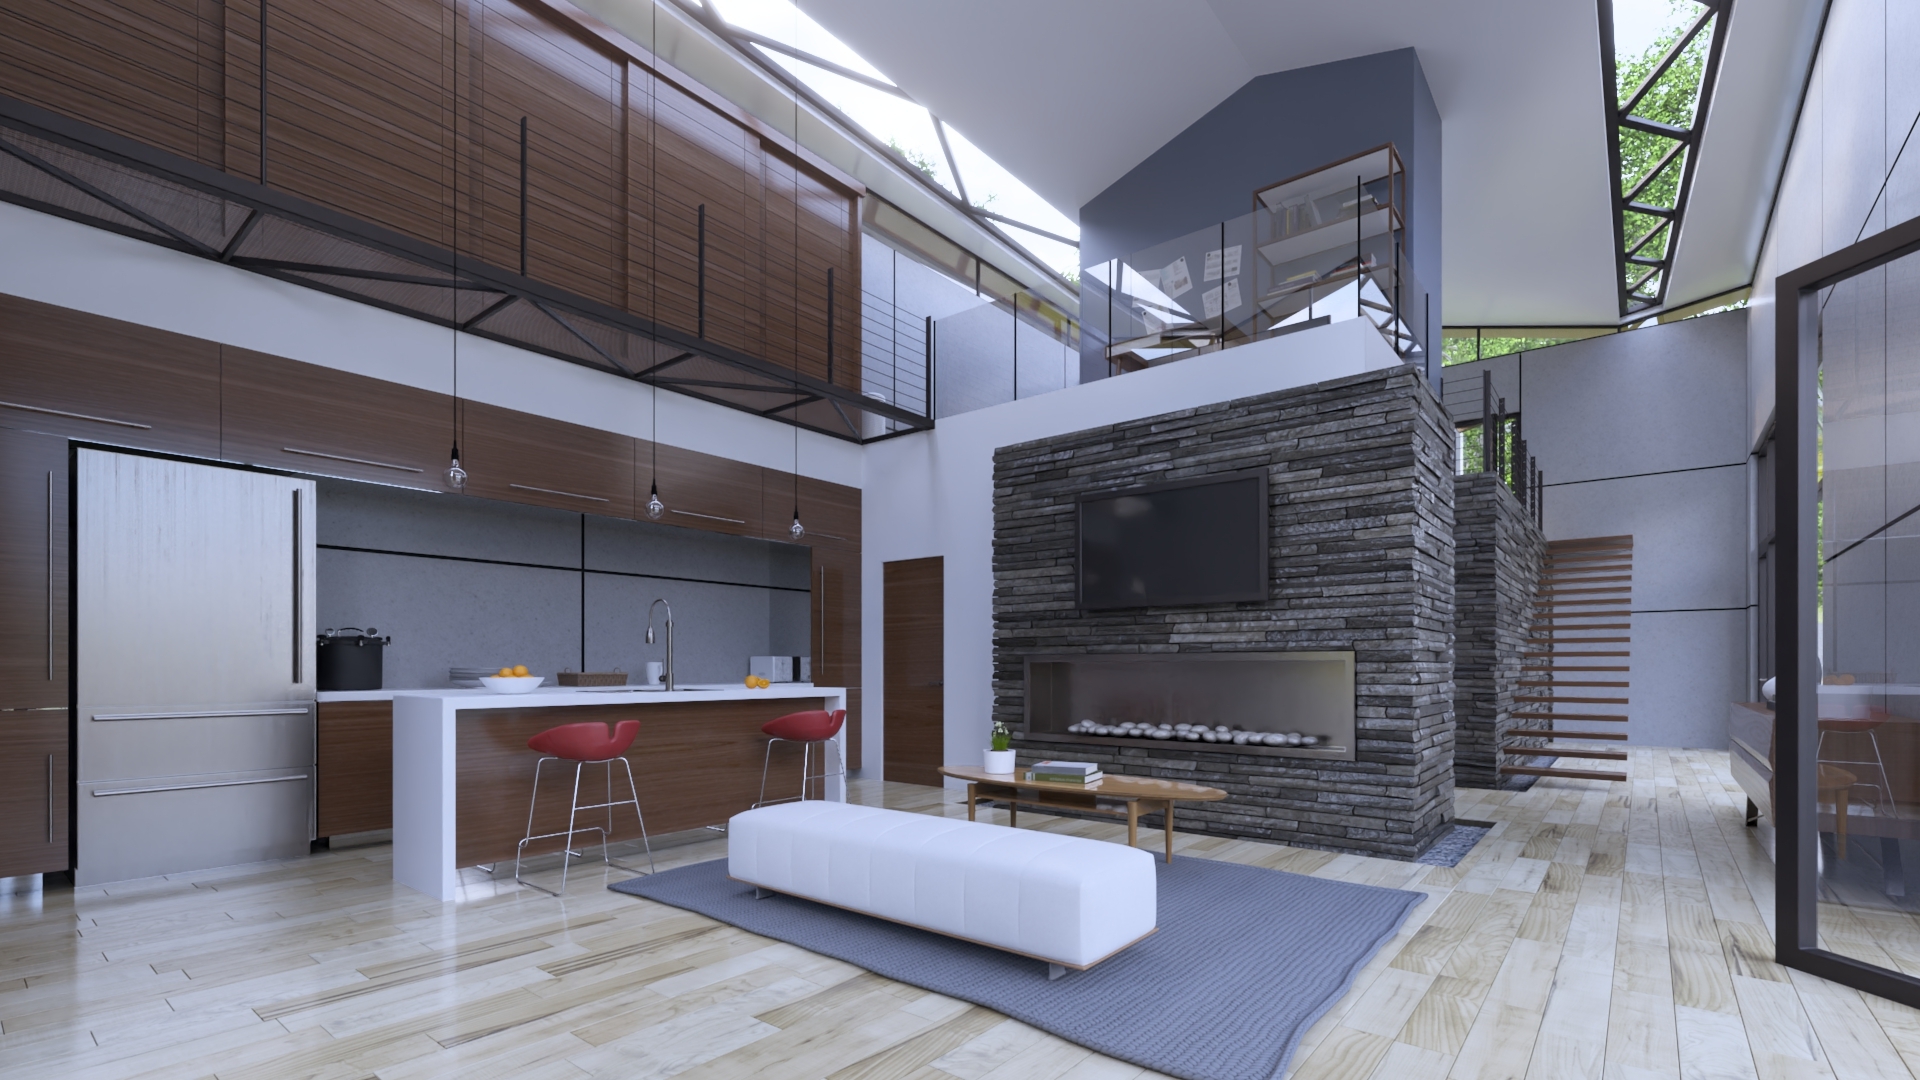
For example, if a photo was taken in challenging lighting conditions, such as in bright sunlight or under fluorescent lighting, adjusting the Effect slider can help correct for the harsh or unnatural lighting.
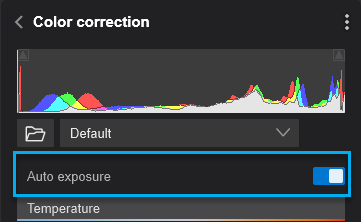
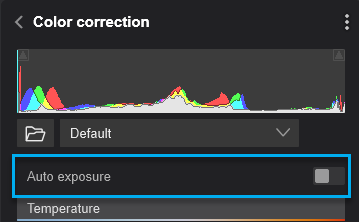
Note that Lumion has a built-in autoexposure function that runs in the background, but it can be turned off:
Contrast refers to the difference between the lightest and darkest parts of an image.
By adjusting contrast, you can enhance the extremes in the image, particularly in the mid-tones, improving its overall quality and visual appeal.
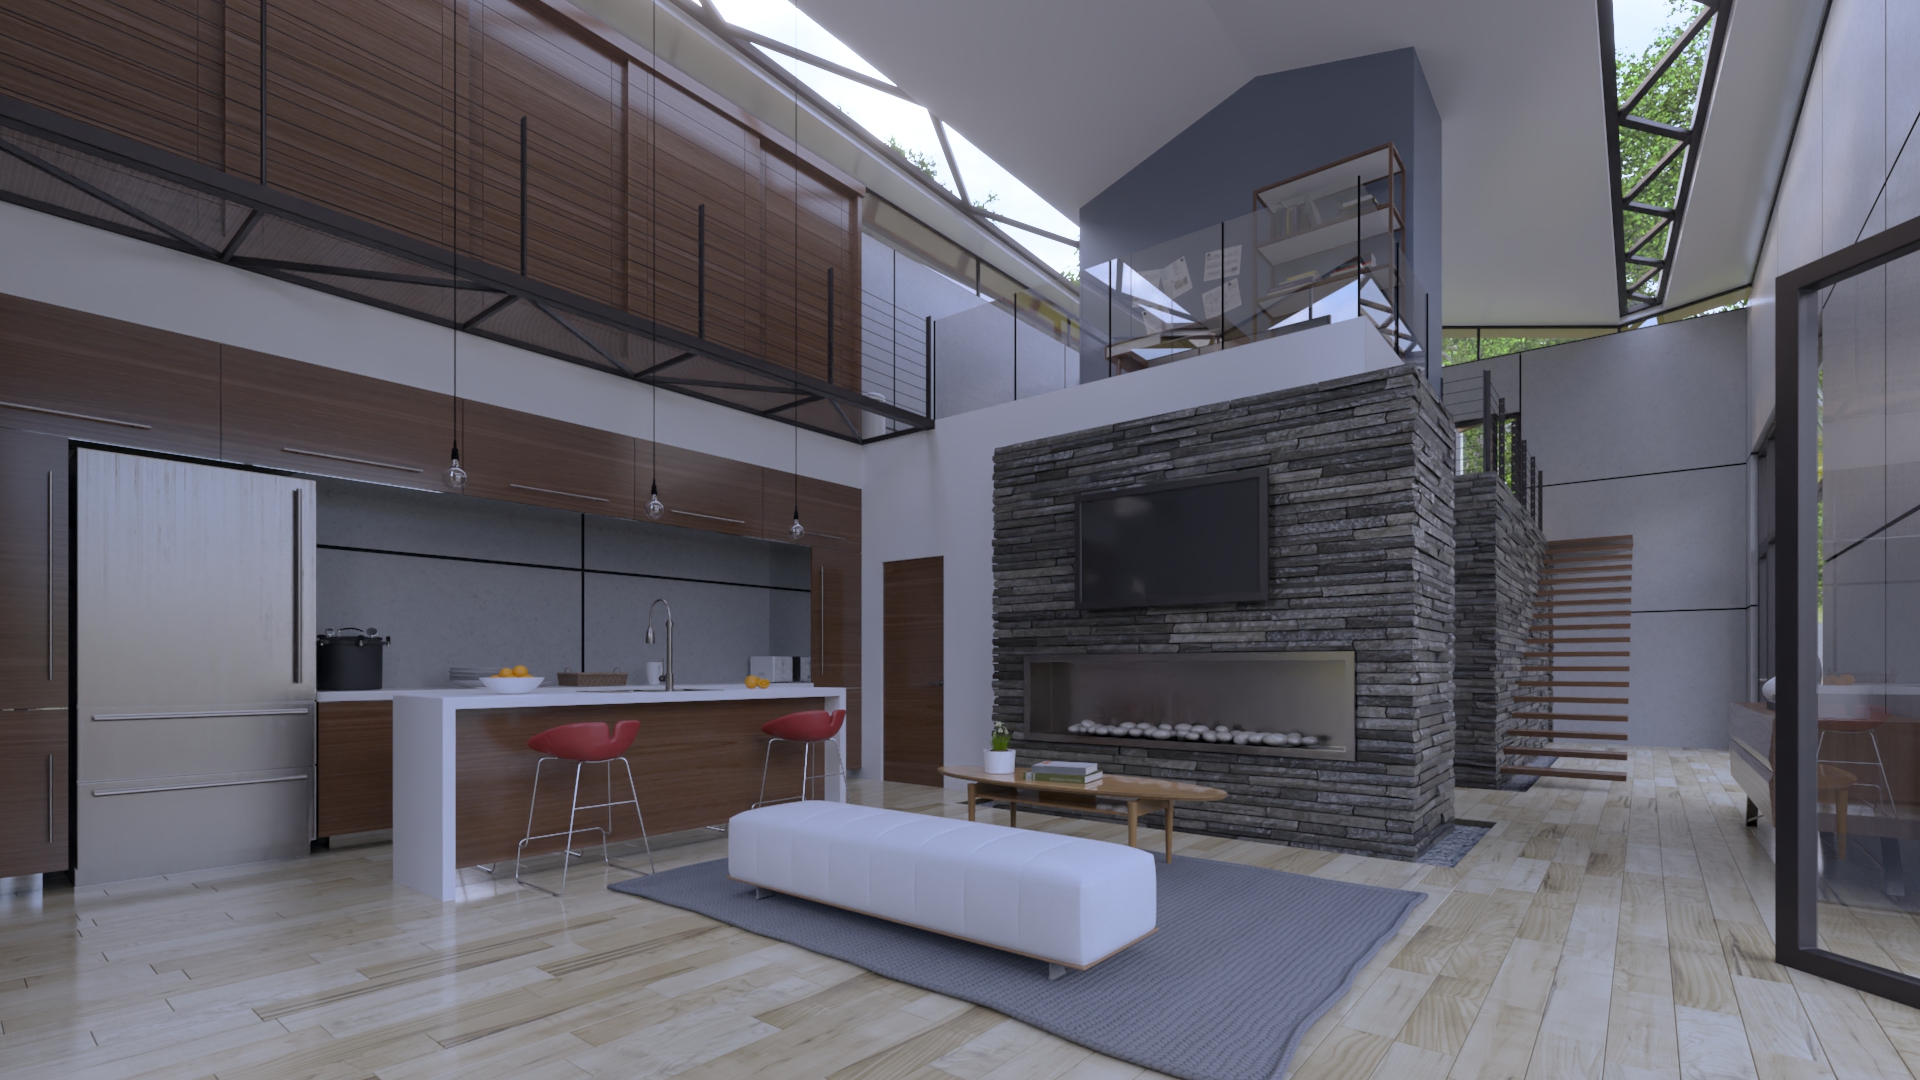
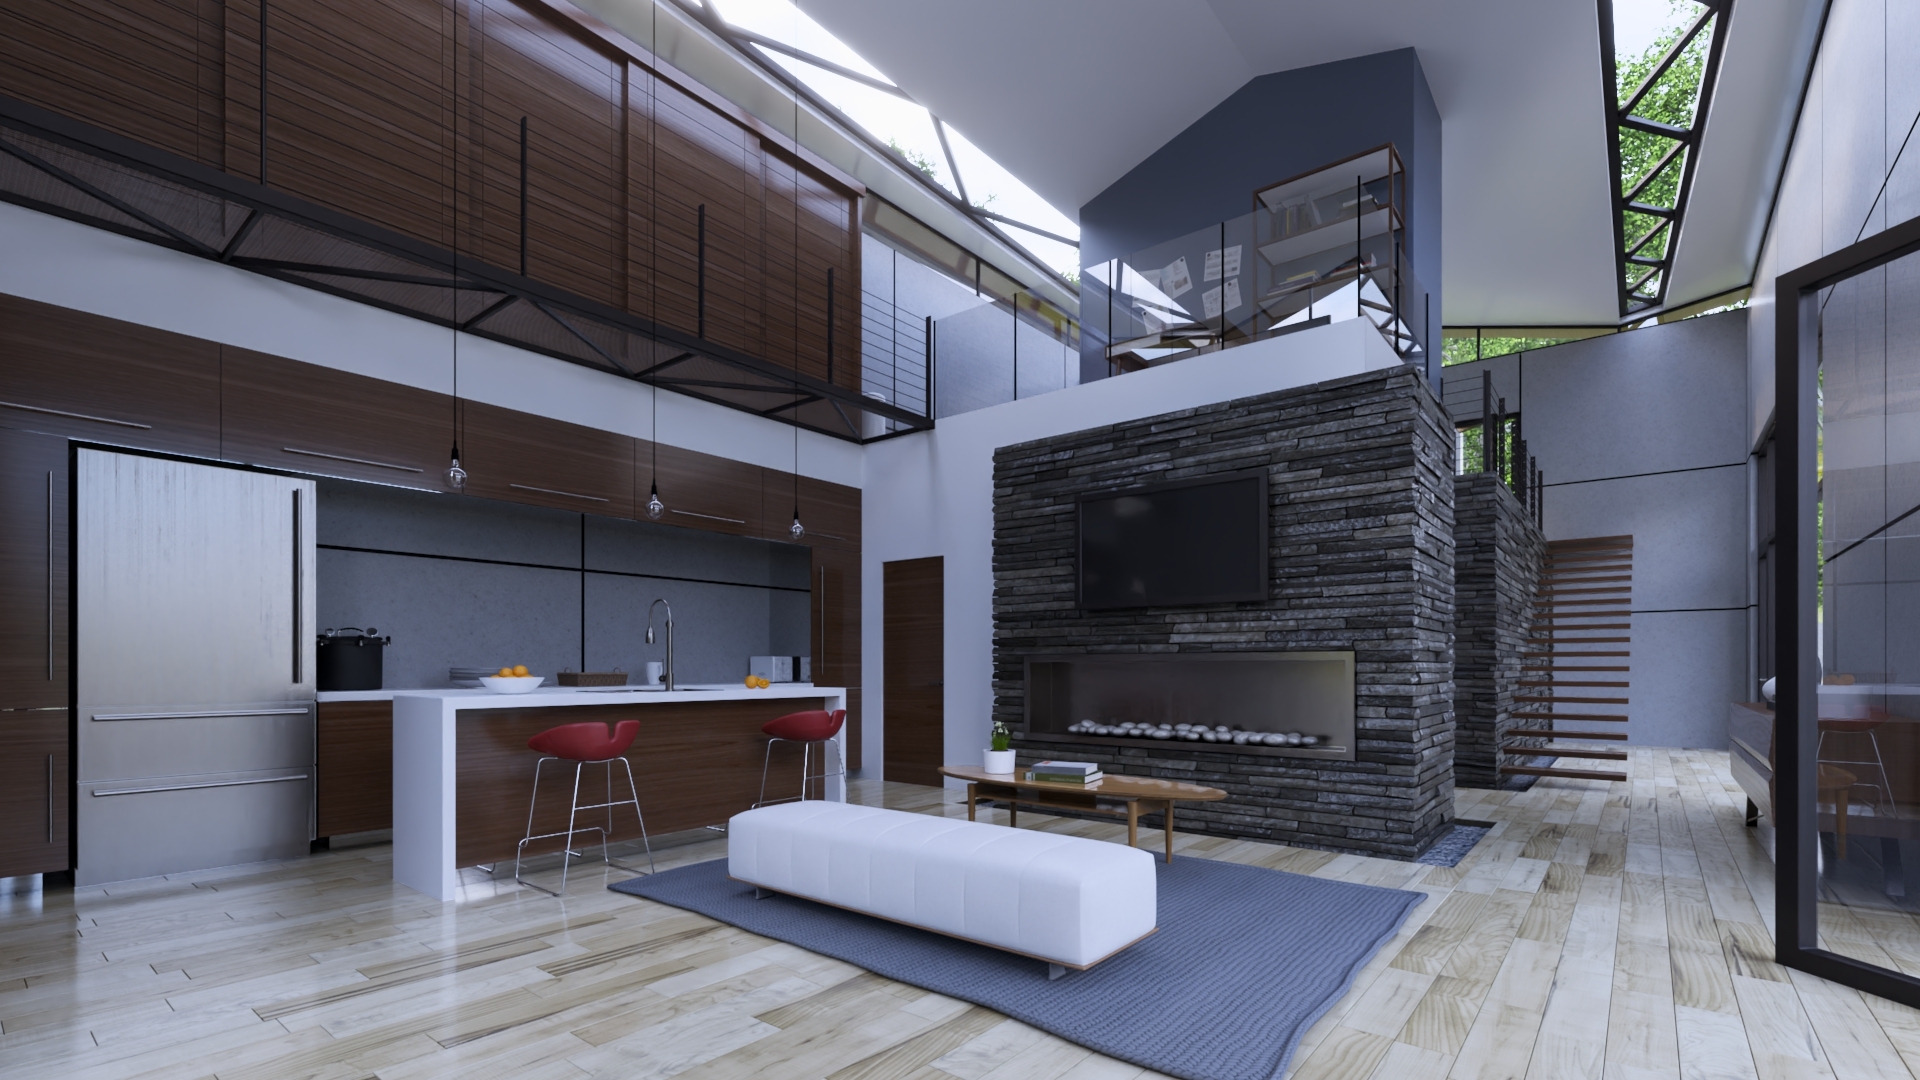
Increasing the slider can create a sense of depth and dimensionality in the image, which is especially important in landscape or architectural renders, where it can help highlight textures and shapes.
Adjusting this slider gradually and evaluating the results is important to avoid overdoing the effect and getting an overly dramatic or flat look.
7. Highlights
Adjusting the Highlights of a photo is typically done to correct any overexposed or blown-out areas in the image.
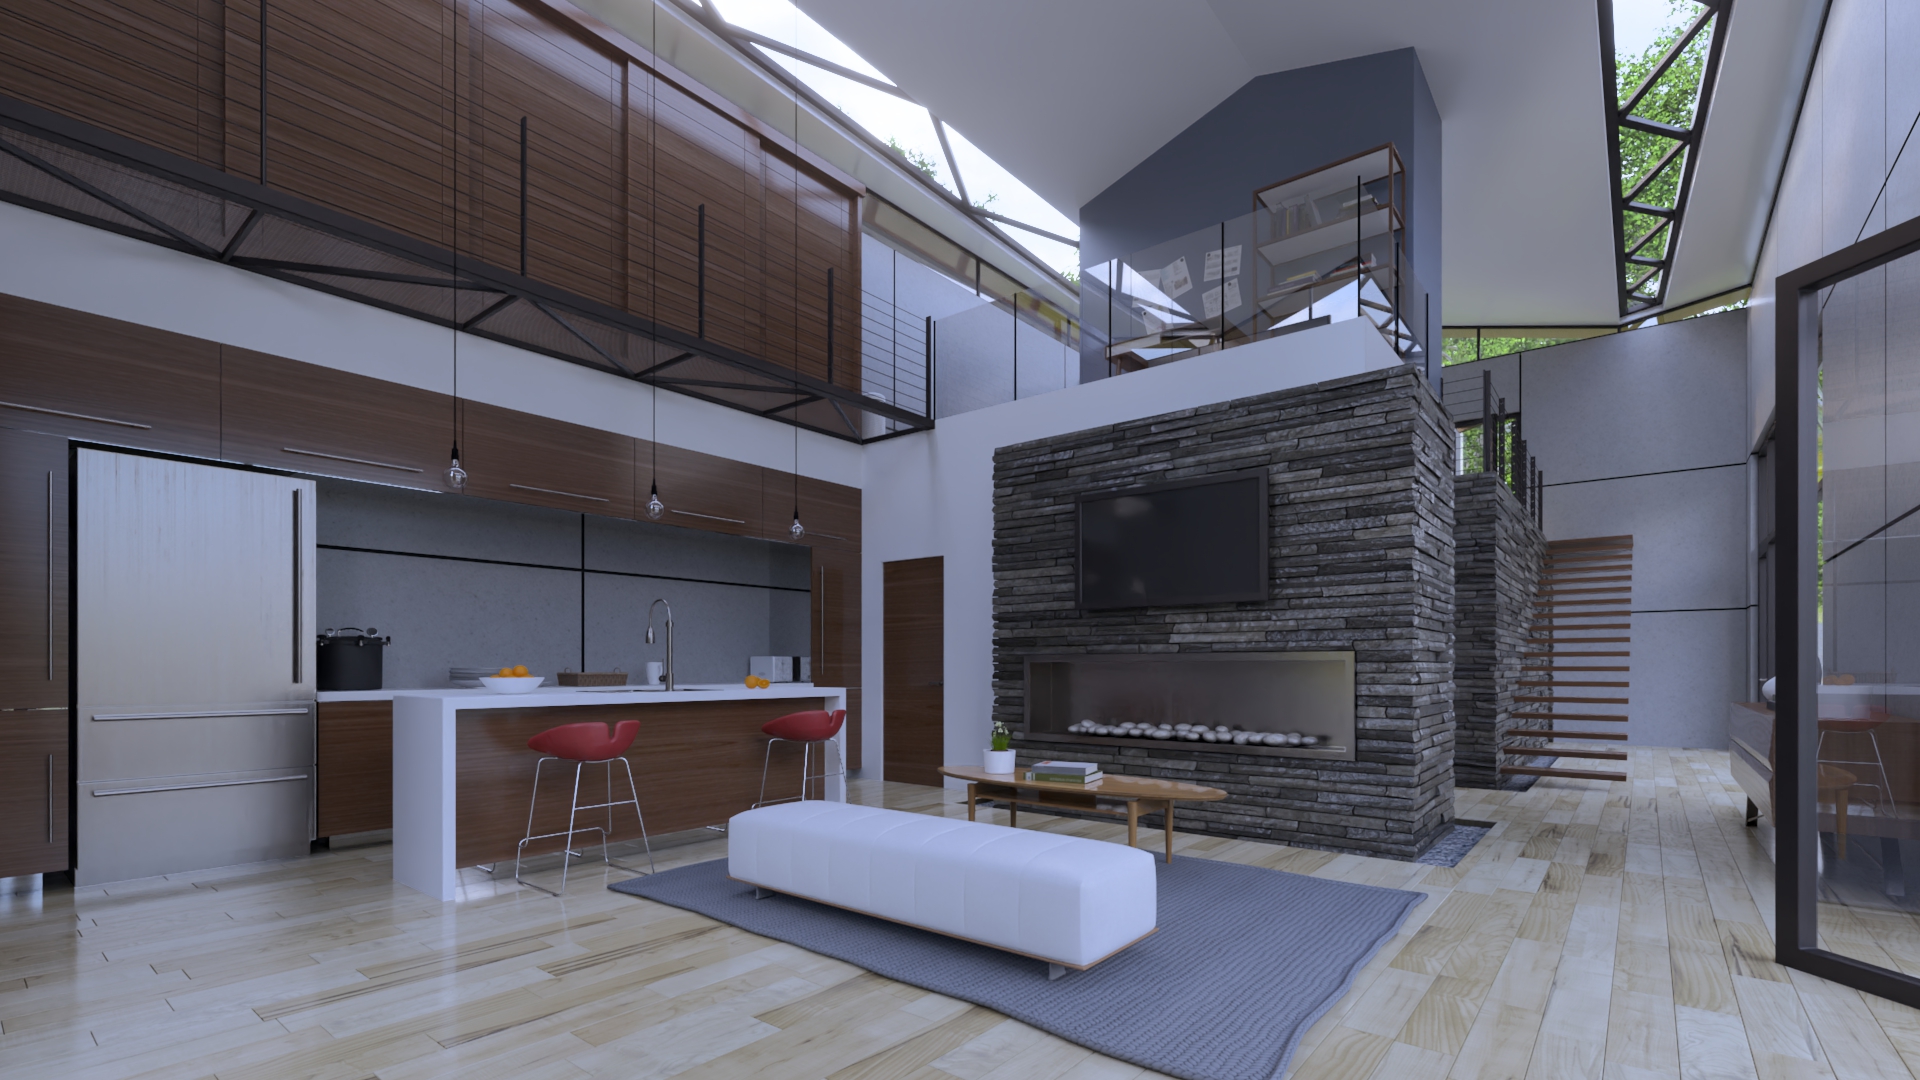
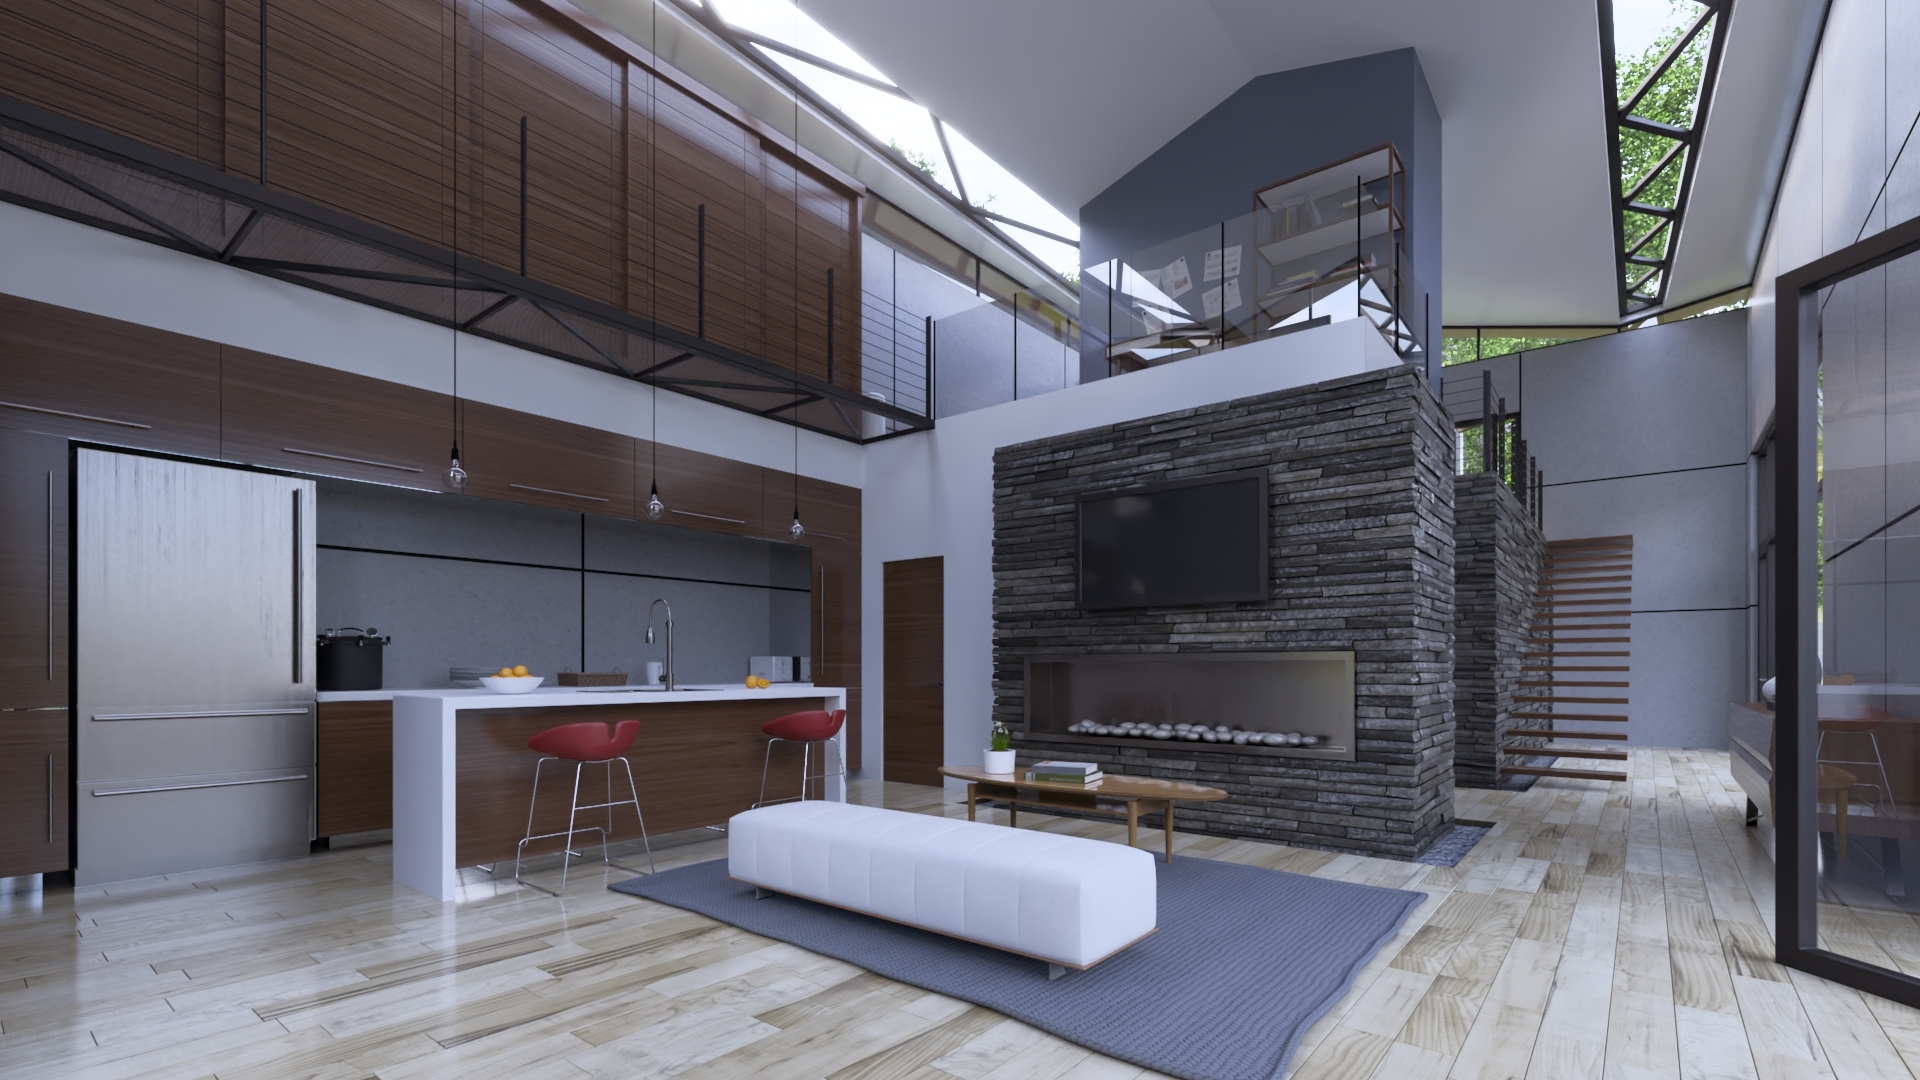
Lowering the slider can help to recover details when the image is too bright and increasing it can prevent a washed-out look when the image is too dark.
For example, if the image has a bright background that is causing the subject to appear too dark, adjusting the highlights can help to balance the lighting and bring out more details in the subject.
Midtones are the areas in the image that are neither completely dark nor completely light, falling in the middle range of brightness.
Adjusting this It can bring out more details in the image, particularly in areas that might appear too flat or lacking in definition.
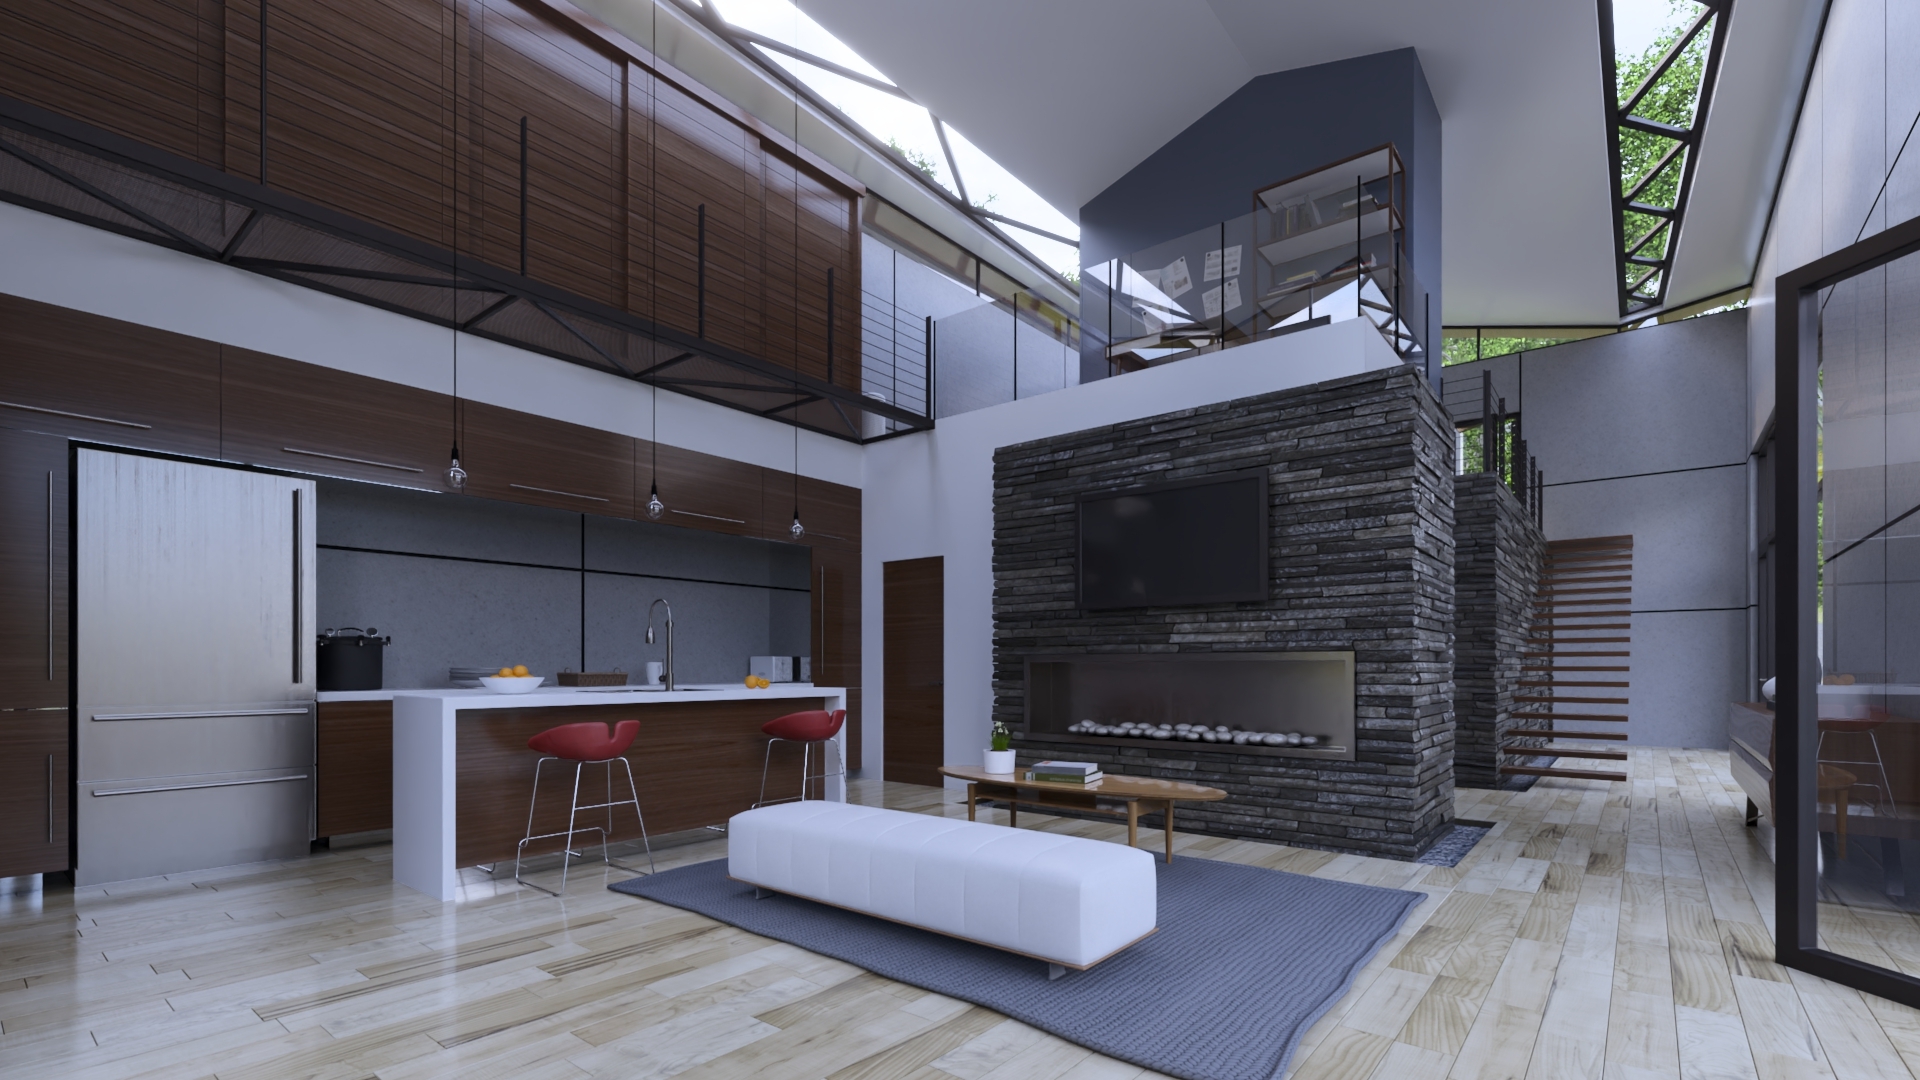
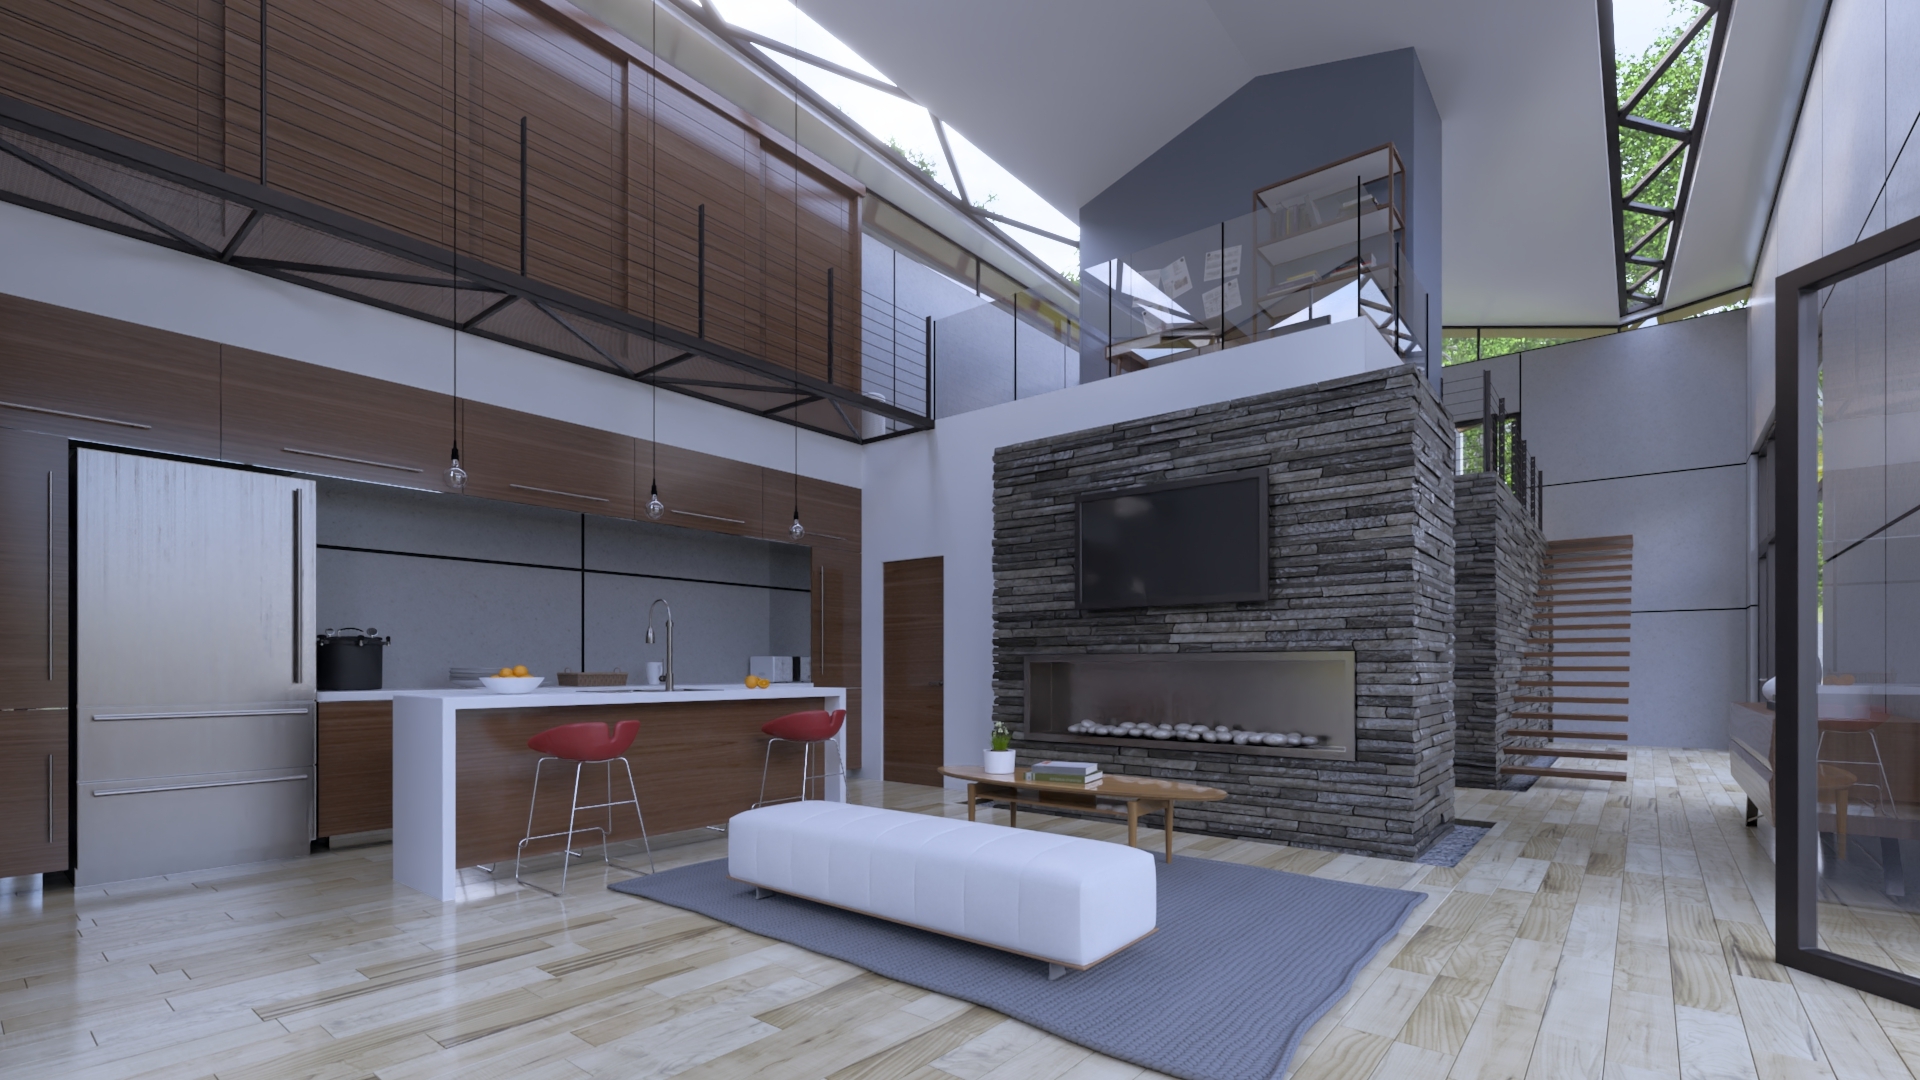
This is great when you want to lighten or darken the overall tone of the image while leaving the Shadows and Highlights alone. In comparison, Exposure touches Shadows, Midtones, and Highlights.
Shadows refer to the darkest parts of the image, typically found in areas where the light does not reach. It is great for correcting underexposure.
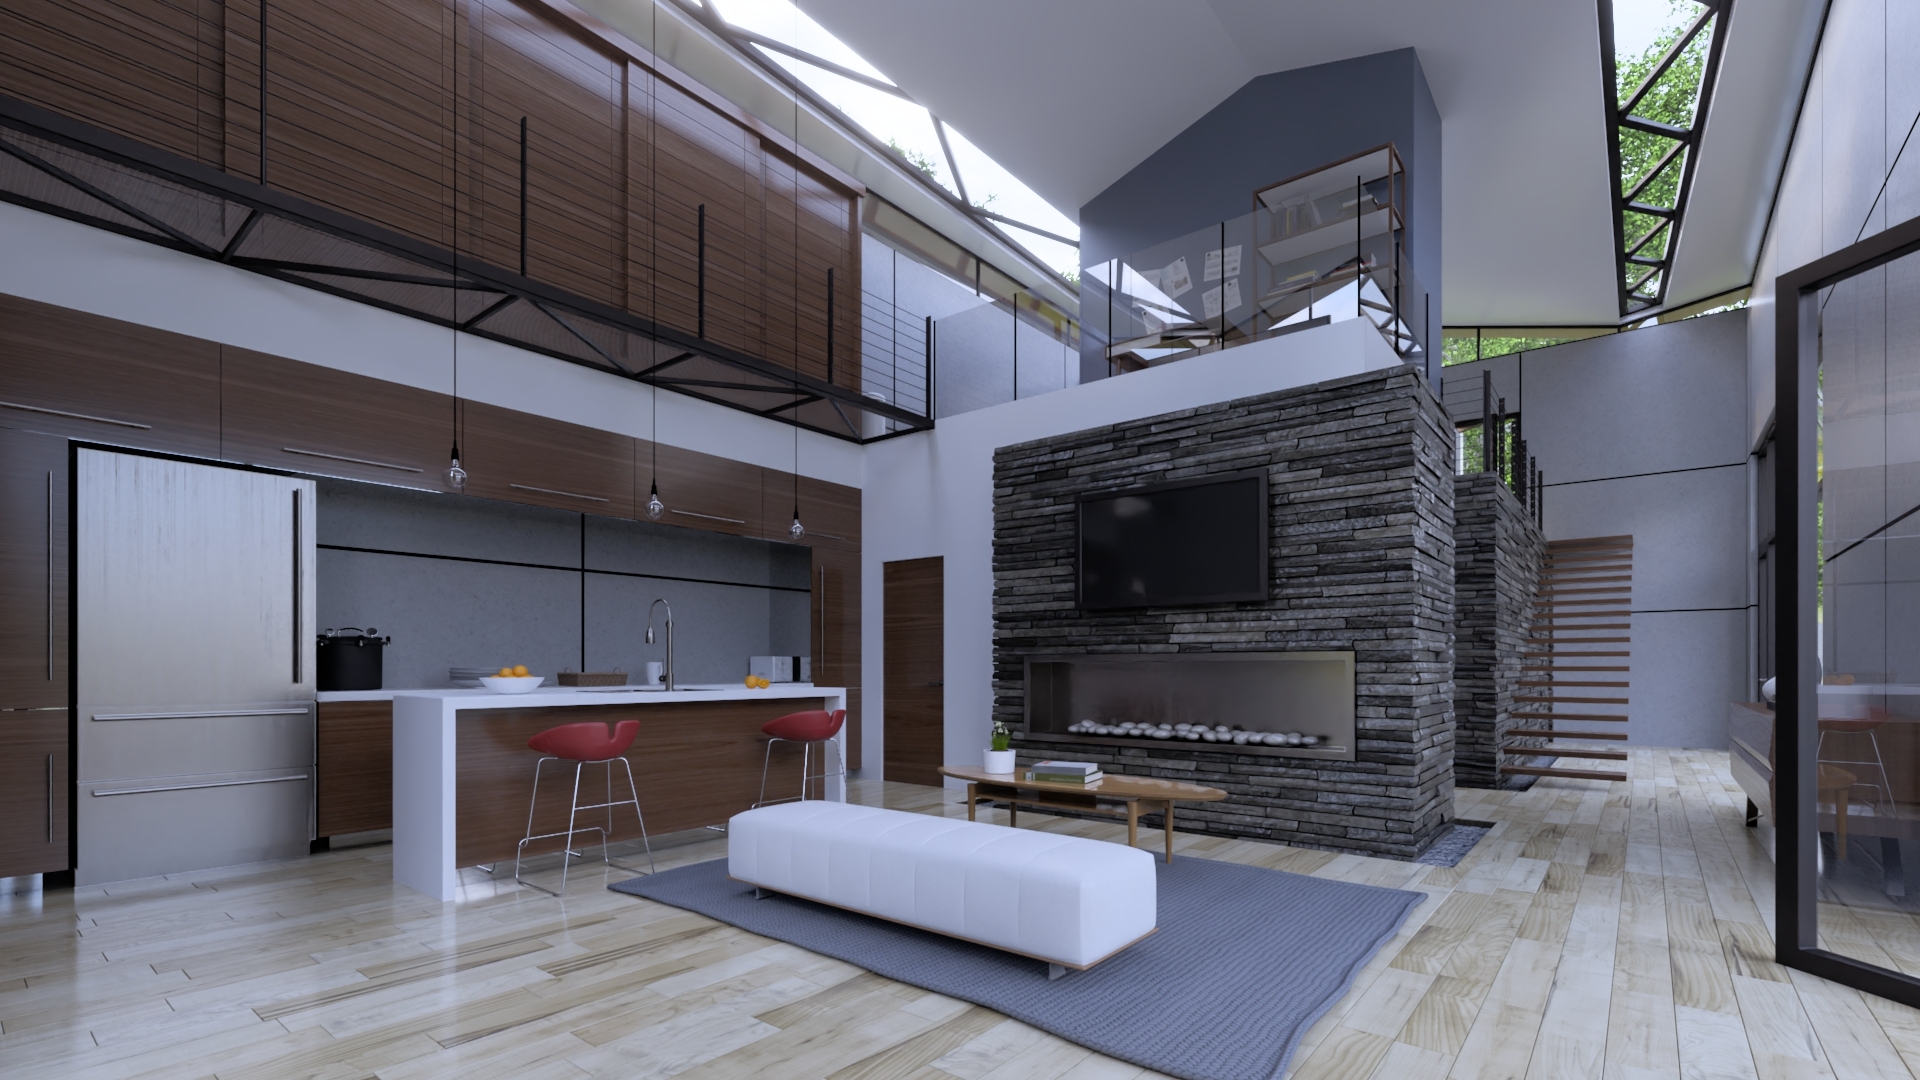
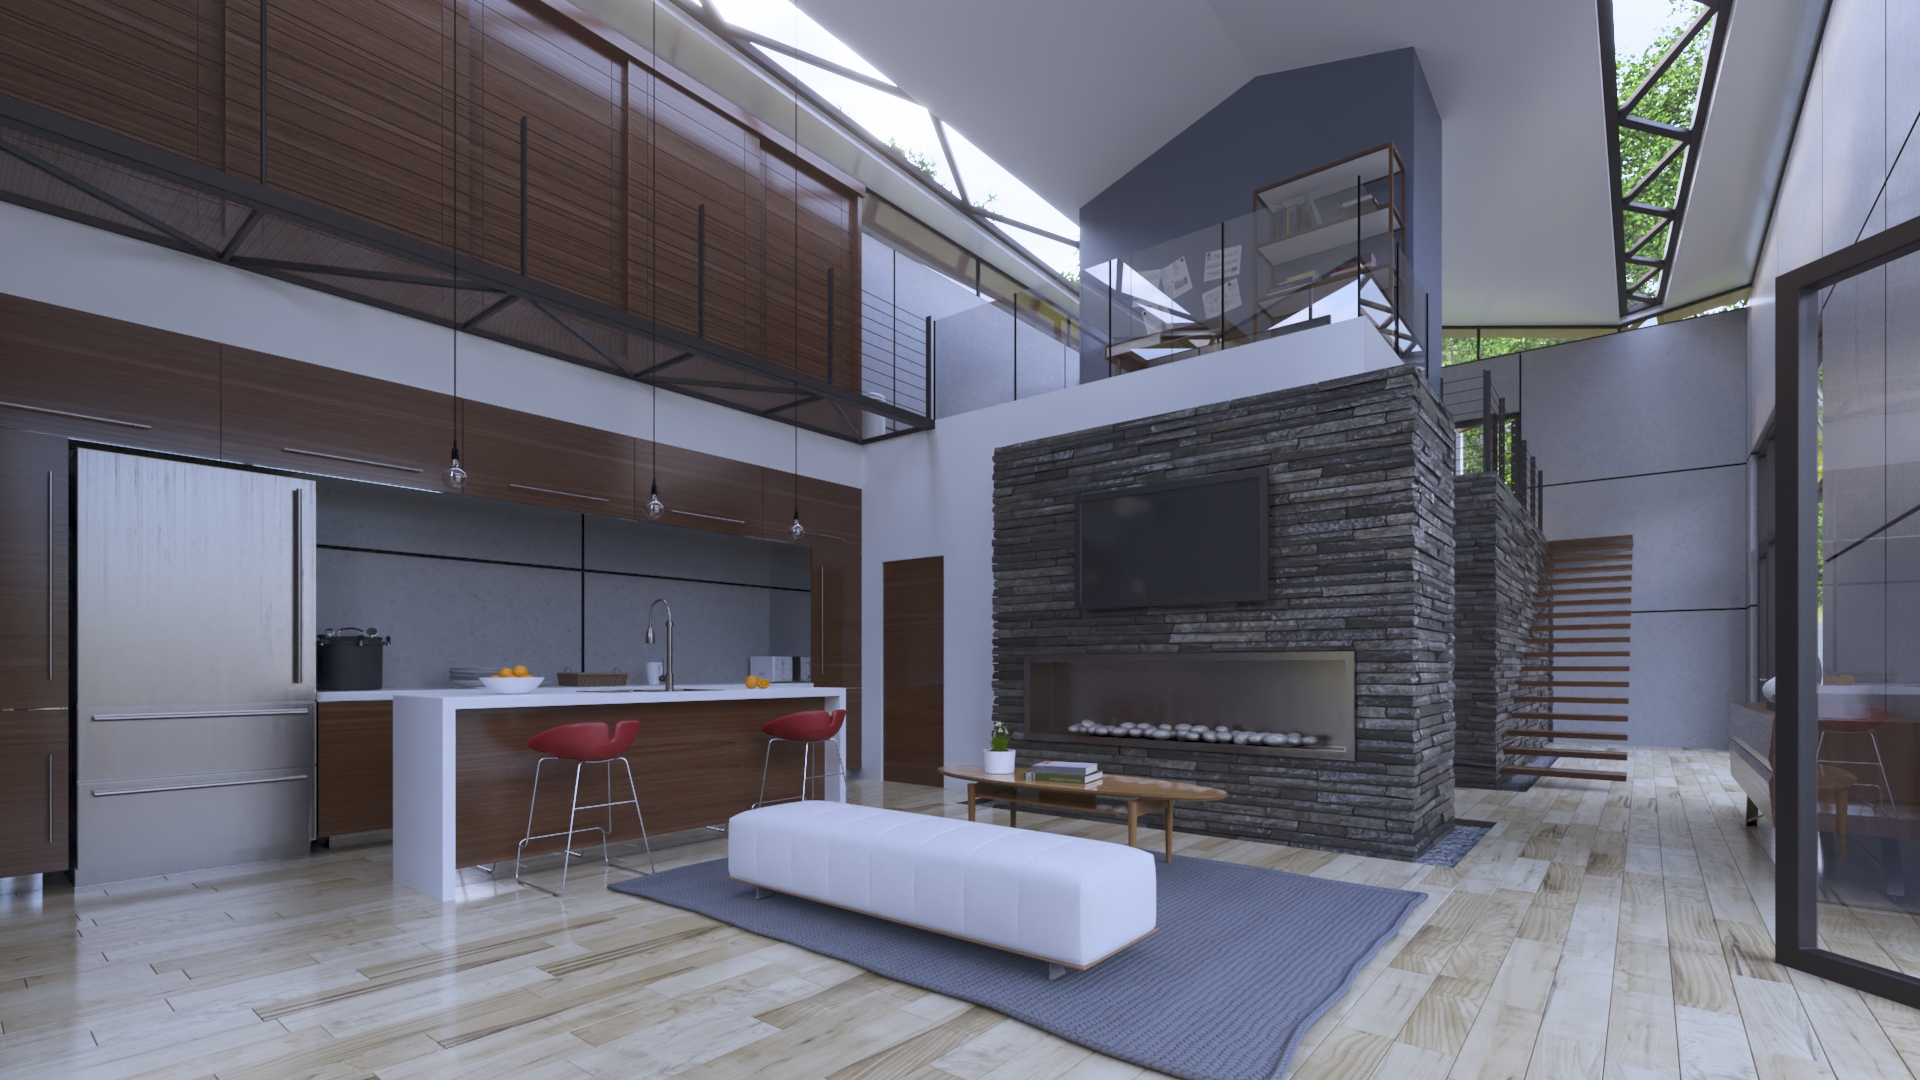
If an image is underexposed, adjusting the Shadows can help to bring out details in the darker areas of the image, making it appear brighter and more balanced while at the same time preventing it from appearing too flat or lacking in depth.
Gamma refers to the brightness and contrast of the Midtones in an image. It is the relationship between the brightness of an image and the brightness of the display it's being viewed on.
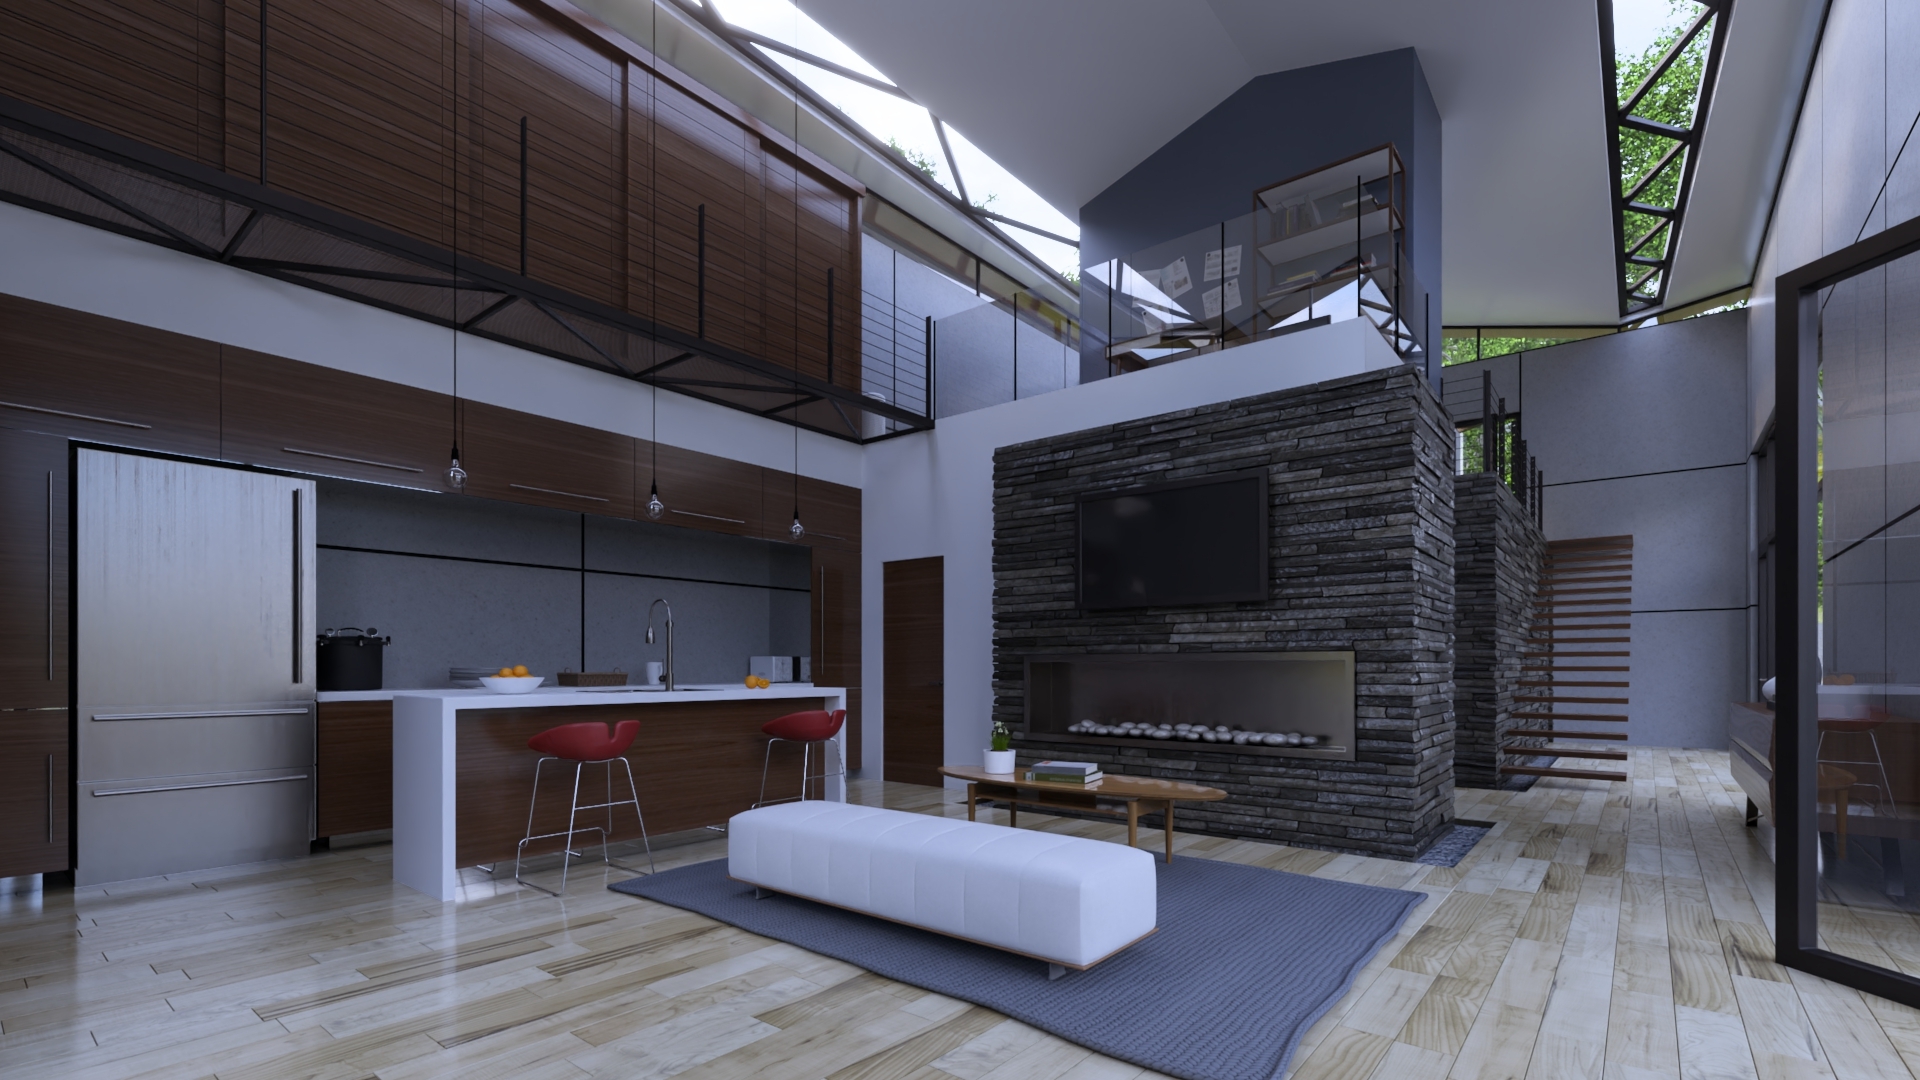
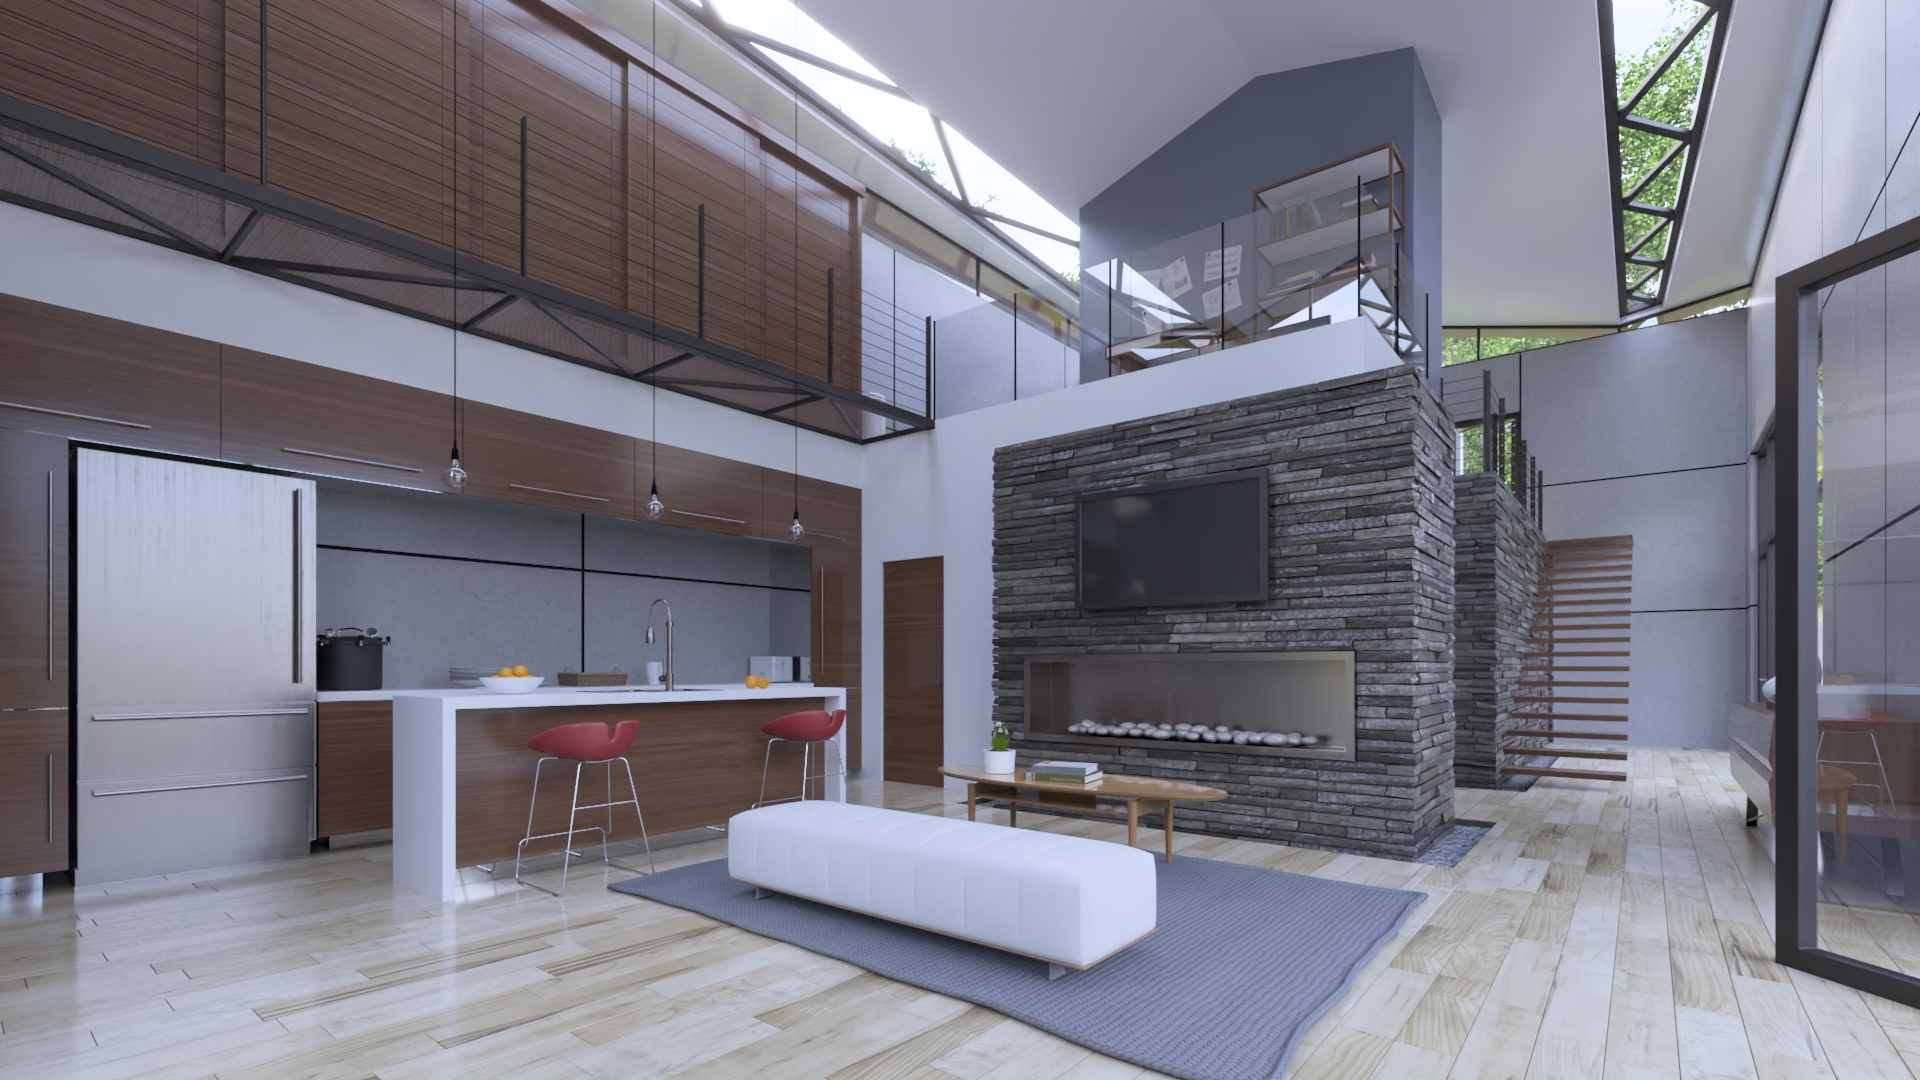
This adjustment can help to balance the overall brightness and contrast of the image, without overly brightening or darkening the Highlights or Shadows.
Tip: It is advisable to check a final edited image on different monitors because monitors can vary in terms of their color accuracy, brightness, contrast, and other settings. For example, an image that looks perfectly balanced on one monitor may appear too bright or too dark on another, or the colors may look too saturated or too muted.
Controls the intensity of colors in the image.
A high Saturation indicates a pure, rich color and a low Saturation indicates a duller or more muted color.
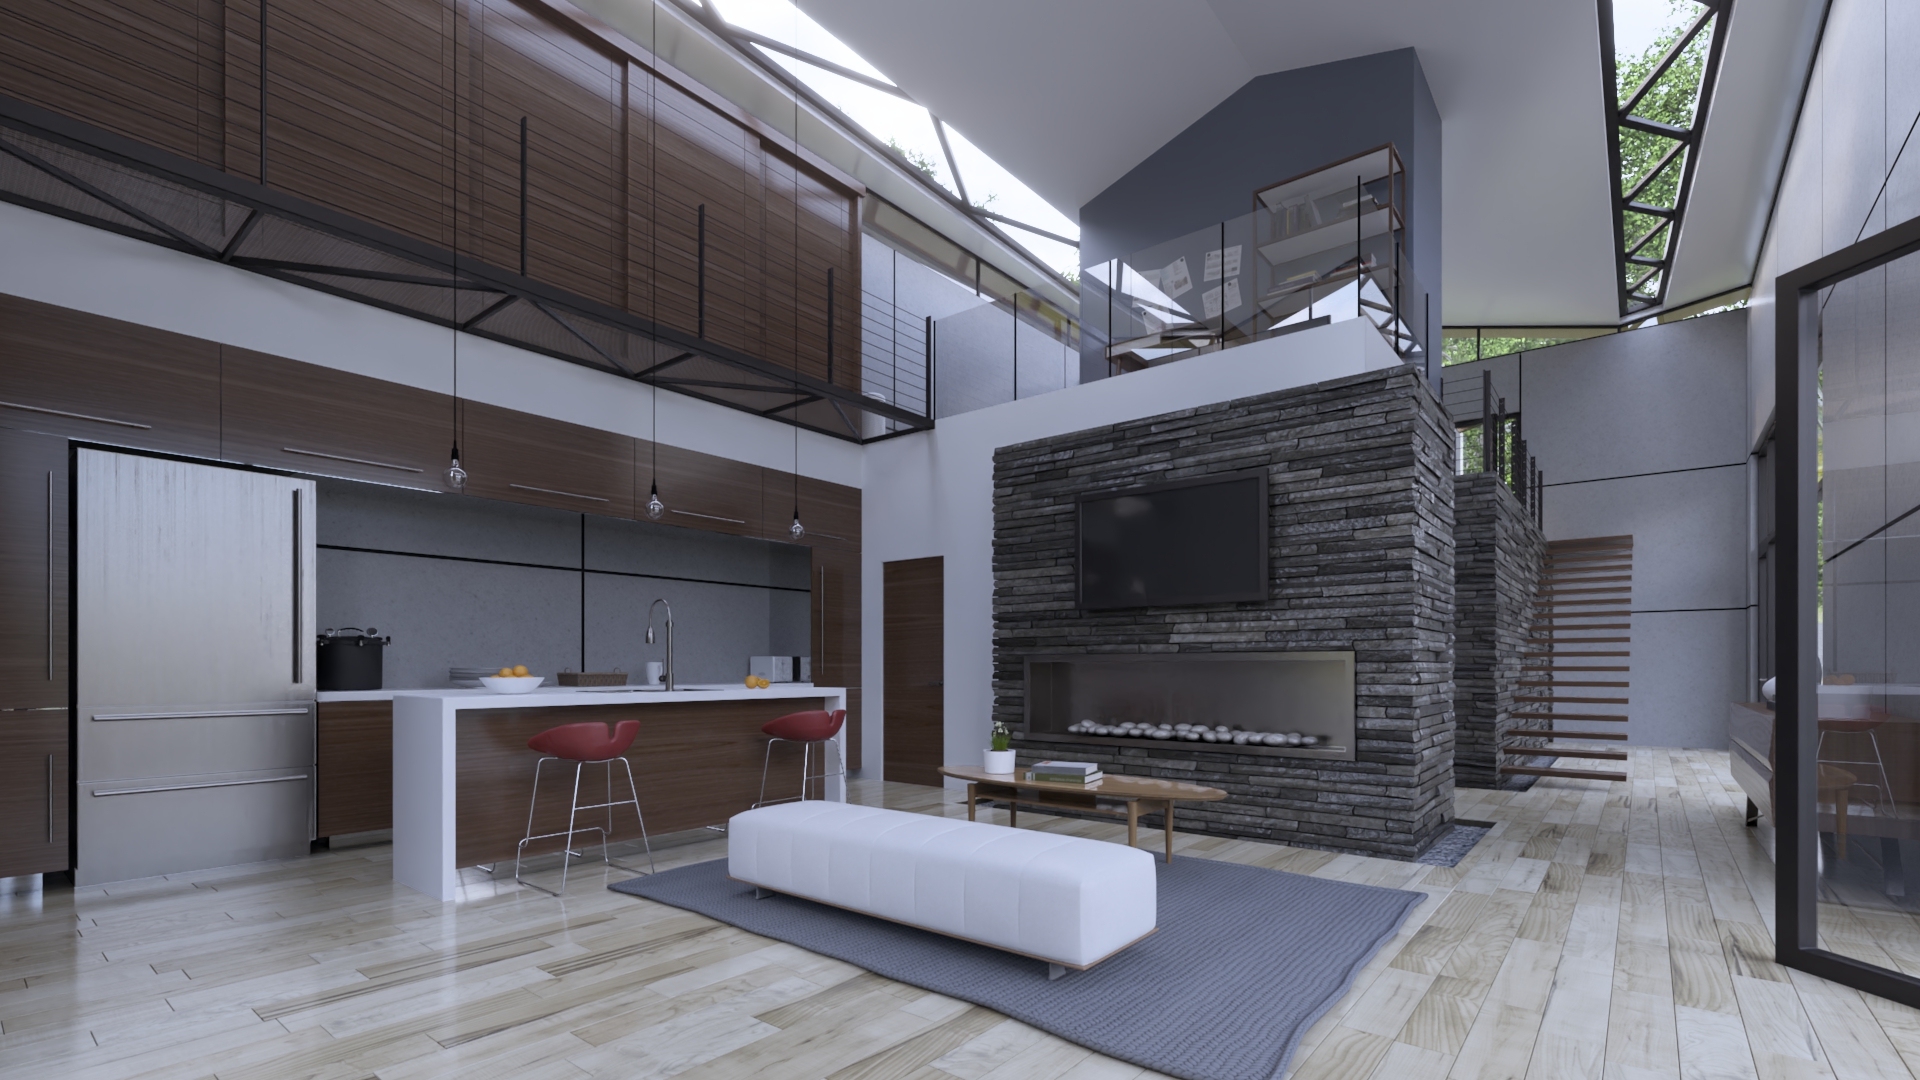
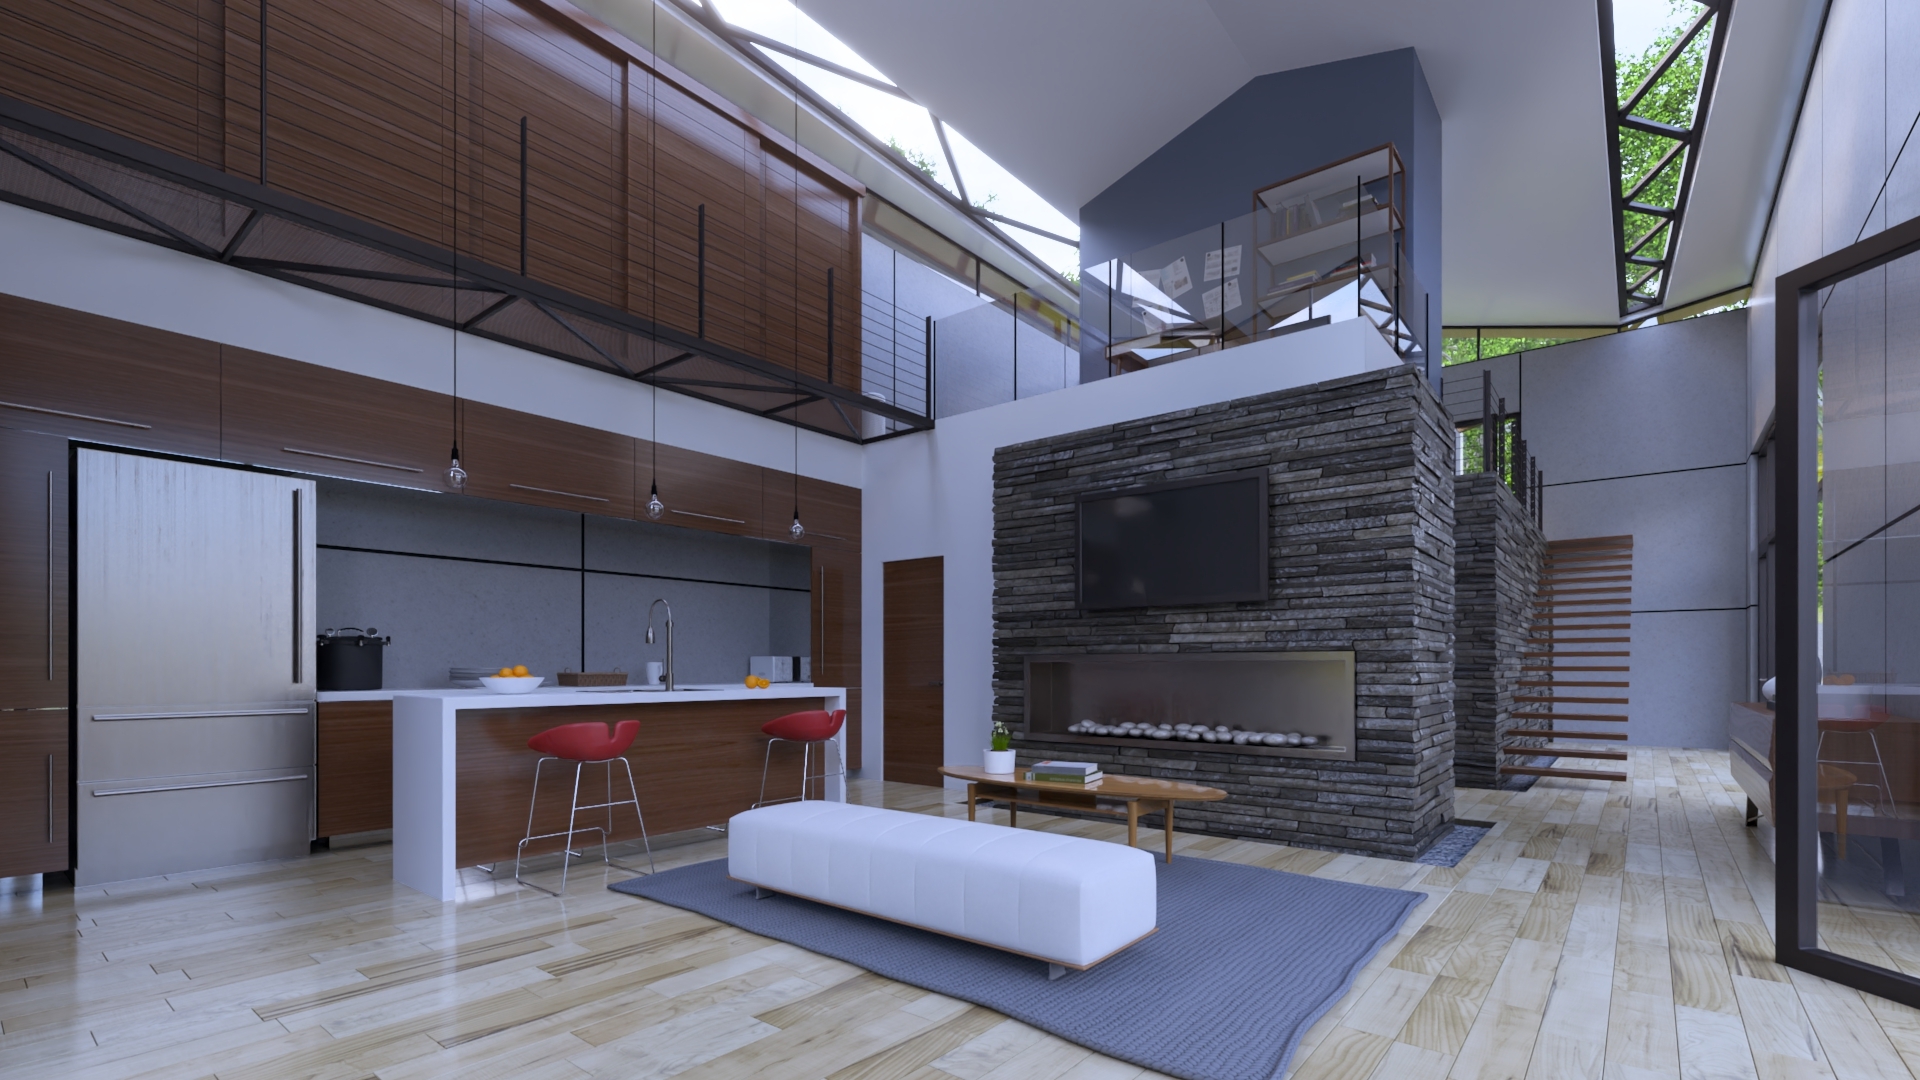
Adjusting the Saturation can help correct color balance issues in the image, such as when certain colors appear too dominant or too muted. Getting the setting right is key in making sure that all colors are equally represented.
Similar to Saturation, but with some important differences. While Saturation affects the intensity of all colors in the image equally, Vibrance is designed to affect the intensity of only the less-saturated colors.
Adjusting the Vibrance can help enhance the color balance of the image by increasing the intensity of the less-saturated colors, without over-saturating the more vibrant colors.
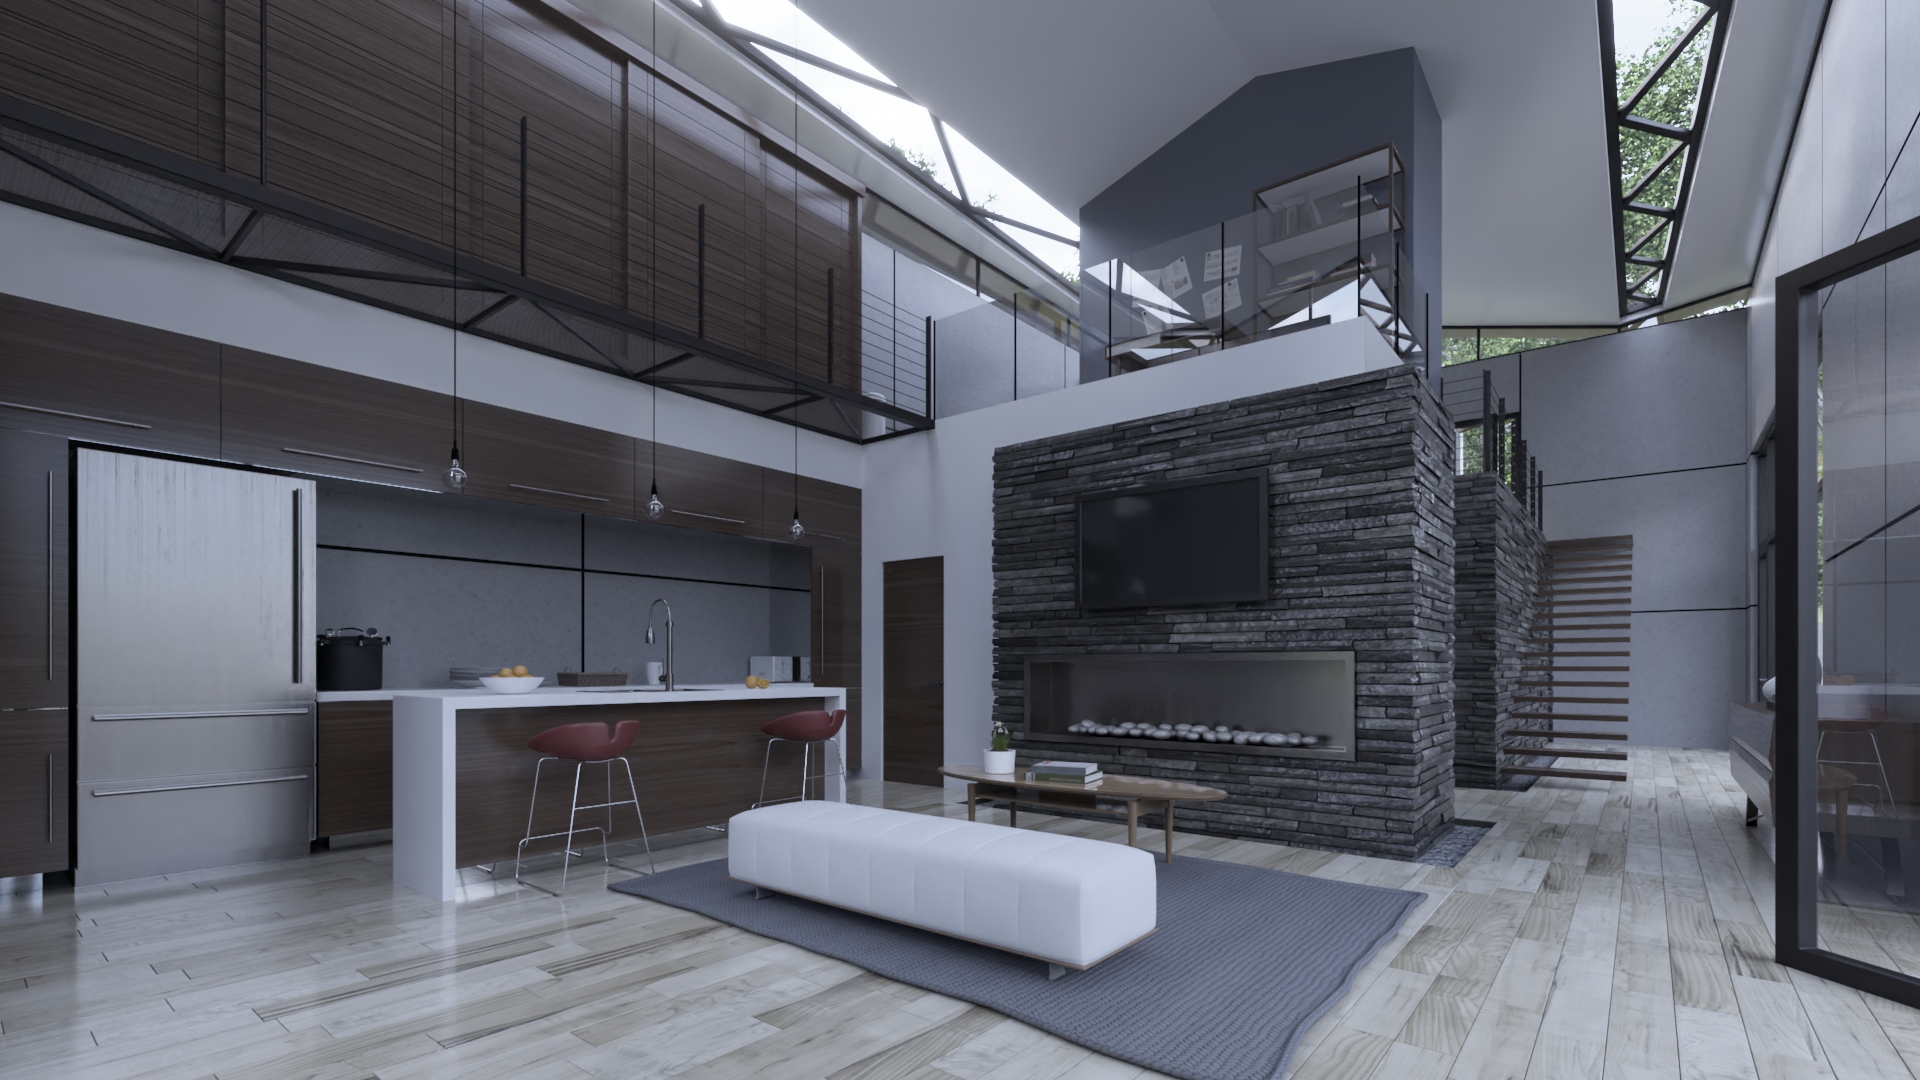
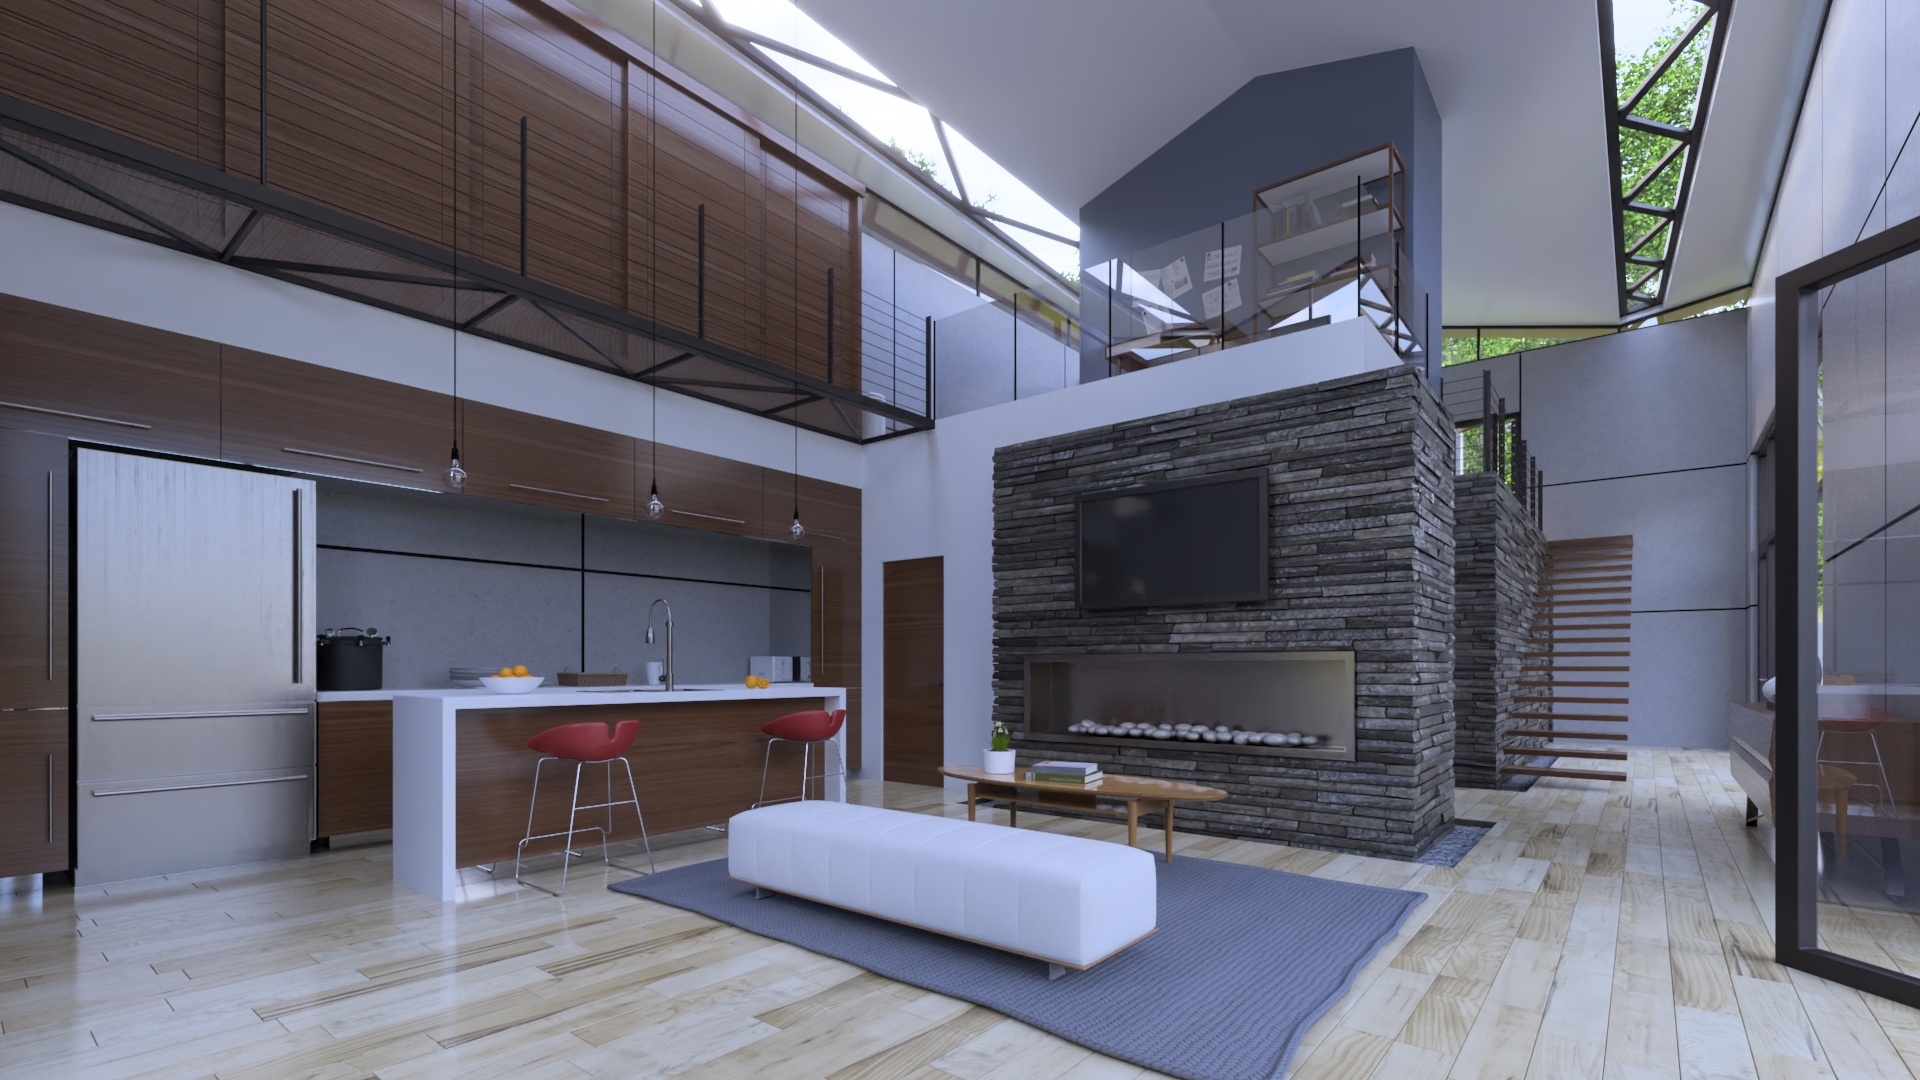
Vibrance is particularly useful when working with portraits, as it can help preserve the natural skin tones in the image while still enhancing the more muted colors in the background or clothing.

