


Lumion 2025.0 adds a this new workflow enhancing feature, the Scene Inspector. Designed to increase productivity by easily locating Objects in any Project and especially useful in complex Projects.
1. Design Background and Scope of use:
It's design scope is to locate Objects more easily than searching based on Filtering of Objects or knowing in your Scene where you placed that Object.
It's scope is not intended to be a 'Materials Inspector'.
It's scope is not as a 'Scene Manager' for things like controlling/editing of Layers.
Use this tool to locate one or a selected set of Objects in your Scene.
2. How to Open the Scene Inspector:
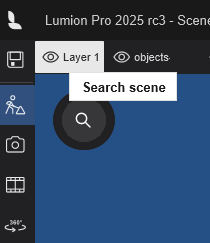
1. Switch to Select Mode.

2. Click the magnifying glass icon to Search the Scene - open the Scene Inspector.
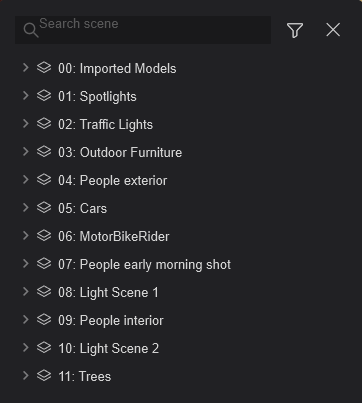
- If there are no Objects in the Scene, the panel will be empty.
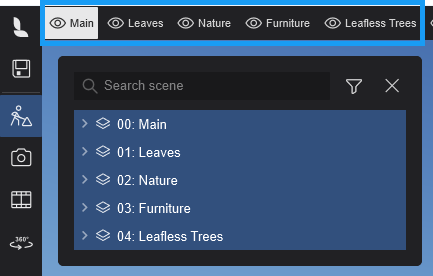
3. The Scene Inspector panel:
With Layers shown as the top hierarchy of the list.
3. Steps to Using the Scene Inspector:
3.1: Open the Scene Inspector panel
Click on the Scene Inspector - magnifying glass icon to open the Scene Inspector panel:


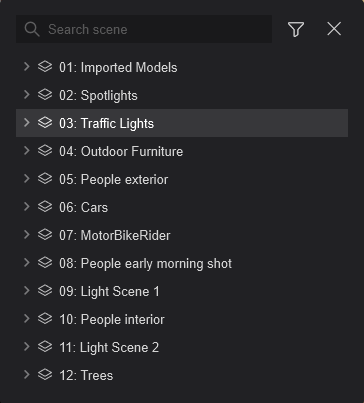
3.2: Scene Inspector:
Panel open with Layers showing.
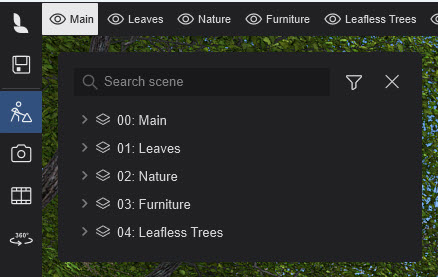
3.3: Scene Inspector - Layers:
Any Layers Hidden are greyed out.


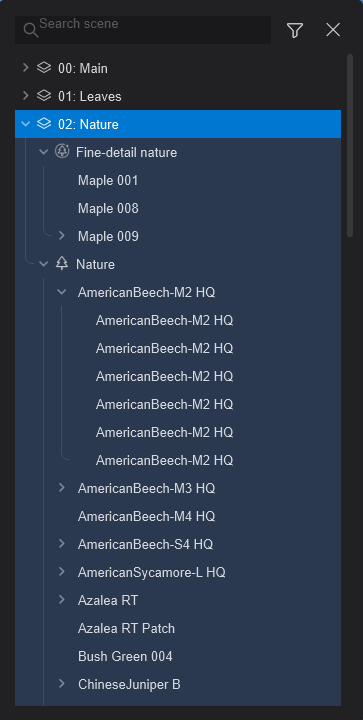
3.4: Expand:
Click on the down icon. Scene Inspector expands a listed item - hierarchy.

3.5: Scene Inspector: matches the names of Layers in the Project (Scene).
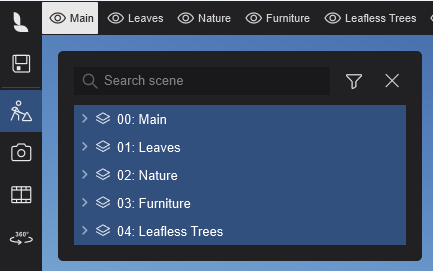
3.6: Scene Inspector: Selections
Selecting a row item will select all of the Objects for that level in the hierarchy. For example:
You can select all Objects for a Layer.
You can select by Object Type(Category). All Objects are selected and in view in the Build Mode window.

4. Hierarchy and Display Rules:
The Scene Inspector uses the following hierarchy:
4.1: Layers
Only Layers containing models/objects are displayed. Empty Layers are hidden.
4.2: Object Type/Categories per Layer: Categories shown include:
- Imported Models.
- Groups.
- Nature.
- Fine-Detail Nature.
- People and Animals.
- Objects.
- Transport.
- Lights.
- Effects.
- Utilities.
Object Types listed in the Scene Inspector Panel and also in the Filters for the Scene Inspector will only be those in the Project.

These are the same Object types as in the Object Categories Filter and Toolbar for Placement:

4.3: Filters will show only the Object Categories(Types) in the Scene:
For example, here there are no cars or other vehicles in the Project so the Transport Category is not listed.
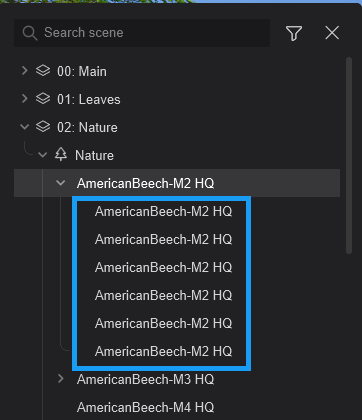
4.4: Models per Category:
All used models within a category are listed.
Duplicate models can be expanded to reveal all instances.
4.5: Search and Filter Options
4.5.1: Search Bar

Filters content based on the search term. It matches:
- Layer names.
- Object Category names.
- Tags that are available in the Lumion Object Library.

- Model names.
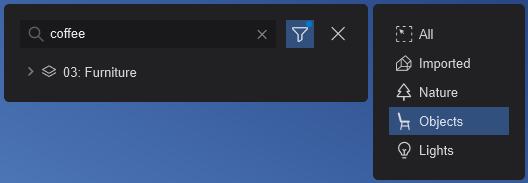
Searching example: for coffee related objects

Click to Expand:

You can Search and use Object Filtering at the same time.
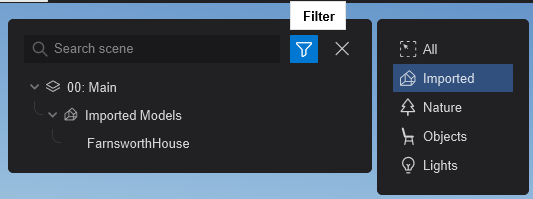
Here there are no Imported Models named with the search string c o f f e e.

Whereas the Filtering for Objects and coffee will return those you are looking for:
Anther example.

Note: The search currently excludes object texts.
And does not include all search options available in the Lumion Object Library. See this article for Library search options:
- Knowledge Base: How do you locate/search for models in the Lumion Library?
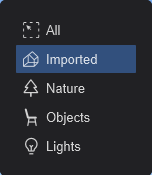
4.6: Filter Panel
- Allows filtering by a single category.
- A blue dot on the filter icon indicates an active filter.

- Select All to turn specific Type Filtering Off:
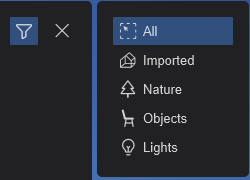
Note: Multi-select filtering is not available.
5. Interaction:
5.1: Hidden Layers
Hidden Layers appear grayed out and cannot be selected.

Simply set the Layer to Visible if you want to Inspect Objects on the Layer.
5.2: Selection
Clicking a layer name selects all objects in that layer.
Clicking a category name selects all models of that category within the Layer.
Multi-selection is supported, allowing combinations such as:
- Selecting all items on Layer 1.
- Selecting specific models (e.g., car 1) from Layer 2 in a transport Layer.
- Camera Framing: Selecting one or more objects in the Scene Inspector frames them in view.

This is the same as if you had selected those Objects and used the Focus on Selection tool.

5.3: Adding or Deleting Objects to a Scene
As you would expect, adding or deleting Objects will be reflected in the Scene Inspector.
The change in the Scene Inspector will occur after a Refresh. See the following Section 6. Refresh.
5.4: Collapse the expanded tree/list view:
Press the function key F5 while the mouse is within the Scene Inspector Panel.
For example:
The Layer for People Exterior and the Category for People and Animals has been expanded.

The Scene Inspector after pressing the F5:
6. Refresh:
6.1: Auto-update
Updates/refreshes for any change made to the Scene content. For example, adding/removing Objects, changing Layers.
6.1.1: The Scene Inspector before placing a van in the Scene:

6.1.2: After placing the van.

To see any new placements of changes you may need to expand the Layer and Object Filter where you were making the change to.
6.1.3: After deleting the van.

See Also:
- Knowledge Base: How do Layers work?