Yes, please see the list below.
Note that it is not possible to change the keyboard shortcuts.
1. Navigation
2. Miscellaneous
Editor Quality: 1 Star
All shadow types are off. Note: also applies to the Preview for Photo Mode and Movie Mode, including High Quality Preview.
Playback of video texture is held at the frame when the key is pressed.
No Emissive glow for a material.
Editor Quality: 2 Stars
Lumion Landscape shadows and OmniShadow off, playback of video texture is held at the frame when the key is pressed. No Emissive glow for a material.
Editor Quality: 3 Stars
Lumion Landscape shadows off, playback of video texture is held at the frame when the key is pressed. Emissive glow is shown for a material.
Editor Quality: 4 Stars
Highest quality level. Everything on, playback of video texture occurs. Emissive glow is shown for a material.
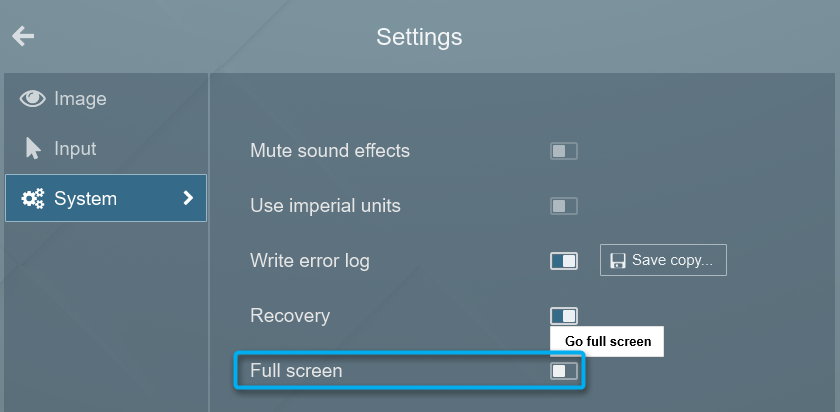
Toggle between Full-screen and Windowed Mode.
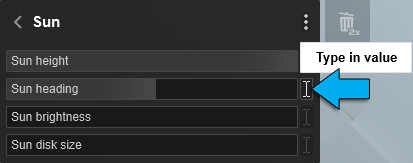
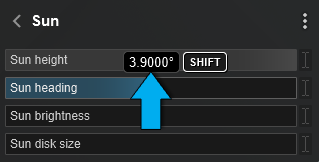
You can double-click on most sliders in Lumion to manually type in values. Press Shift while adjusting slider values to fine-tune them (more digits after the decimal point will be displayed).
3. Placing, selecting, copying, and moving
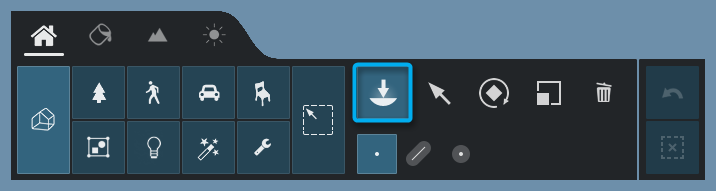
Place button:
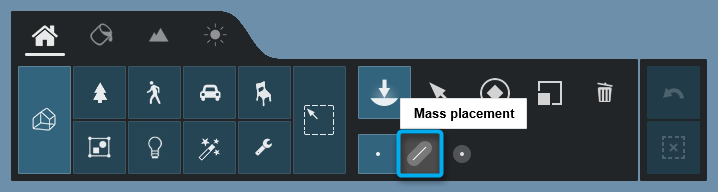
Place button -> Mass Placement:

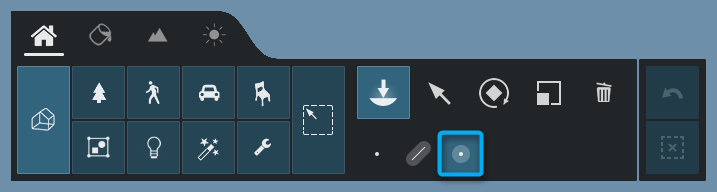
Place button -> Cluster Placement:
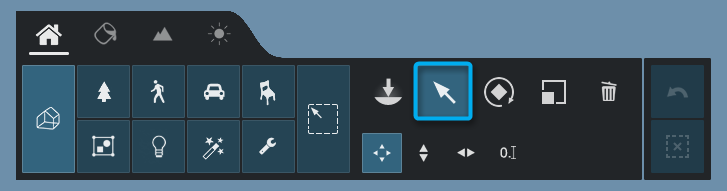
Select button:
Move free, Move up and Move horizontal buttons:
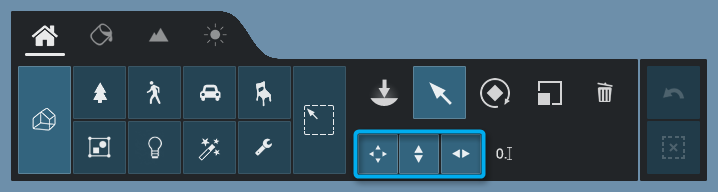
Place, Move free, Move up and Move horizontal buttons:
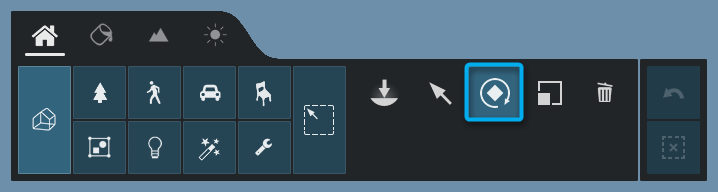
Rotate button:
Change the heading of the selected object(s).
The heading of the selected objects will match the orientation of the surface below the mouse cursor.

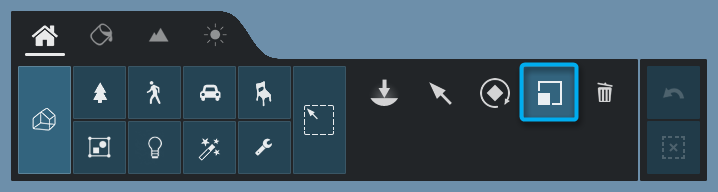
Scale button:
Selecting a model when multiple Object Selection icons are aligned:
Multiple objects can be aligned or positioned at the same location. To select the model you want, you can either click on the model you want to select or you can use this method:
- Place the mouse over the Object Selection Icons.
- Use the W and S or Arrow Up and Arrow Down keys to cycle through the models.
- As you scroll through, each model will be highlighted in green.
- Click on the current Object Selection Icon to select it.
4. Photo Mode

5. Movie Mode
While rendering, hold down this key to show the frames per second.
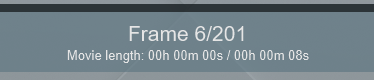
The frame count can now be displayed above the Timeline by pressing the CTRL key whilst the mouse is over the Timeline Slider.
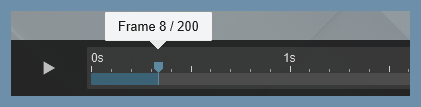
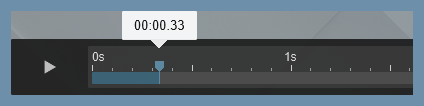
If you select to render to a frame range, the Timeline Slider displays the frame count by default, until you choose to render with another option. Whilst using the frame range option, you can toggle the display to show the seconds counter using the CTRL key whilst the mouse cursor is over the Timeline Slider.
Plays or stops the Movie Preview in Movie Mode.
Plays or stops the Clip Preview in the Clip Editor.

Mass Move Effect:
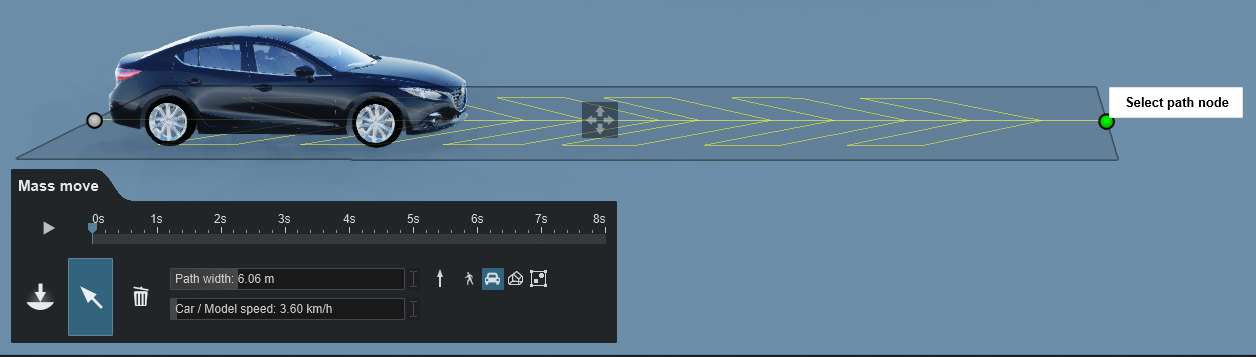
Photo Matching Effect:
Orthographic View Effect: Align camera with surface

6. Build Mode - Lumion Library, Imported Models Library
Mouse back button or
Backspace button (keyboard)
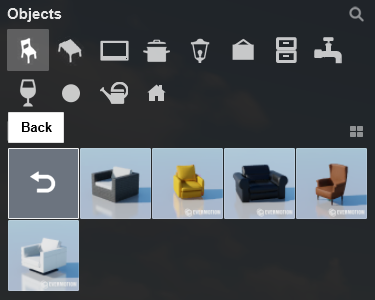
Exit a Folder or Collection and go up to the next level.
Same as clicking on the Back button: