How do you render the Ray Trace reflections for Lumion Animated Objects in Lumion 2023?
You want to see Lumion Library Animated Objects such as Nature Objects reflected in the windows of your building, but they are not there!
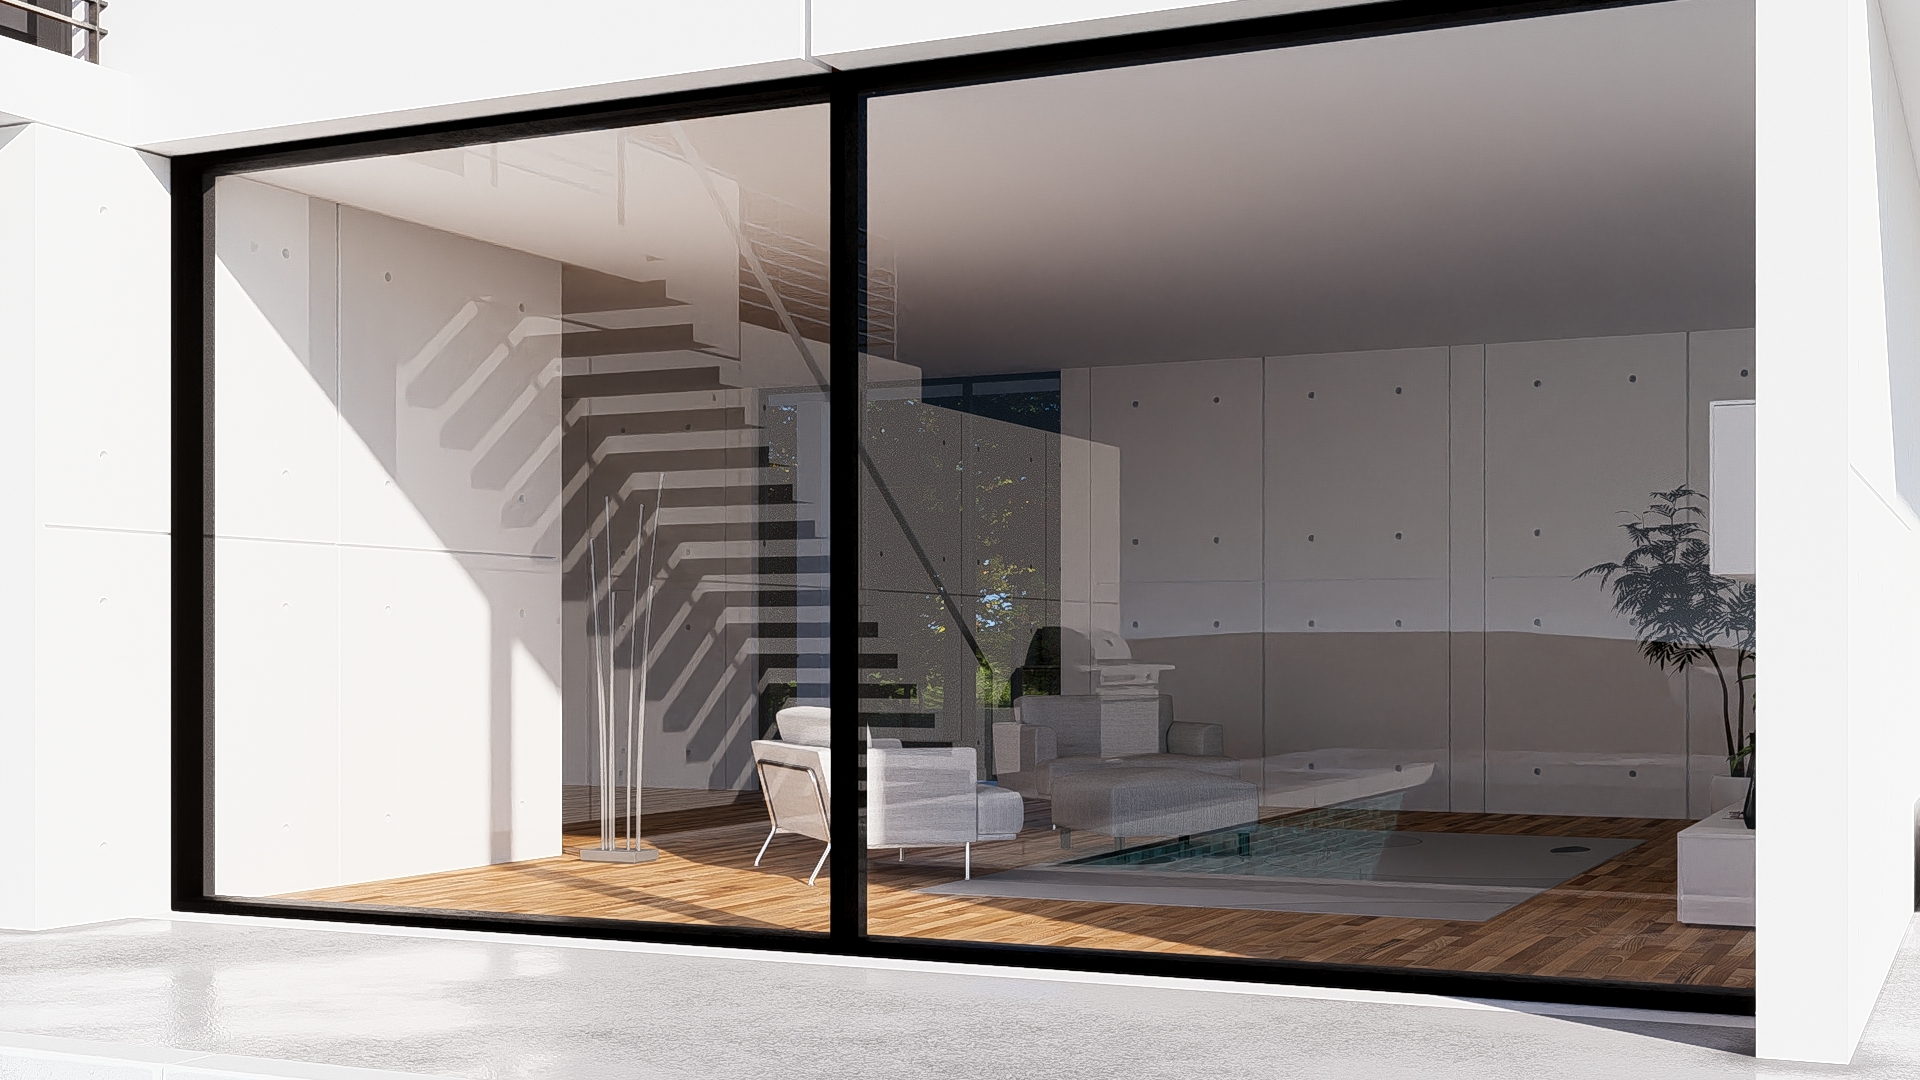
1. Some Object types do not currently Ray Trace render in Reflections yet:
Nature Objects (as an example) are all animated (for wind) and as such are currently not included in the Ray Trace rendering pipeline.
When you render with the Ray Trace Effect any Nature Objects are rendered using the Rasterization rendering pipeline so you do see the Objects in direct camera views, but not in the reflections.
The reflections are Ray Trace reflections but these Objects are not yet included in that rendering pipeline.
There is no access or feature to also include Planar Reflections (Rasterization rendering pipeline) in the Ray Trace pipeline. So there is no other way to include them in the reflections.
Section 1.1 Objects:Animated Objects (Trees and Animated Characters) are not converted to the Ray Tracing engine. This means their shading and Reflections may be inaccurate or not displayed.
For example:
Render using the Rasterization Pipeline:
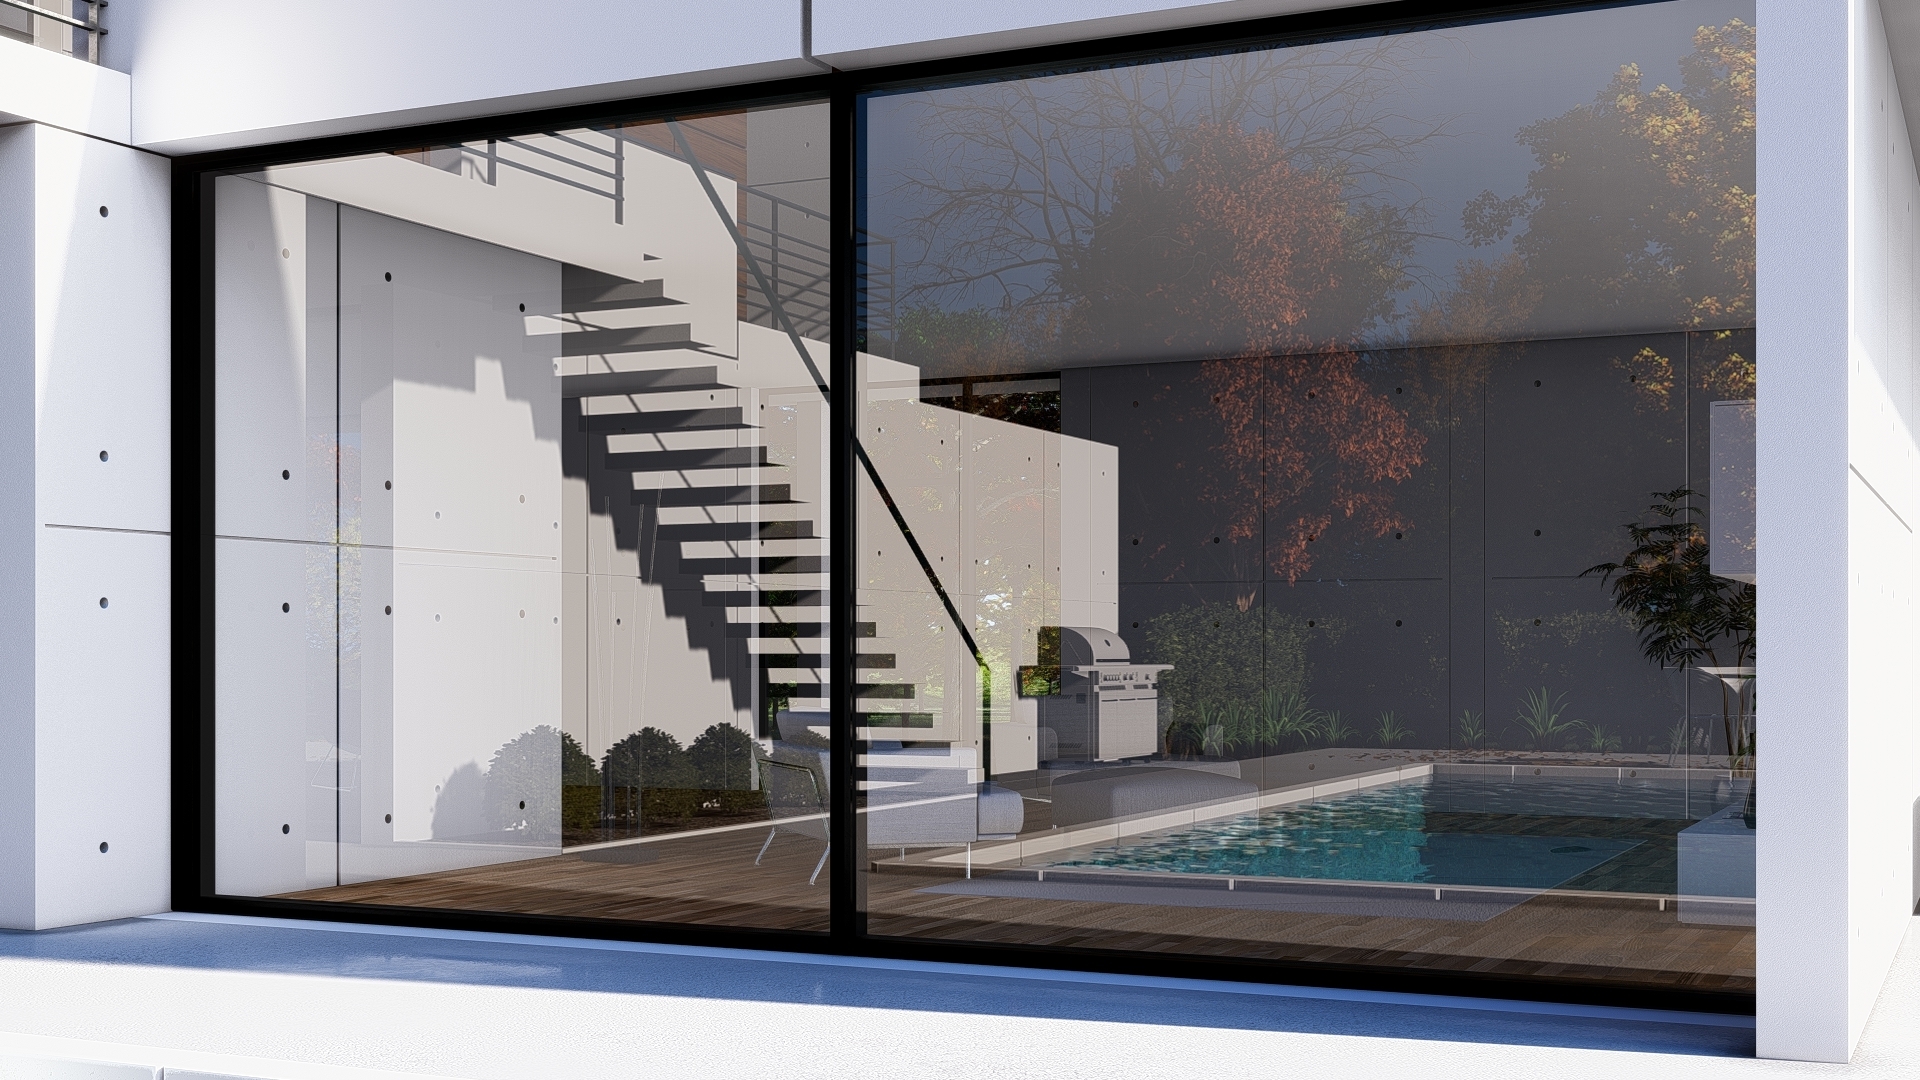
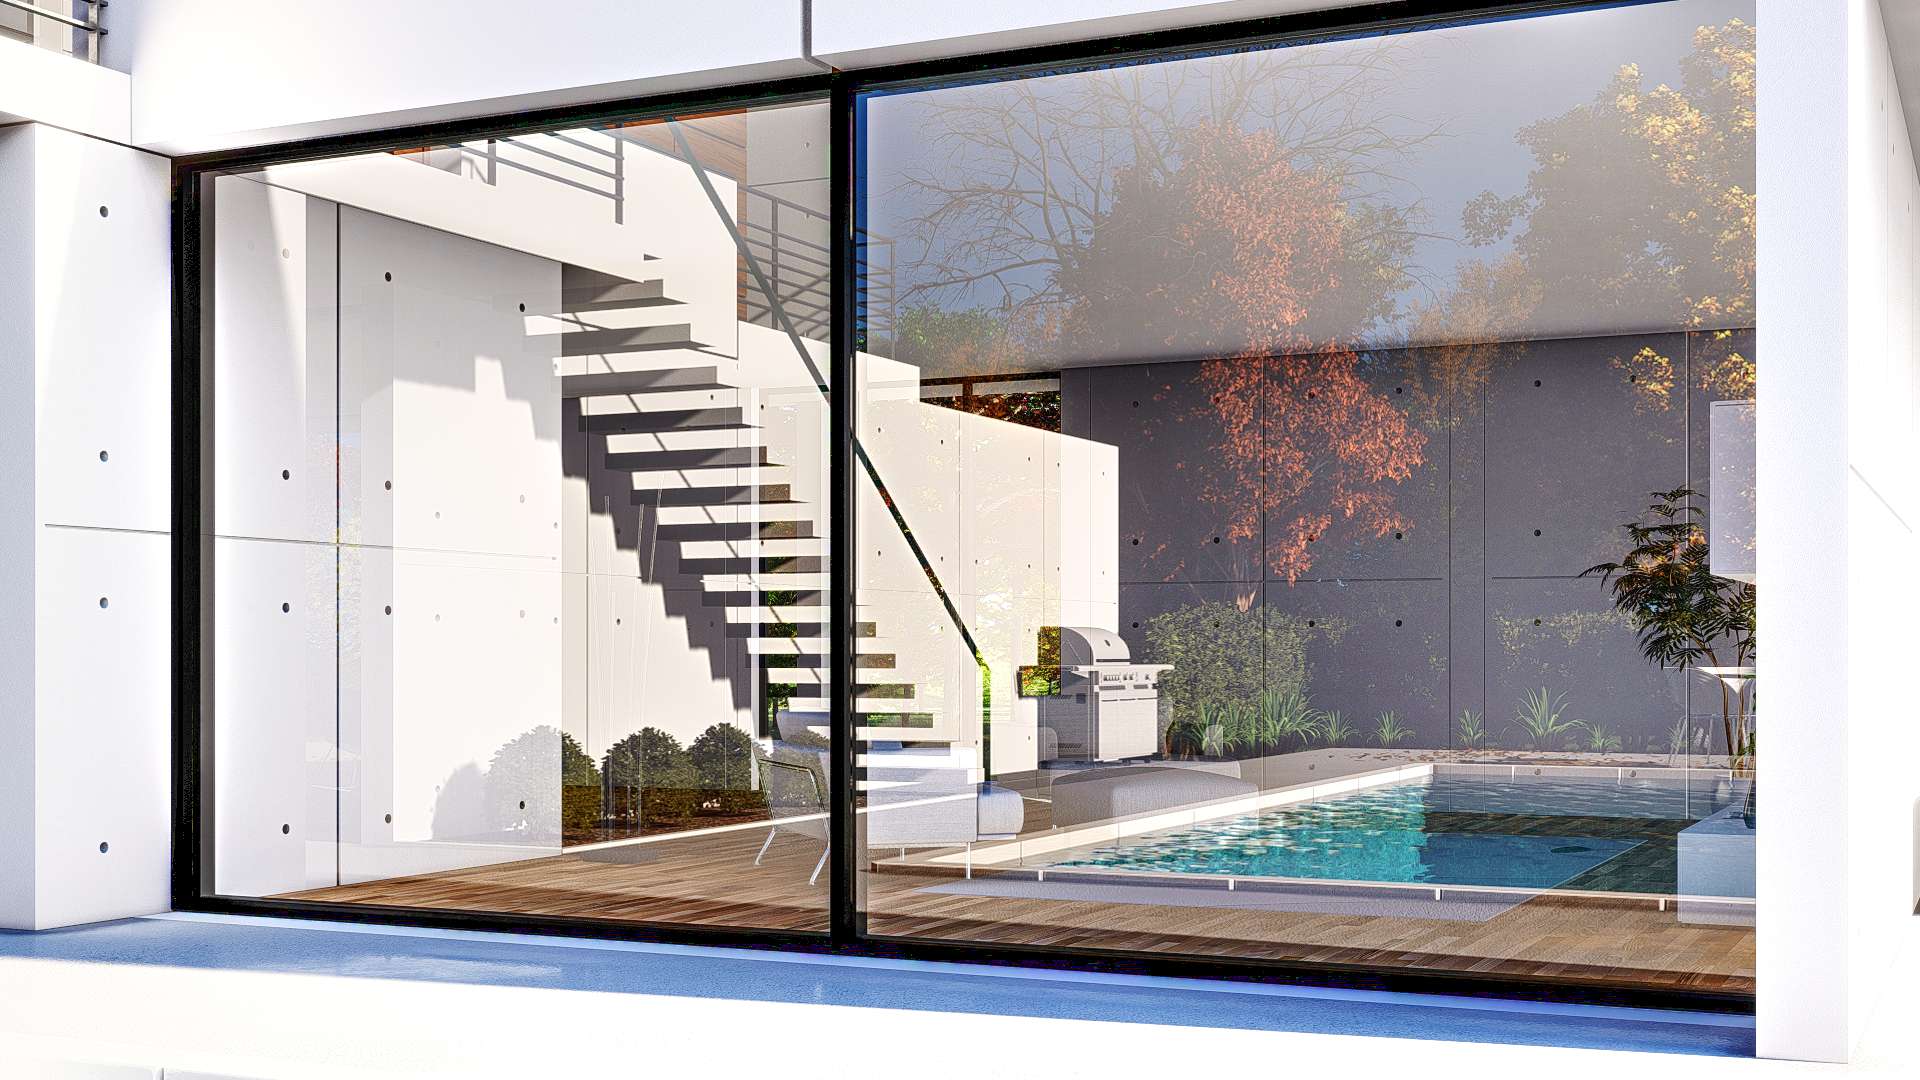
Ray Trace render:

Another example:
Rasterization render:
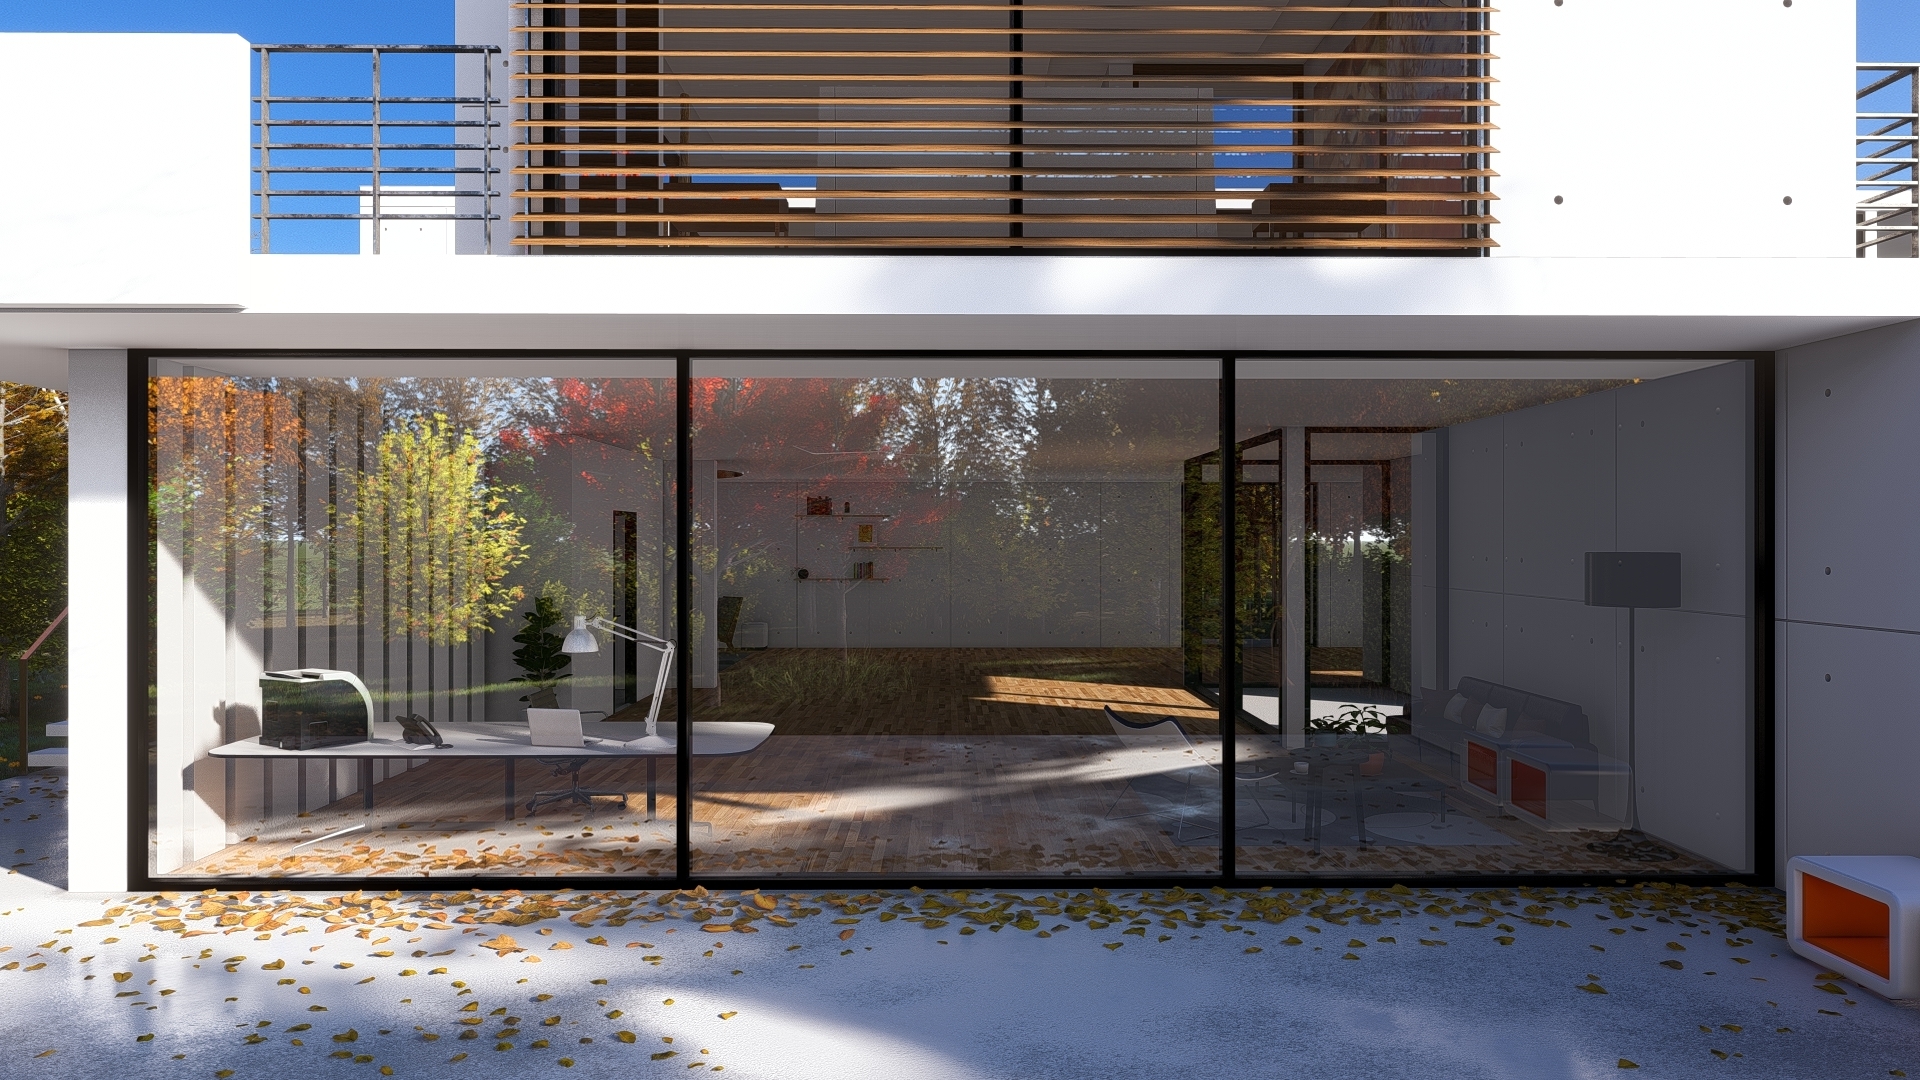
and Ray Trace render:
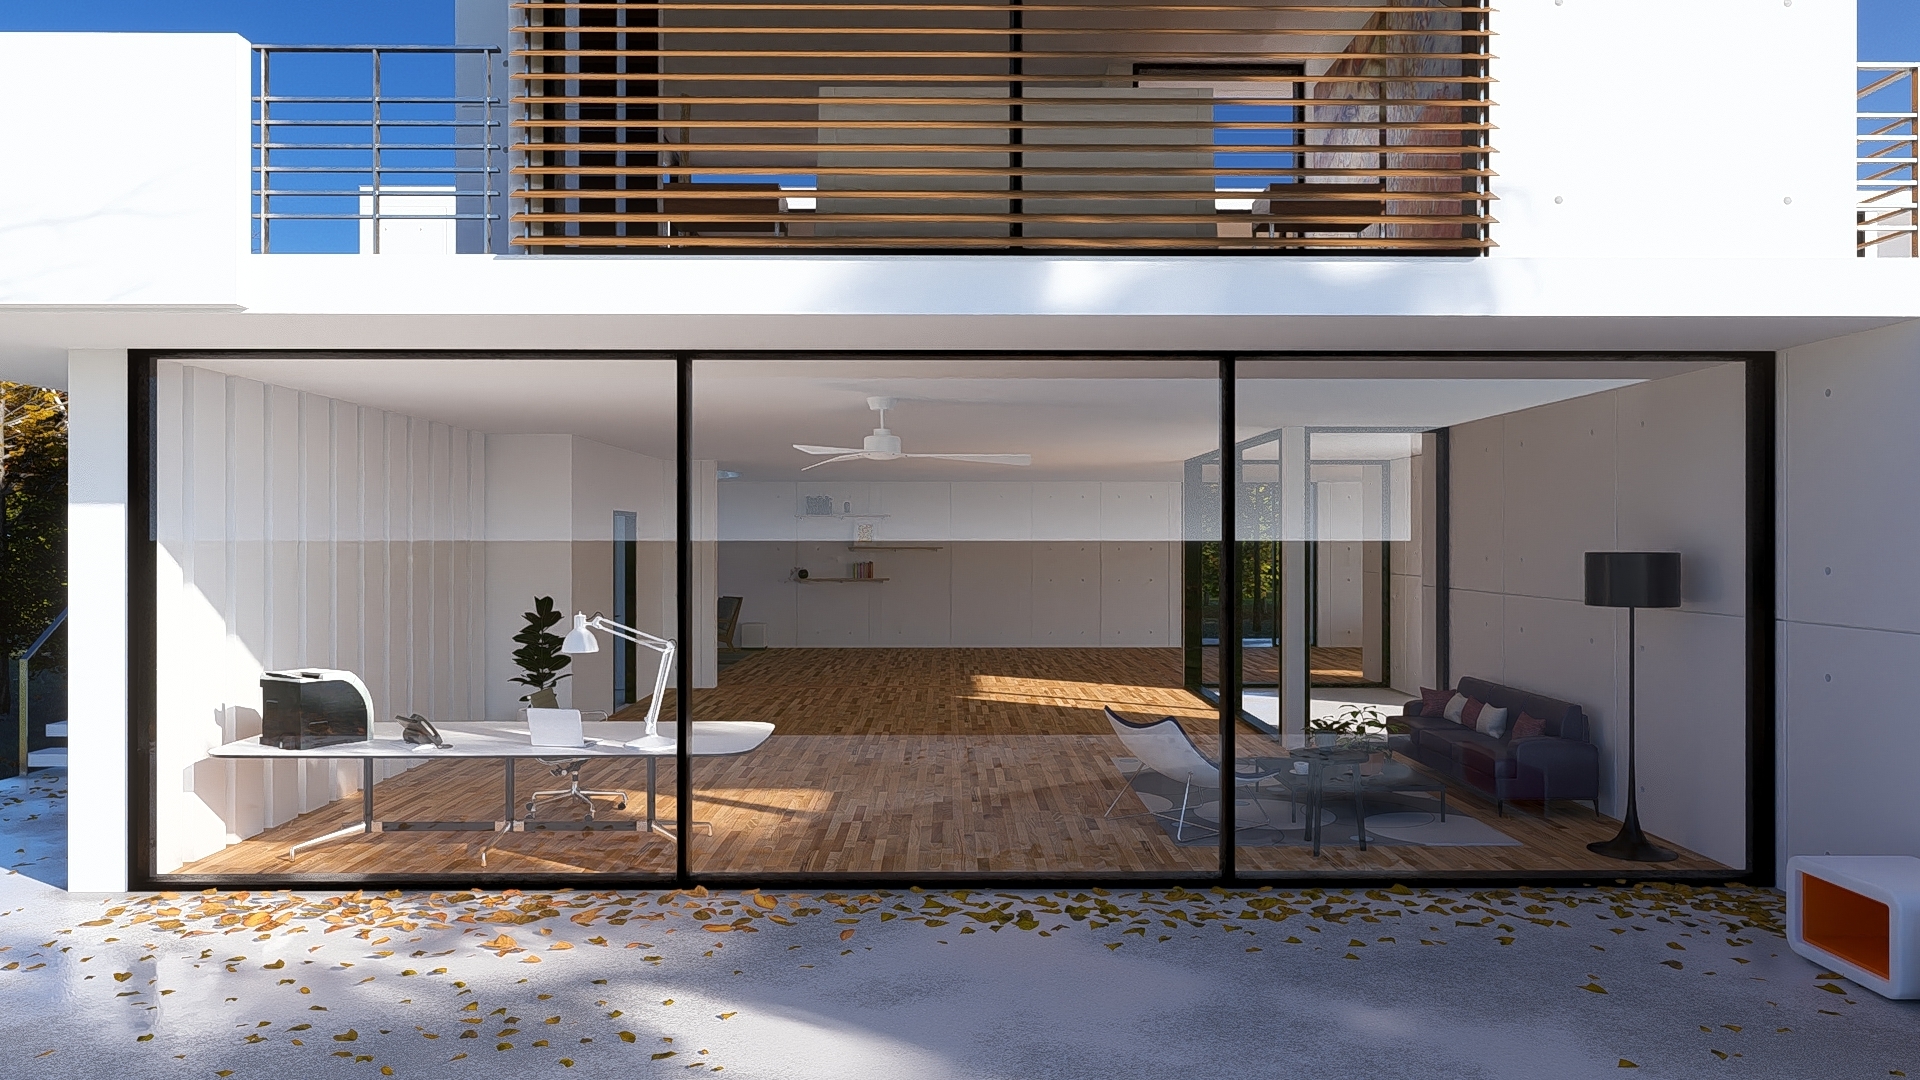
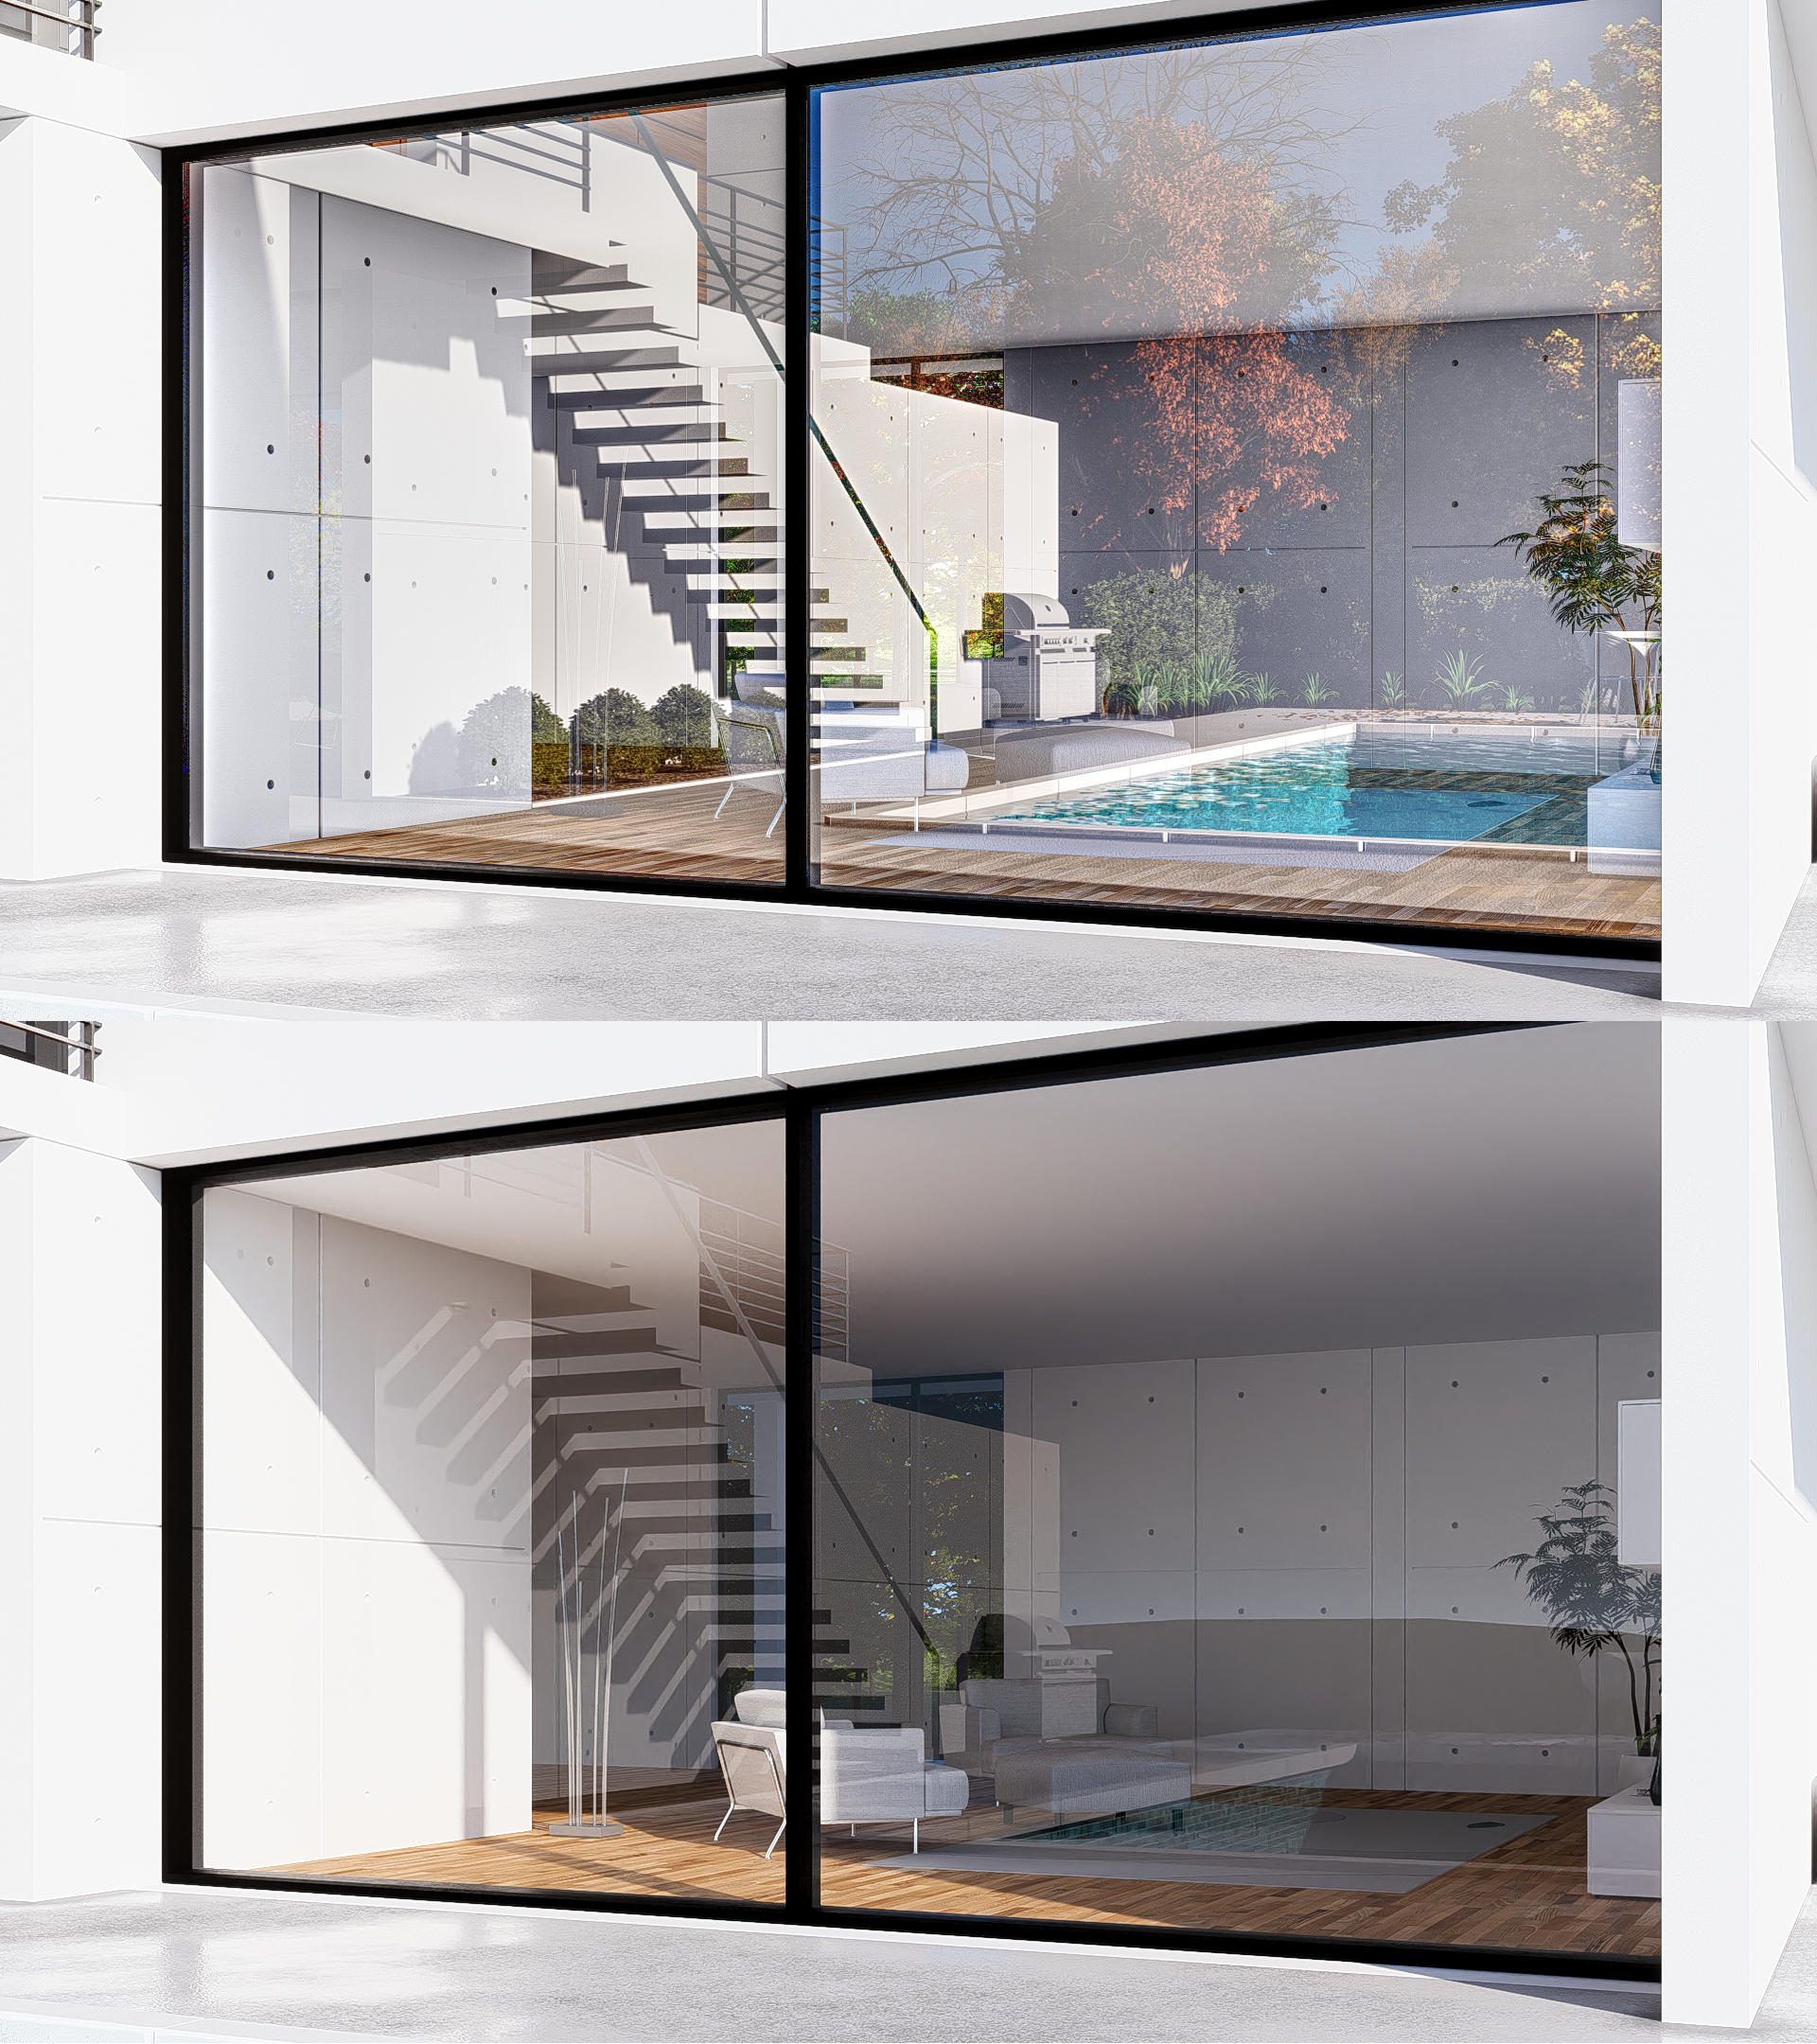
The Nature Objects/models are not being reflected in the Ray Trace renderings.
However, there are some possible workarounds, both rely on doing a double-pass render.
They should only take a small extra time to complete and will improve the results if you want a Ray Trace versus Rasterization render.
These options should work with both exterior and interior renders.
2. Suggested workarounds:
Options:
1. Workaround 1: Overlay the Rasterization render in Lumion or Blend them in an image editor.
2. Workaround 2: Use the MaterialID of the window/glass areas to add in the Rasterization result.
3. Obtain plant models that can be imported, and like other imported models, those are not subject to the current limitation.
- Lumion Community: The official Lumion list of 3D model collections
3. Option 1: Overlay the Rasterization render in Lumion or Blend in an image editor
3.1: Render your camera view/Photo using Rasterization.
3.2: Add the Overlay Image Effect.
3.3: Load the image you rendered using Rasterization. You may find that increasing the brightness by about 20% helps with the overlay blend.
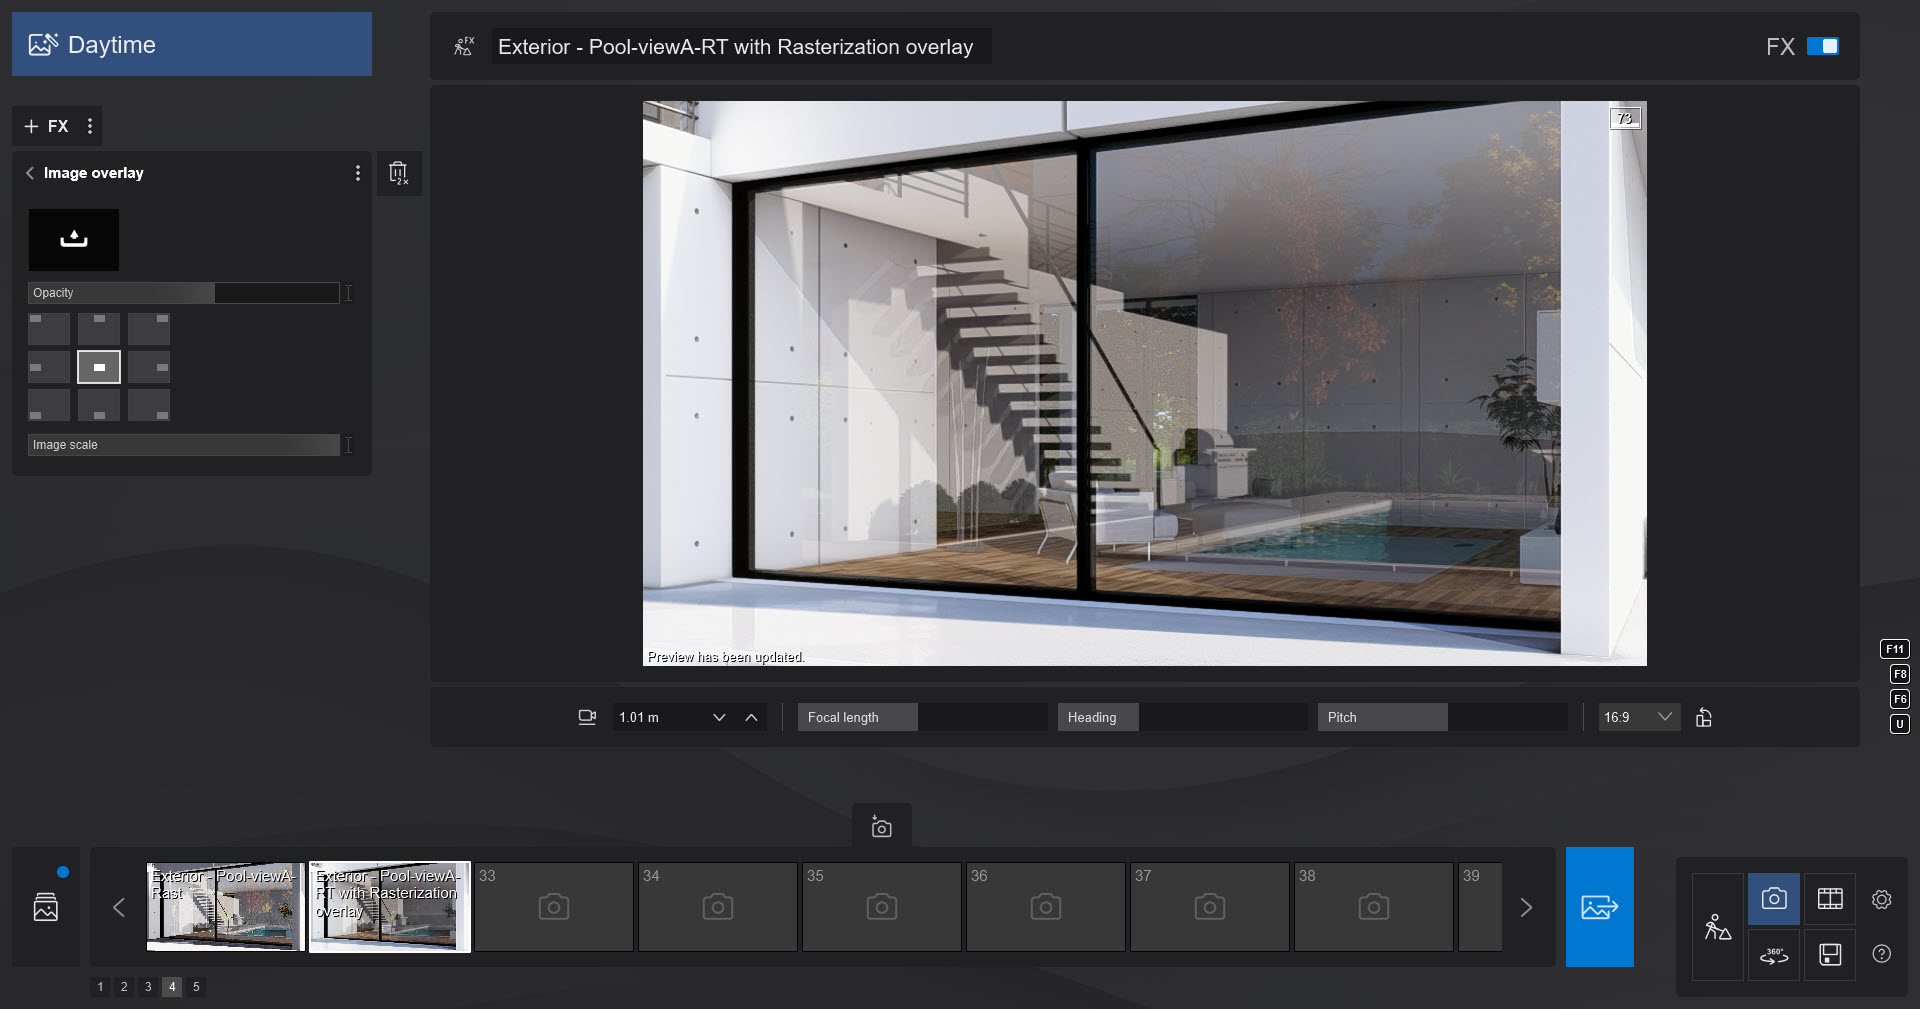
The Opacity level can be between say 50 and 60 percent.
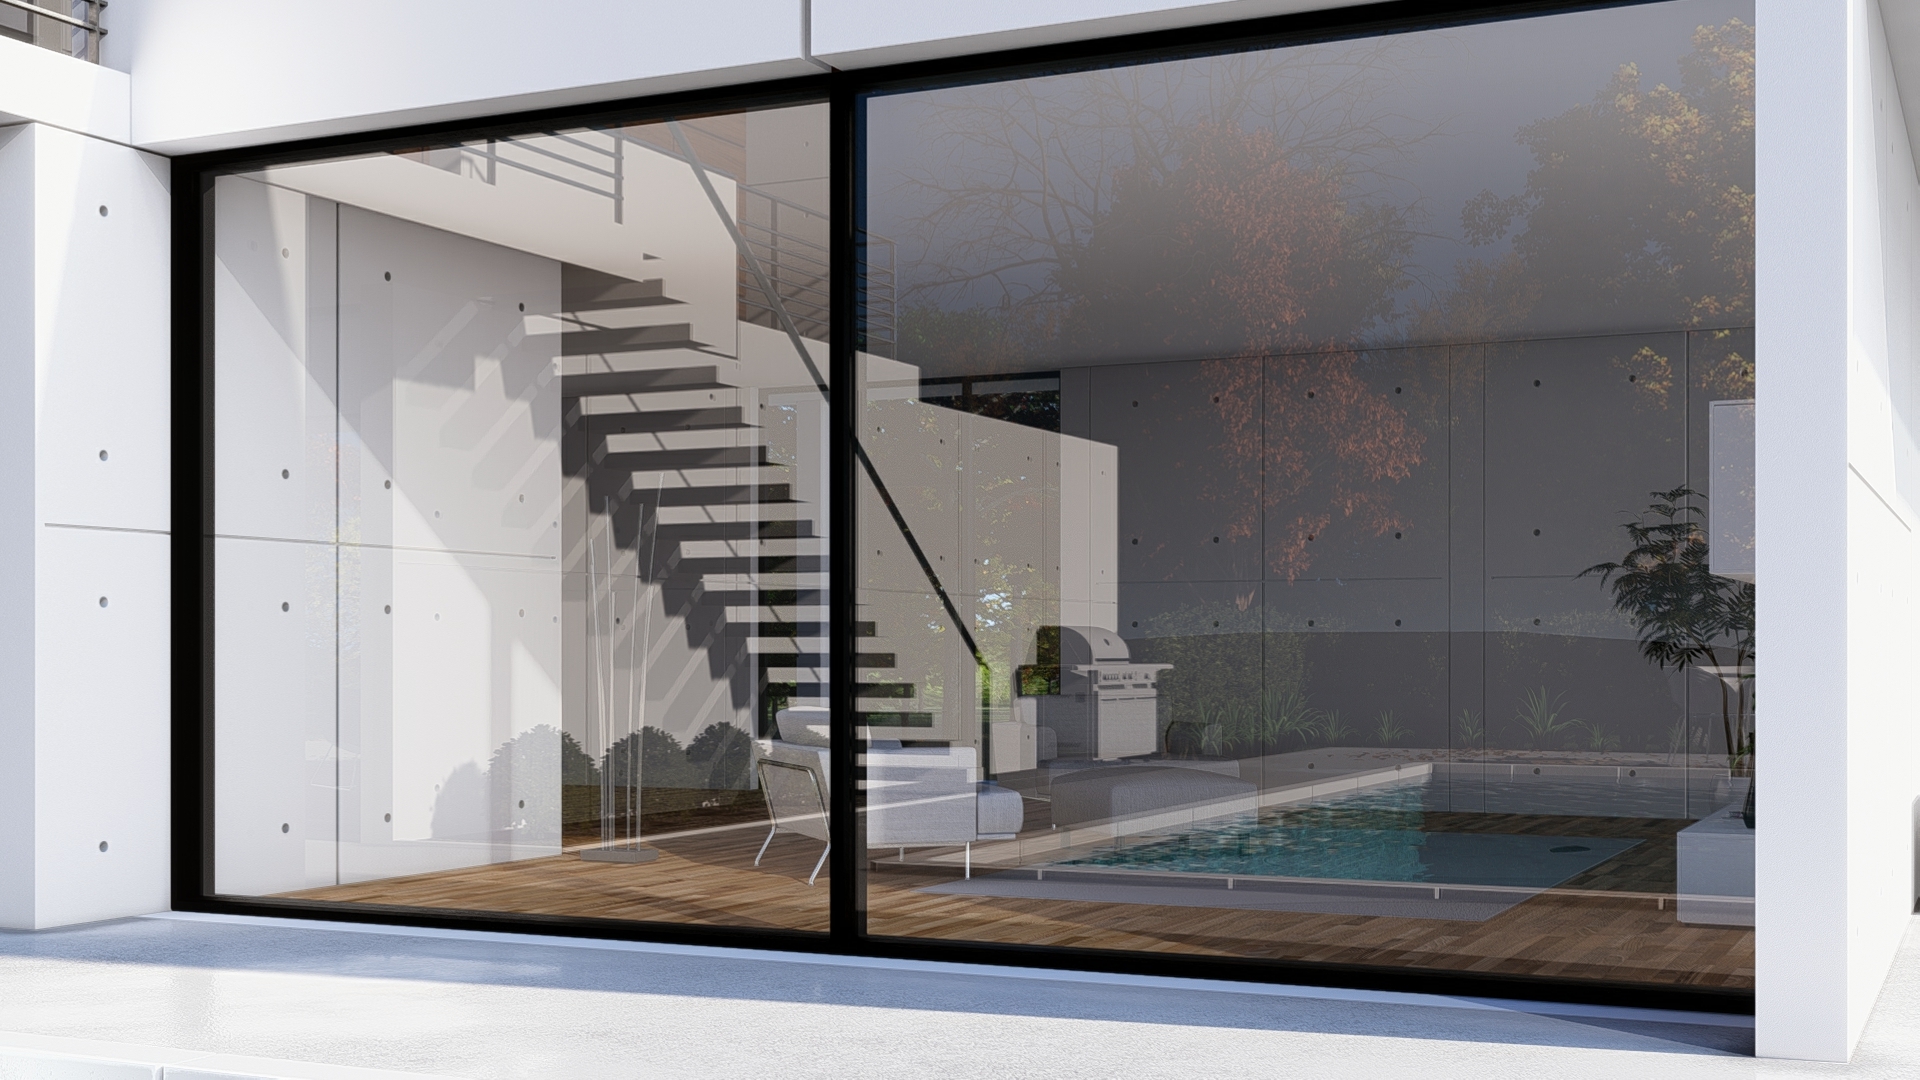
How does this compare with the reflections just from the Rasterization render?
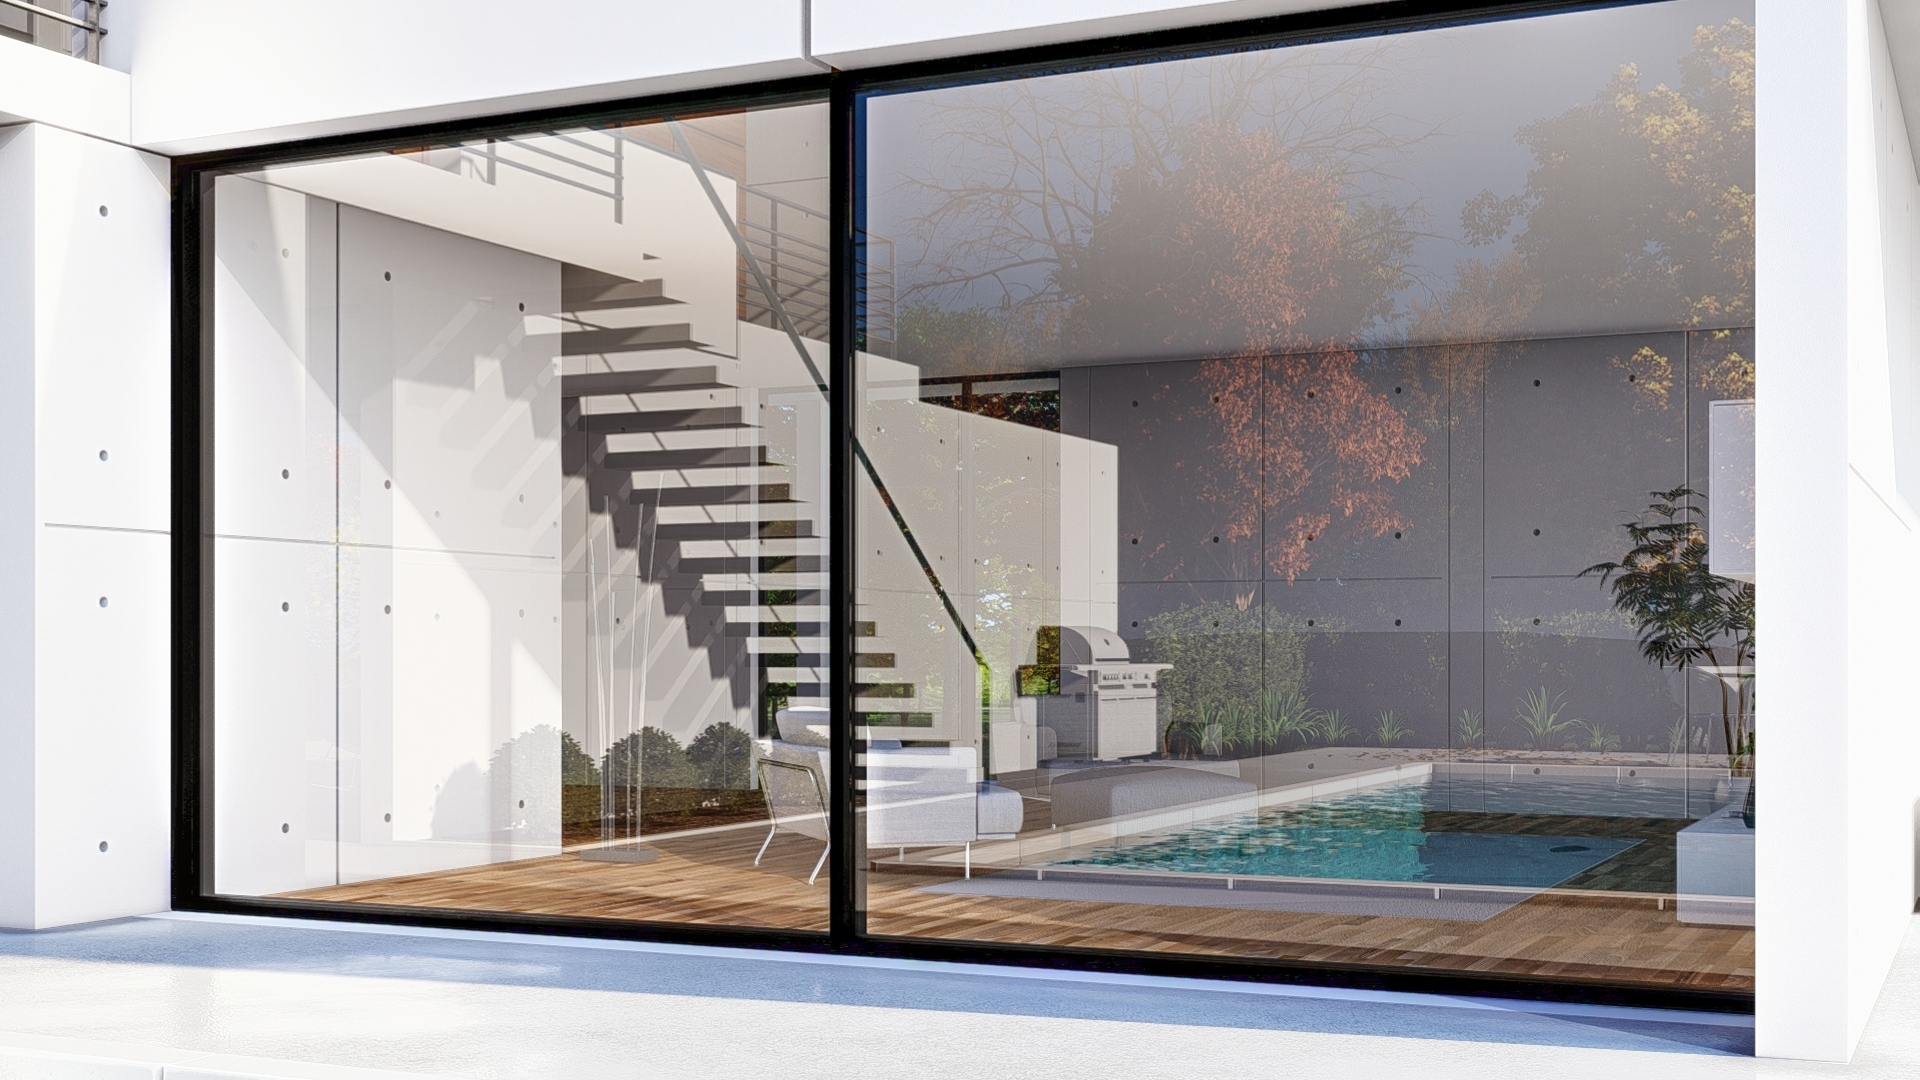
Alternatively: render both images separately and blend them in an image editor.
4. Option 2: Use the MaterialID of the window/glass areas to add in the Rasterization result
4.1: Render your Rasterization image with a MaterialID Map:
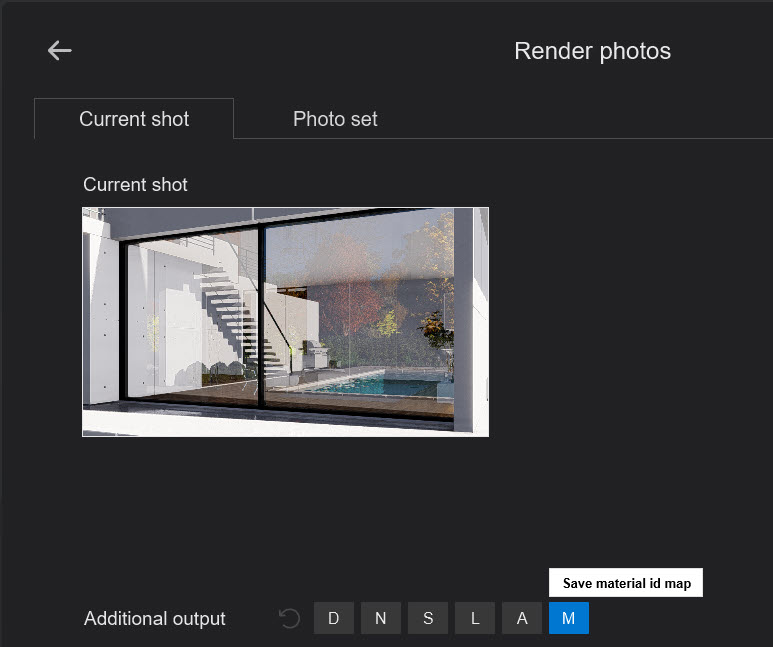
Note: it's best to render the image in a non-lossy image format such as PNG or BMP.
Color render:
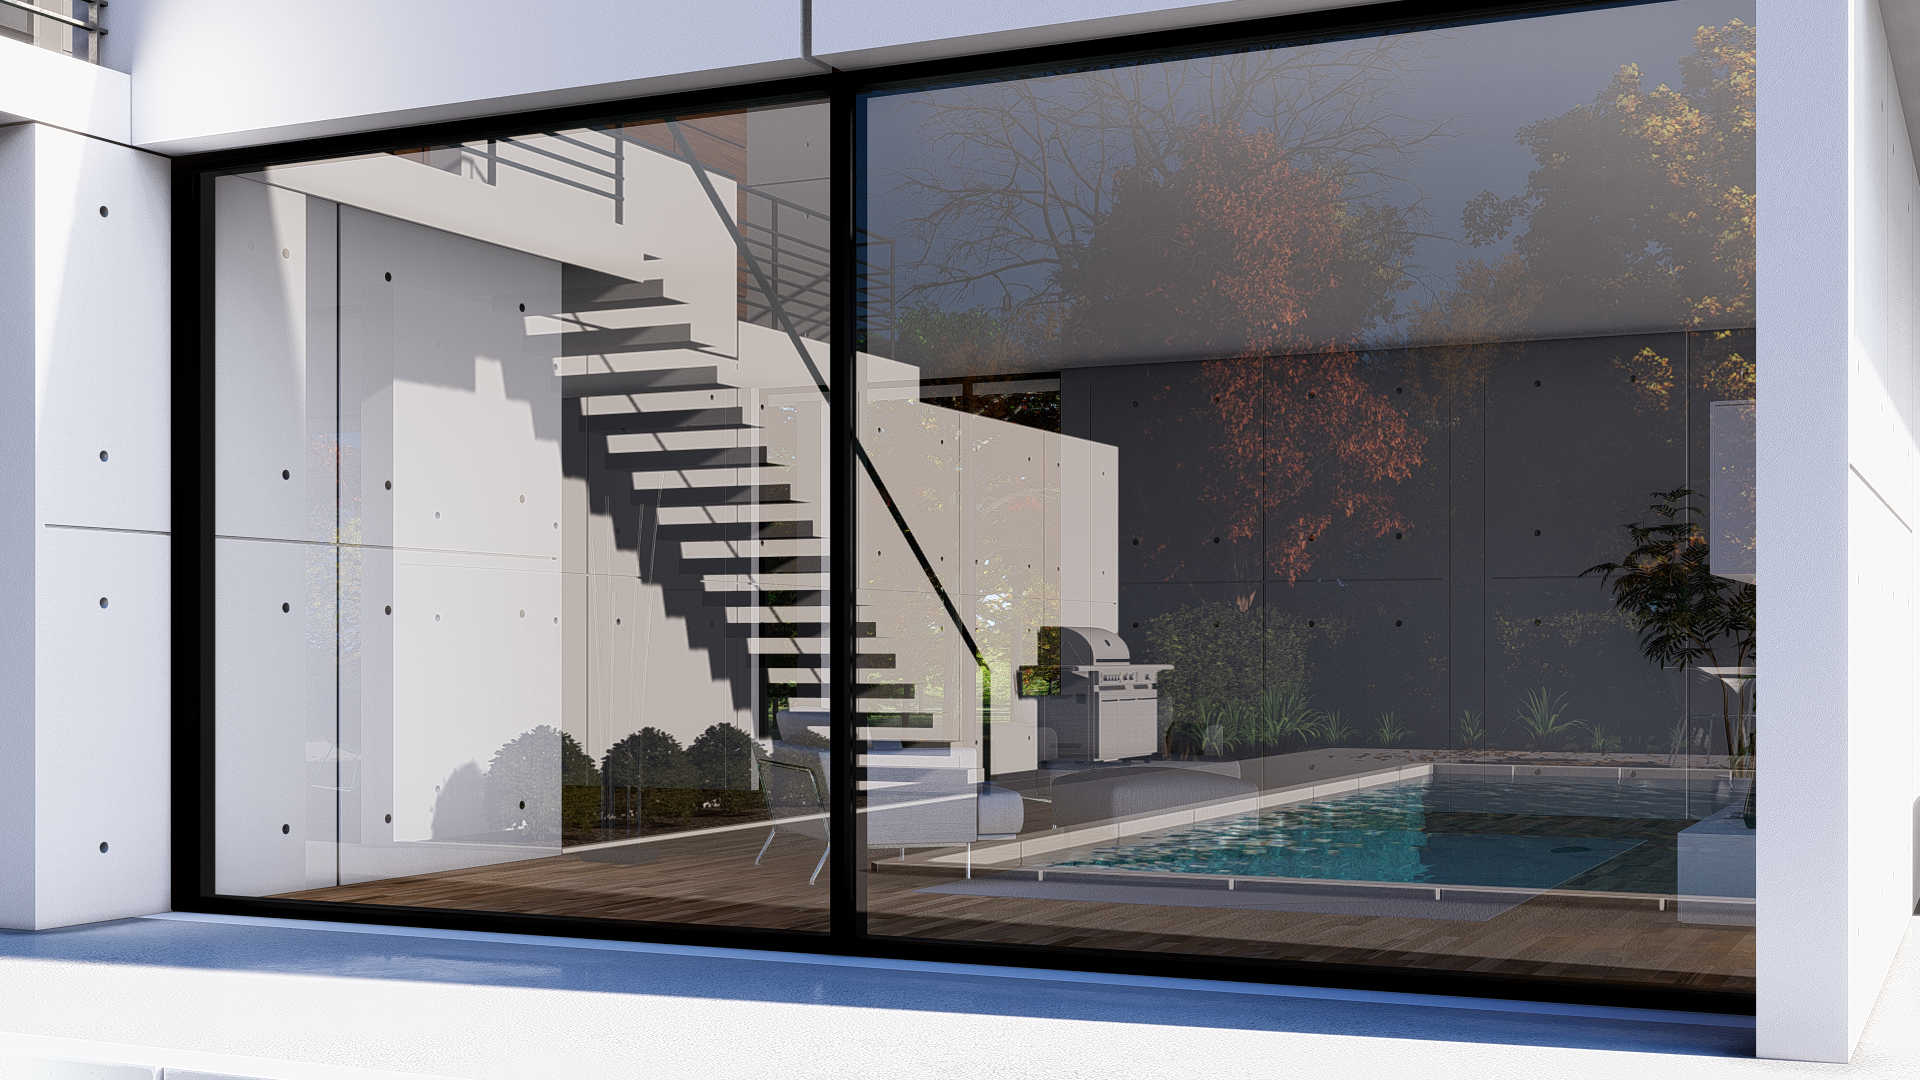
MaterialID Map render:
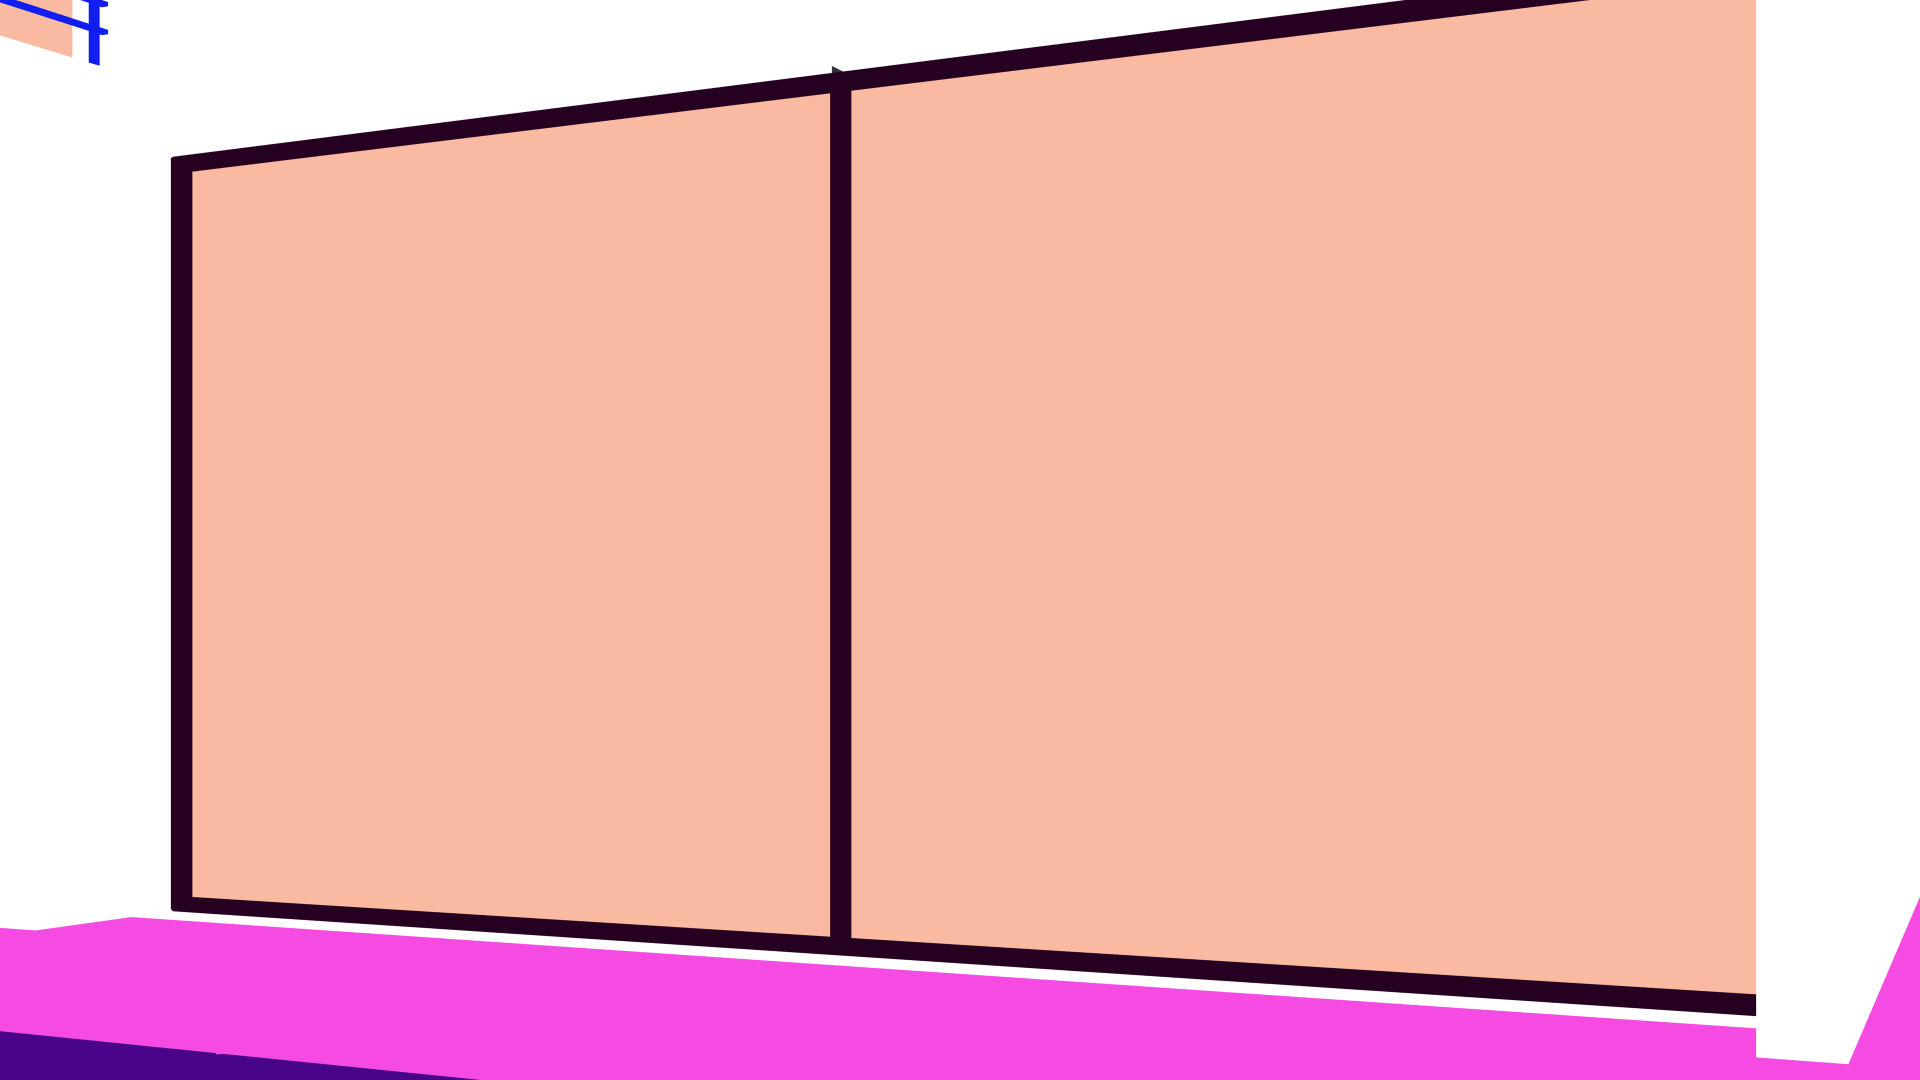
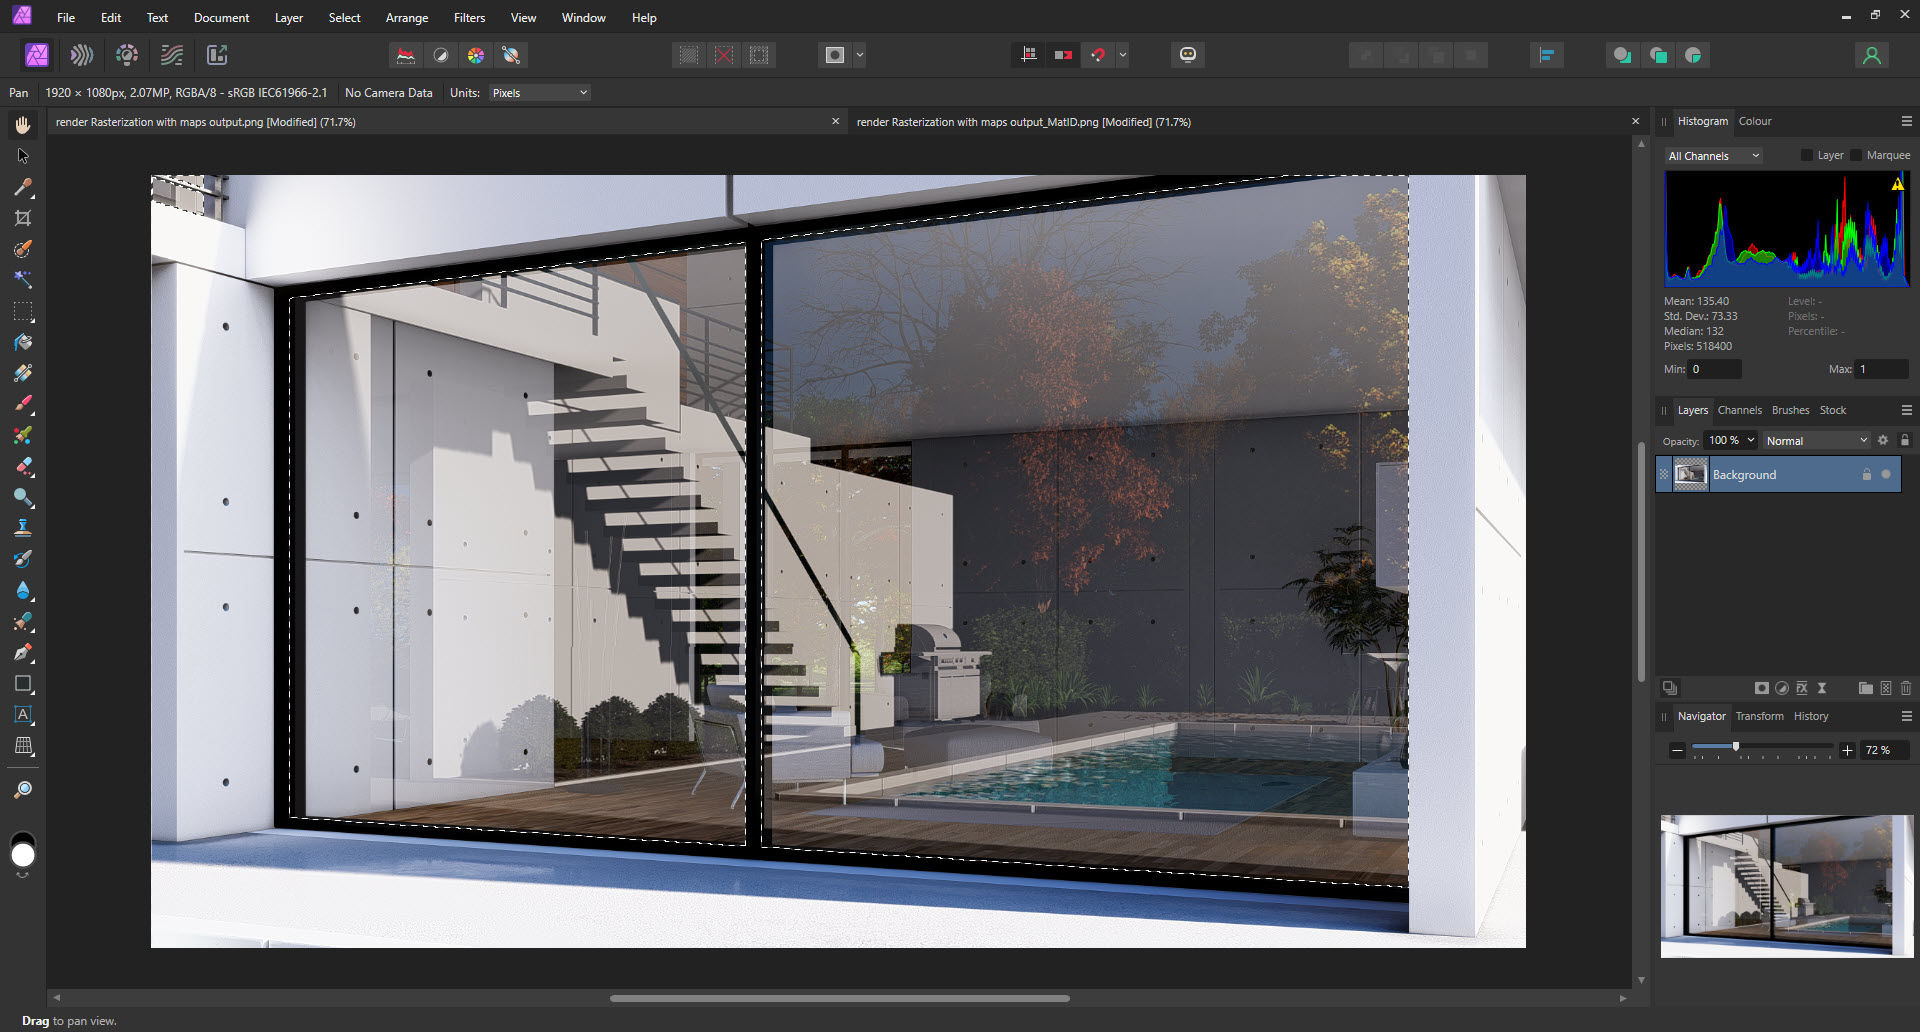
4.2: In your image editor, make the selection of the MaterialID for the glass/windows:
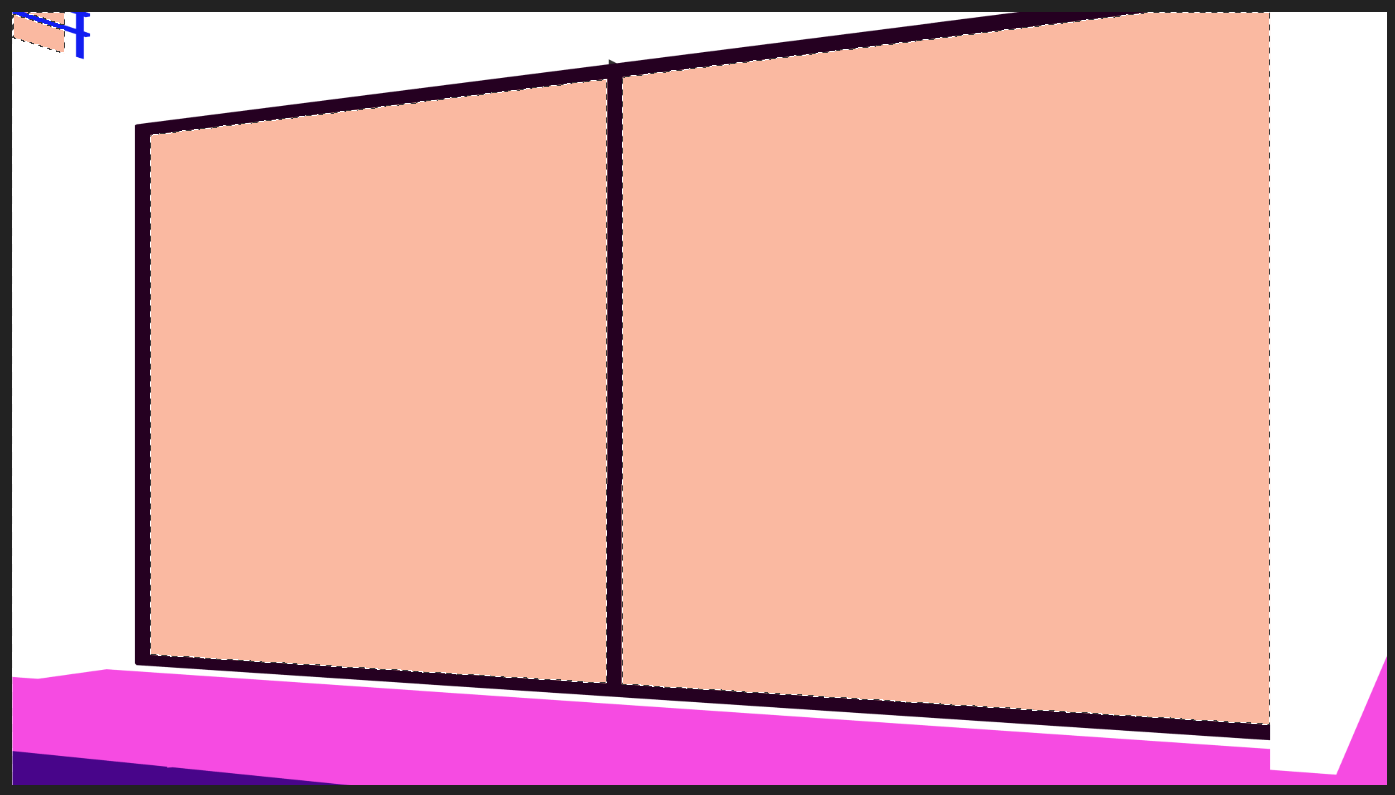
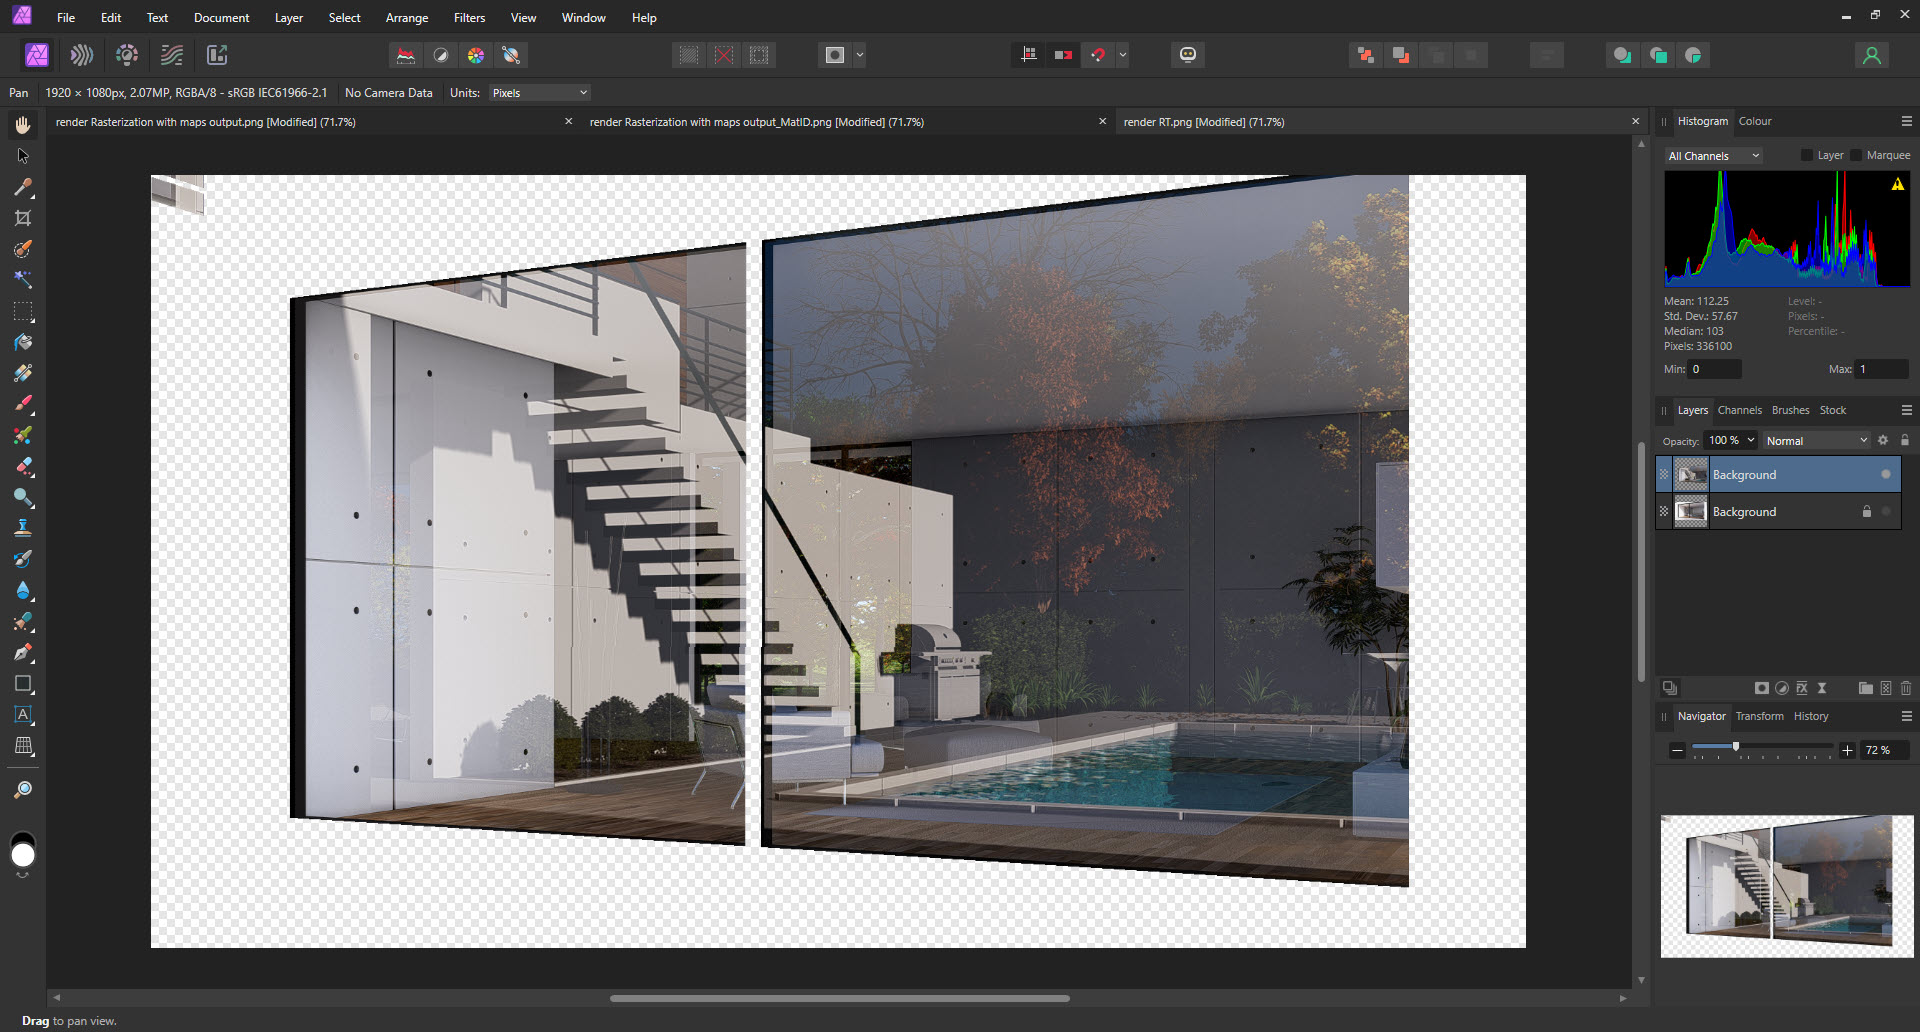
4.3: Use the selection on the Rasterization render to get that part of the image:
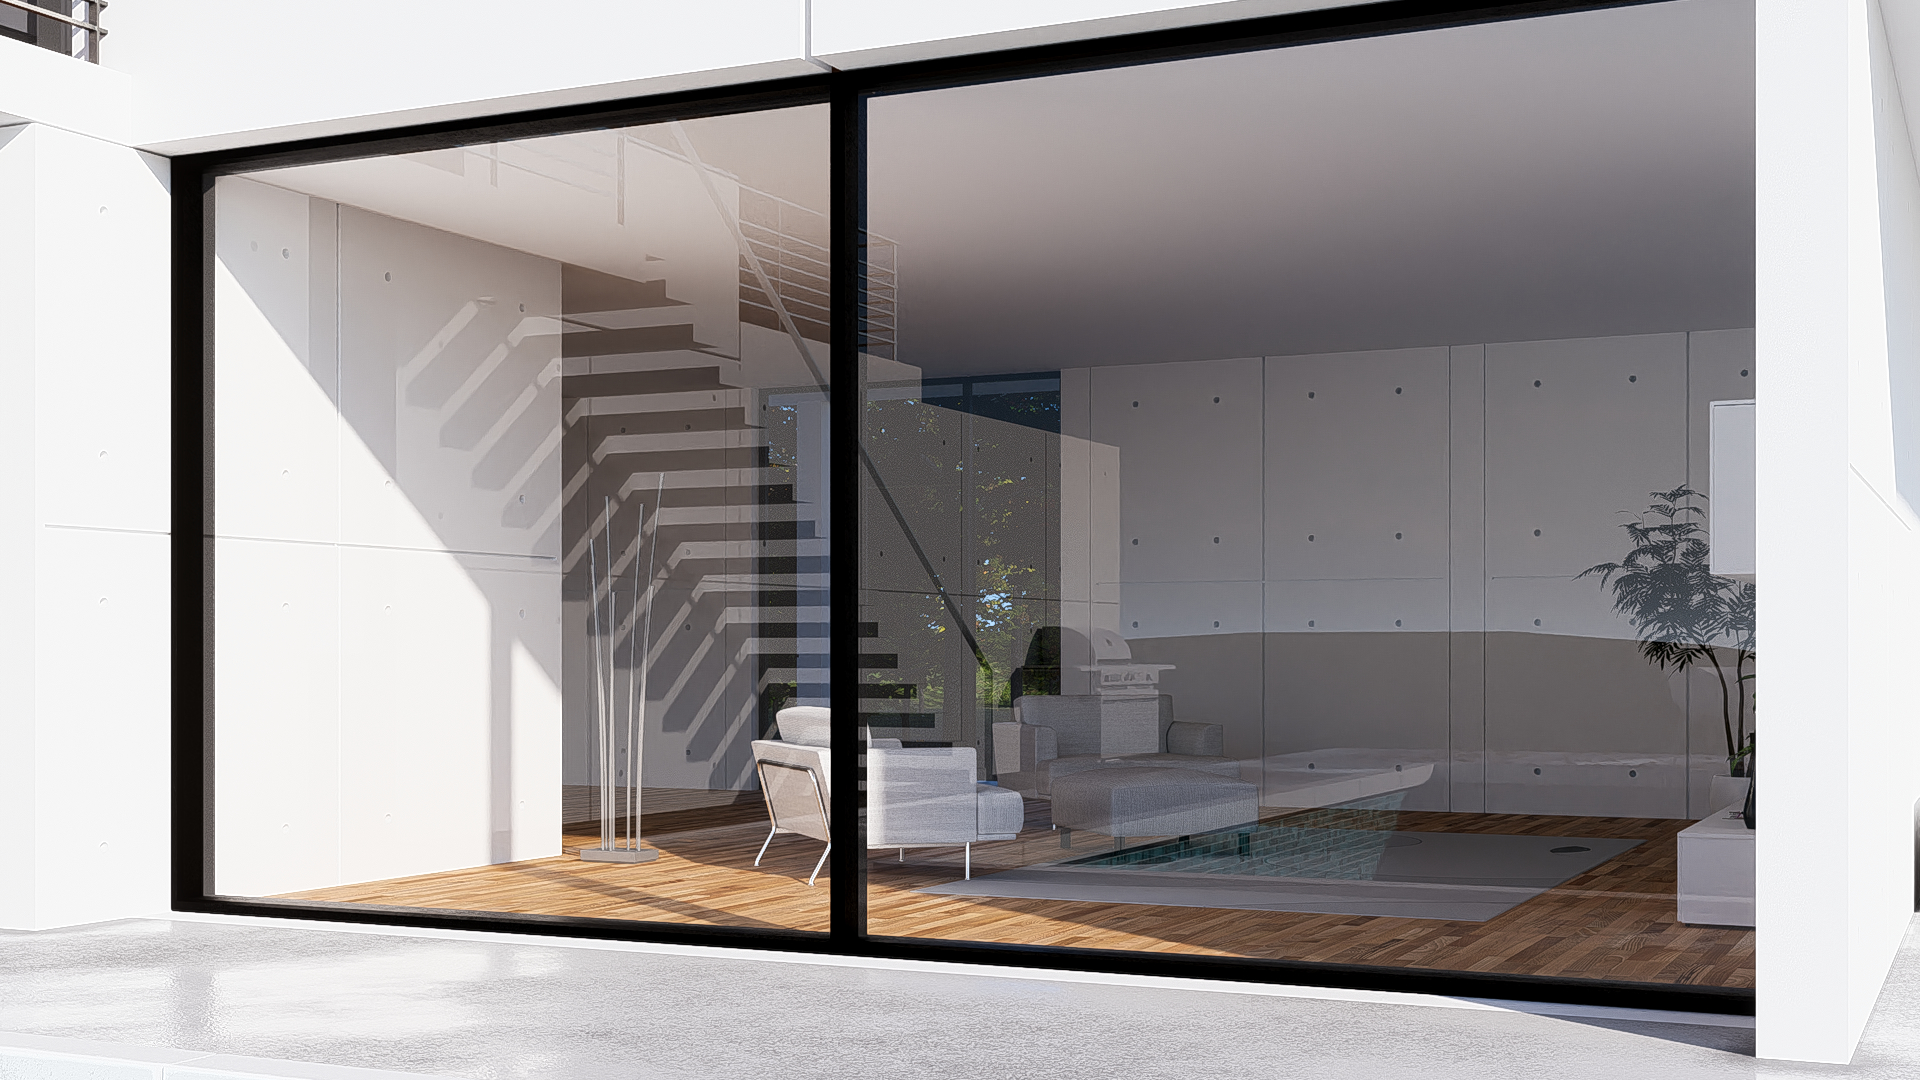
Your Ray Trace render:
4.4: Paste in the selection from the Rasterization render:
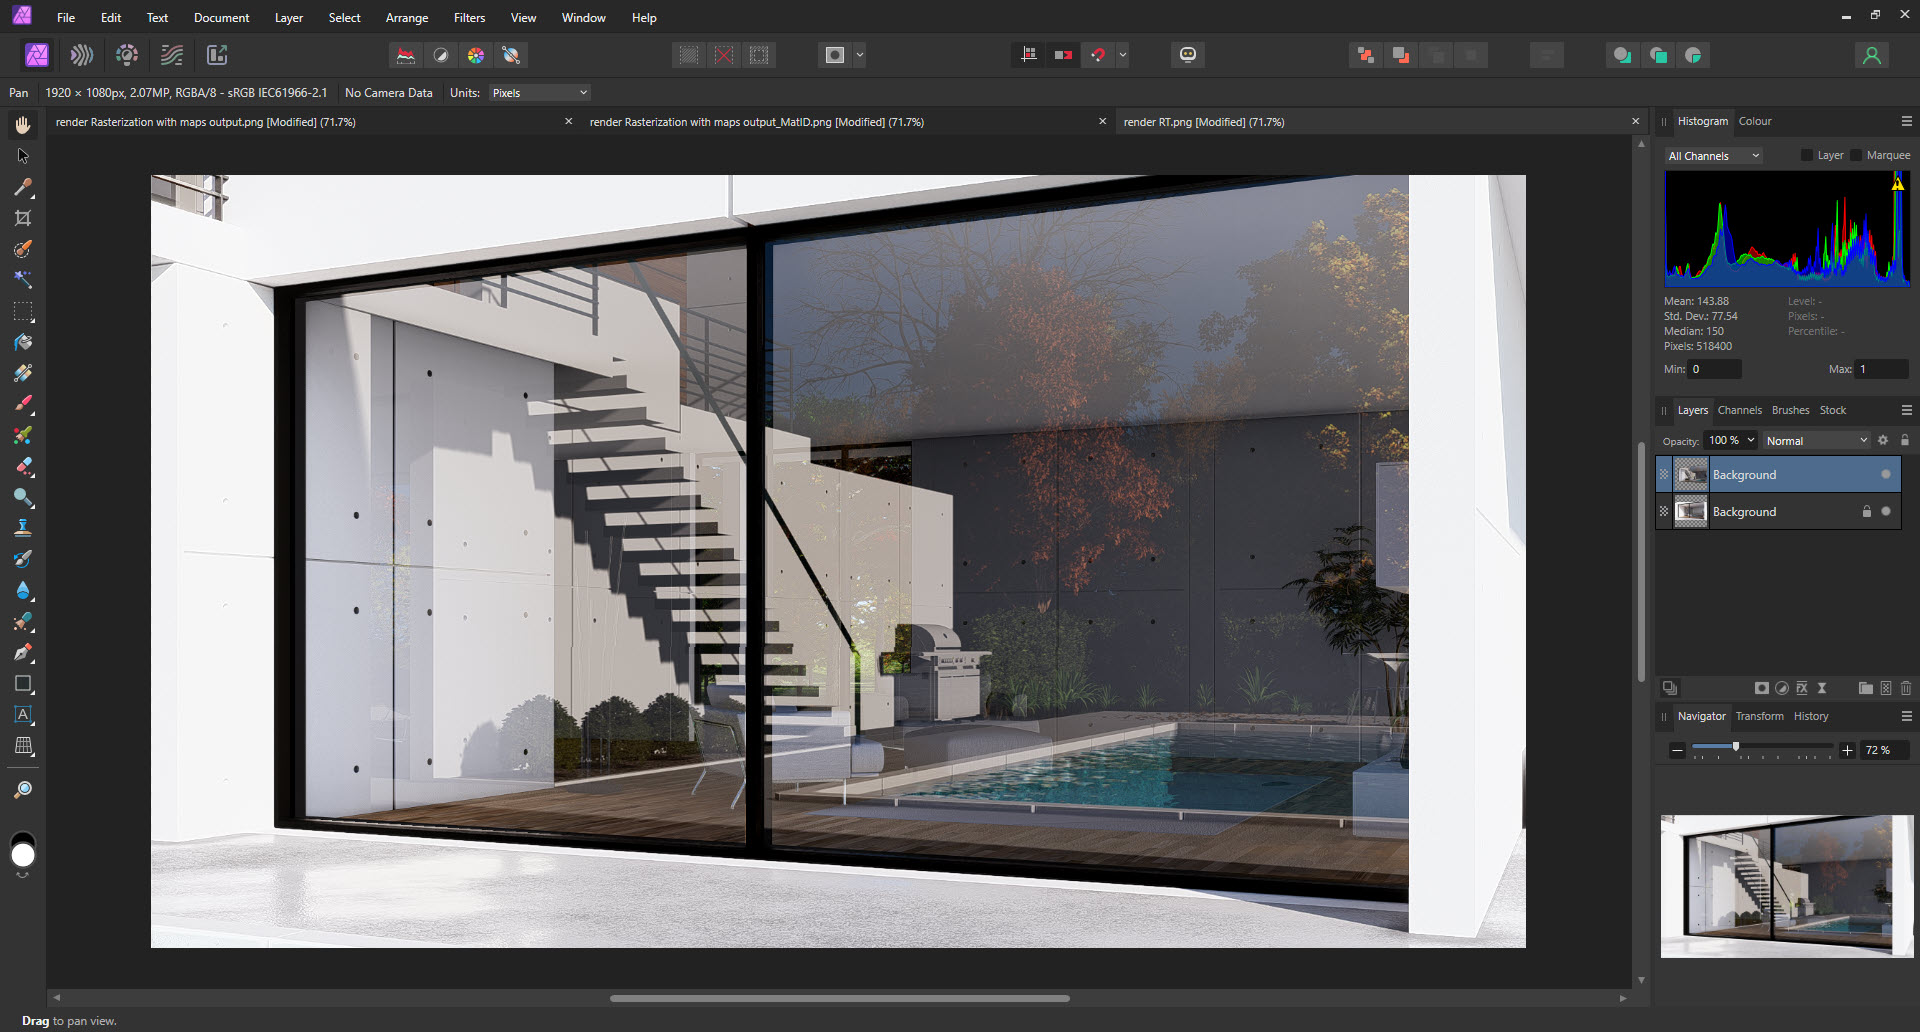
4.5: The result (make adjustments as needed in the image editor):
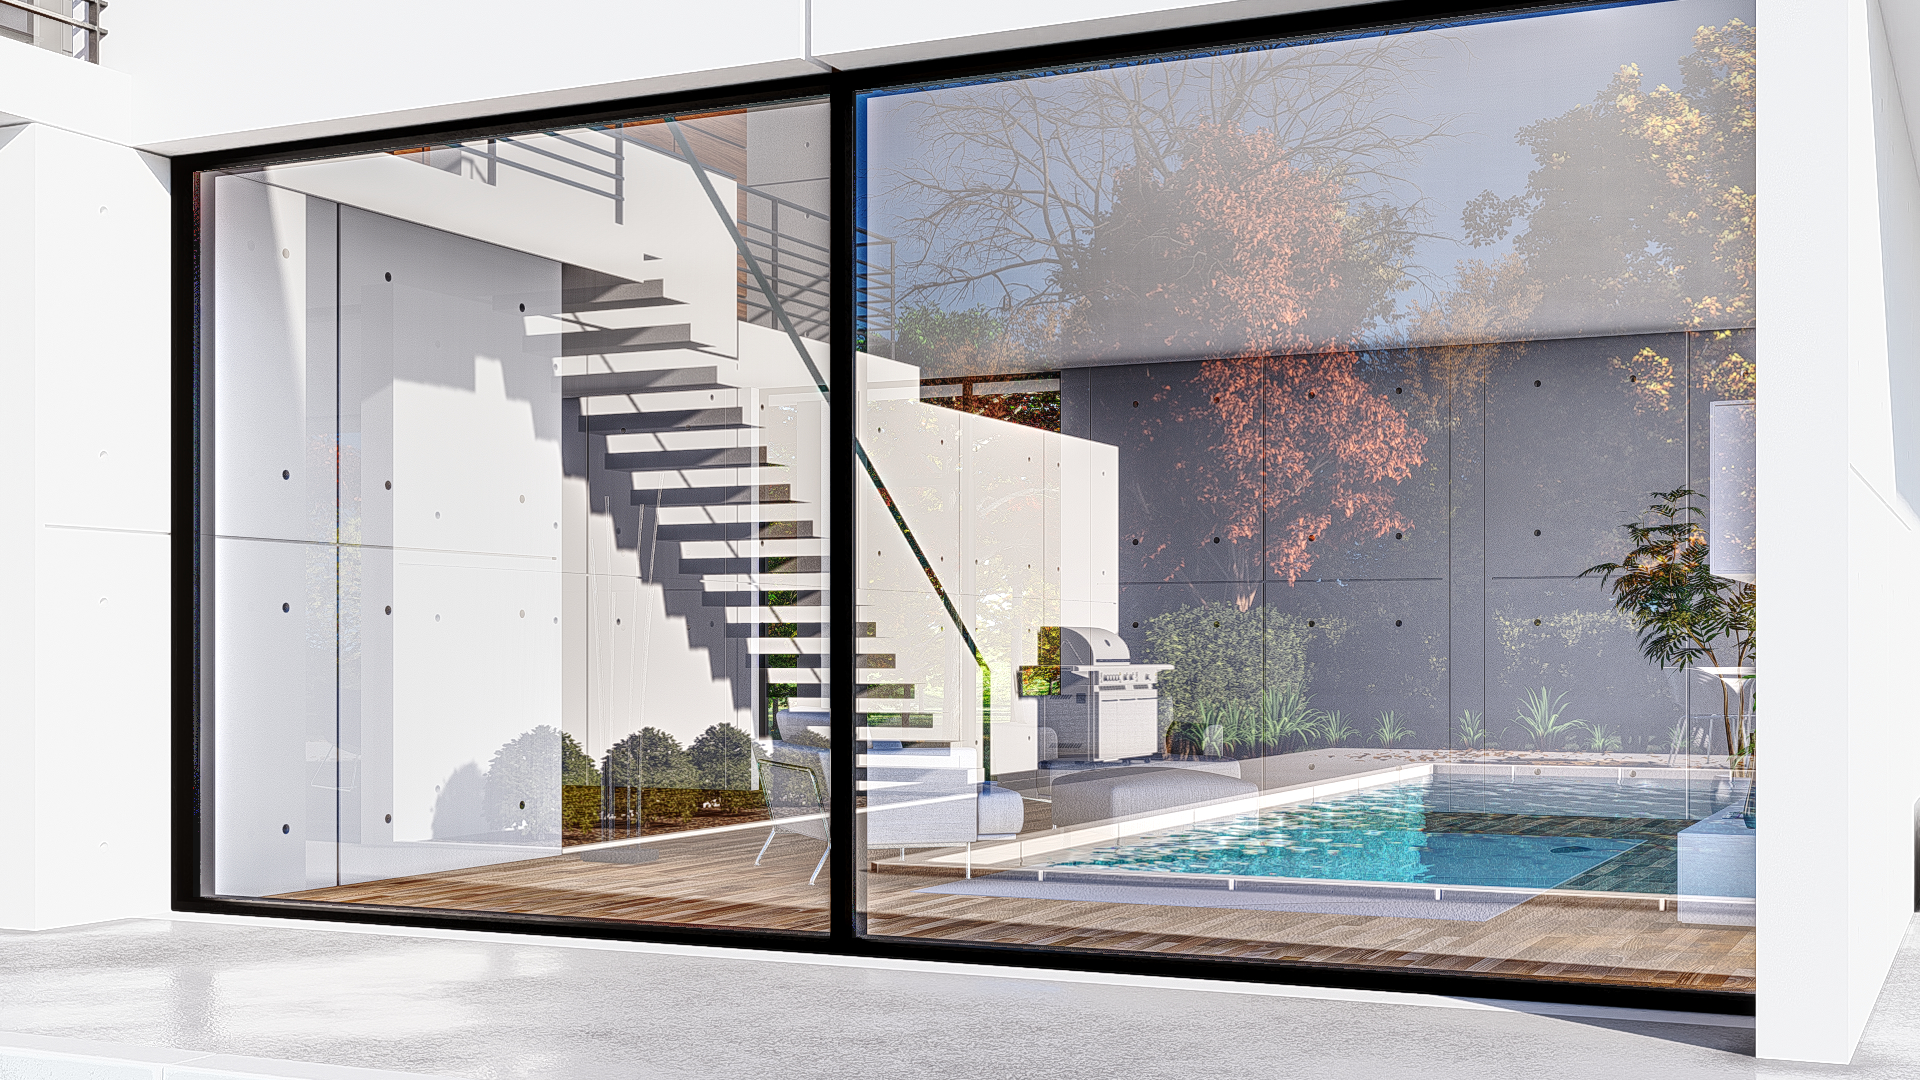
How does this compare with the reflections just from the base Ray Trace render?
5. The future:
- Knowledge Base: Contact Lumion Technical Support


