How do you create an Outlines look in Lumion 2023 when Ray Trace rendering?
1. Artistic Effects in Lumion 2023:
The Artistic Effects are currently disabled when using the Ray Tracing Effect.
See section: 3.3: Post-Processing Effects:
For most of these Effects, you won’t see much of a benefit if the image is Ray Traced when these Effects are done post-process in Lumion.
Some of you do like the look that the Outlines Effect has when applied to a Rasterization render.
Here we suggest an option to allow you to create some more artistic-looking renders by using the Effects that have been disabled.
The technique uses a two-pass render:
1. Render using Rasterization, with the Effect to get the base artistic look.
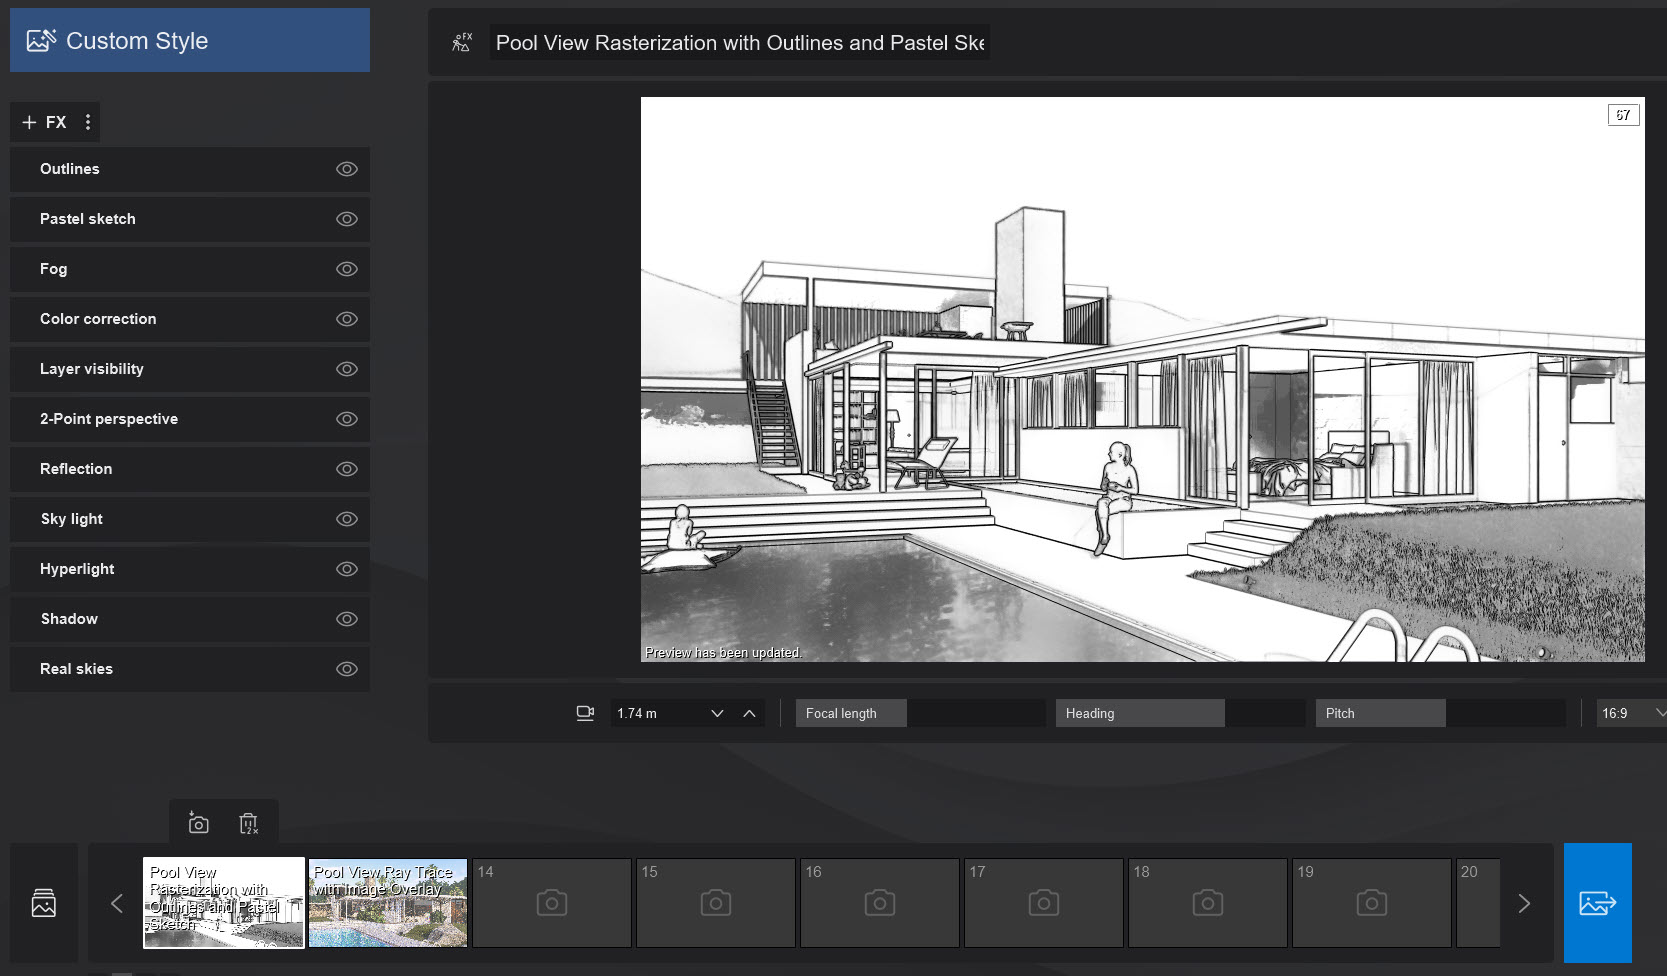
2. Blend the two images using the Image Overlay or an image editor.
Render the same view using Ray Trace rendering to get a higher quality and look from Ray Tracing.
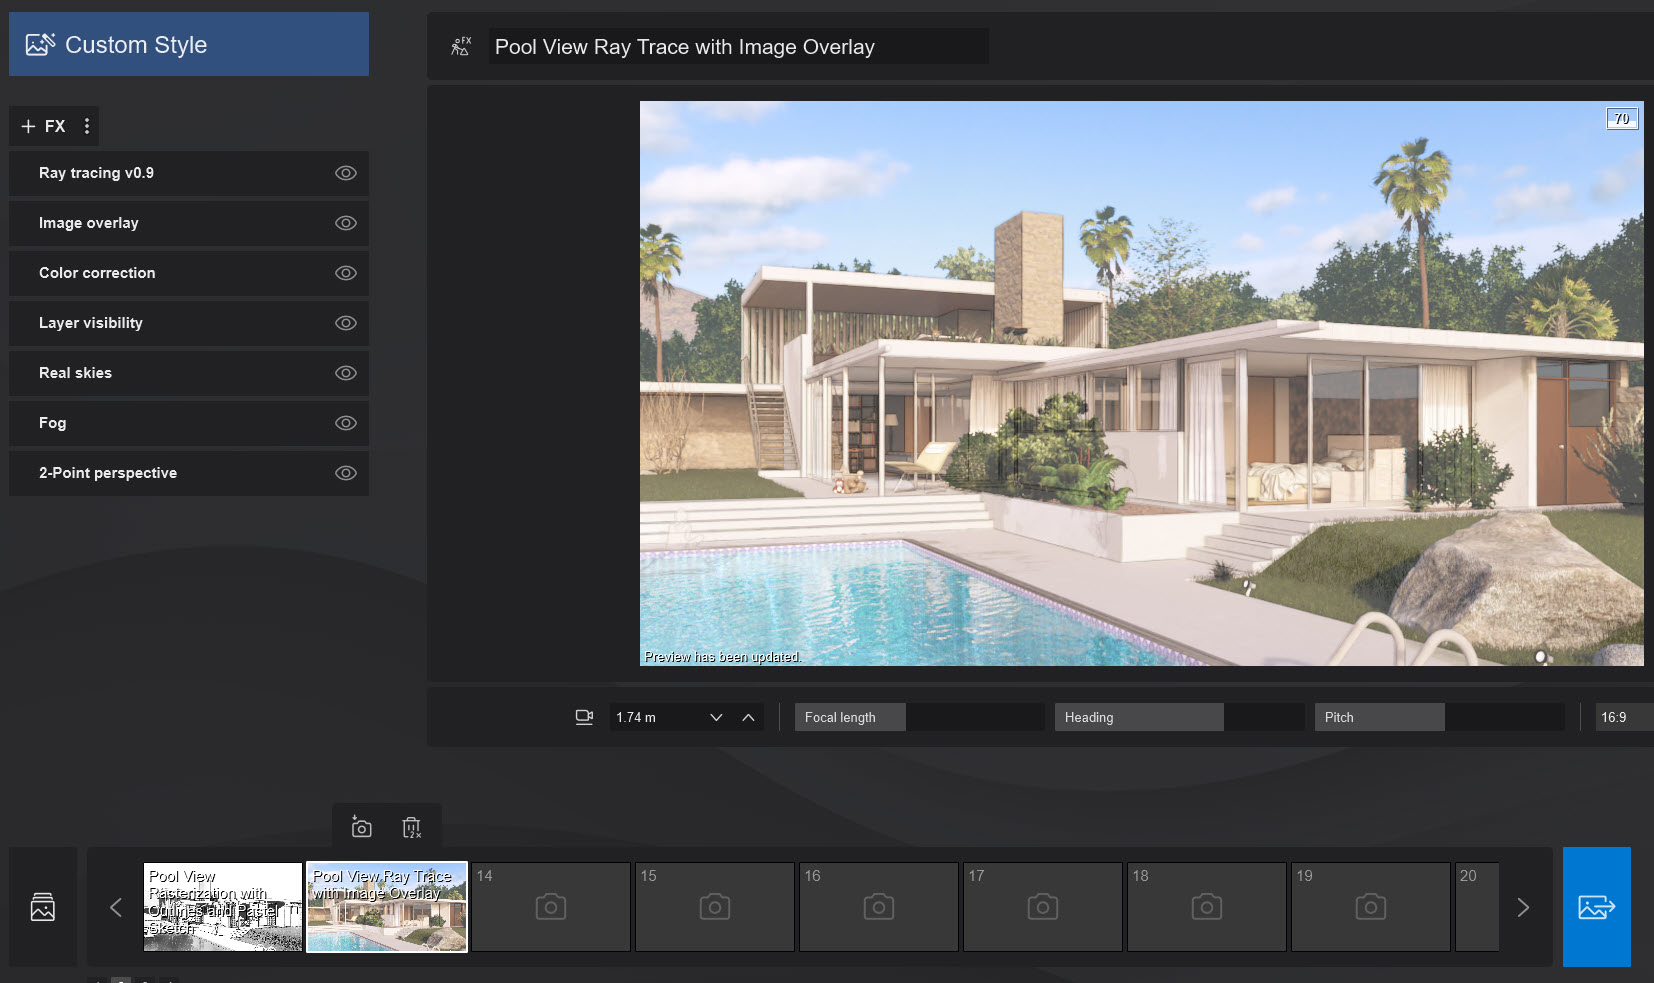
Note: this technique may not give a completely 'accurate' or desirable result given this is blending two images.
2. Creating an Outlines look:
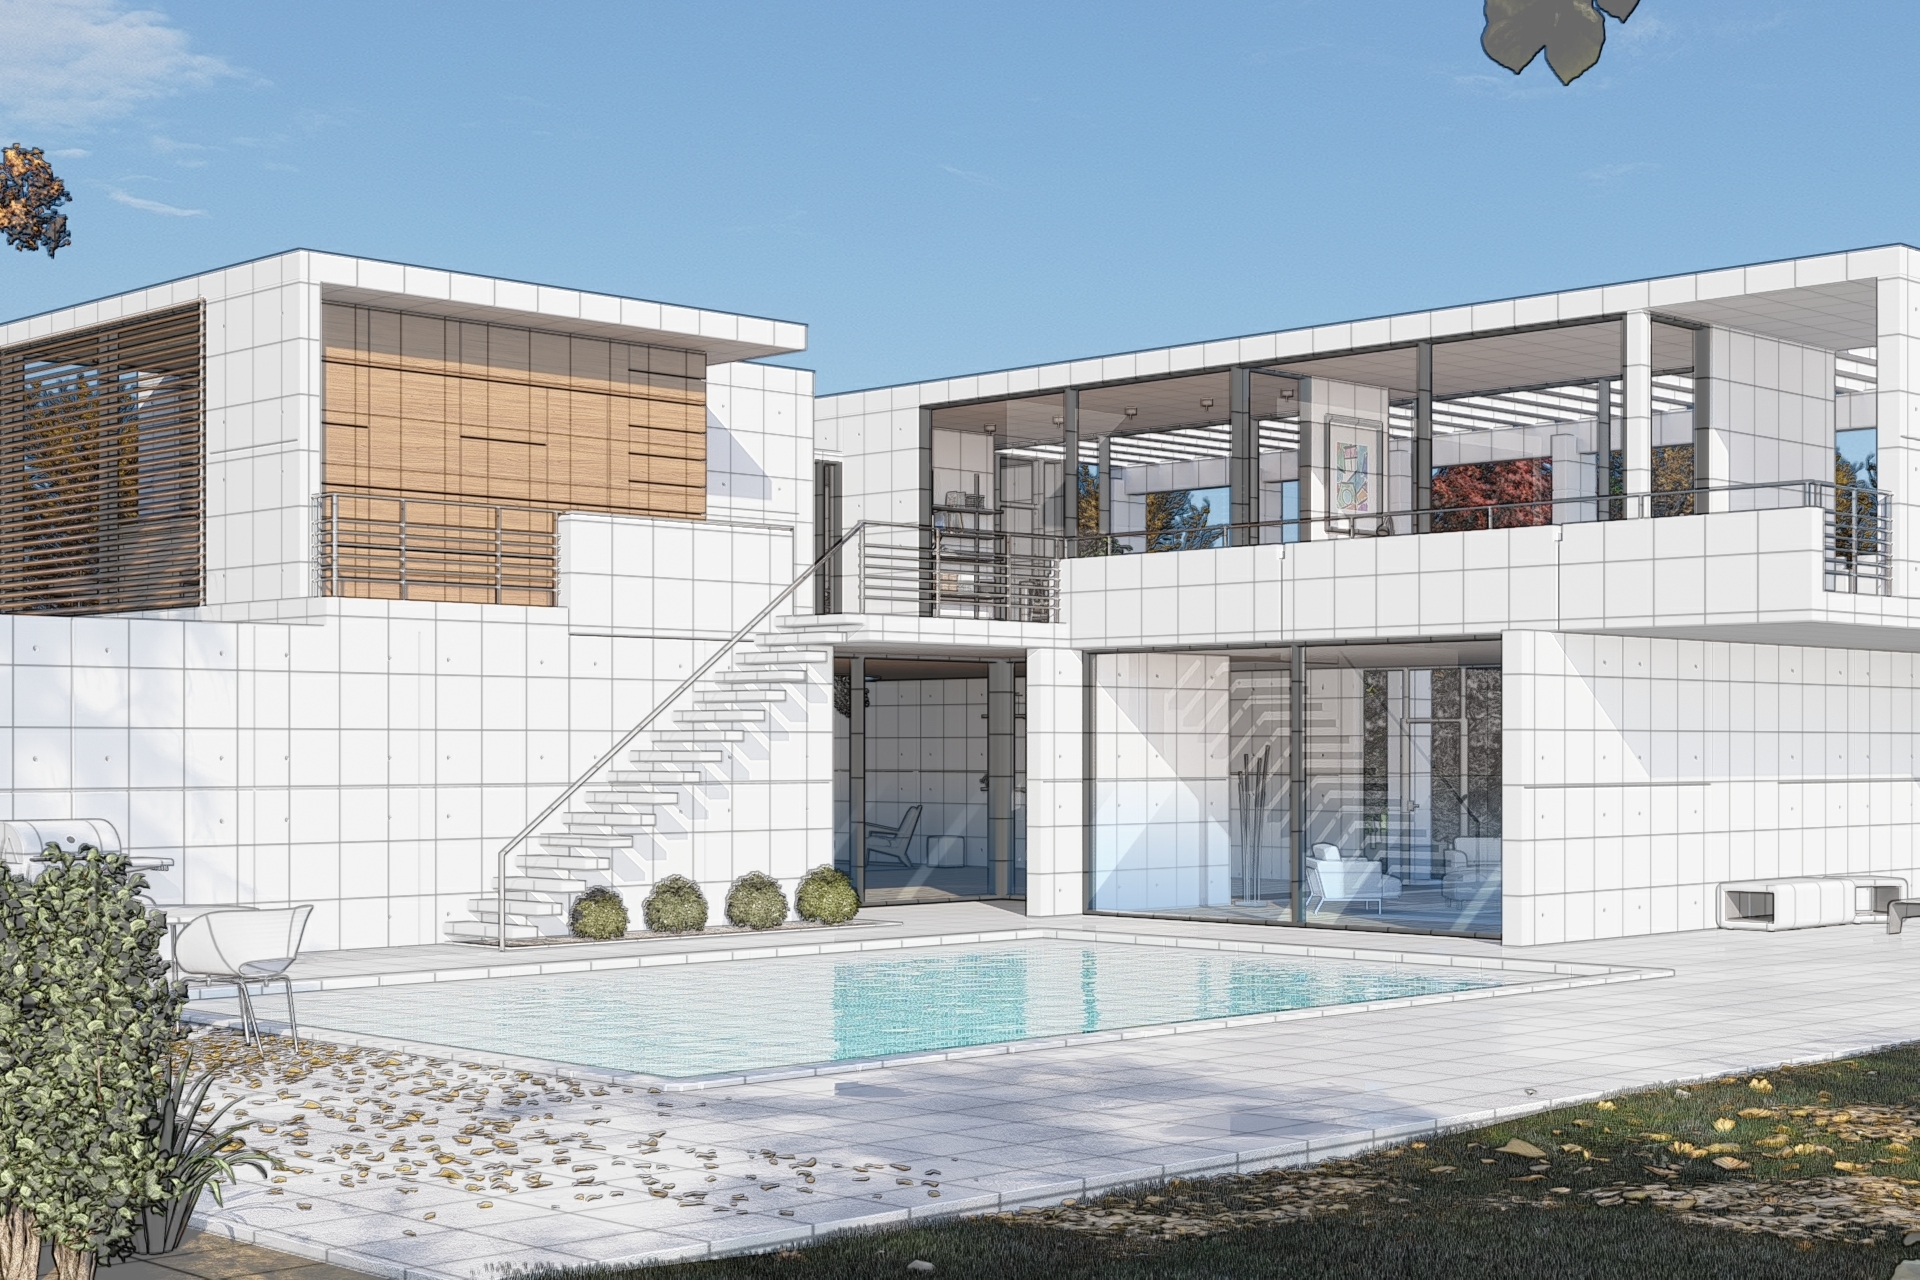
Example to create an Outlines look - Example Project Kaufmann.
In this example, you can use the option within Lumion using the Image Overlay Effect to blend the two interim pre-renders.
Your other option is to use an image editor and that can also allow you to tweak the colors and balances.
The final result:
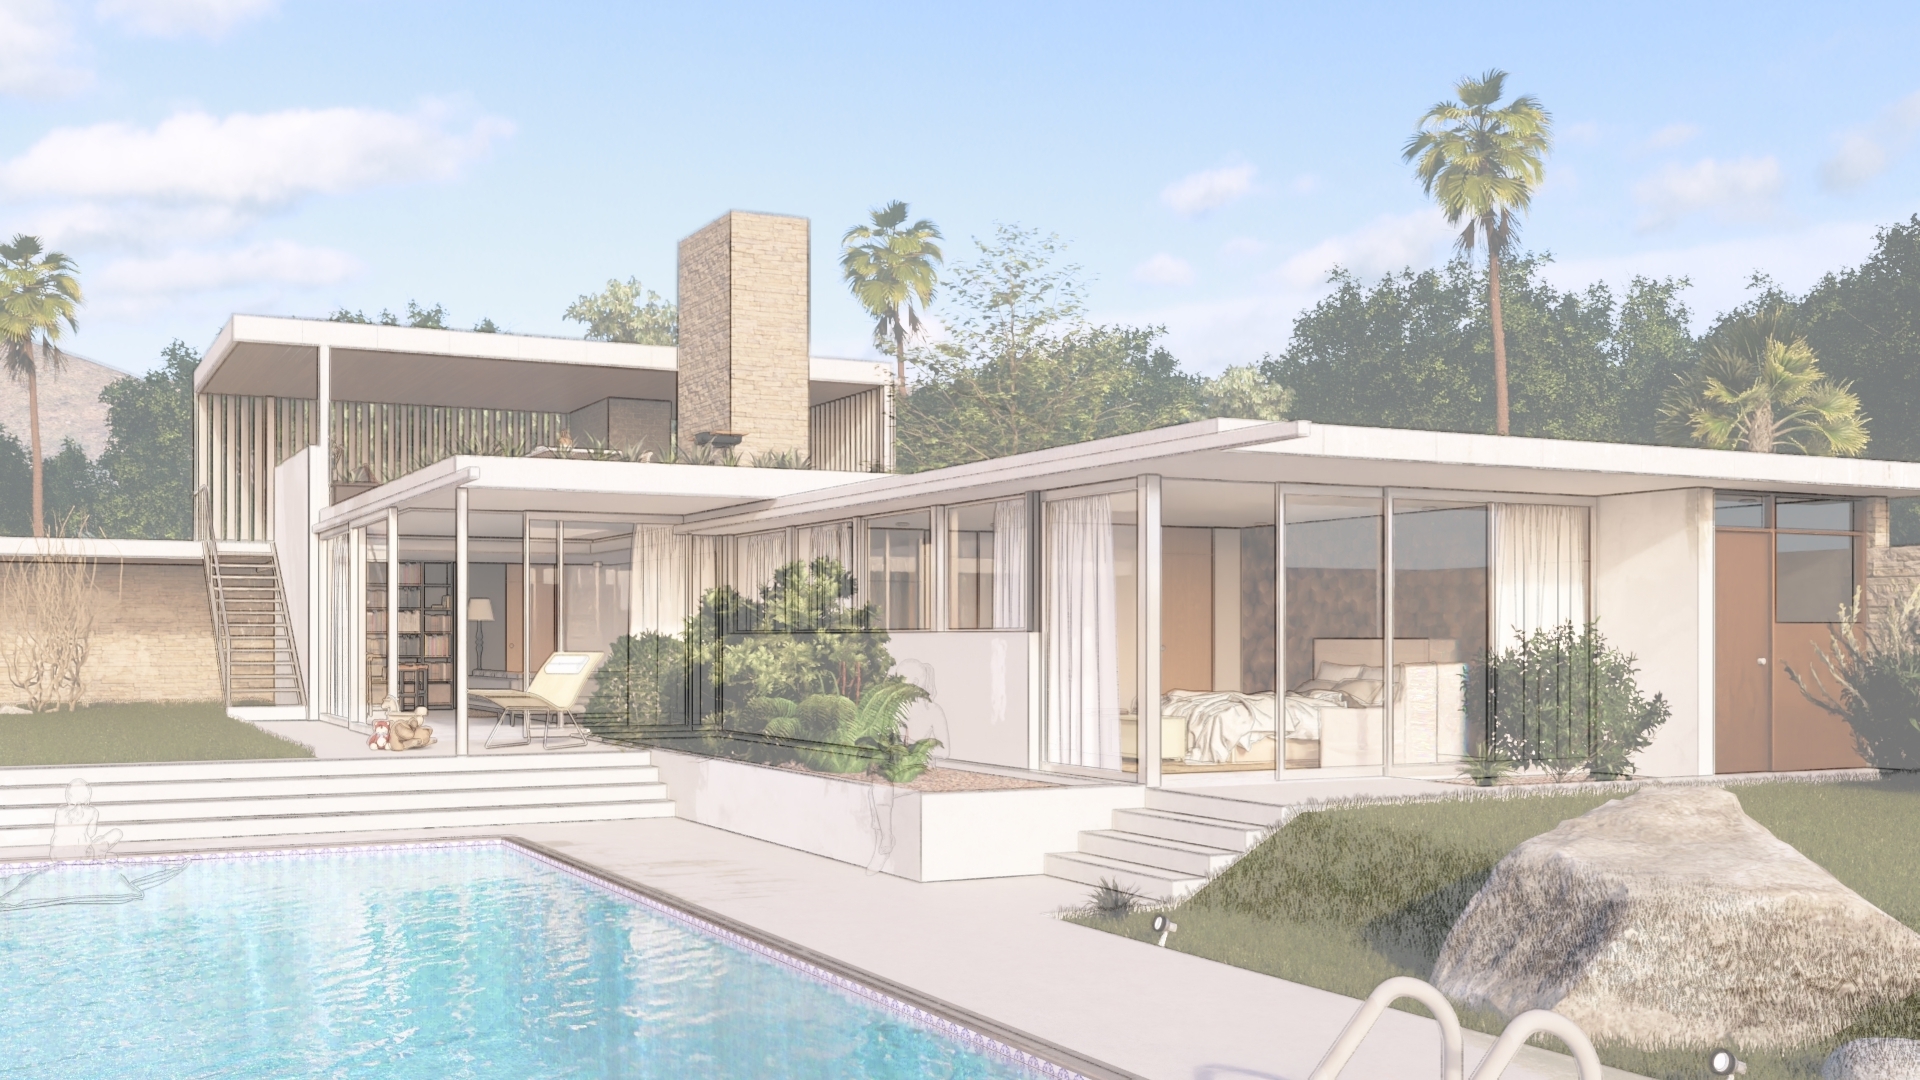
and at 0.3 blend in the Image Overlay Effect:
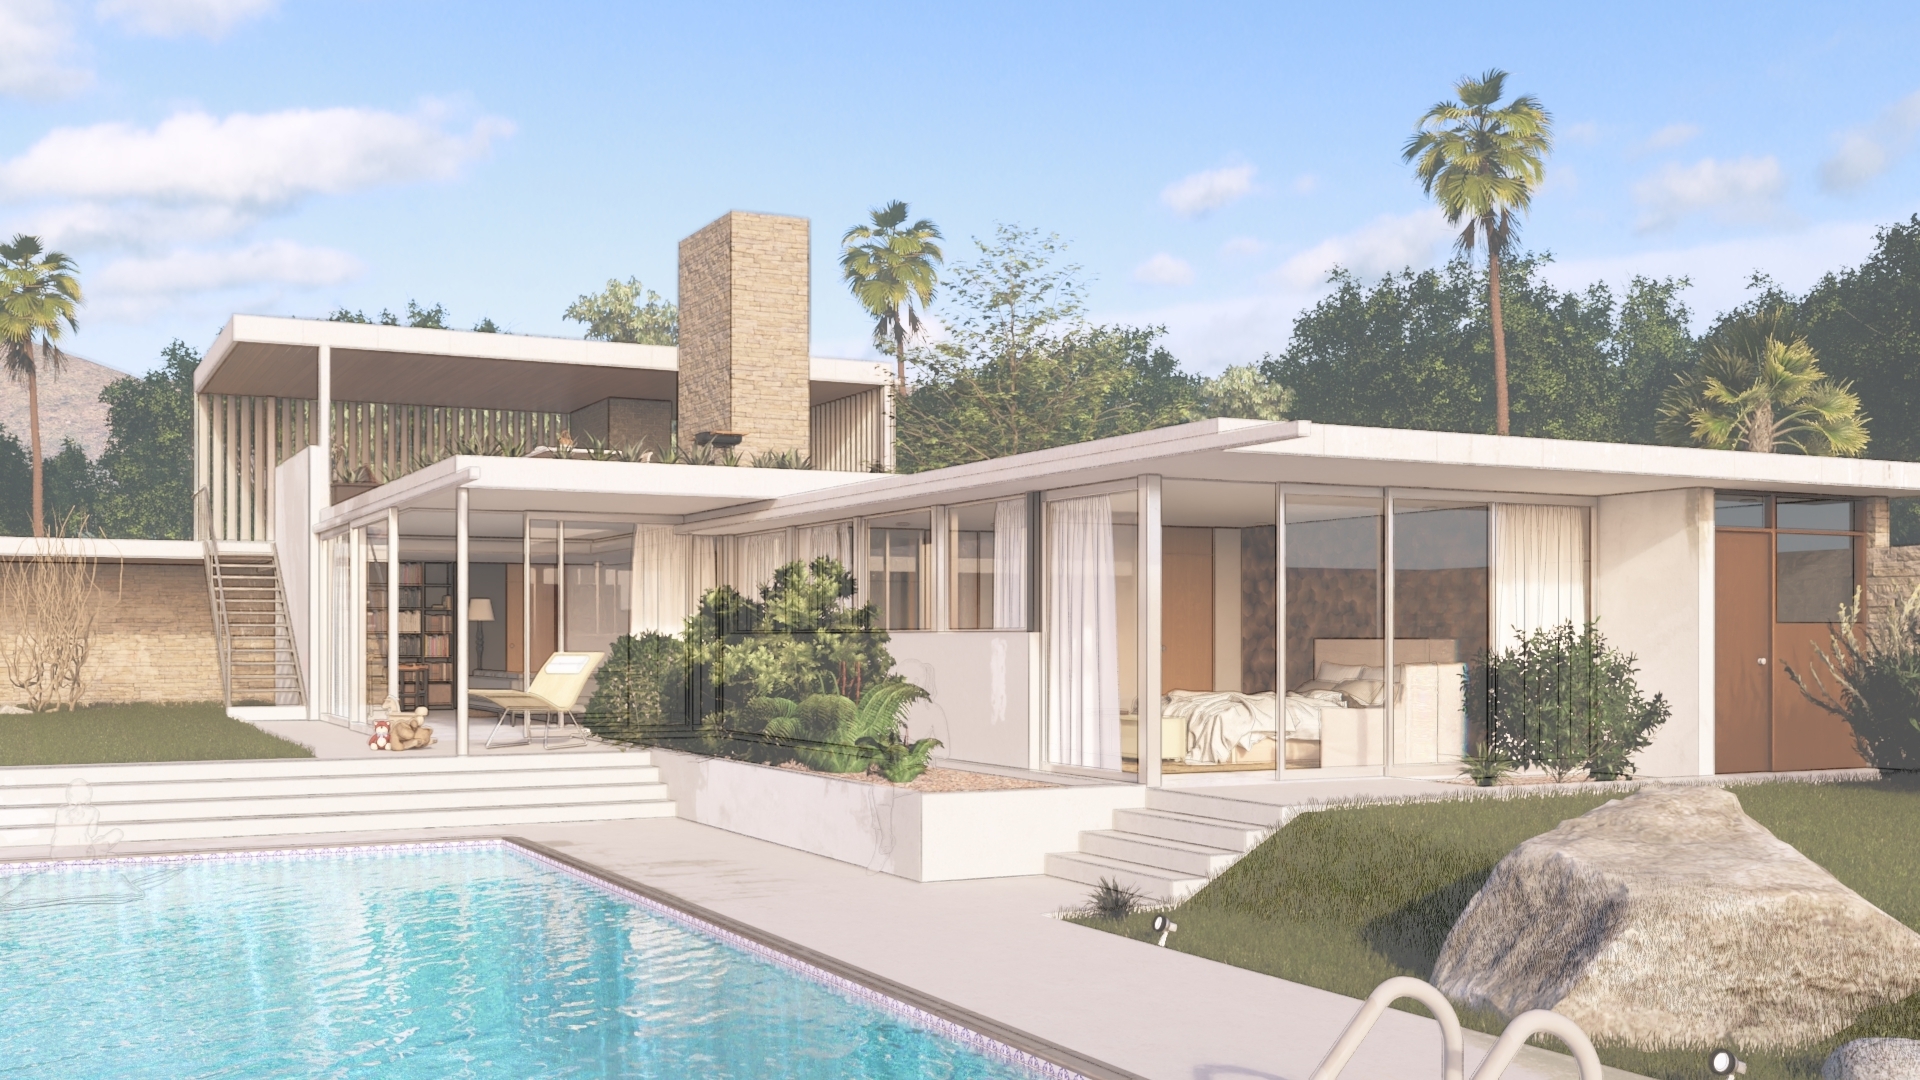
The Example Projects' Effects Stack was used with no changes other than to add both the Outlines Effect and the Pastel Sketch Effect. The Effect Stack is attached here.

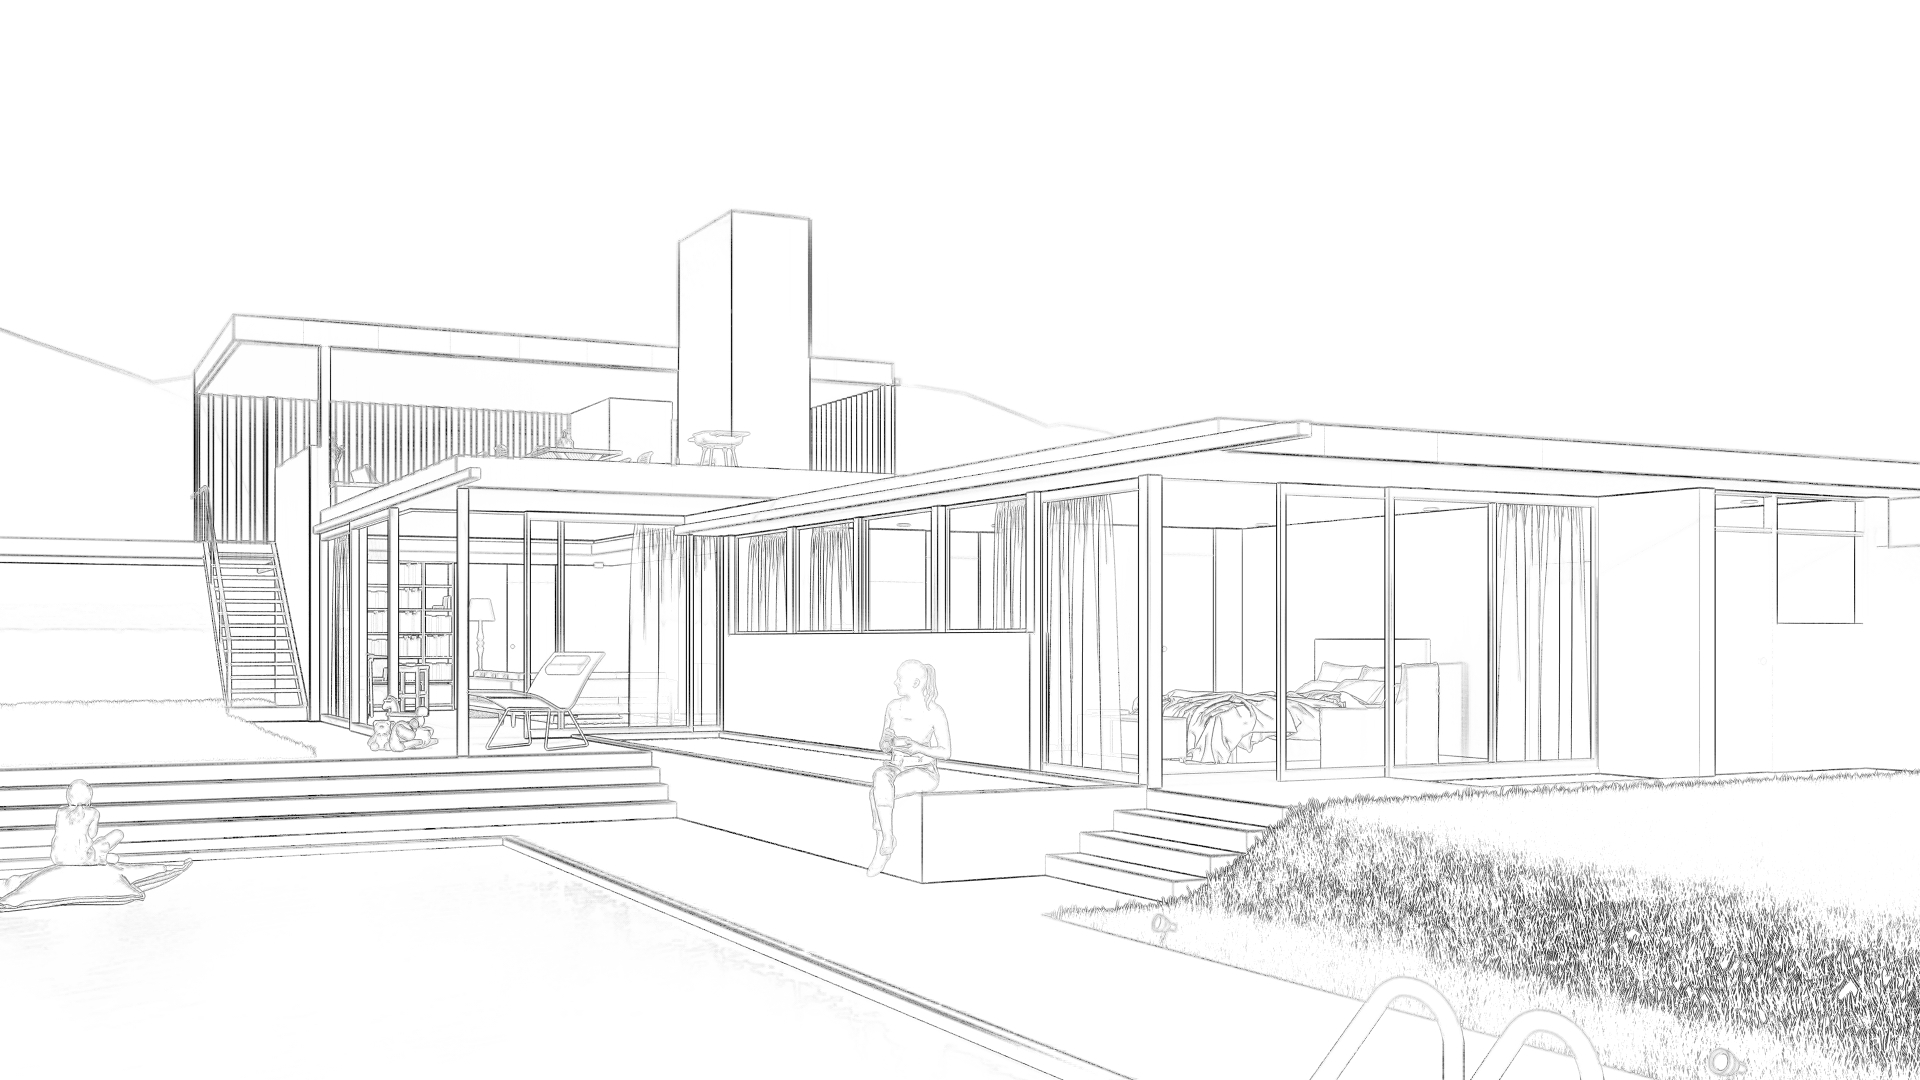
You can add only the Outlines Effect. But you may find that also adding the Pastel Sketch Effect helps to limit some of the faces of the building to a clearer white, allowing for the edges/lines to be a little more noticeable.
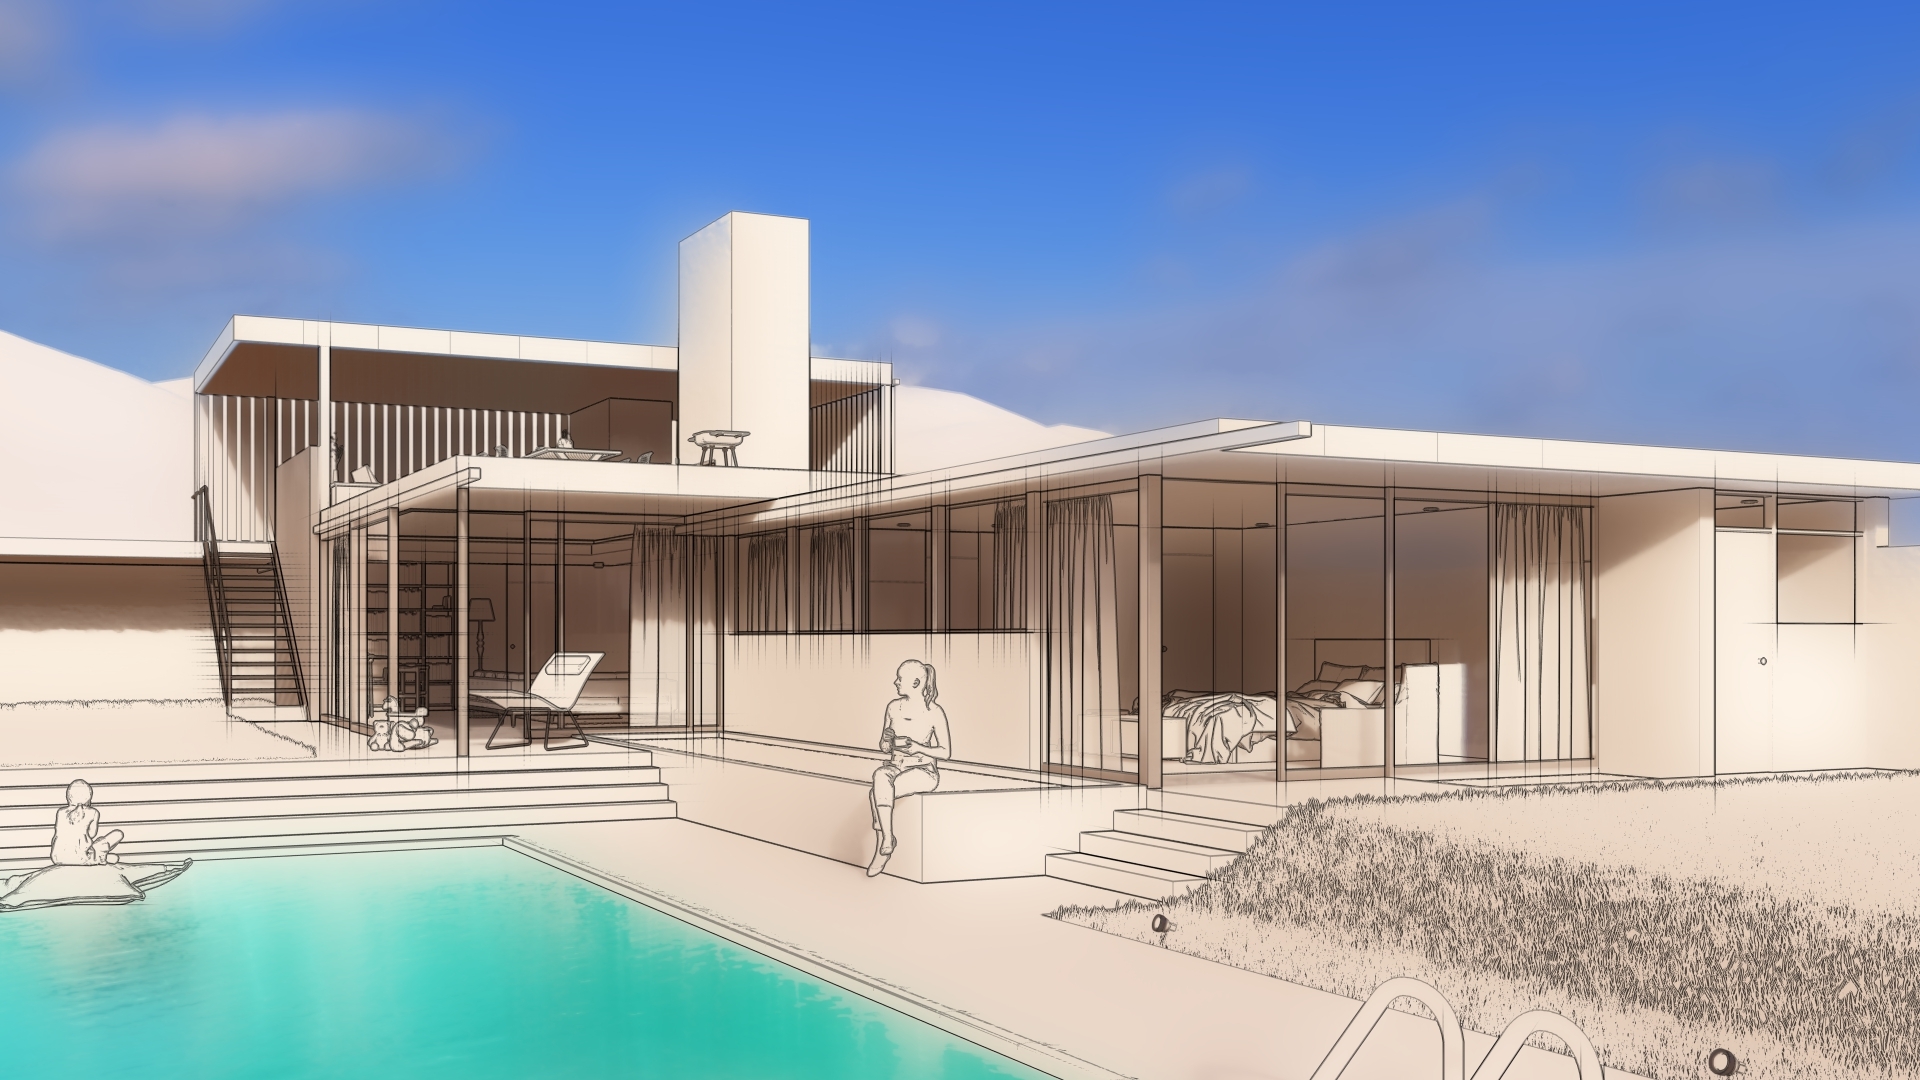
Rasterization render using the Outlines Effect only. Here the background Nature Objects in a Layer have been hidden so that the influence of the outline lines on plants is less for the final result:

Including the Pastel Sketch Effect:

Steps:
1. Create a new Photo with a copy of the Photo that uses the Rasterization rendering pipeline (does not include the Ray Tracing Effect).
2. Add the Ray Trace Effect. You can delete any of the Effects such as the Reflection Effect that are disabled for Ray Tracing.
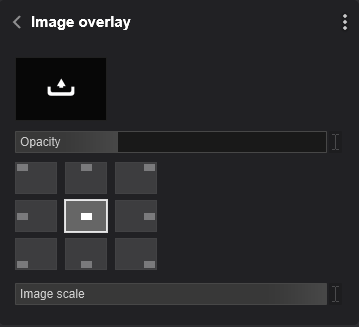
3. Add the Image Overlay Effect.
4. Image Overlay Effect: Load the image you rendered for the Rasterization render (the white one above).
5. Set the Opacity to between 0.3 and 0.6
6. Render using the Ray Trace Effect and the number of Samples you want. For these, a Sample of 256 for an exterior was used.
3. Final Result - enlarged image popup:
A further Example - Villa Cabrera:
See Also:
- Knowledge Base: How do you render the Ray Trace reflections for Lumion Animated Objects in Lumion 2023?
4. Other Artistic Effects:
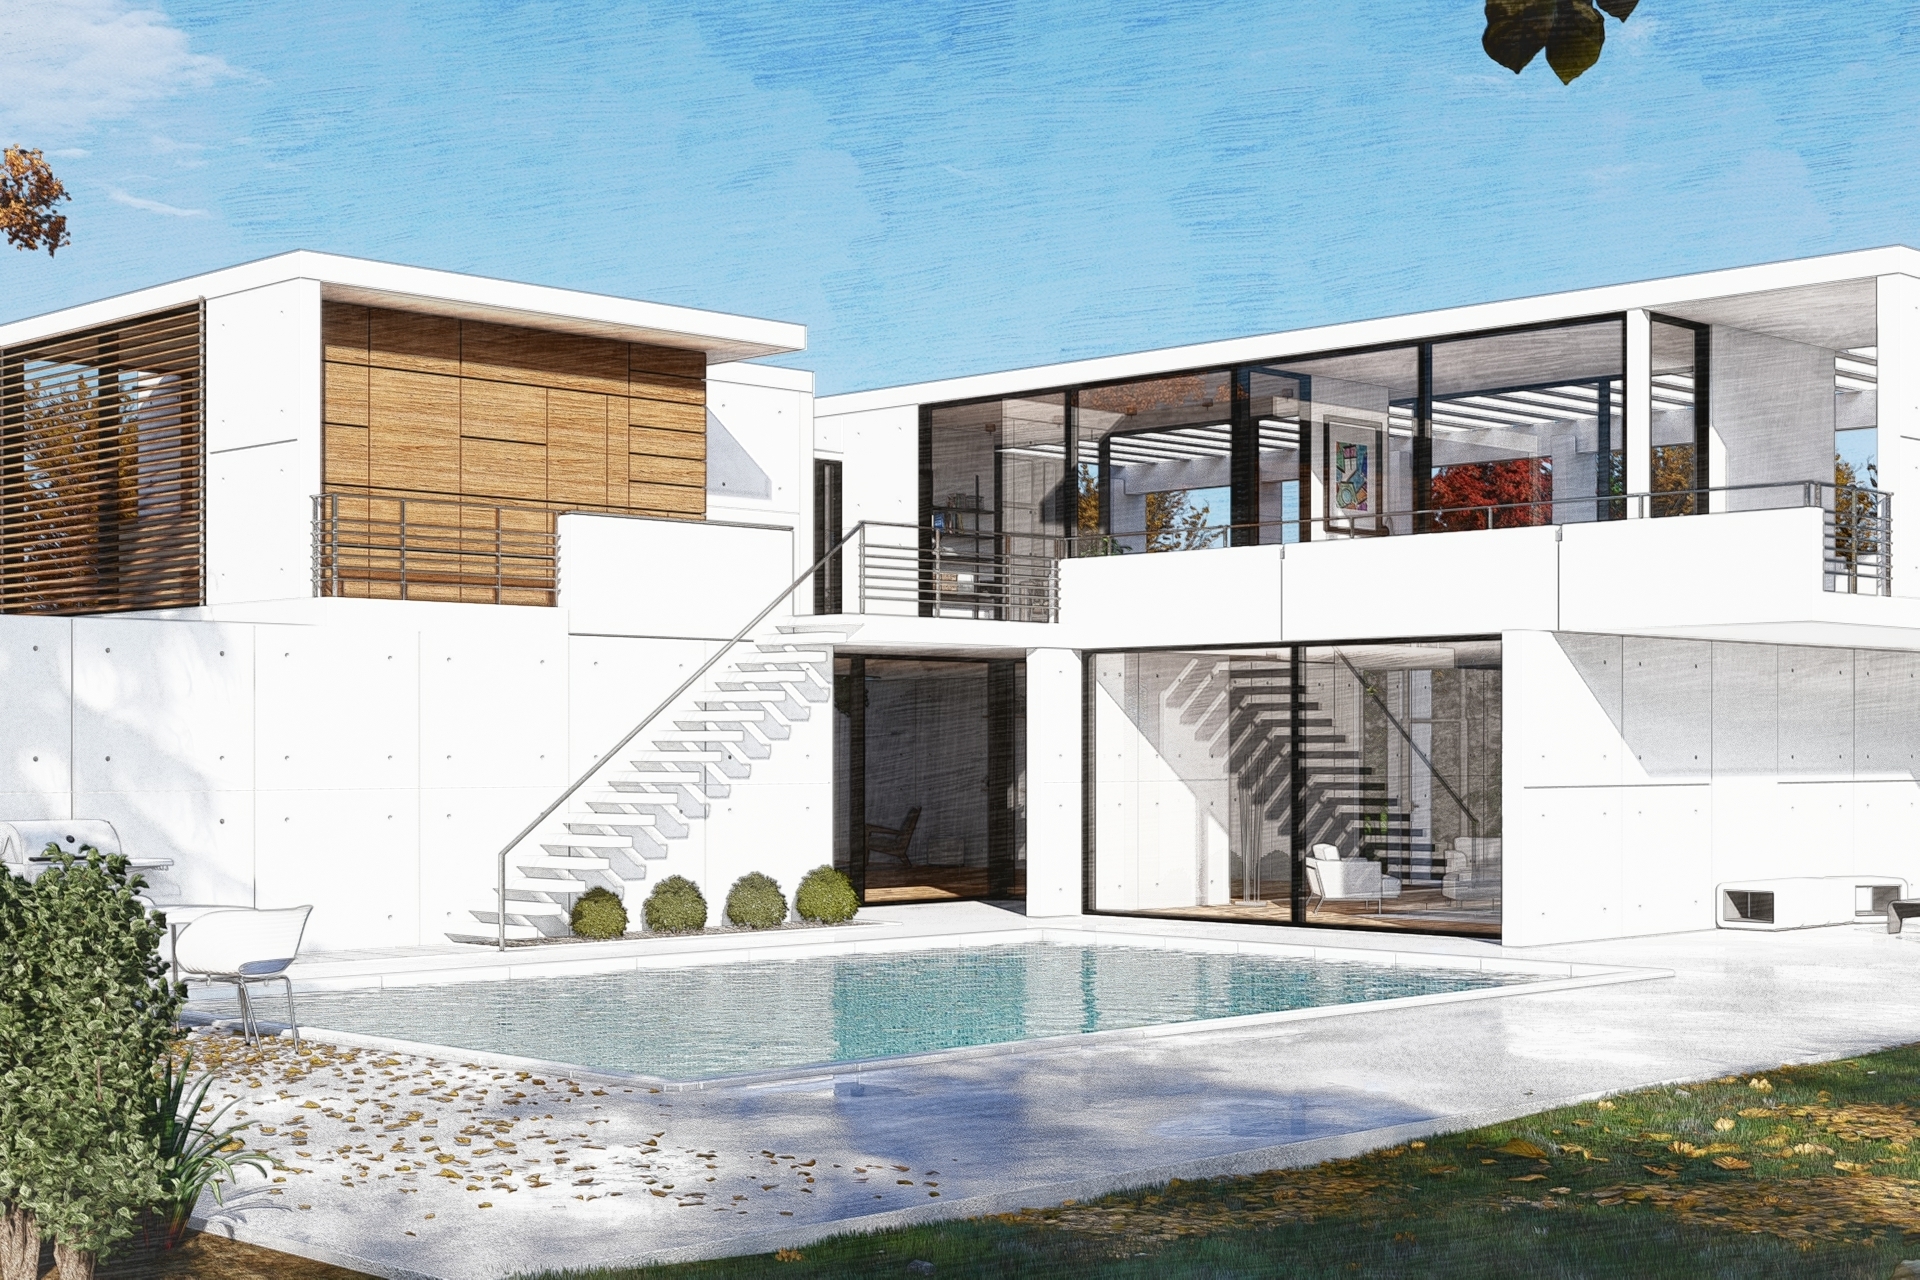
You can also use this technique with some of the other Artistic Effects, although the mileage you get may vary a bit.
For example:
Sketch:
Cartoon:

Blueprint:
Noting again: these are a blend of the Rasterization render with the Ray Trace render. The higher quality of the Ray Trace in some parts may not show strongly enough in some renders.


