
The content of your Scene will consist of one or more of your Imported Models and the entourage that provides context and surroundings to your design.
Lumion provides a range of tools to help you with Placement and arranging the Objects in your Scene.
Your design models are available when importing via LiveSync or direct import. They are available via the Imported Model Library.
The Imported Model Library also includes external models imported into Lumion from 3rd-party sources.
- Knowledge Base: Importing and Working with 3D Models
Add other content, such from the Lumion Object Library.
Lumion's robust Library features over 8,500 assets, including 3D models (Trees and Plants to Furniture, Decoration, Vehicles, and People), Light Profiles, Special Effects, and Utilities:
- Knowledge Base: Content Library
🛠 Object Editing Tools Overview
Here's an overview of the Object Tools and shortcuts available in Lumion:
Each Category of an Object (model) provides you with a choice of different tools for placing that Object or a selection of Objects in your Scene in Build Mode.
See the extended information about each tool in the sections for Placement Tools.
Imported Models
Single and Line Placement

Nature
All Placement Tools: Single, Line, Cluster, Paint and Area (Surface and Area Shape) Placement Tools.

People
Single, Line, and Cluster Placement Tools.

Transport
Single, Line, and Cluster Placement Tools.

Objects
Single, Line, and Cluster Placement Tools.

Groups
Single and Line Placement Tools.

Lights
Single Placement Tool only.

Effects
Single, Line, and Cluster Placement Tools.

Utilities
Single Placement Tool only.

Nature Objects:- This Category has the widest range of Placement Tools, so let's take a look at these as they also apply to the other Categories.
Single Placement 

One Object at a time is placed.
Select the Object from the Library - Imported Model Library or Lumion Object Library, and move your mouse to the position you want to locate it.
Note: Not all Objects need to be very specifically placed, but if you do need exact coordinates, then you can type those in once placed.
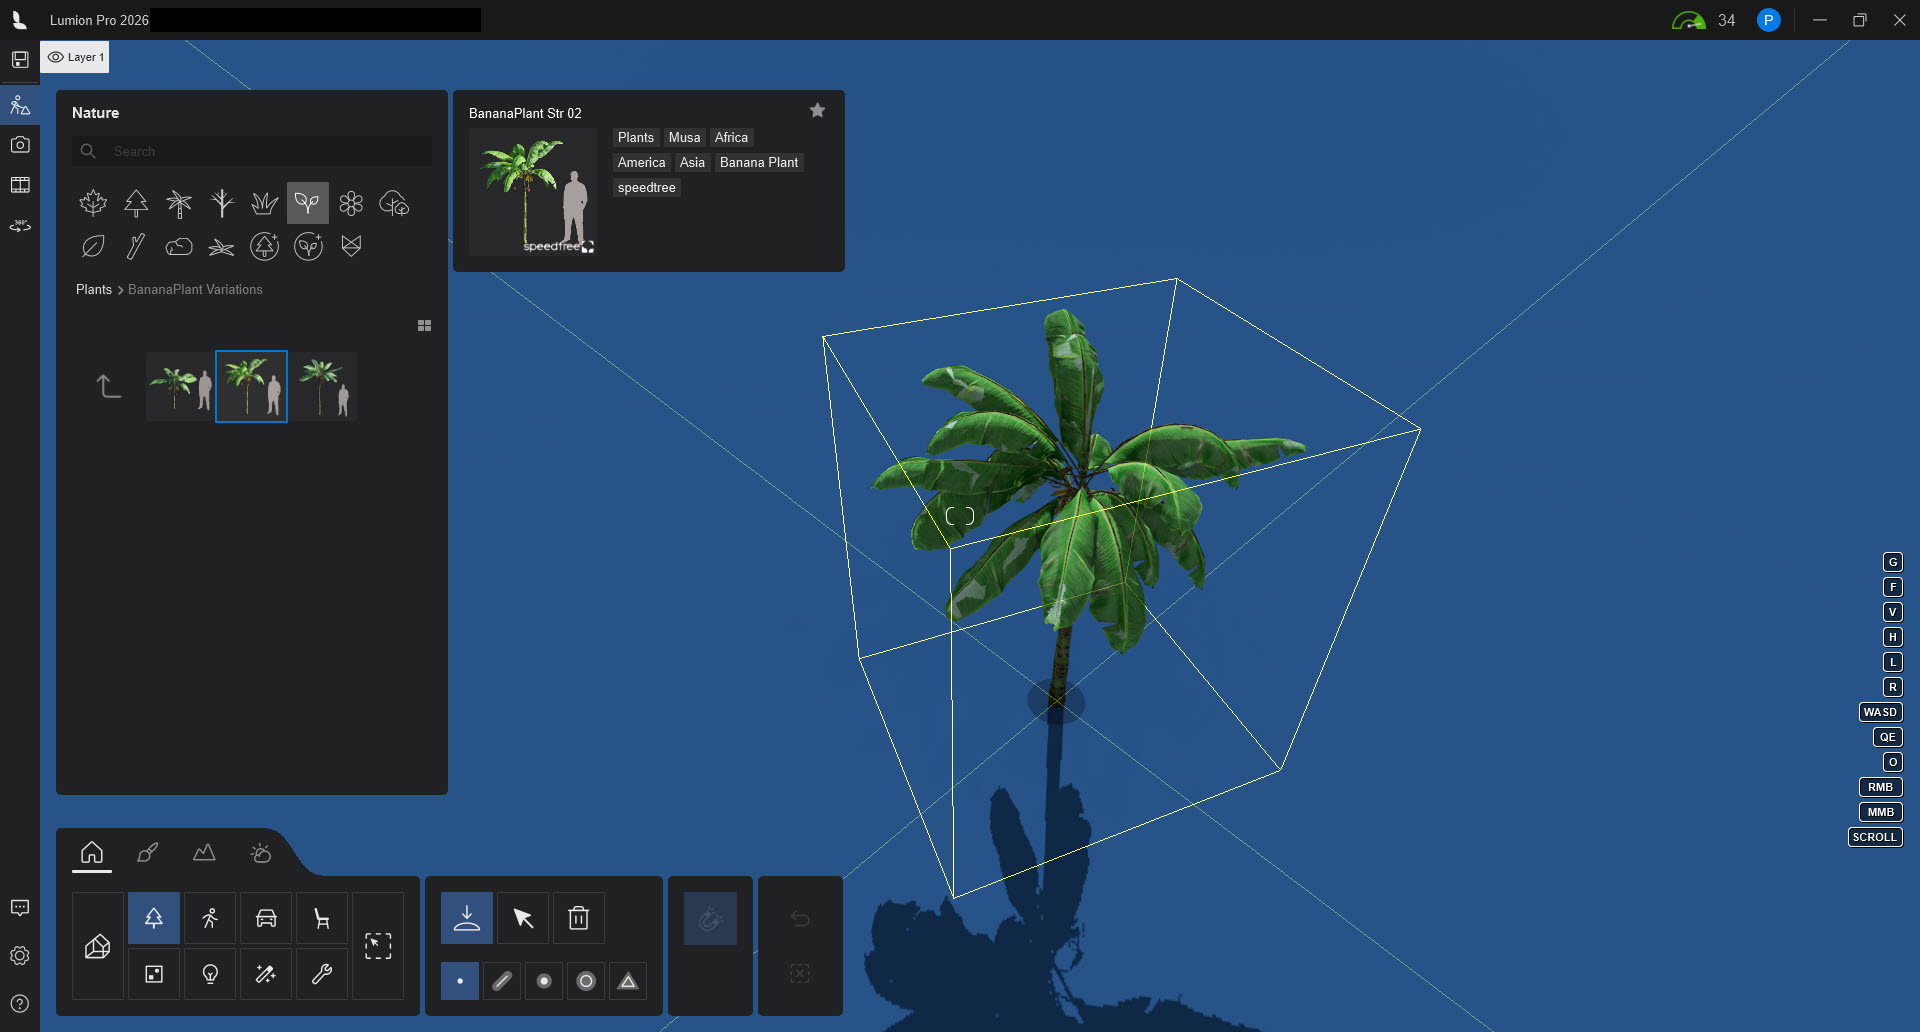
Click the left mouse button to place the Object on a surface.
Line Placement 

- Select a Pool of Objects, then draw a Spline to place them.
- You can then configure the line's Smoothness, the Number of Items to be placed, their Rotation,
Spacing and Offset. To create more points, hold the Ctrl Key.
Cluster Placement 

- Select a Pool of Objects and Scatter them randomly inside a Circle.
- The Range of the circle, the Number of Items to be placed, and their Direction can be configured.
- You can also hold Ctrl while placing a single item to place 10 randomly scattered Objects.
Paint Placement 

- This is available for Nature Library content and is an easy way to fill the scene with vegetation simply by Drawing.
- You can adjust the Density of the placed Objects.
Area Placement
New in Lumion 2026.

This dual tool set allows you to populate large outdoor spaces with multiple different Objects at once while maintaining a high level of control over distribution and variation.
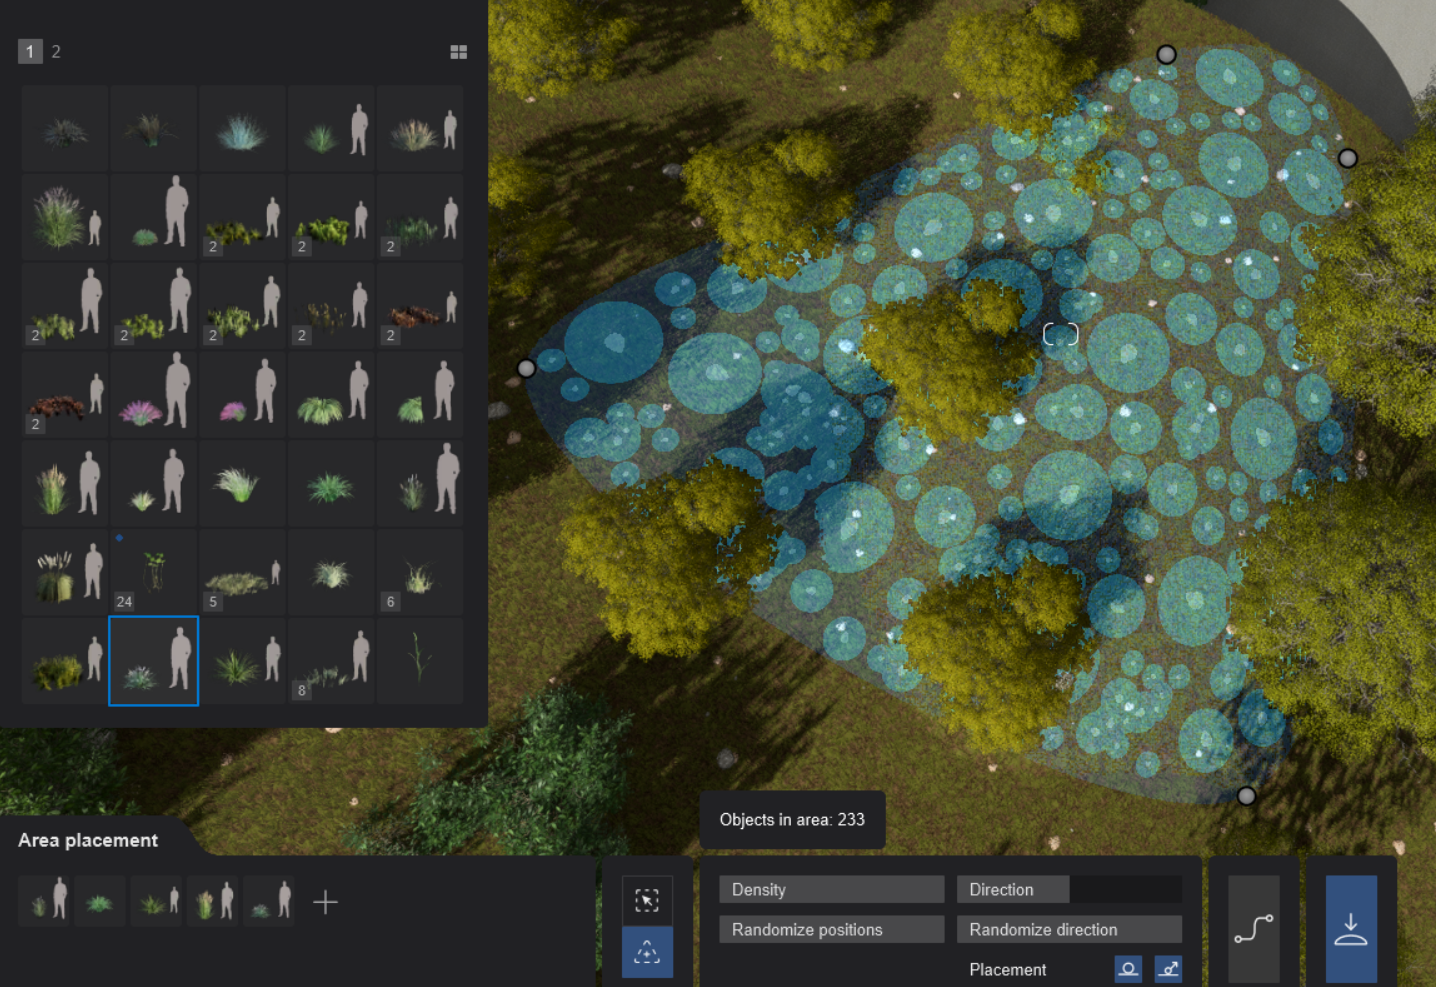
It is currently available when placing Nature Library items:
 >>>
>>> 
Similar to Line and Cluster Placement, you can select a pool of up to 20 items from the Library to place at once
Tools for placing items:
Placement on a surface: 
When this mode is activated, you can select a Material to scatter the Objects over that surface.
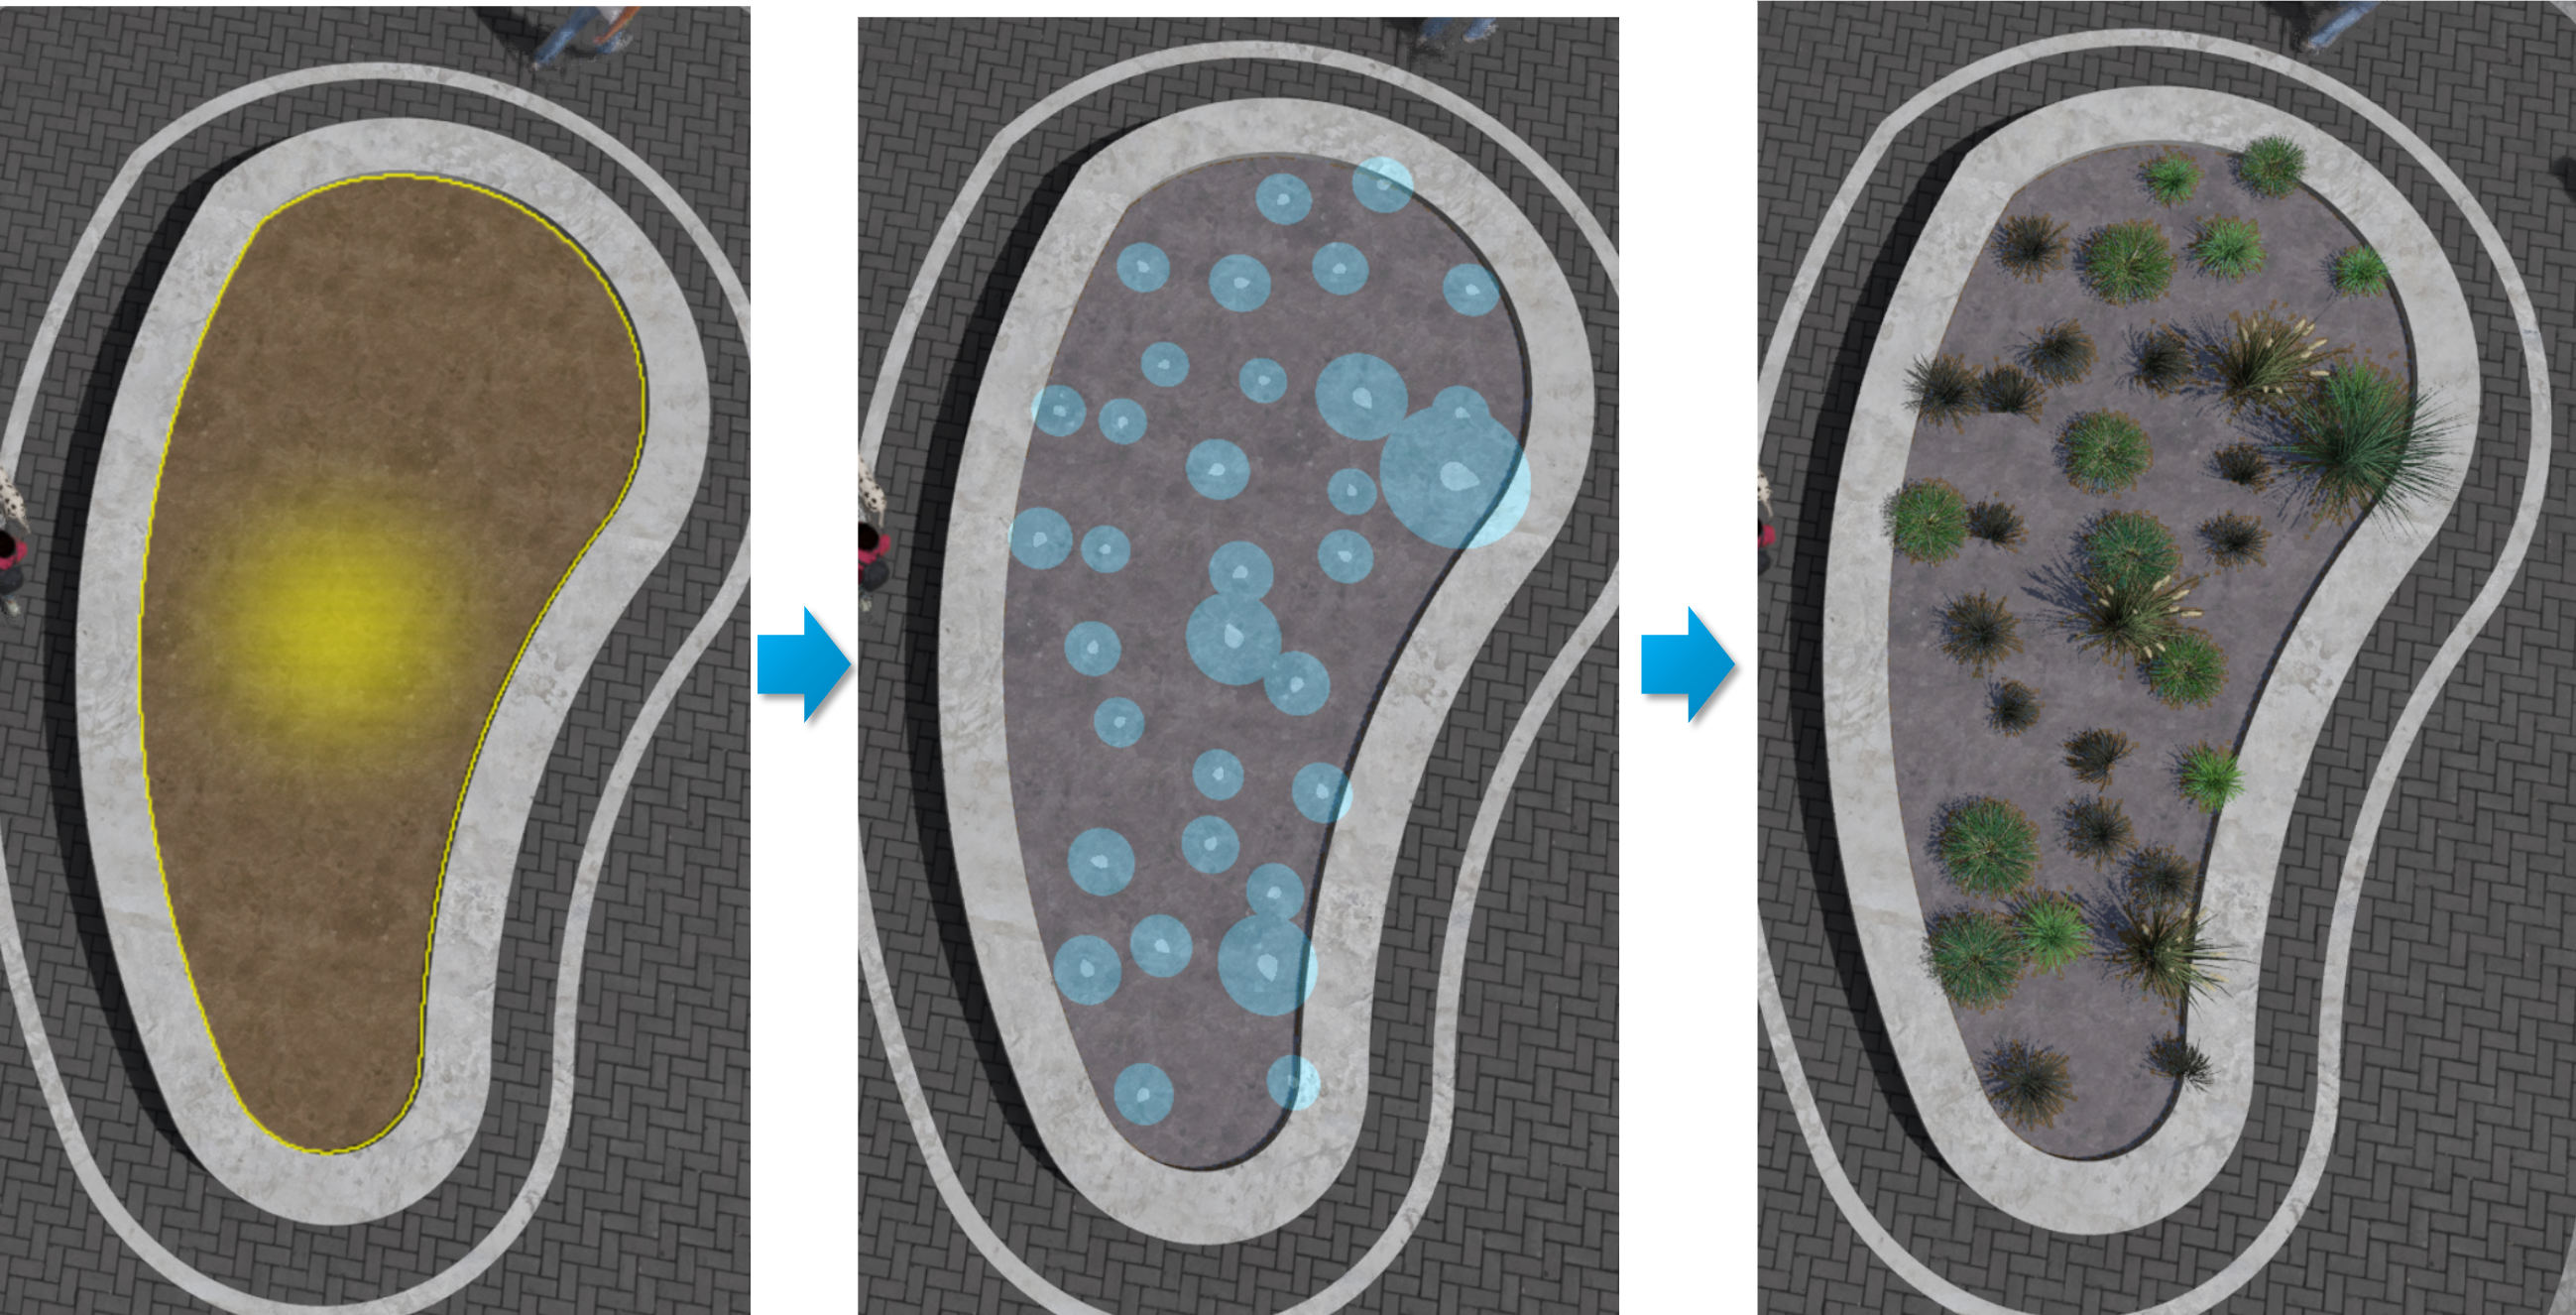
Create Area 
Draw a custom area by defining a perimeter, dragging the nodes, or adding additional nodes by holding the Ctrl key.
Note: You can also choose between straight or curved edges by clicking on Toggle Line Smoothness:
Once the Surface is selected or the Area is defined, you can adjust the following settings:
- Density. Randomize Positions. Direction. Randomize Direction. Placement: Place on ground, Conform to ground.
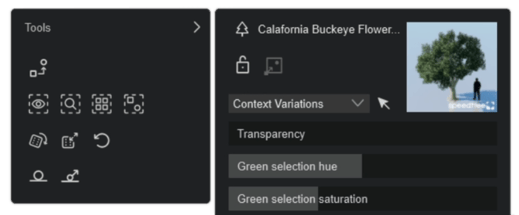
On the right side of the Build Mode screen, you also have a counter and settings for each Object - the: Object Properties Panel:

You will see a highlighted preview as a diagram of the items to be placed while adjusting these settings. Once you are ready to place the Objects, click on the Generate Scene Items button:

Then confirm and go to Build Mode to finish placement.
This tool makes it especially useful for landscaping workflows, such as placing mixed vegetation, underbrush, trees, or ground cover with natural variation and minimal repetition.
See Also:
-
Knowledge Base: How do you use the Area Placement Tool?
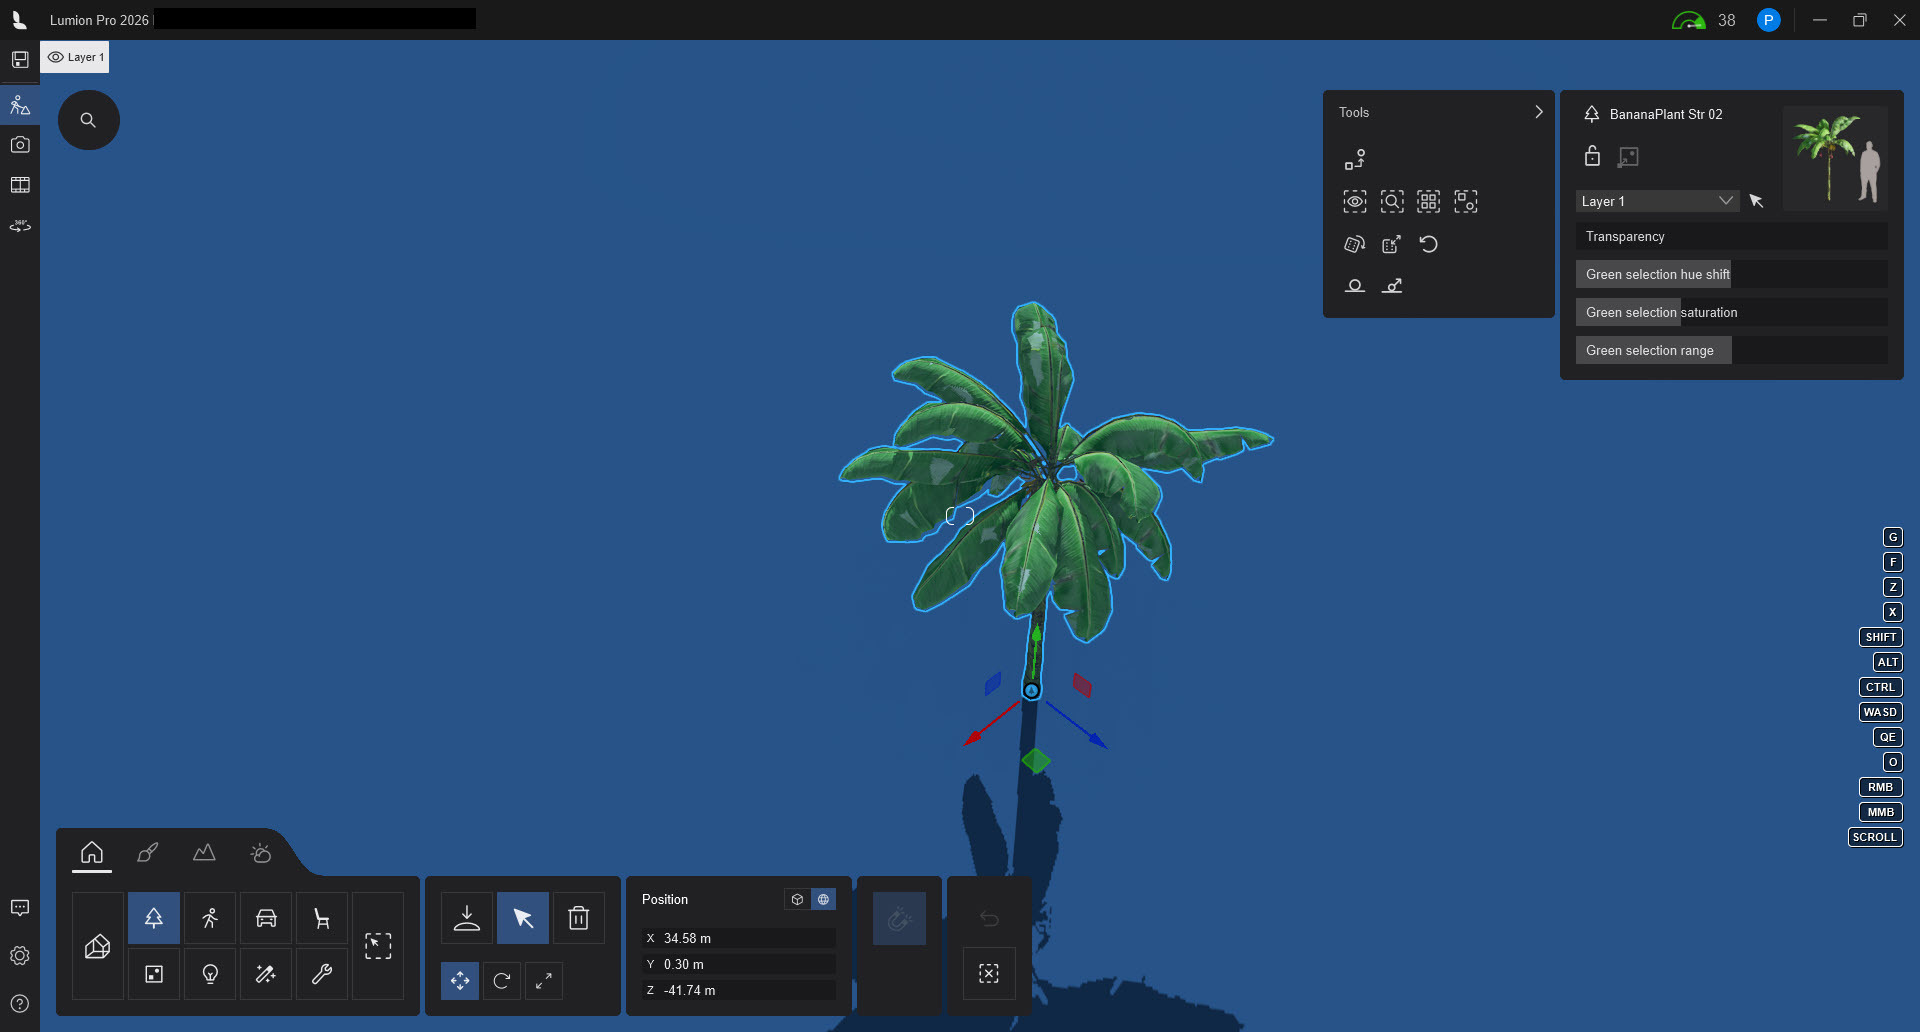
Gizmo
When you select an Object.
|
|
|
|
Move
|
Rotate
|


- The Gizmo is a small, semitransparent indicator that appears next to the Object you have selected while in Move or Rotate mode.
- It allows you to move or rotate Objects using three handles, one for each axis:
Red for the X Axis, Green for the Y Axis, and Blue for the Z Axis. - Press the M key as a shortcut to Move Objects and R to Rotate them.
Auto Snap

- Having this setting enabled while placing certain Objects will make them automatically Snap to the
Nearest Surfaces with the right Orientation. - Models from the Objects Category snap and align to the surfaces of the Imported Models, depending
on their spatial designation (for example: a chair will snap and align to the closest horizontal surface,
while a painting will align its orientation to the closest vertical surface). - Models from the People Category containing the 'Seated' tag snap and align to the closest Seating Object.
You can also use the Tools in the Advanced Options menu while Objects are selected to perform the following actions:
|
|
|
Find Object in Library Clicking on this button will take you to that Object in the Library (works for Imported Models as well). |
|
|
|
Select all identical Objects Selects All Copies of an Object, whether it's a Library model or an Imported Model. |
|
|
|
Select all Objects in the Same Category Clicking this will select all Objects in the same Category as the one selected (Imported Models, Nature, Transport, Objects, People and Animals, Groups, Lights, Effects, and Utilities). |
|
|
|
Randomize Rotation Randomizes the Heading of selected Objects. |
|
Randomize Size Randomizes the Size of selected Objects. The maximum size can be adjusted with a slider (0%-50%). |
|
|
|
Reset Size/Rotation Resets the Scale, Heading, Pitch, and Bank values back to default. |
|
Flip Object Mirrors the selected Object. Currently only available for Library models from the Transport and Objects categories. |
|
|
|
Place on Landscape Will move the Object down to the nearest Imported Model surface or the Lumion Landscape terrain. Hold the G key while placing or moving a model to use this function. |
|
Conform to Landscape
This will automatically adjust the Object's Rotation values so that it Conforms to the Surface where it was placed. Great for placing Objects on slopes or other inclined surfaces. Hold the F key while placing or moving an Object to use this function. |
When multiple Objects are selected, you also get the following options:
|
Space Objects Evenly Allows you to specify the Distance Between each of the selected Objects (0.1 - 50m). |
|
Align Positions
This will Move All selected Object to the position of the First selected Object. |
|
Align Rotation
This will set the Rotation values of All selected Objects to the values of the First selected Object. |
|
Align Size This will set the Scale value of All selected Objects to the value of the First selected Object. |
|
Align Height This will Move All selected Objects to the Height of the First selected Object. |
When selecting Imported Models, you get an additional option:
|
Place Object on Node This allows you to Replace multiple Proxy Objects in the model with Library Objects All At Once. |
The article below explains this feature in more detail:
Grouping Objects in Lumion can be an effective tool for keeping your Projects in order. You can swiftly manage and rearrange Related Elements Together as cohesive units, providing a seamless and time-saving approach to achieving a well-structured and Organized scene.
This feature becomes even more valuable as you can Save and Load Groups in Category Folders to build your own Group Library, enabling the easy reuse of meticulously arranged Objects across different Projects.

This can accelerate workflow efficiency, allowing for the seamless transfer of well-organized and pre-configured elements to use in different architectural visualizations.
See this Tutorial to learn more about Groups and how to use them to manage your scenes effectively:
Switch between Move and Rotate
|
Copy Objects
|
Raise/Lower Objects
|
Scale Objects
|
Multi Selection
|
Conform to Landscape
|
Align heading to surface
|
Whole selection looks at mouse
|


To see all available shortcuts, follow this article:
- Knowledge Base: What are the keyboard shortcuts in Lumion 2024 and newer?
Inspiration:
Need some inspiration on how to set up your scenes? Follow our Visualization Guides:
See Also:

More Learning Pathways:
-
Knowledge Base: Introduction to Lumion
-
Knowledge Base: Latest Features and Improvements of Lumion 2025
-
Knowledge Base: Importing and Working with 3D Models
-
Knowledge Base: Materials Workflow
-
Knowledge Base: Lighting
-
Knowledge Base: Content Library
-
Knowledge Base: Latest Features and Improvements of Lumion 2024