
Menu:
1. Background:
Here are some typical questions about the visibility of artificial lighting.
-
Why are my lights not visible in the day?
-
How do you make artificial lighting visible during the daytime?
-
You find that in Build Mode and also Photo/Movie Mode, that the artificial lighting you have placed in your Scene is not visible in the daytime.
-
How do you improve the visibility of artificial lighting during the day?
1.1: Quick checklist: “My lights are not visible in the day”
Is one or more of these true?
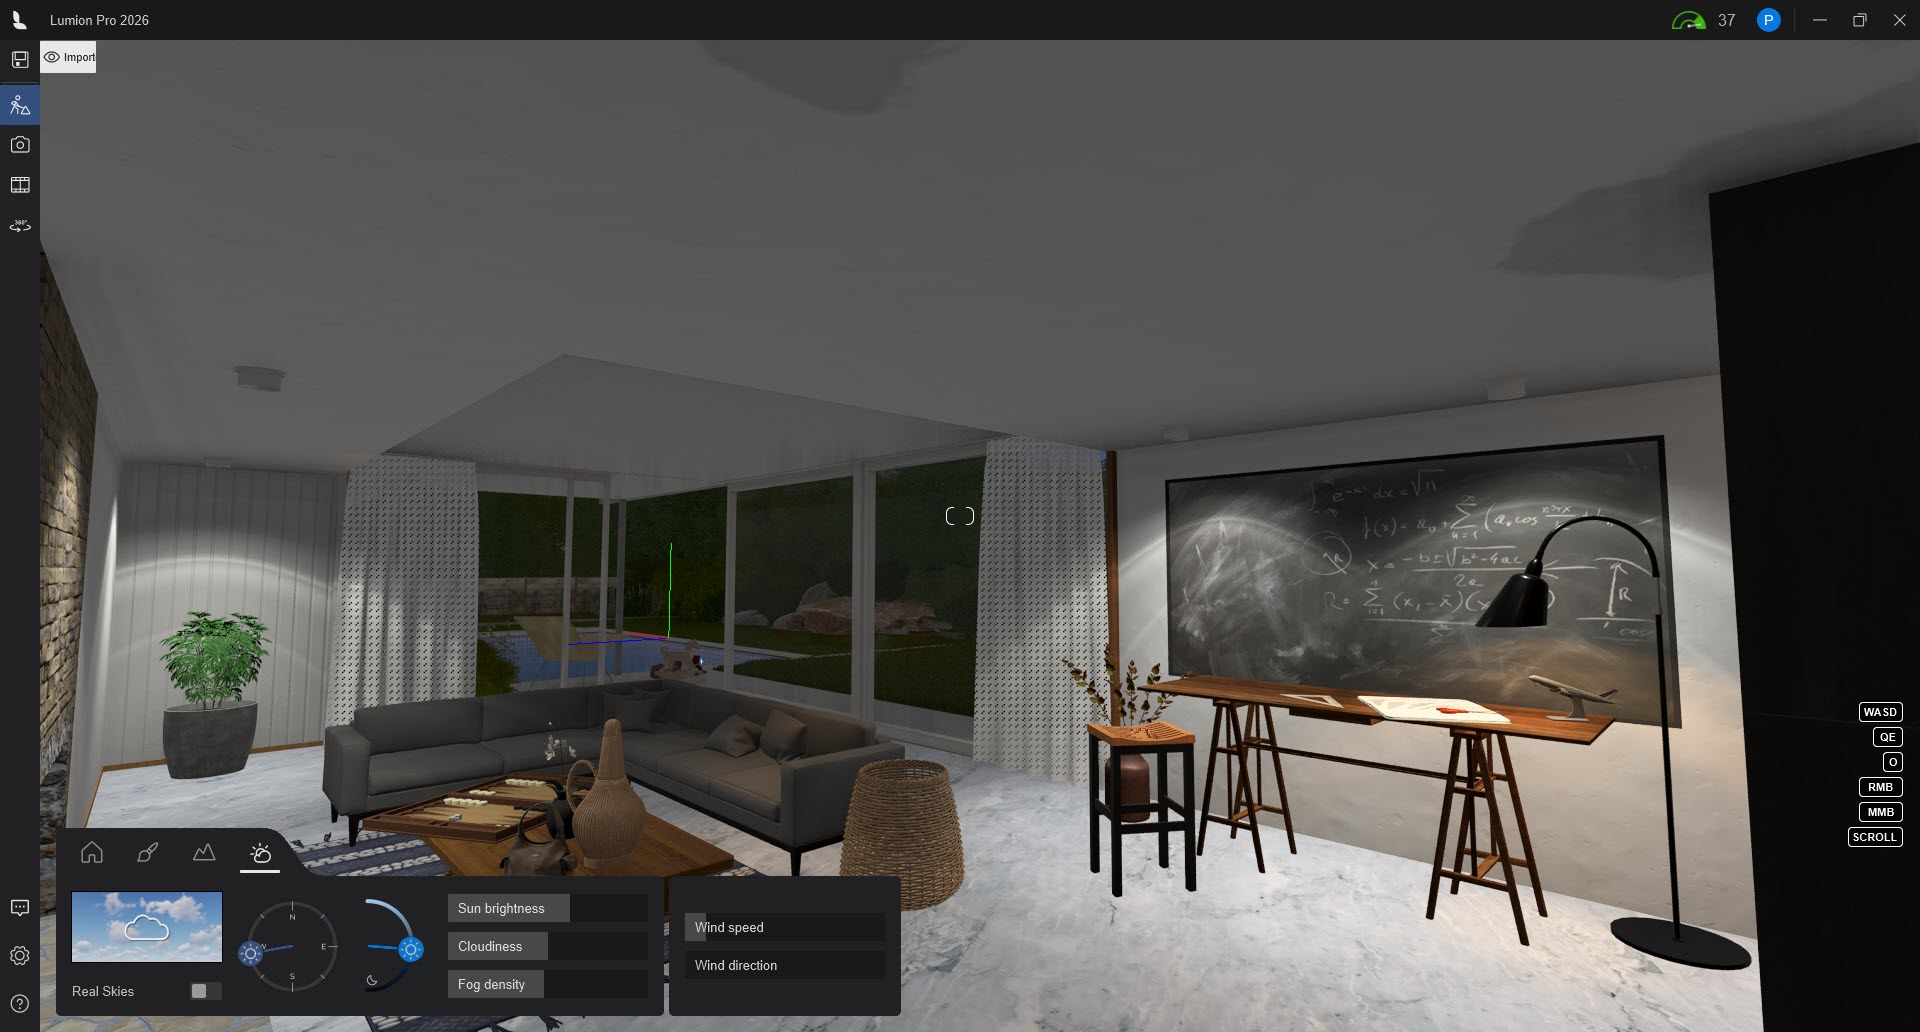
- Is your Scene using a very bright, clear Real Sky with high Brightness / Sun intensity?
- Is the Sun height high (midday) with strong Sun brightness?
- Are you previewing in Build Mode only, or in Photo/Movie Mode with the full effect stack?
- Are your lights and emissive materials using sensible lumen/nit values, but still invisible?
1.2: Rendering of Artificial Lighting
How do you improve the rendering of artificial lighting for day time renders? This also relates to the lighting, and focuses on setting up the articial lights and Effects for the right level of lighting in the Output Modes:
In this article, we go over some basics about how to work with Build Mode when adding in your artificial lights.
1.3: On Emissive Material for Lighting
Emissive Materials can cast light (Lumion 2023 +) as well as have a glow. But how do you get the settings right so the light is seen?
- Knowledge Base: How do you Manage the Emissiveness of a Material [for Lighting]
2. The Lighting System in Lumion 2023 and newer:
The lighting system underwent significant changes to enhance realism in version 2023. With the new engine, artificial lighting competes with the Brightness of the Sky and Sun, just like in real life. This means that artificial lighting may appear less prominent during very bright daylight scenes compared to previous versions.
With ray tracing, light behaves in a more natural way, interacting with objects in a scene with greater accuracy, creating more detailed shadows, reflections, and highlights. This results in a more lifelike visual experience, especially when working with complex lighting scenarios.
To elaborate: the new engine has a unified lighting system based on real-world units (Lumens or Nits), which differs from the previous versions (Lumion 12 and older) where lights were controlled by different shaders with 'imaginary' units. As a result, adjustments to the Sky and Sun, as well as the units of measure for artificial light sources were necessary for optimal and true-to-life lighting outcomes. This was also required to integrate Ray Tracing lighting behavior into Lumion.
To give you an example of how light was recalibrated:
- The noonday Sun in Lumion measures around 1,600,000,000 Nits and the night sky around 0.001 Nits.
- Emissiveness has a maximum of 10,000 Nits and Area Lights a maximum of 100,000 Nits (the average for a TV is 500-1500 Nits).
- Spotlights and OmniLights have a max of 100,000 Lumens. (1.0 Lumen = 0.29 Nits)
So, if the rest of the world's light is overpowering the light from the artificial lights, then they will appear diminished. If you decrease the Real Skies slider for Sky Brightness and/or Sun Intensity in the Sun Effect, it will enable better visibility of the light from the artificial lights.
For example, here's a lamp with a 1000 Lumen Omni Light in a very sunny daytime scene:
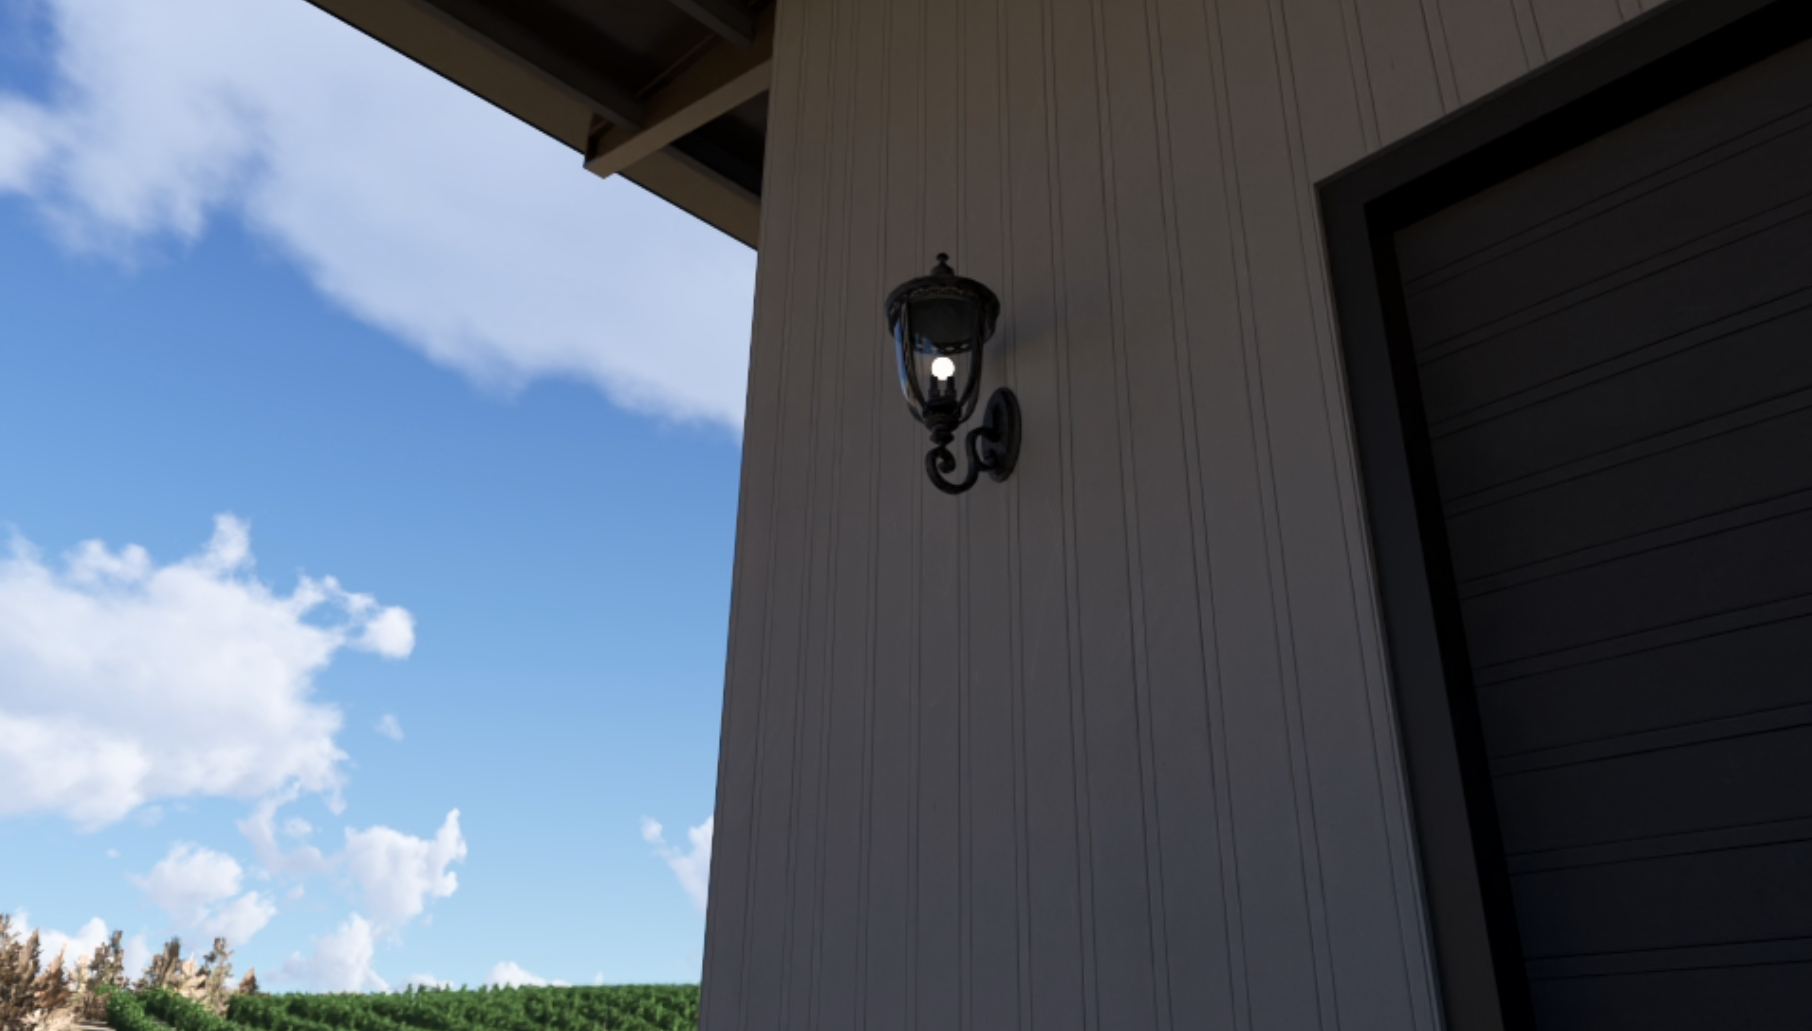
The light is not very visible or glowing because the Skylight and Sunlight Brightness are 'eclipsing' the light from the Omnilight.
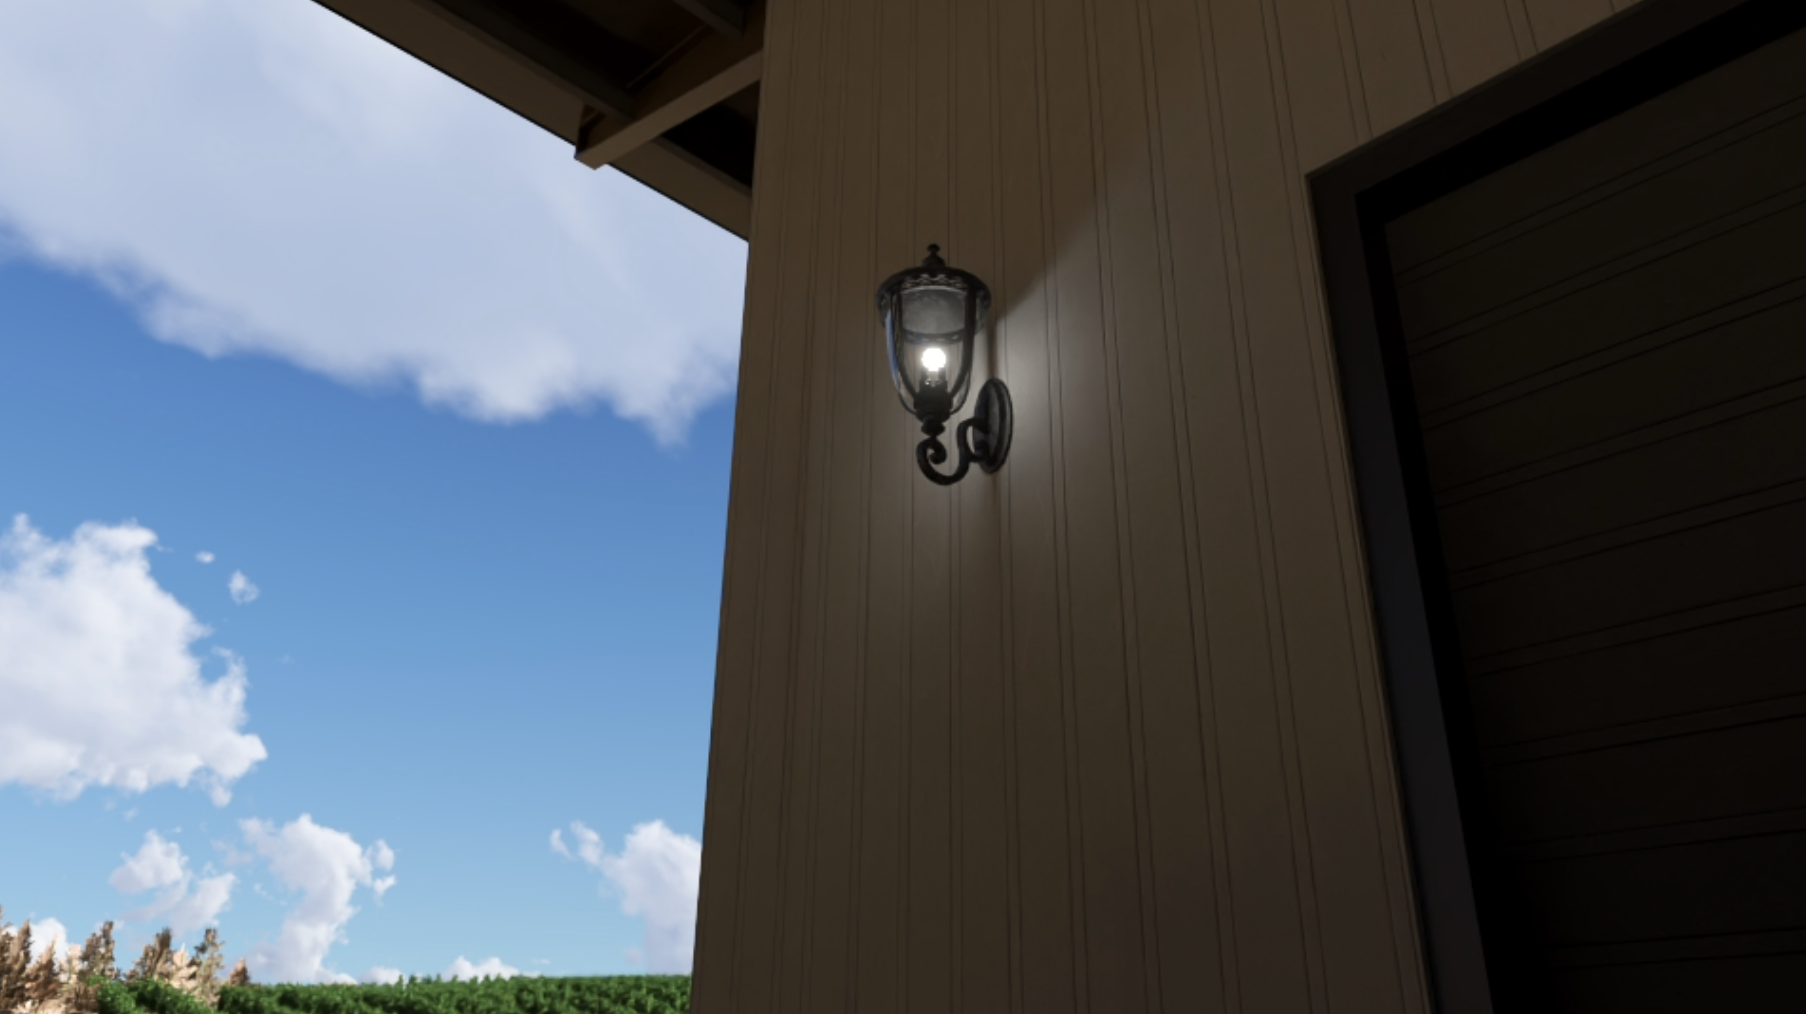
Rather than increasing the Omnilight's Brightness, I can decrease the Sun and Sky Brightness to balance the ambient lighting and make the lamp's light more visible:
Lastly, to compensate for a darker Sky (if needed), you can increase the Background Brightness slider in the Sky/Real Skies Effects to increase the Sky Map's Brightness without affecting the overall ambient lighting.
Also, if you're currently in Build Mode, it's important to note that in the Rasterization engine, light doesn't bounce, resulting in evenly distributed Brightness across both interior and exterior spaces. This means that even in indoor scenes without windows, you'll observe uniform brightness throughout shaded areas.
However, switching to Ray Tracing mode offers a more accurate representation of how light behaves. In this mode, you'll notice that without windows to allow light entry, the interior appears darker, and artificial lights become more visible as they behave realistically. Essentially, no windows mean no natural light infiltration, which is accurately depicted in Ray Tracing mode.
Though, if you'd rather not work with Ray tracing in daylight scenes while placing lights, then consider adding the Sky Effect in a Photo and reduce the Sky Brightness. Then you can work in Build with Effects. See further on this below.
This forum topic may help you gain further understanding of the levels to set for artificial lights.
- Lumion Community: Lighting in RT???
We also cover the lighting again as it affects rendering in:
Working In Build Mode:
3. Change the Lighting settings for Build Mode to Suit:
You can probably work out these ones and what to do, but lets quickly go over them so we've got things covered.
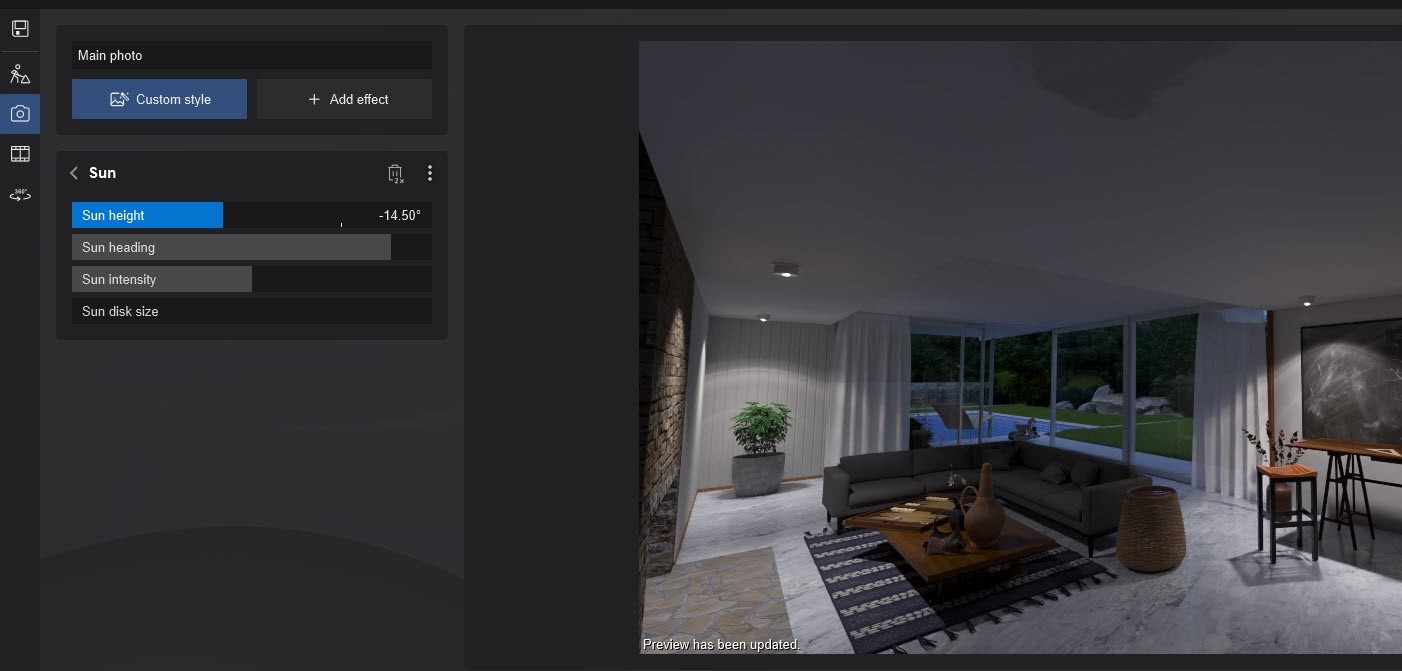
3.1: Sun Height
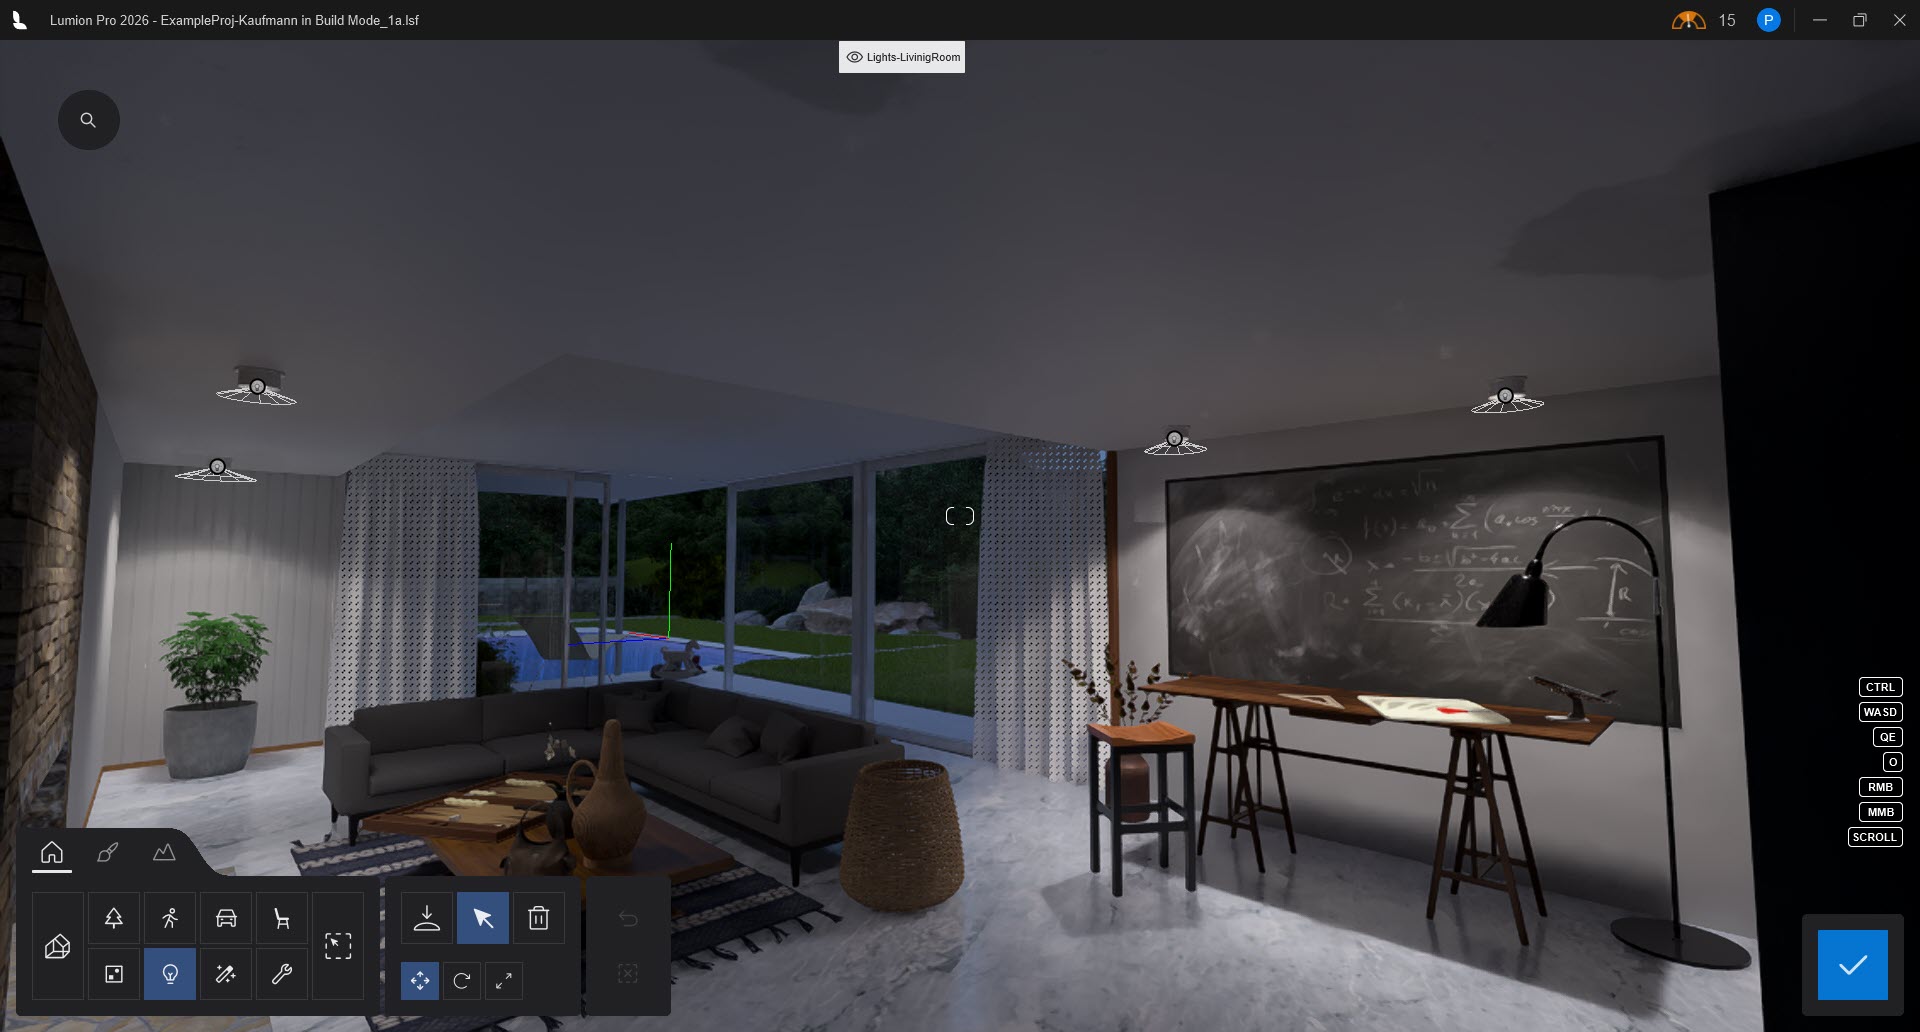
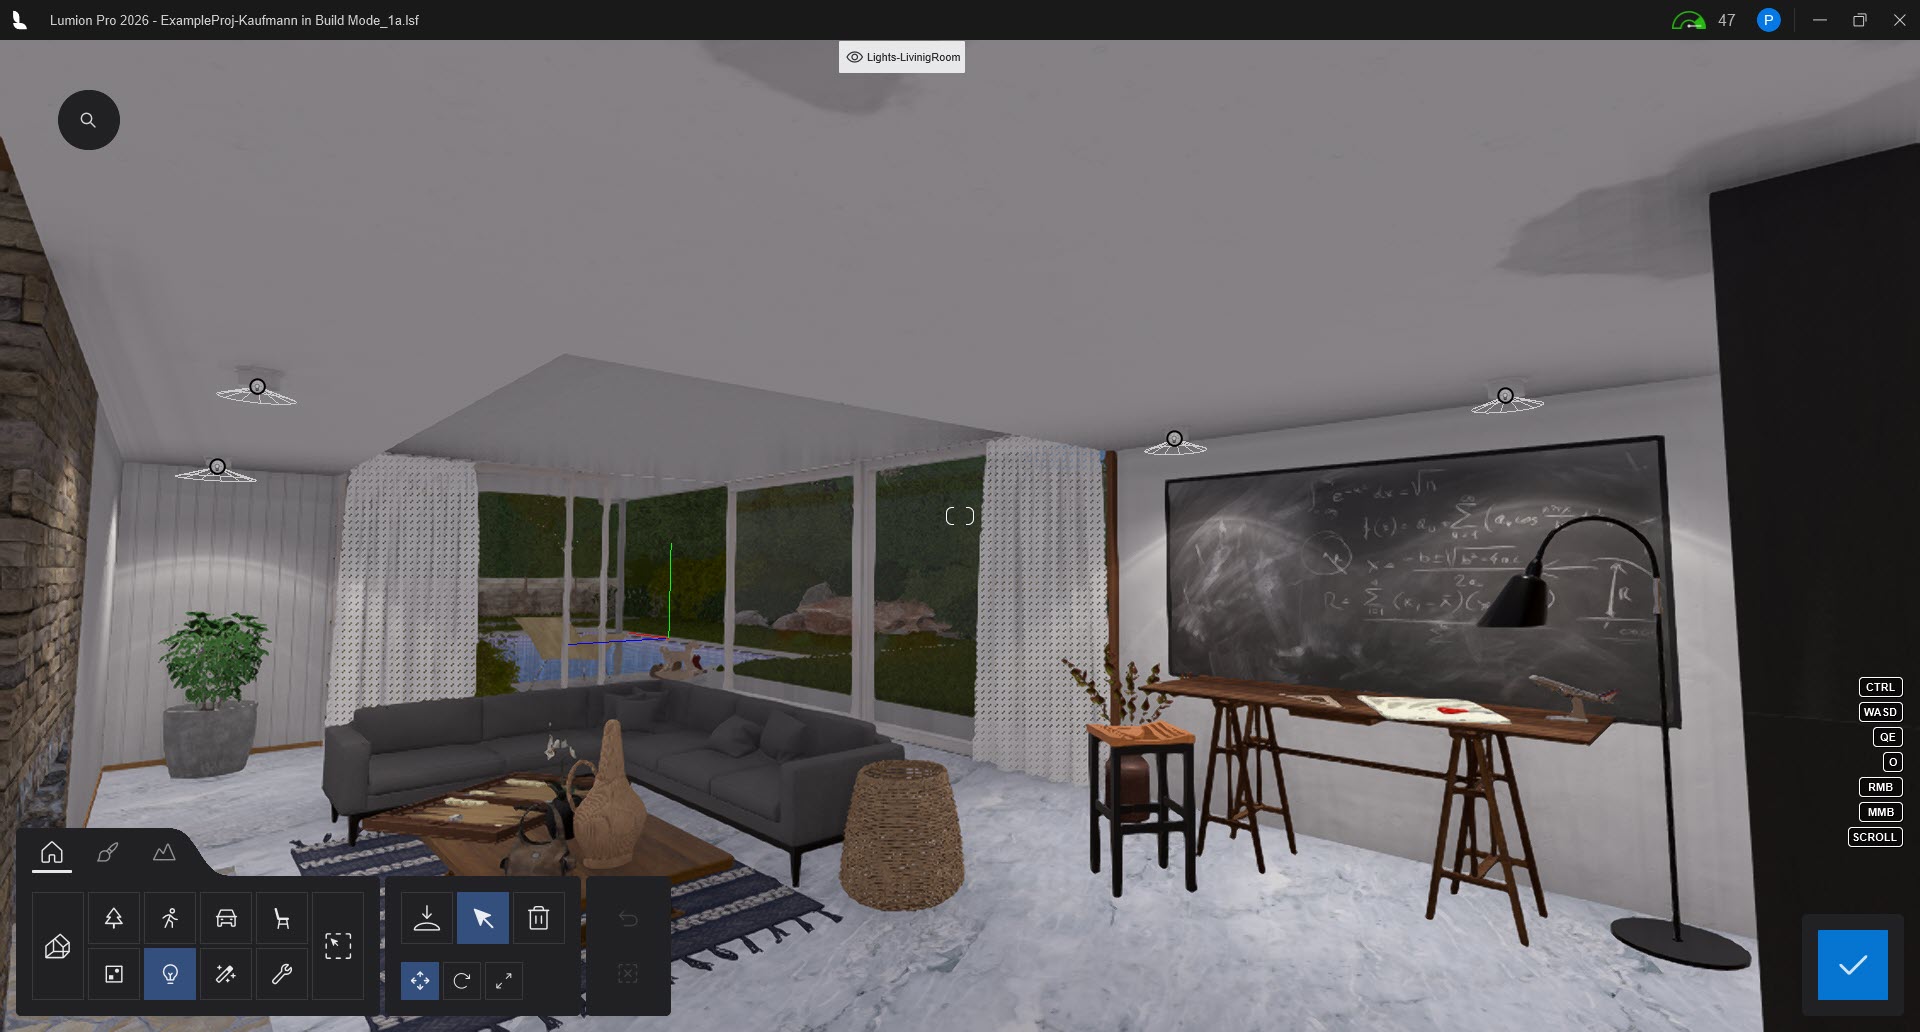
Lighting Not Showing, Example Project -Kaufmann
Build Mode - Lounge/Living Room:
Placing More Lights - umbra not seen:

Weather - lower the Suns Height:
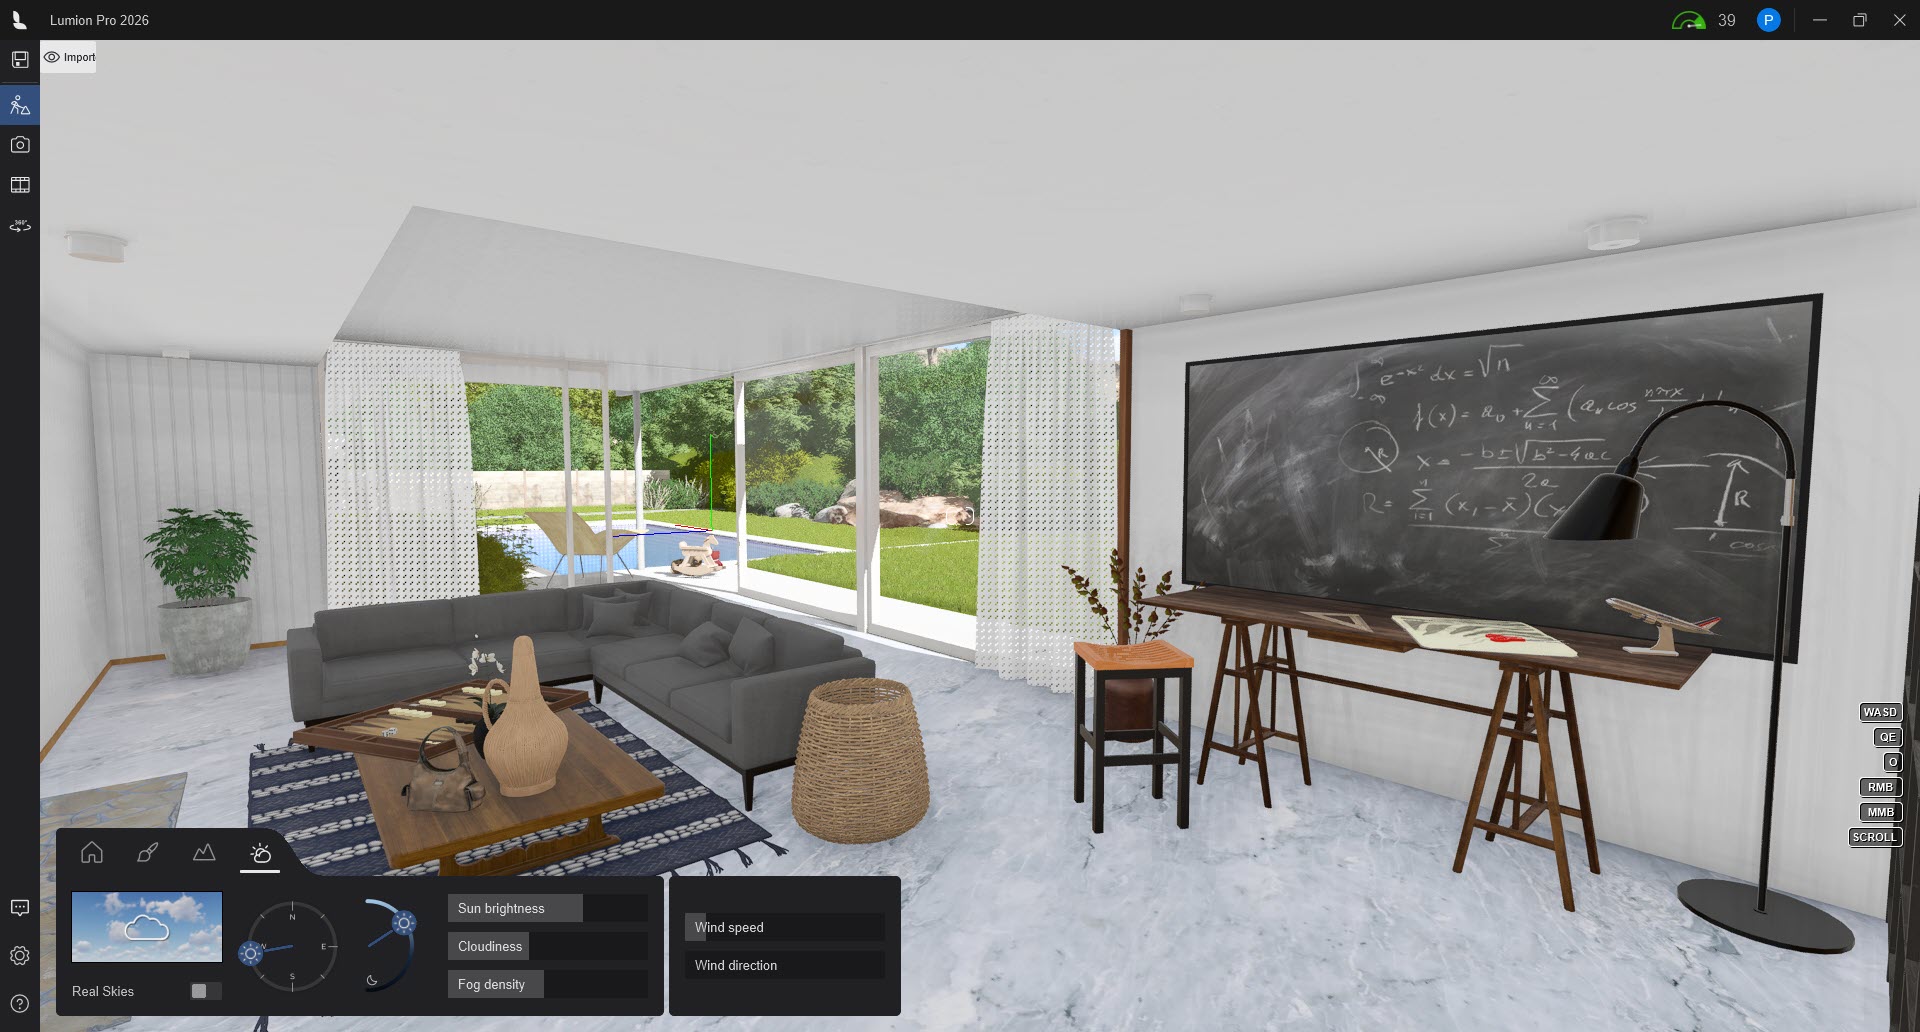
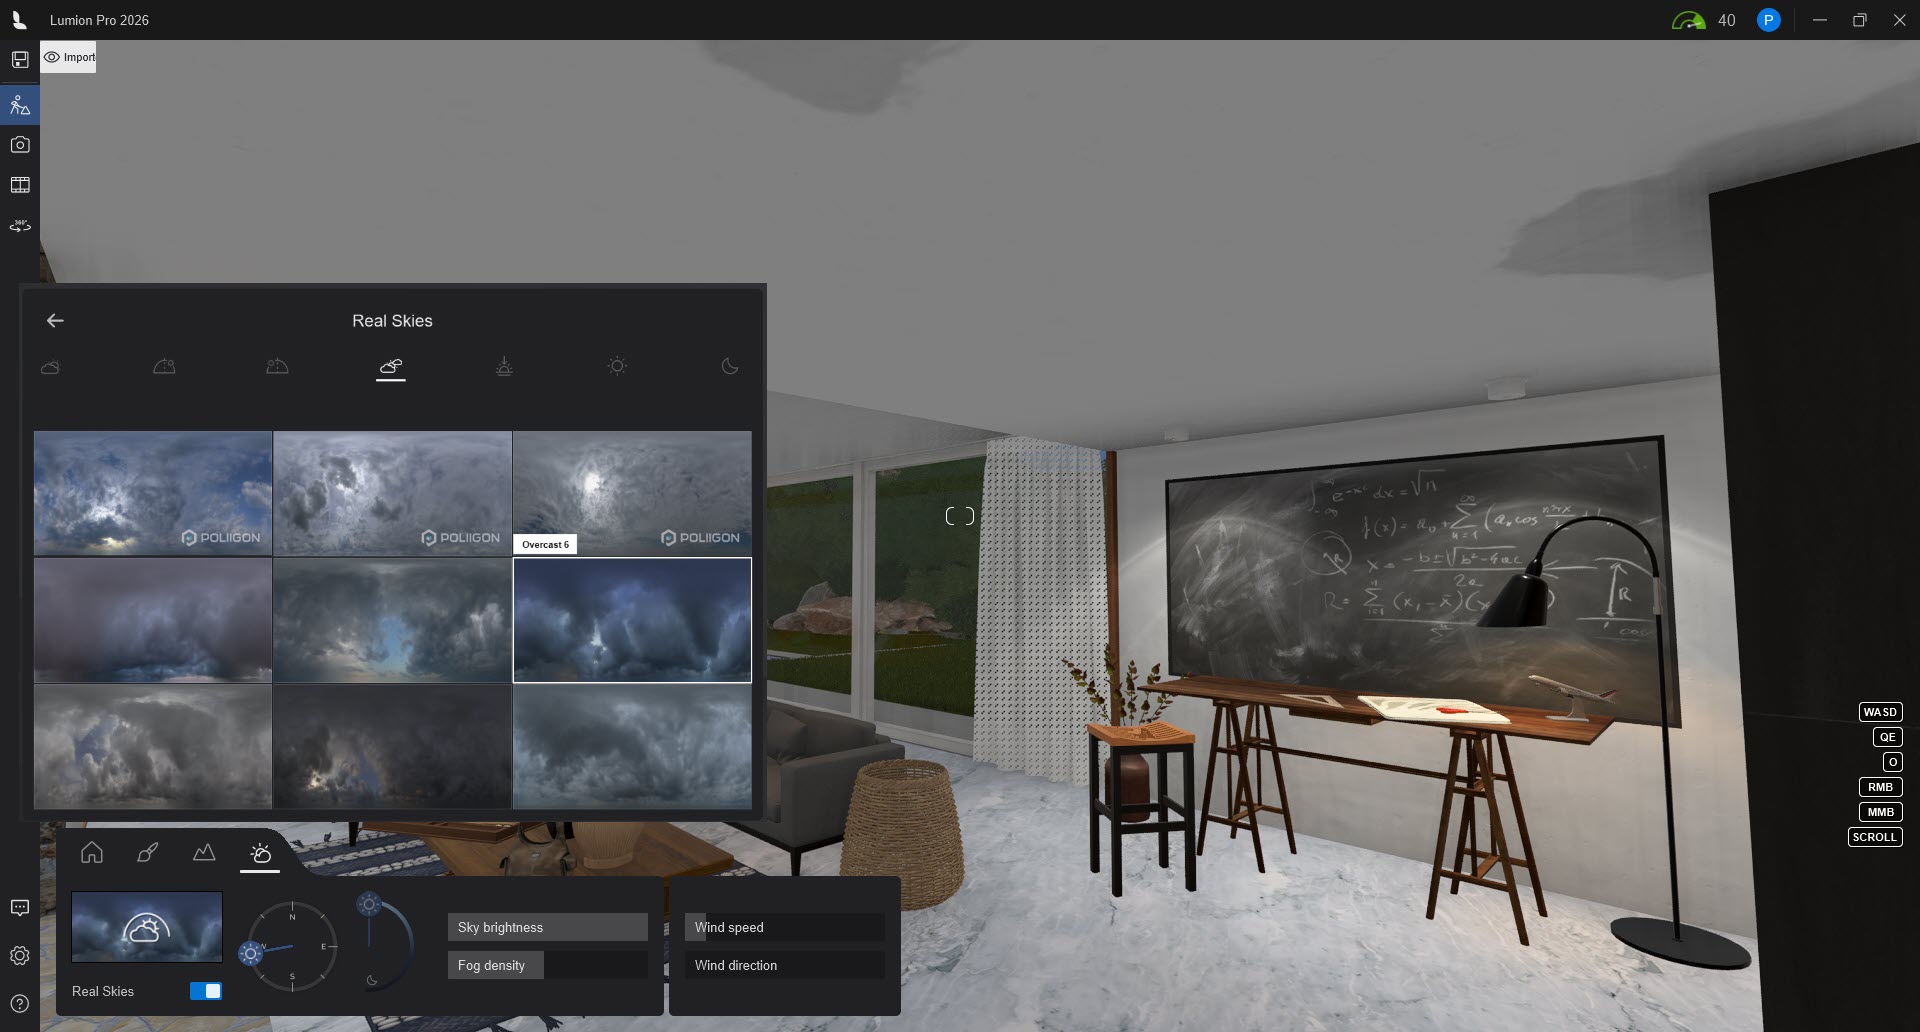
3.2: Change to a Real Skies with low light levels or a Night sky
You can always turn it off later on, but remember that it takes presence over any in the Effect (it does)
Weather: Real Skies Overcast for lower indirect lighting of the whole Scene:
Of course, this sometimes reduces your ability to work easily in Build Mode and see where things are. But its always super quick just to change the Weather Sun Height or turn off the Real Skies.
You want to set your artificial lights to a level that reflects the lighting design, the space, the aesthetics, the visualization for emotion.
See this article:
Note: We will generally suggest not to add in additional wide scope lighting such as Area Lights as this then moves away from the intention of realistic expression of the design. It also complicates the lighting and rendering where other lighting options such as changing Sky Brightness may do the job better. Try to use as a last resort. In general, also, any lights added would be expected to reflect the physical lighting design, so adding an Area Light where no light is expected or no physical light has been modelled reduces the realism. If for example an Area Light is added its source will show in renders, That's because there is an expected source - model of the lamp, even if you have not yet modelled the lamp. More about this in another article:
3.3: Change the Lighting for Photo/Movie/360 Panorama Modes
Your Scene rendering will in most cases ultimately rely on the Effects Stack you add for Photos and Clips.
Some users might allow the general Build Mode settings to flow through to Photos and Clips. But in most cases for best practice, control of the quality of the final render rests with the Effects and settings you make in the Effects Stack.
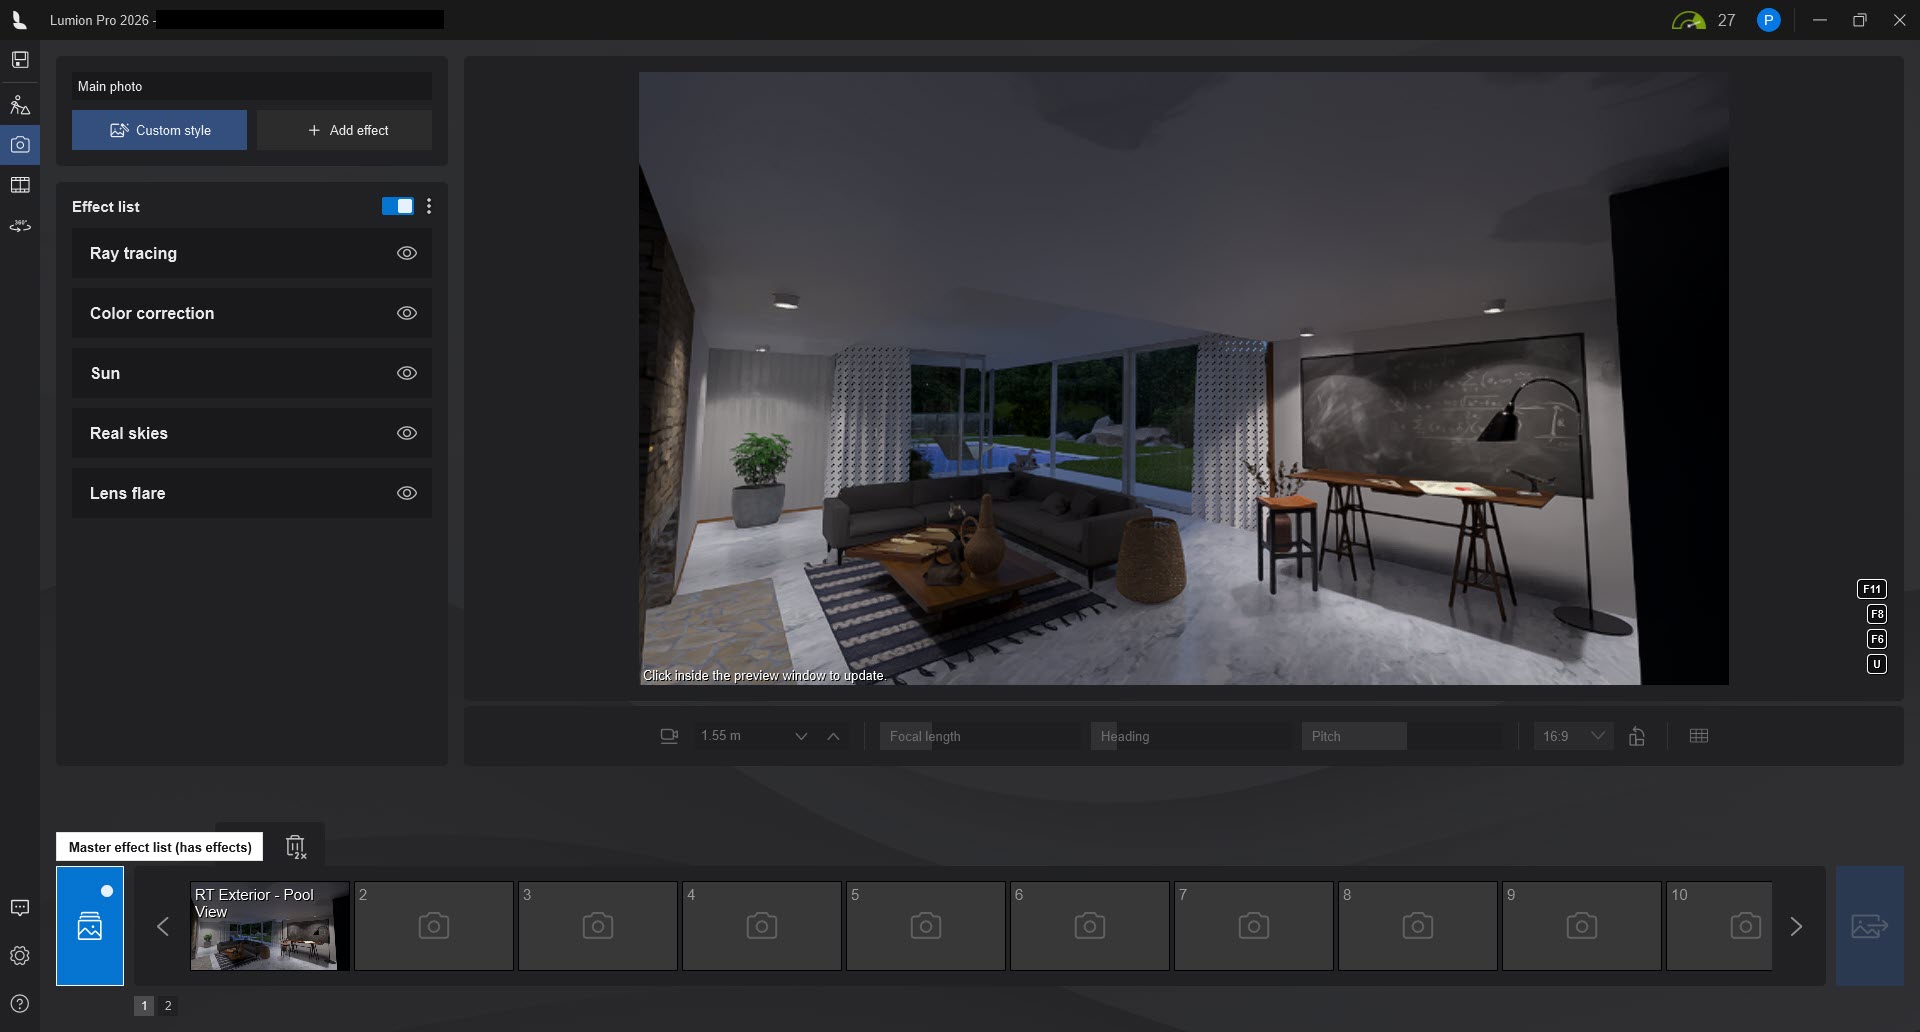
Using the key lighting Effects - Sun, Real Skies and Lens Flare for added camera control lets you set interim to final levels and help make it easier to see and adjust the direct and artificial lighting for your renders.
If you make use of the Master Effects this makes it even easier. Individual Photos or Clips can still have their own, but these common to Scene Effects can apply across all that need to and make changes and updating that much easier.
Used in combination with Build with Effects, when needed for working on your lighting is a powerful workflow in Lumion Pro.
4. Simple Workflows by using Master Effects:
Add the key Lighting Effects to the Master Effects List. Set the Sun or Real Skies so the lighting is low enough for the artificial lights to be seen. These can be adjusted later on to suit individual Photo needs as well as daylight requirements.
At the moment, this is a way to have the lighting apply across any Photos (or same method in Movies for Clips).
It's as temporary as is needed whilst setting up the Scene and artificial lighting.
For those used to older versions, the overbright artificial lights in Build Mode no longer apply due to the new, completely revised Lighting System for Lumion 2023 and newer for Ray Tracing (and Rasterization).
4.1: Use Build With Effects
Then work in Build Mode with this lighting established.
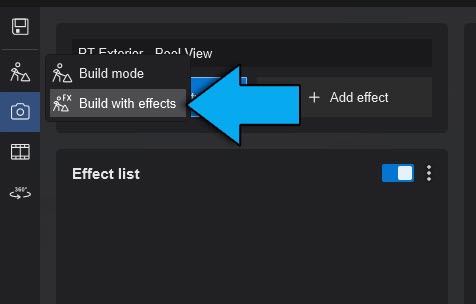
(Lumion 2025.1, 2026.0 and newer)
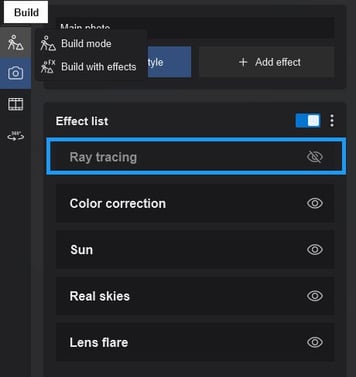
4.2: Without Ray Tracing - Rasterization
If you want to work purely in Rasterization, then turn the Ray Tracing Effect Off in the Master Effects List, one quick switch to change rendering modes.
Noting that for Build With Effects the Samples for Ray Tracing are down-sampled to ensure you have reasonable performance for the Build With Effects Mode and the larger working screen.
4.3: Working in the Scene
You can then work on the lighting placements for your Scene, and decide then or later about what level of Brightness the artificial lights should be set at, for cases where that lighting is intended to be seen during daylight. See further the article mentioned next.
5. Work together with this guide in Photo/Movie/360 Panorama Modes for Rendering:
6. For additional information:
-
Knowledge Base: Transitions: How to Set up Lumion 2023 for Good renders
-
Knowledge Base: Reference: Artificial Lighting values
Please see section 2.8 in this article for a more in-depth explanation and solution:
- Knowledge Base: Transitions: Why does my Project look different in Lumion 2023 compared to previous versions
-
Learning Pathways: Lighting
-
Video Tutorial: Lumion 2023: How to achieve realistic interior lighting with ray tracing in Lumion 2023
-
Knowledge Base (External Video Tutorial): Lumion 2023: Interior lighting tips ft. Architecture Inspirations
-
Lumion Community: Lights at Max Lum not Visible in Build, Preview, or Render