
-png-3.png)
24 Feb 2025
Introducing Lumion 2026
This release focuses on everyday usability and workflow improvements across Build, Photo, Movie, and Panorama modes, helping you manage larger scenes with greater speed, control, and consistency from concept to final output.
A key addition is the new Area Placement tool, which lets you populate large areas in seconds using multiple Nature assets with controlled variation, density, and direction. Together with an expanded library of high-quality photogrammetry vegetation and revamped outdoor assets, creating rich, natural environments is now faster and more scalable.
Section workflows are improved with the Fill-in Clipping Plane, automatically generating cap surfaces for cleaner architectural cutaways in both still renders and animations.
Output quality also advances with the upgraded AI Upscaler, now featuring an improved 2X and new 4X mode that enables renders up to 16K resolution while preserving the original render for comparison.
See below for the full list of changes.
Compatibility
- Very Important: Please note that Projects and models saved in version 2026.0 cannot be opened in older versions of Lumion.
- See this article on how to get the new version, and to see how to transfer settings, models, and Projects from older versions of Lumion:
- Knowledge Base: Lumion 2026.0: Everything you need to know
Release Content
- Lumion Website: Lumion 2026.0 - See what's new
- Lumion Blog: Lumion Pro 2026.0 is now available!
- Release Video: Finish projects faster with Lumion Pro 2026.0 – out now!
- Tutorial Video: Lumion 2026 Highlights Overview
Refer also to the new Lumion Product offering:
- Lumion website: Buy Lumion
Menu:
|
1.2: Fill-in Clipping Plane for an Imported Model 1.5: PBR Material and settings sync |
5: Features that are still in development/on the Roadmap
|
Lumion 2026.0: Main Release
1. New feature highlights
1.1: Area Placement

The new Area Placement tool allows you to populate large outdoor spaces with multiple different Objects at once while maintaining a high level of control over distribution and variation.
It is currently available when placing Nature Library items:

Similar to Line and Cluster Placement, you can select a pool of up to 20 items from the Library to place at once, however, Area Placement also features 2 distinct modes for placing items:
1.1.1: Option 1: Select a surface:
![]() When this mode is activated, you can select a Material in the scene to scatter the Objects over that surface.
When this mode is activated, you can select a Material in the scene to scatter the Objects over that surface.
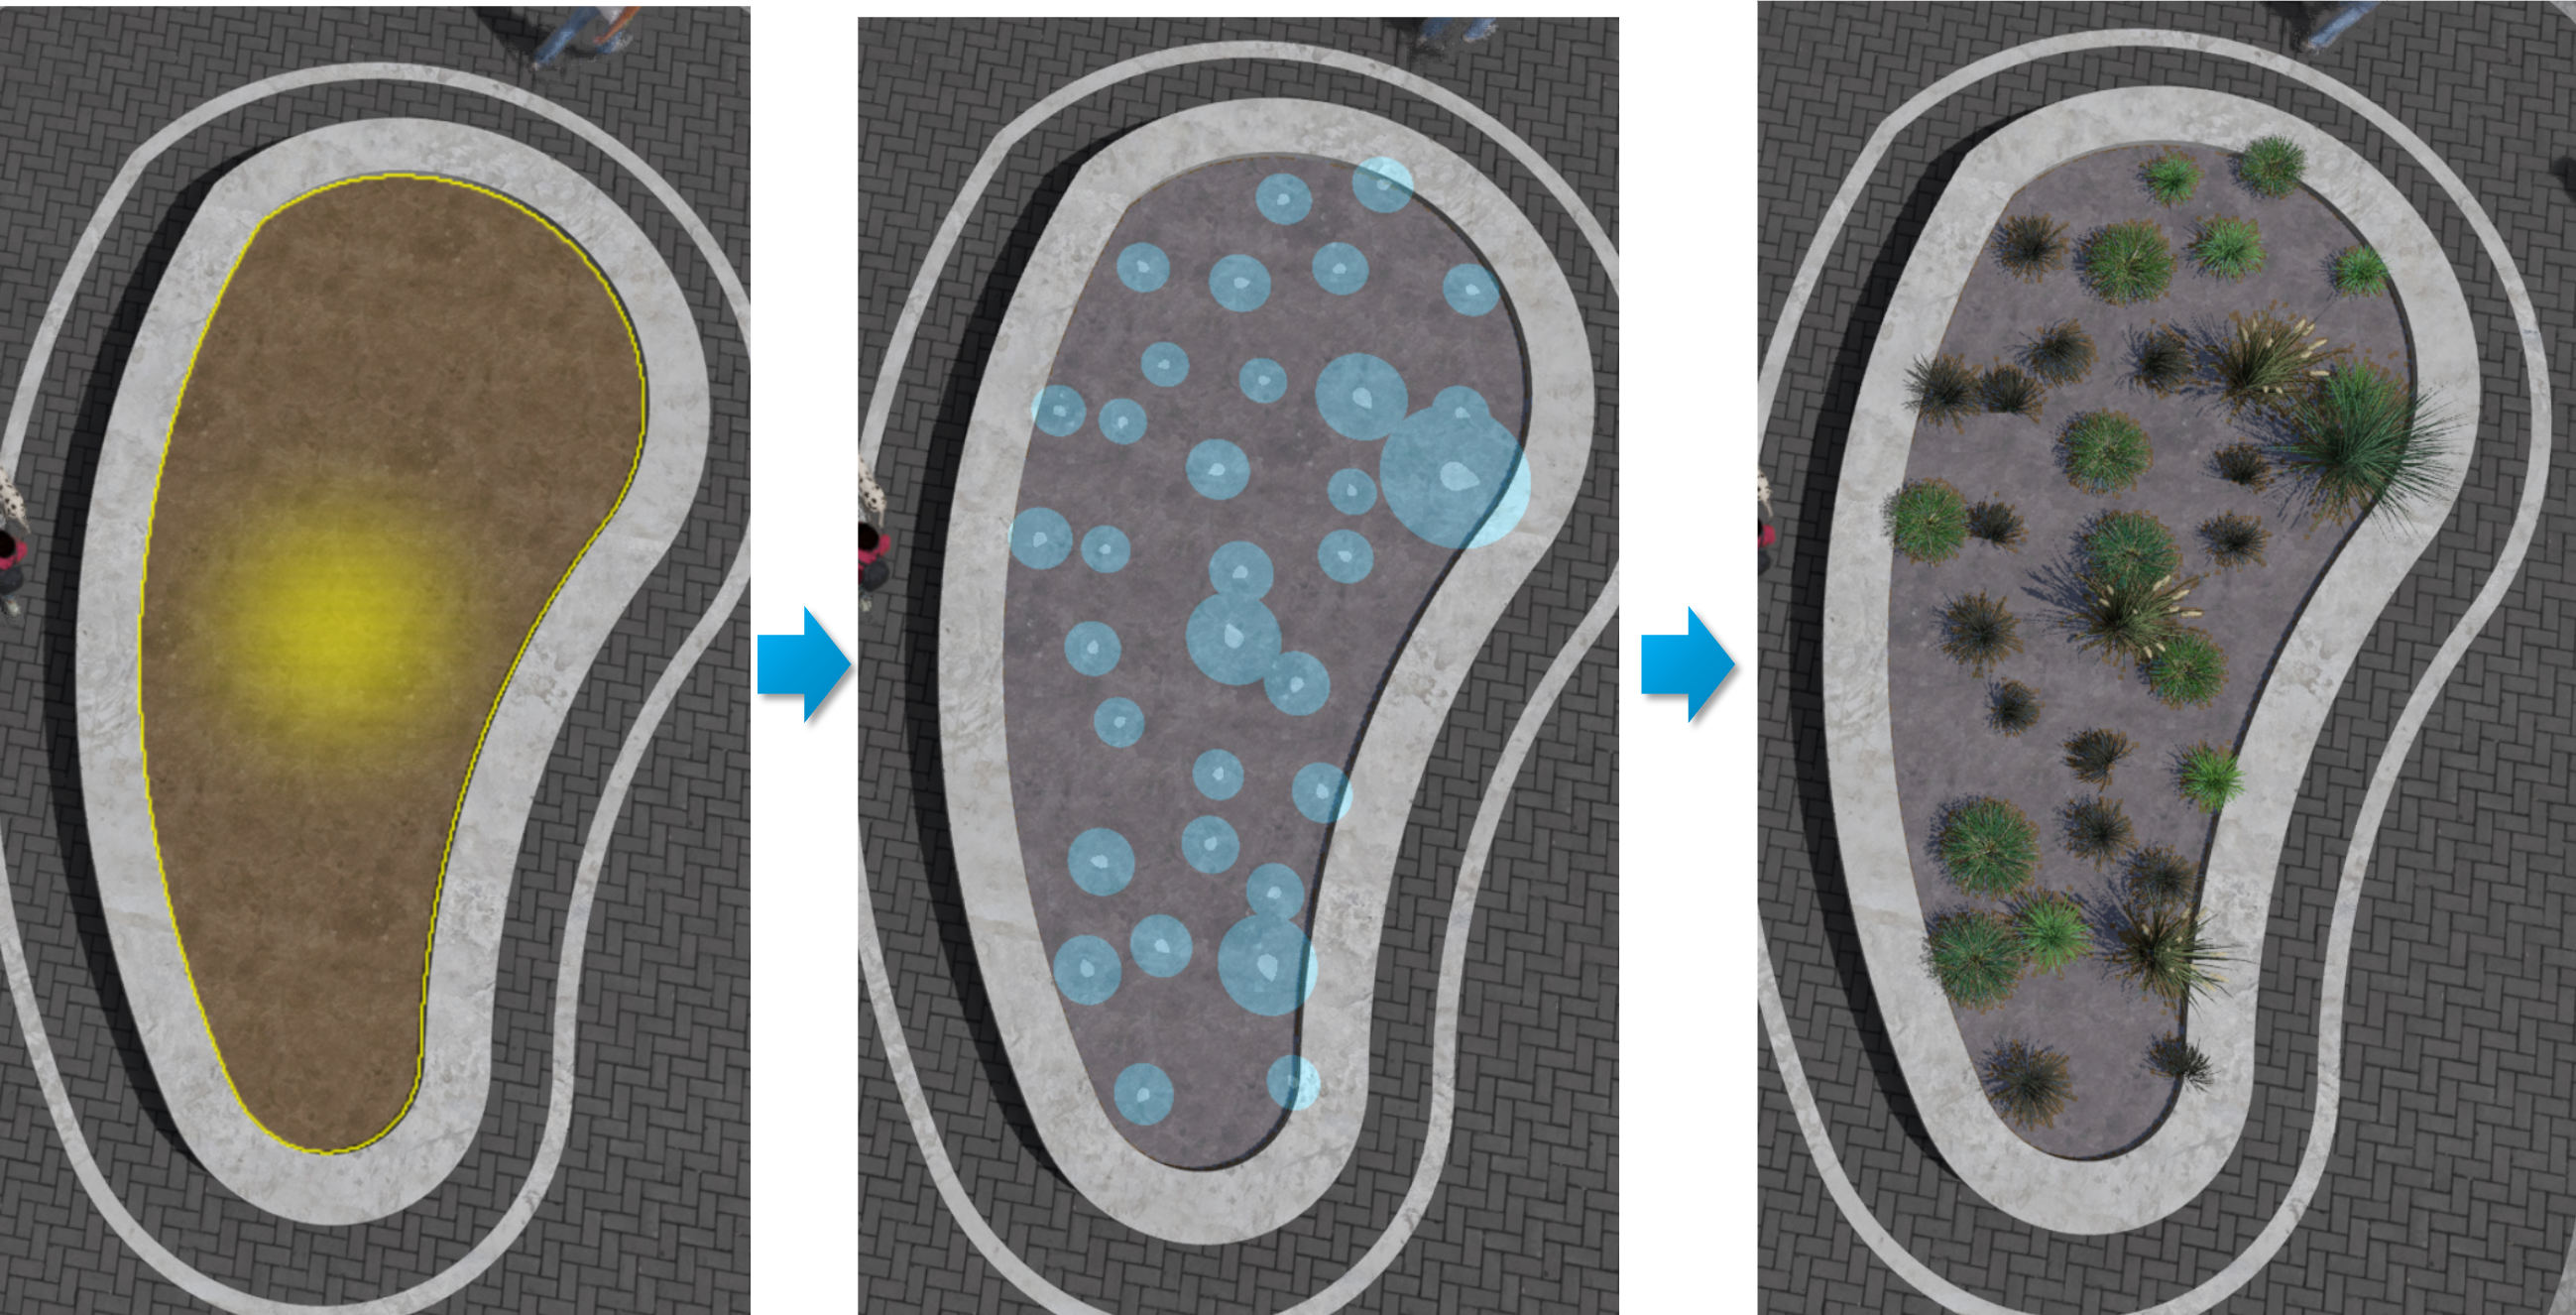
1.1.2: Option 2: Create Area
![]() When this is activated, you can draw a custom area by defining a perimeter using the draggable nodes. It is possible to add additional nodes by holding the
When this is activated, you can draw a custom area by defining a perimeter using the draggable nodes. It is possible to add additional nodes by holding the CTRL key.
Note: You can also choose between straight or curved edges for the perimeter by clicking on Toggle Line Smoothness:
Once the area is defined, you can adjust the following settings:
- Density: This determines the total number of Objects to be placed. For performance reasons, a maximum of 5,000 items can be placed at a time.
- Randomize Positions: This will randomly displace the Objects a bit for a more natural, scattered look.
- Direction: Adjust the direction of all the placed Objects .
- Randomize Direction: Randomize the direction of the placed Objects.
- Placement:
- Place on ground: If this is enabled, all Objects will be placed on the top-most existing surface above the designated area. If not, Objects will be placed where the area placement nodes are.
- Comform to ground: If this is enabled, the placed items will align with the bottom surface.
On the right side, you also have a counter and settings for each Object:
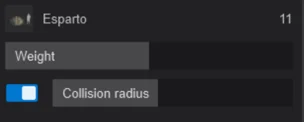
- Weight: This increases or decreases the rate at which an item appears.
- Collision Radius: Increasing the collision radius of an Object will cause it disappear if it touches another Object's collision boundary, giving you more control over how far or close apart items are placed.
You'll see a highlighted preview of the items to be placed while adjusting these settings. Once you are ready to place the Objects, click on the Generate Scene Items button:
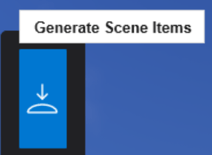
Then confirm and go to Build Mode to finish placement. Note: You can only create one boundary at a time.
This tool makes it especially useful for landscaping workflows, such as placing mixed vegetation, underbrush, trees, or ground cover with natural variation and minimal repetition.
More information on placement tools is available here:
- Knowledge Base: How do you use the Area Placement Tool?
- Knowledge Base: Placing and Changing Objects
1.2: Fill-in Clipping Plane for an Imported Model

The Clipping Plane has been upgraded and now includes a Fill Model setting which automatically closes open geometry created when a model is cut, avoiding that hollow look and allowing to produce cleaner, more solid section cut visuals.
Simply enable the Fill Imported toggle, and Lumion will attempt to generate a mesh where the model is being clipped. If you later move the Clip Plane, clicking on Generate will recreate the mesh.

You can fill with either a Material - such as copying a local Material (texture) or a color for the Material for the generated surface:
This is particularly useful for:
• Architectural section renders
• Interior cutaways
• Construction detail views
To learn more about the Clipping Plane, follow this article:
-
Knowledge Base: How does the Clipping Plane work in Lumion 2026?
1.3: AI Upscaler
The AI Upscaler has been significantly upgraded. The 2X mode now uses the Normal and Depth map for a higher quality output. There's also a new 4X mode that can scale up images by up to 4 times, unlocking 16K (15,360 × 8,640) resolutions.
You can enable this option from the Photo Mode render settings:
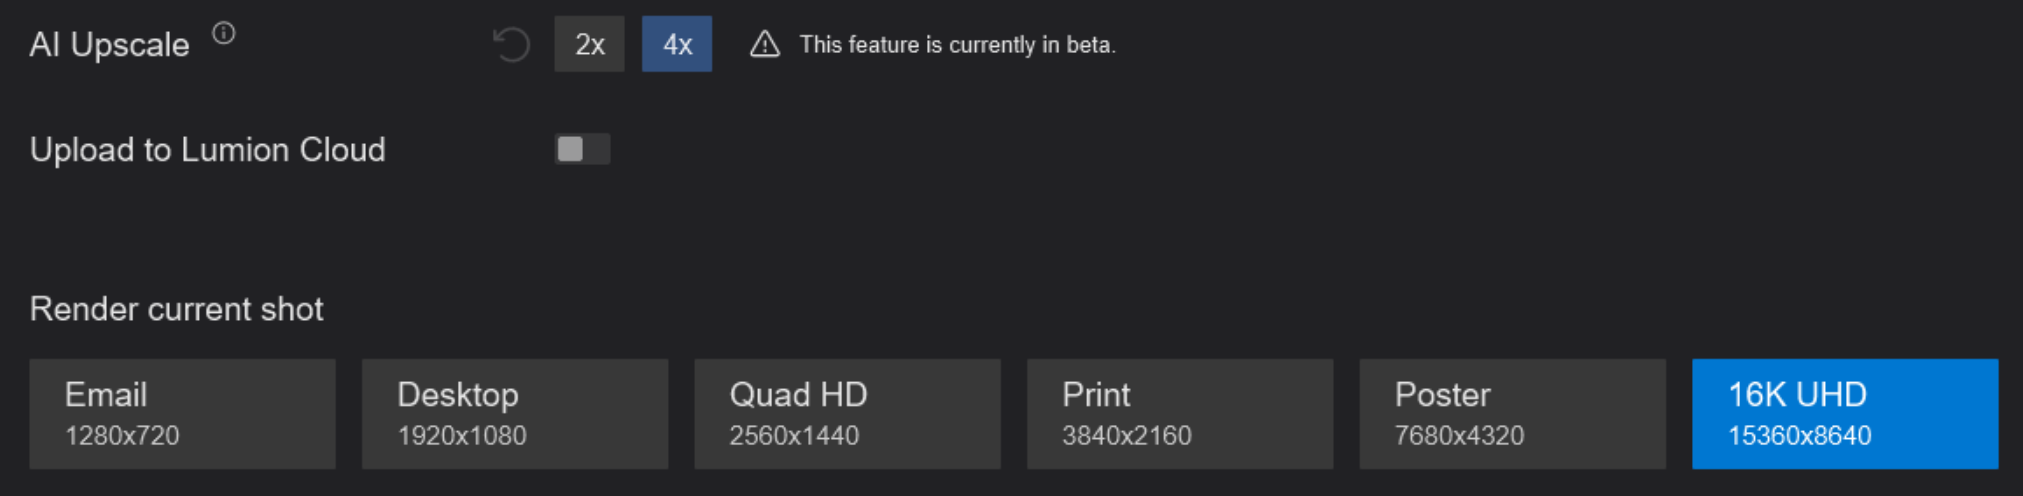
When 4X is selected, you will get the option to render in 16K UHD. Lumion will render an image in Print resolution and then upscale it to 16K. Both images will be saved locally.
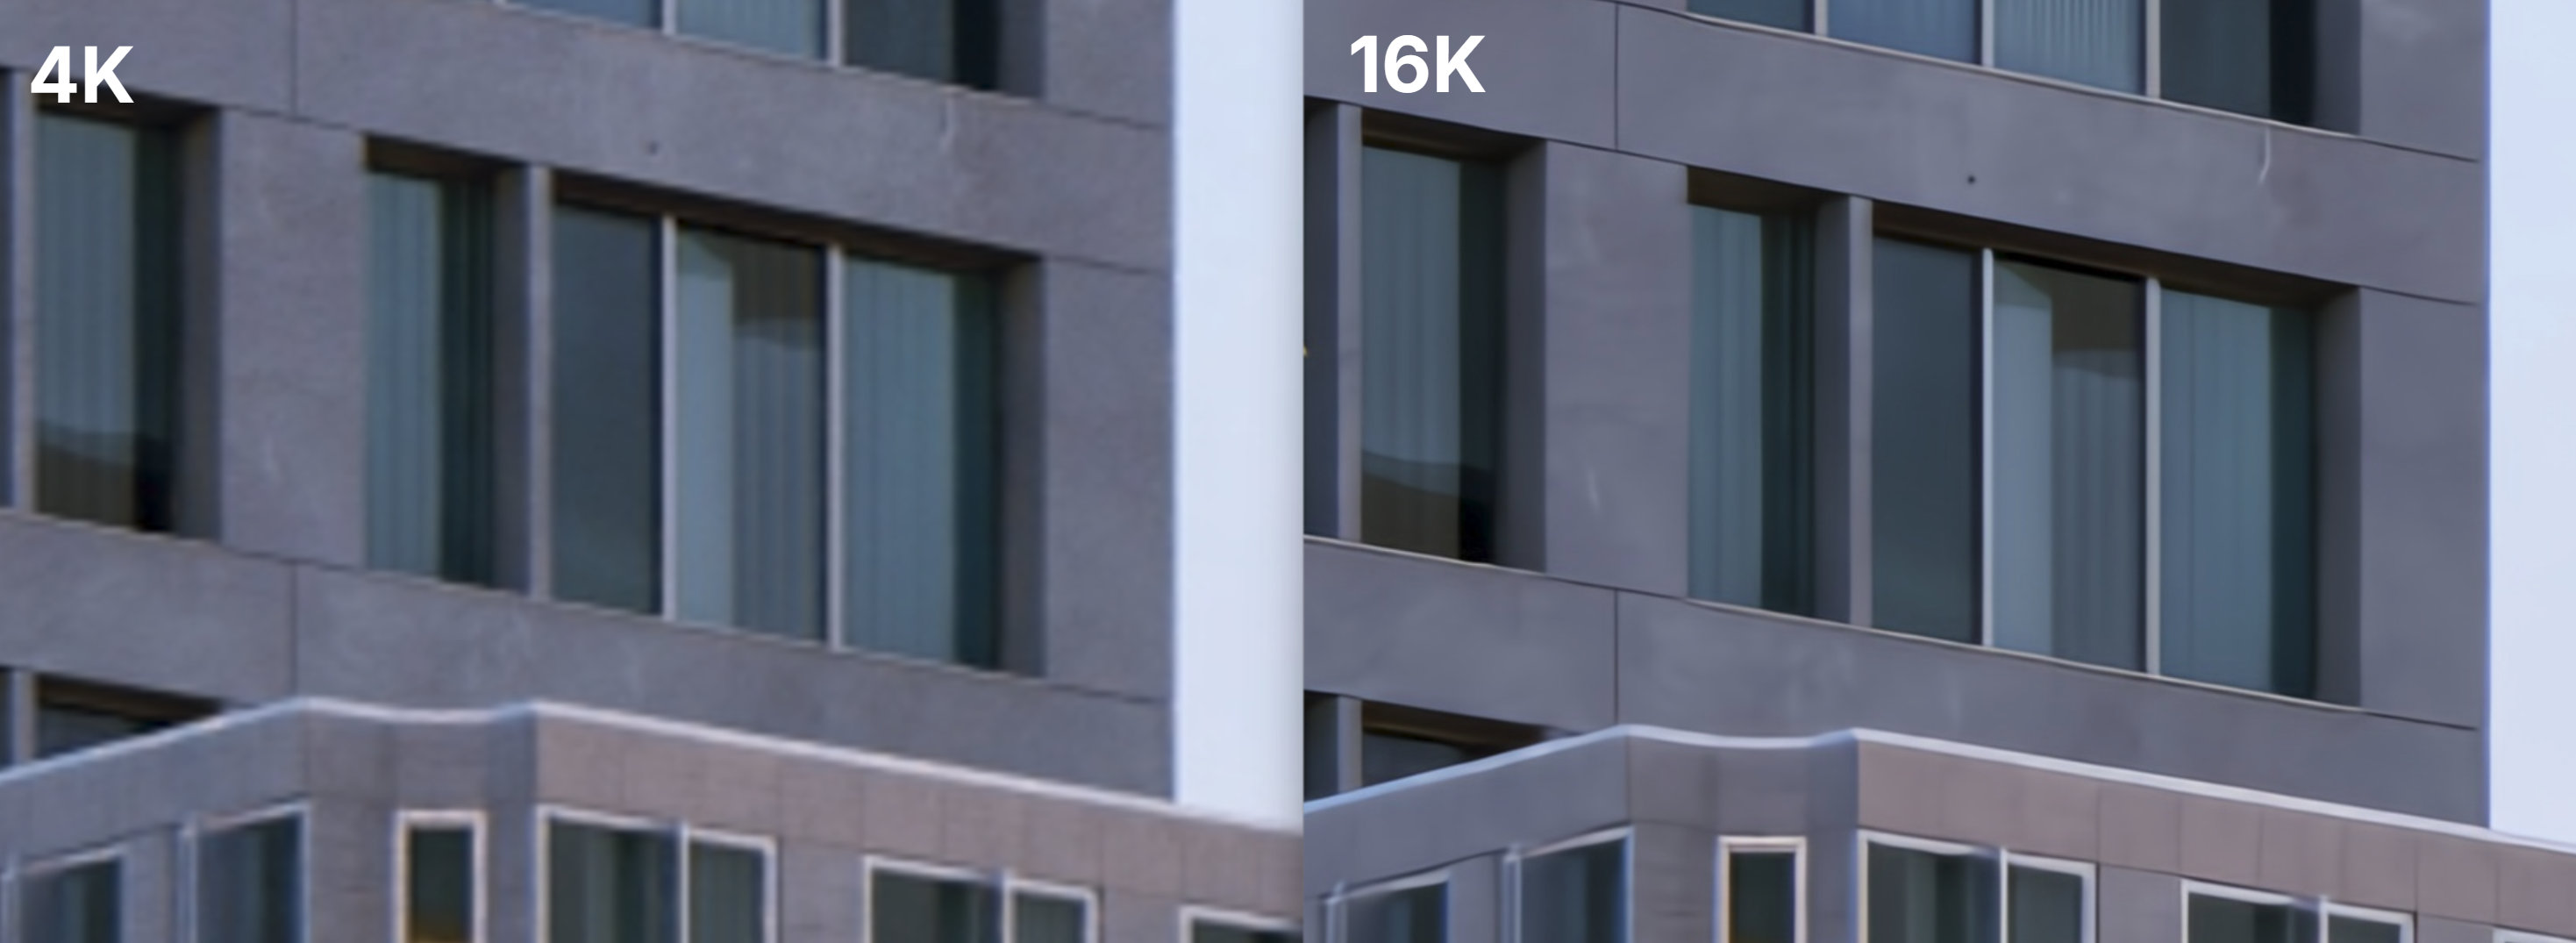
Here's an example of the visual difference between a 4K and 16K render (magnified by 600%).
The AI Upscaler now also displays a progress bar when rendering:

Learn more about the AI Upscaler and available resolutions in the articles below:
-
Knowledge Base: How does the AI Upscaler work in Lumion?
- Knowledge Base:
What Aspect Ratios and Resolutions are available in Lumion?
1.4: New Library Models
Lumion 2026 arrives with new and revamped Library Trees and outdoor Objects. Some of these models are upgraded for detail, and quality versions of older Library models, and others are completely new.
New Nature models include grass patches, clovers, pine trees, broadleaf trees, willows, and more, including hyper-realistic Photogrammetry trees.
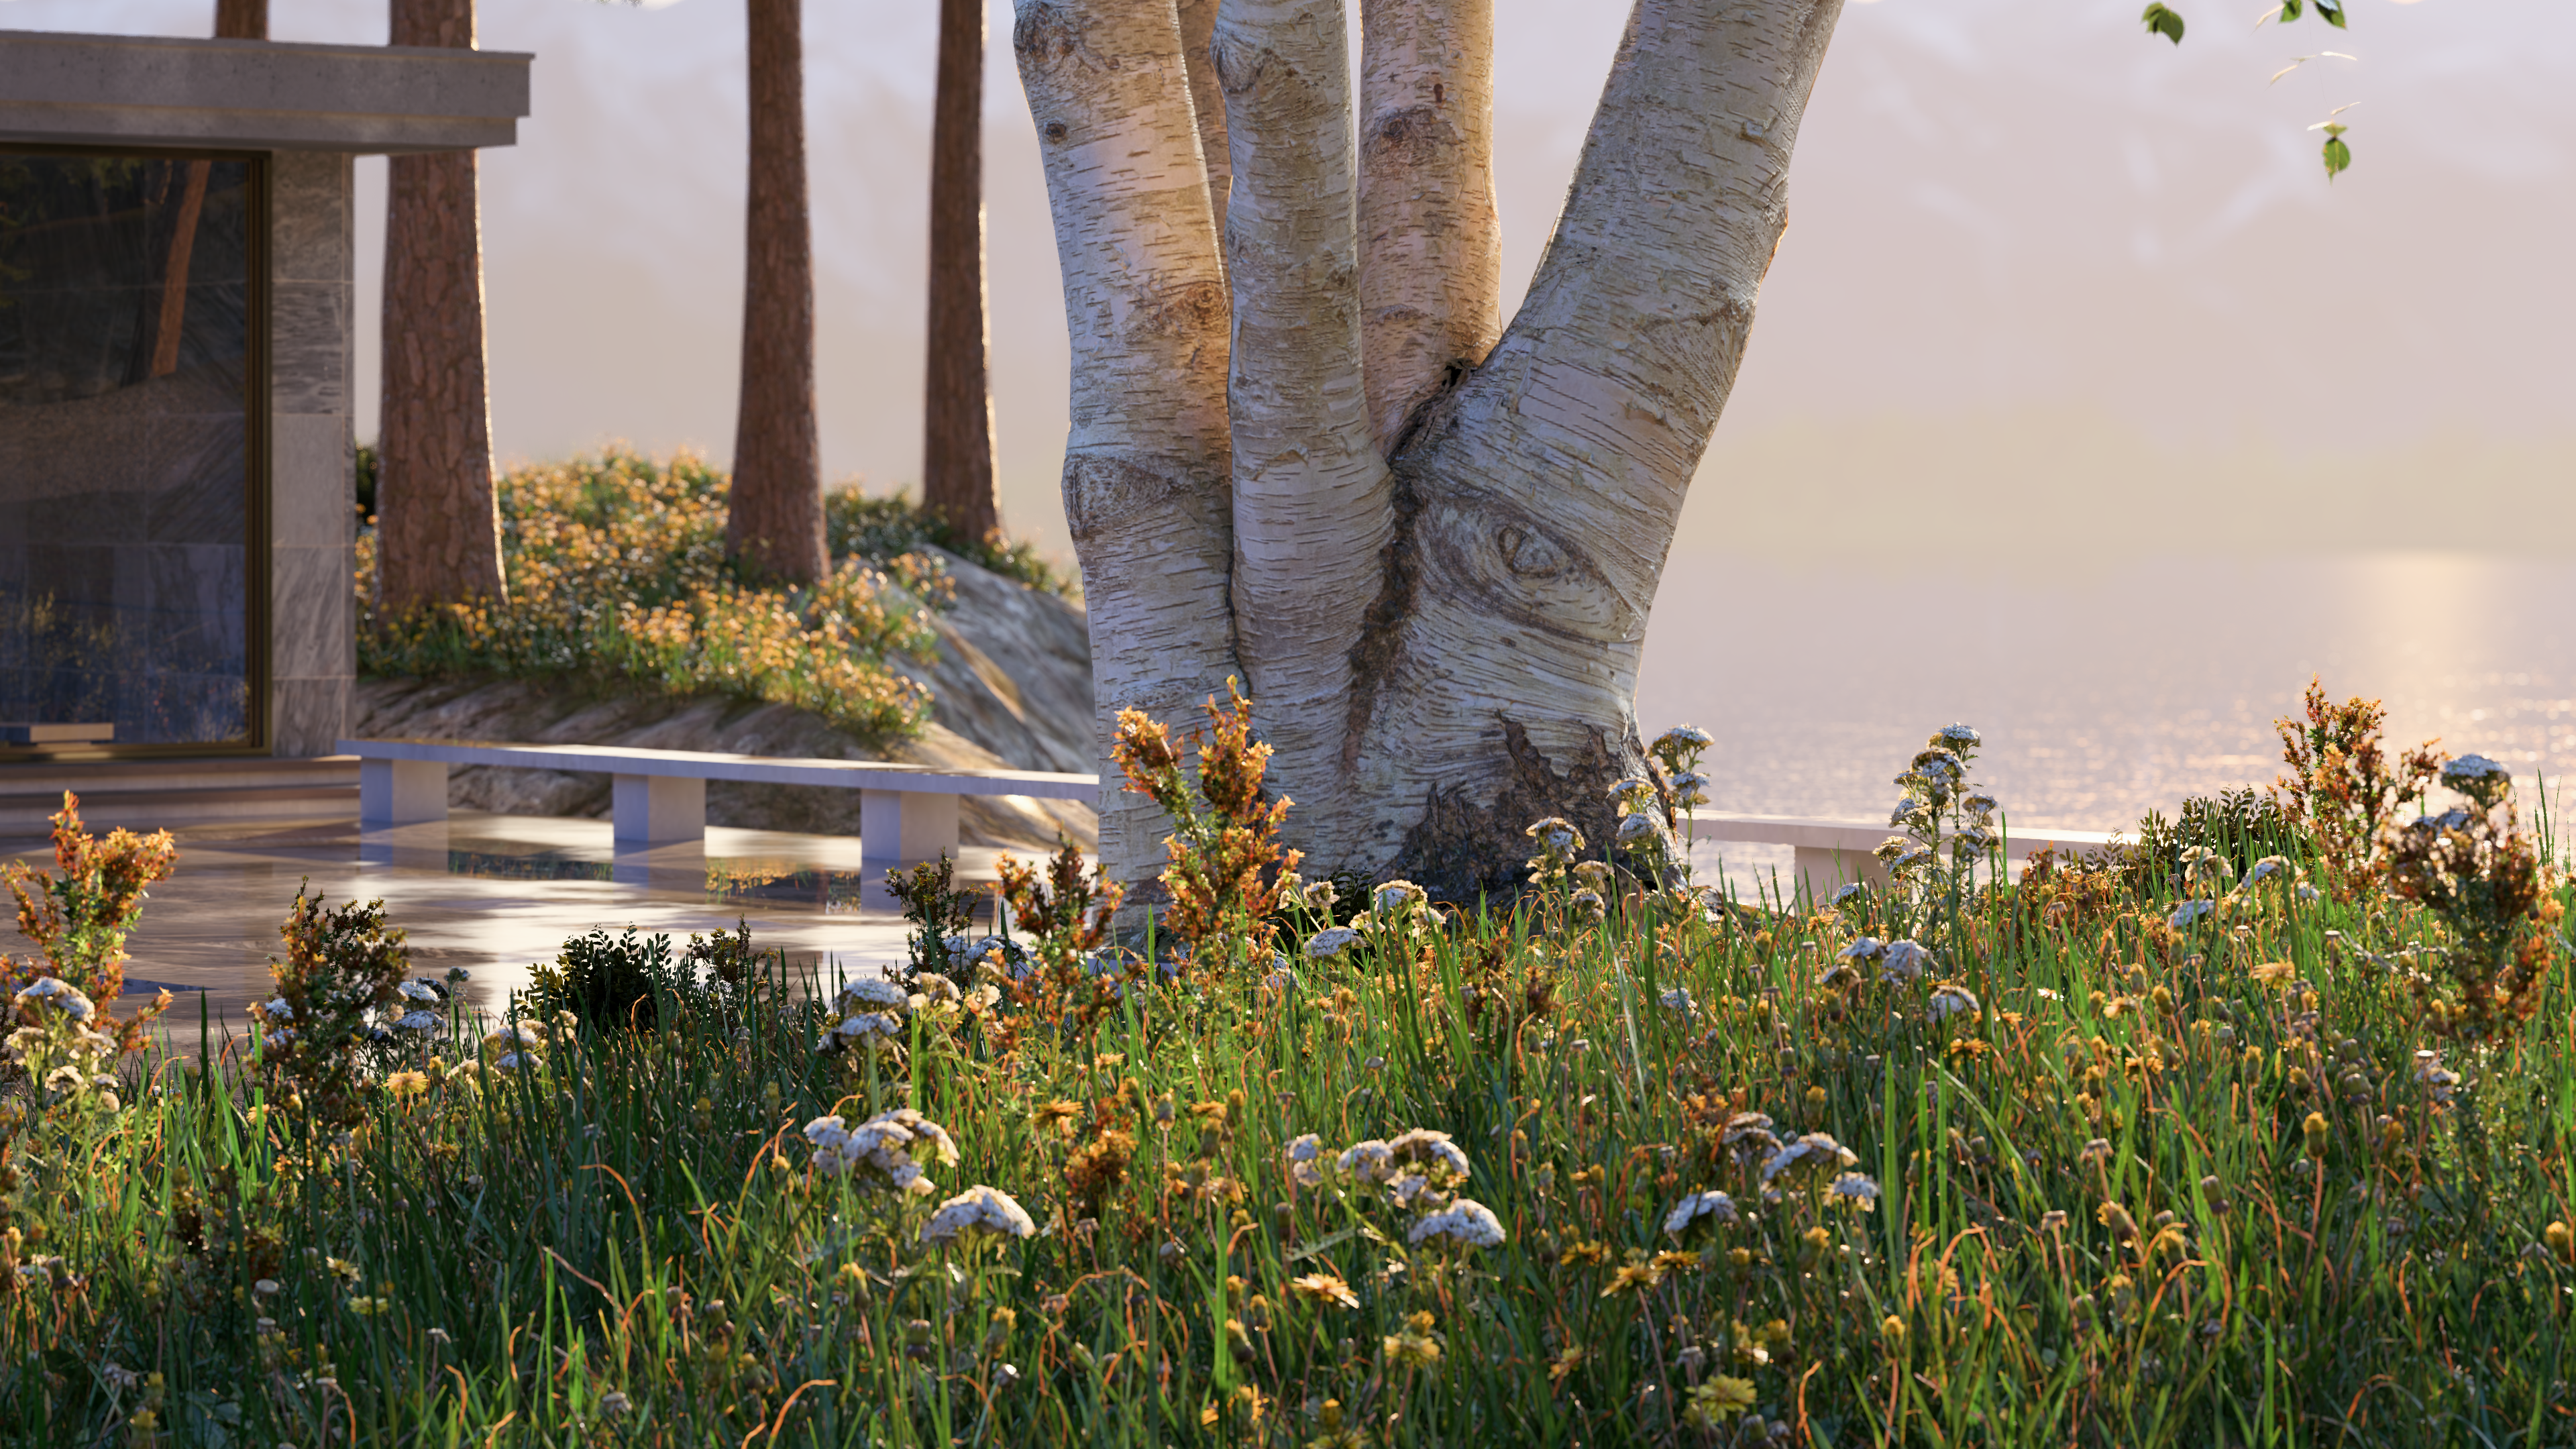
These can be easily found by searching for the Photogrammetry tag.
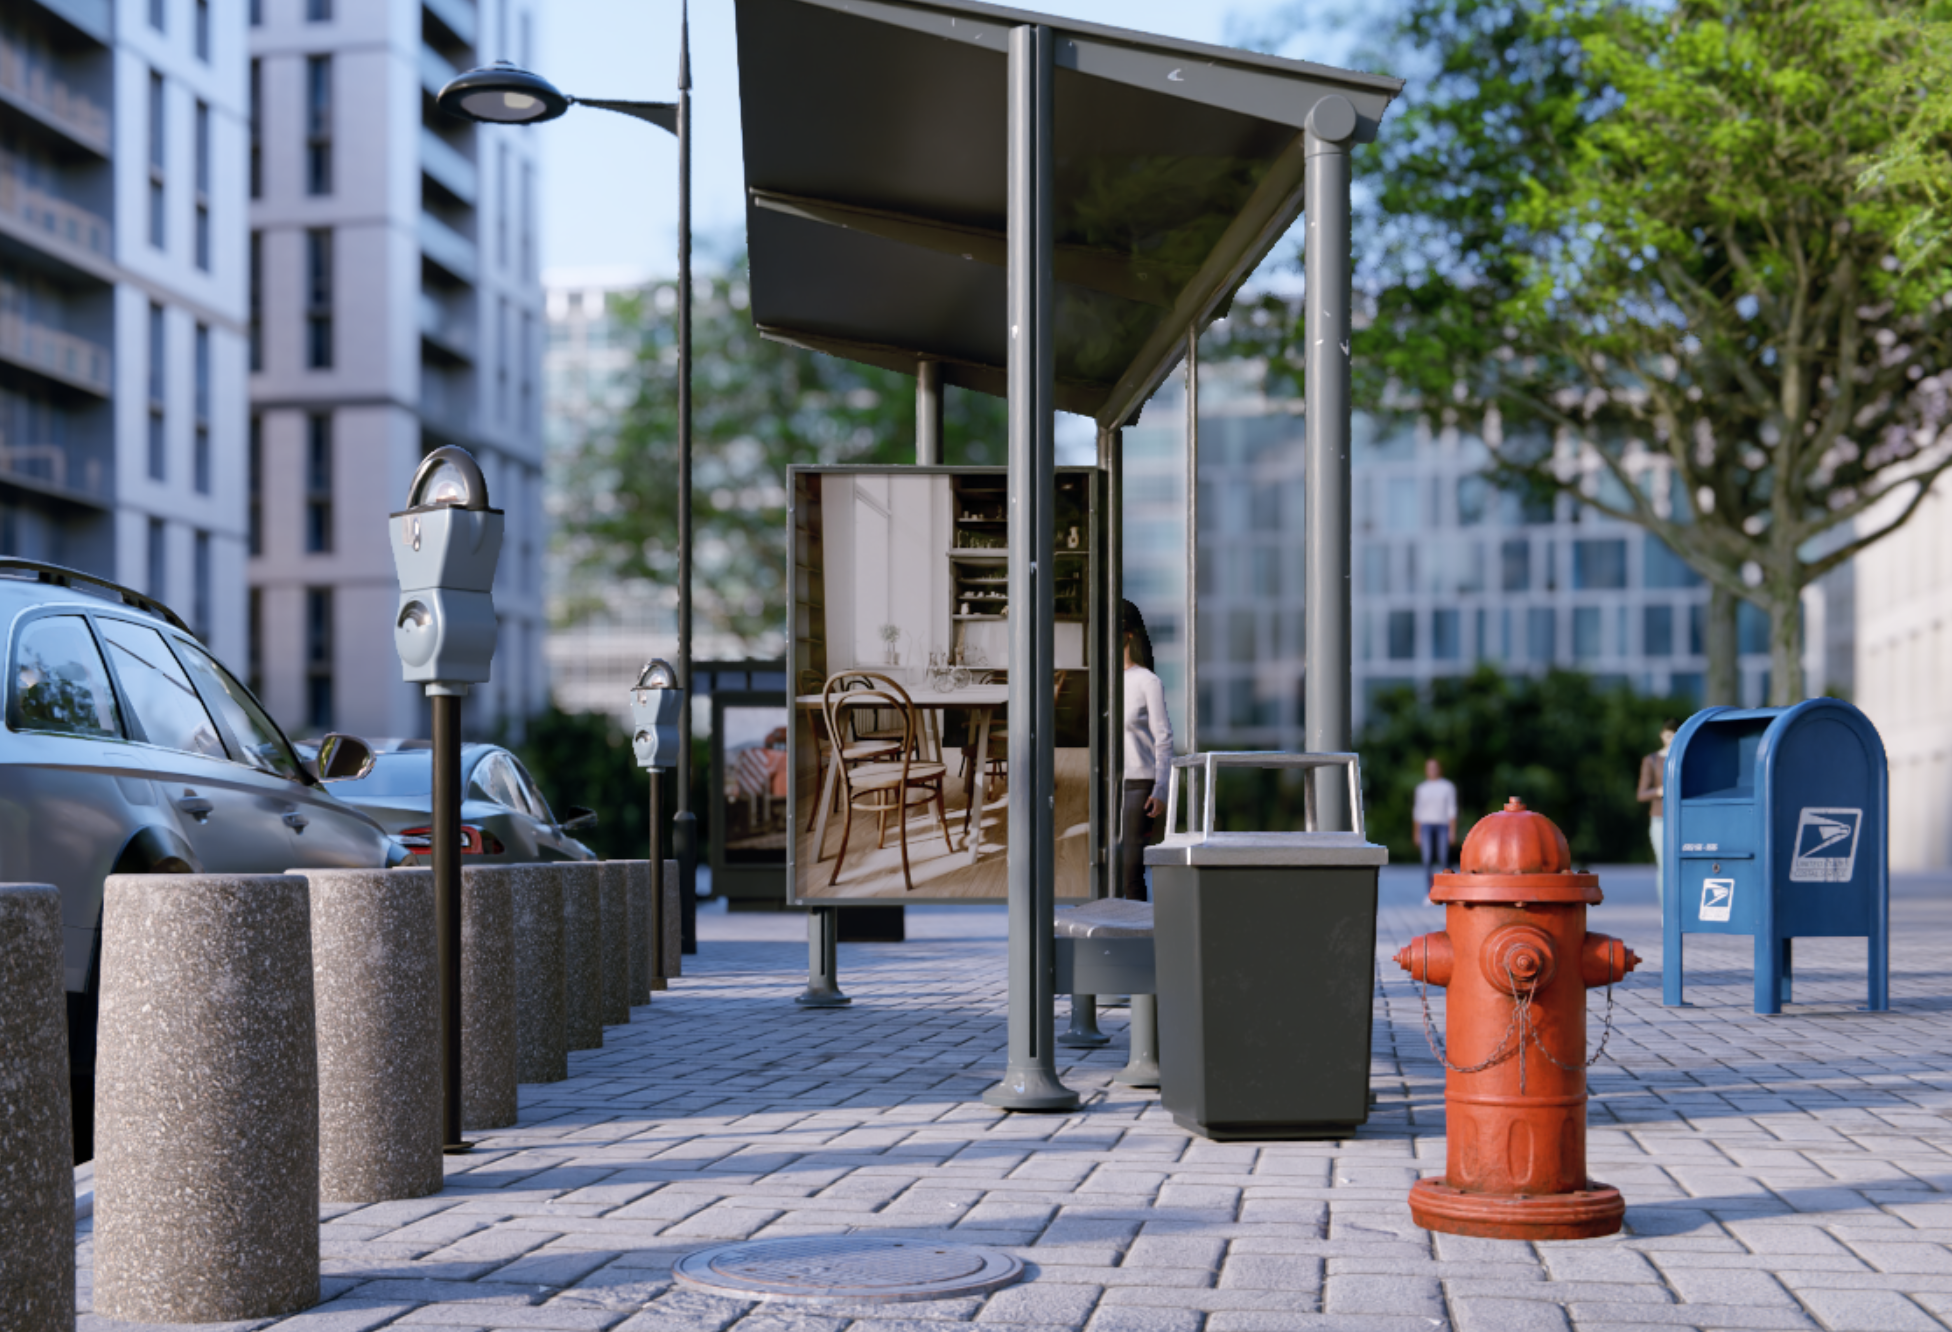
Upgraded Exterior Objects include, Bus stops, ATMS and Parking Meters, Manhole covers, fire hydrants, bollards, post boxes, trash cans, and streetlights. These have more detailed geometry and PBR Material settings, giving them a much higher quality look.
Total count of new Objects:
| Trees and Plants | Exterior Objects | |
|
New: Nature Photogrammetry based |
31 73 |
|
|
Upgraded |
96 | 69 |
More models are planned to be revised and upgraded over time, modernizing the Lumion model Library.
For a full list of new and upgraded Library models, see these articles:
About changes in model names and important changes for Legacy models:-
Knowledge Base: What are the Library model Upgrades being done for Lumion 2026
1.5: PBR Material and settings sync
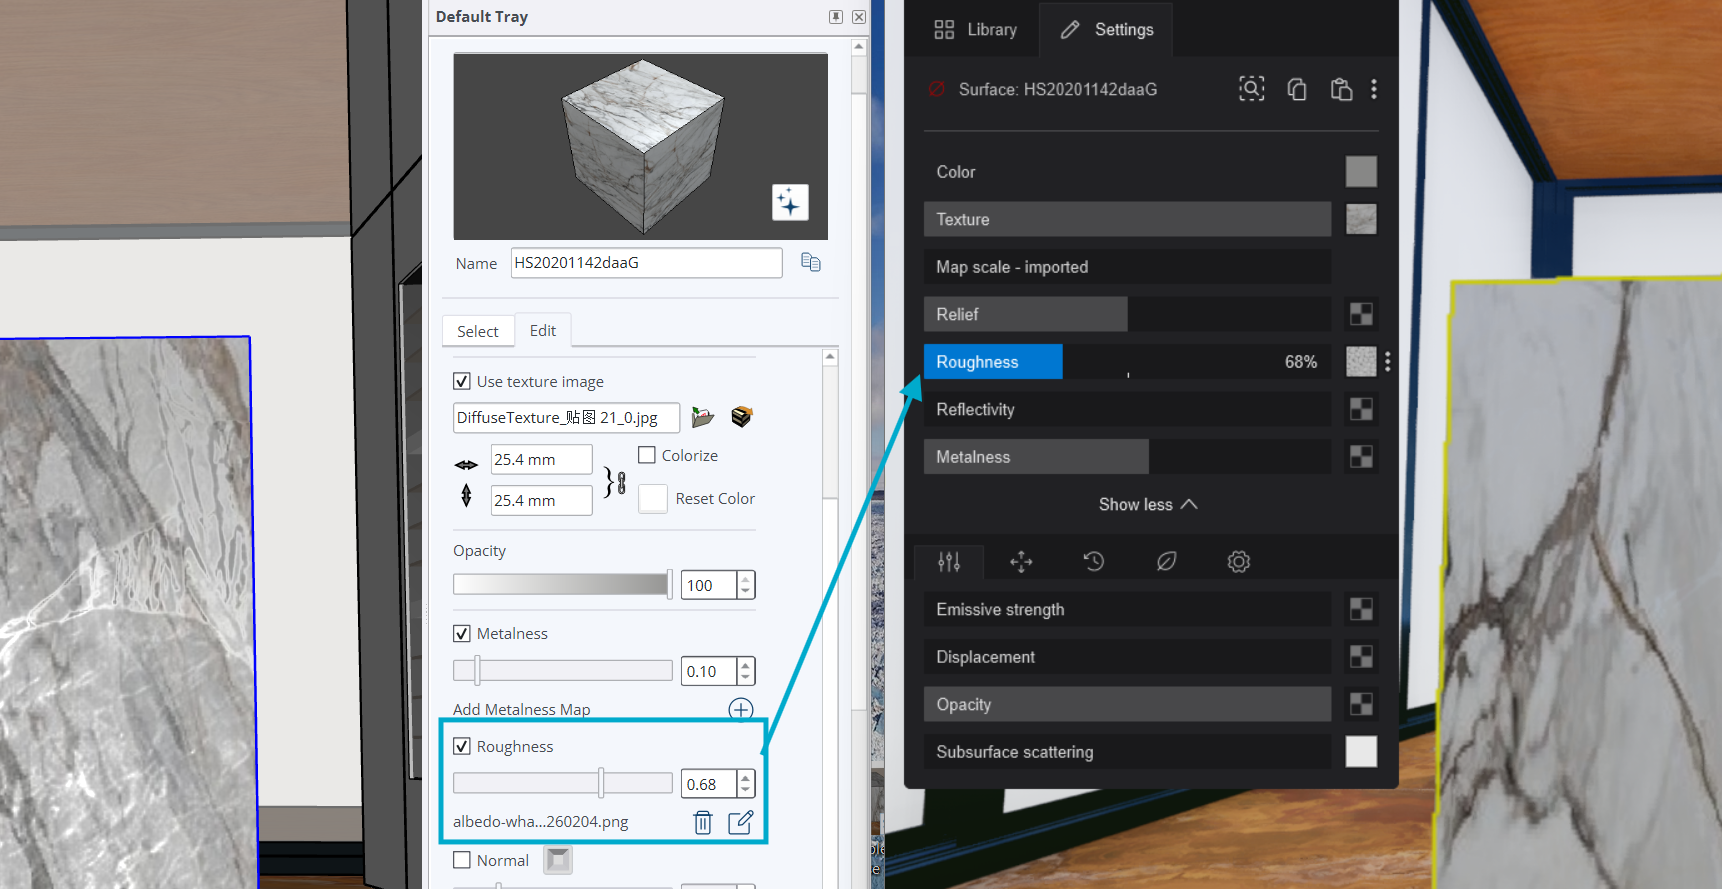
LiveSync now supports real-time PBR Material and settings synchronization.
Any changes you make to PBR maps or material parameters in your 3D modeling application are immediately reflected in Lumion while LiveSync is active.
This includes updates such as:
• Adding or replacing PBR texture maps
• Adjusting Material properties and values
This improvement makes it faster to test and refine surface details directly from your modeling software.
Currently supported with SketchUp and Revit, with additional application support, including ArchiCAD, planned for future updates to the LiveSync plugin.
- Knowledge Base: Download Lumion LiveSync and Lumion View single plugin for Revit
- Knowledge Base: Download Lumion LiveSync for SketchUp
Note: At the moment, PBR materials from ArchiCAD are not supported in Lumion View or Lumion Pro via LiveSync, as this workflow requires compatibility with Maxon materials, which is not yet available.
1.6: Project and folder creation for Lumion Cloud

You can now create Lumion Cloud Projects and folders directly from within Lumion using the + button in the Choose Upload location window when rendering by enabling Upload to Cloud.
Any Project or folder you create in Lumion will be automatically reflected in Lumion Cloud after refreshing the web page. This allows you to organize uploads and manage your Cloud structure without leaving Lumion, streamlining your sharing workflow.
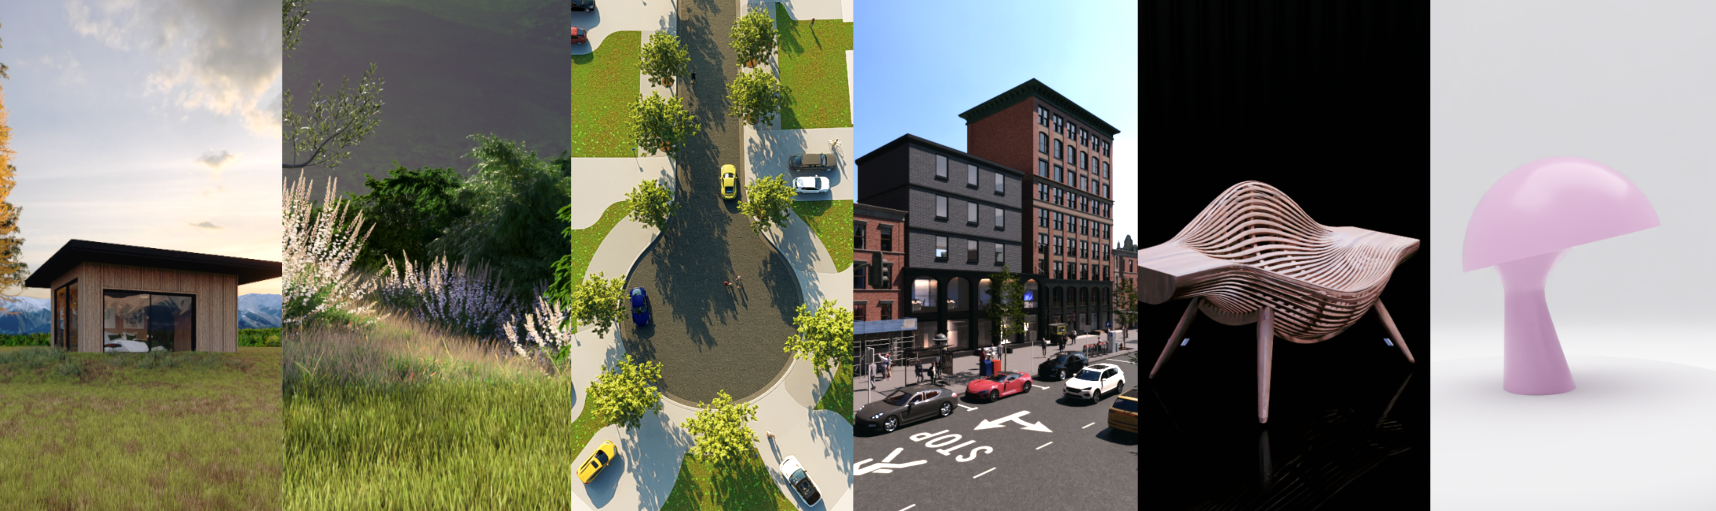
1.7: New Example Scenes
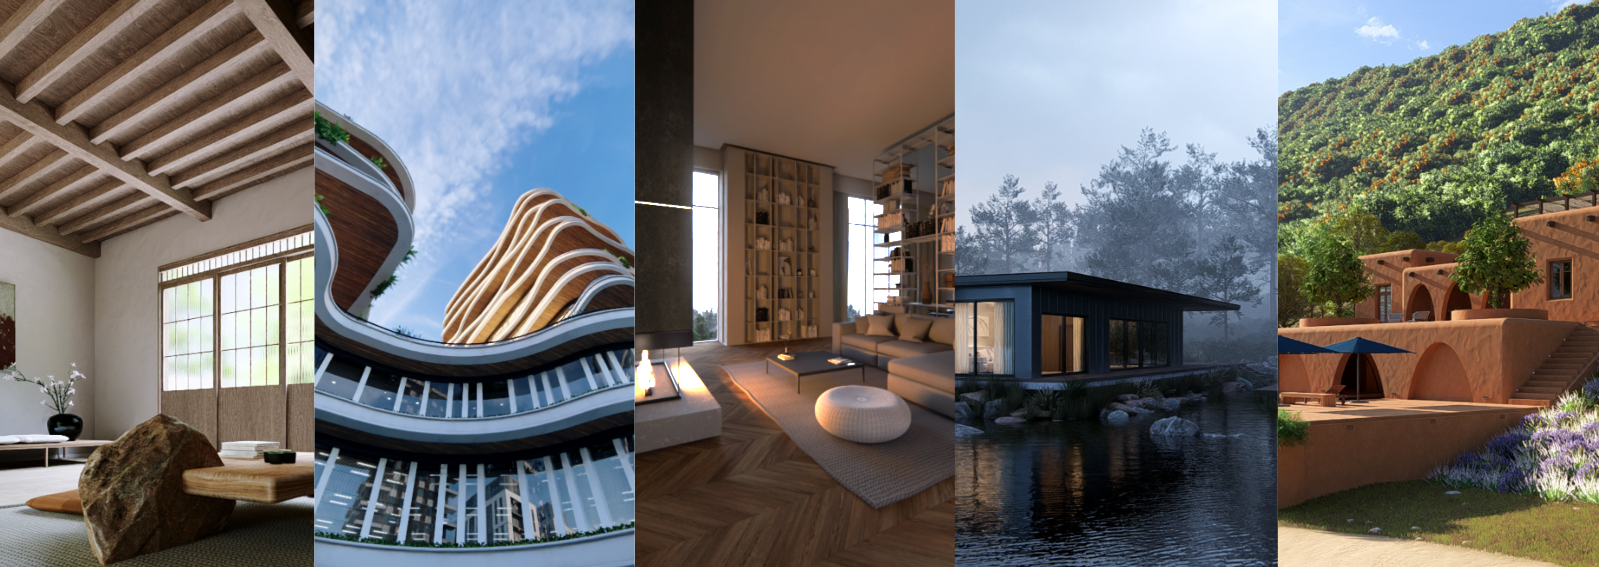
5 new example scenes have been introduced, each set in a distinct environment and designed to showcase different Lumion features and workflows. There's a Japan-inspired interior, a flowing high-rise with organic forms, a modern apartment, a lakeside retreat and a Mediterranean villa. These scenes demonstrate a wide range of lighting setups, Materials, atmospheres, and Effects.
They serve as practical learning tools to help you get started quickly, explore recommended scene-building techniques, and understand how different elements such as Volumetric Lighting, Water, Glass, Nature, and Parallax Interiors work together. You can also reuse or copy Effects, Materials, and lighting setups from these scenes to achieve similar looks in your own Projects.
1.8: New Templates
Six new Templates are now available to help you jump-start your Projects with ready-to-use contexts and lighting setups. Each Template is designed around a common real-world scenario, giving you a fast, practical starting point while demonstrating recommended workflows.
-
Times of Day: A versatile interior and exterior setup with preconfigured lighting for day, overcast, fog, golden hour, blue hour, and night, making it easy to compare moods and quickly present multiple lighting studies.
-
Nature Macro Shots: Cinematic close-up compositions with long Focal Lengths and Depth of Field, ideal for showcasing fine detail such as leaves, textures, and other smaller design elements.
-
Suburban Neighborhood: A classic residential environment with wide streets, driveways, front yards, and vegetation, perfect for presenting housing Projects in a familiar real-world context.
-
Shopping Area: A lively city backdrop for retail, mixed-use, and urban developments, adding scale, activity, and commercial atmosphere to your designs.
-
Furniture Showcase: A controlled studio-style lighting setup tailored for medium-sized Objects, ideal for highlighting materials, form, and product detail.
-
Object Showcase: A compact studio scene optimized for smaller products and design elements such as lamps and decor, with lighting focused on clean presentation and clarity.
These templates not only save setup time but also act as learning tools, allowing you to study lighting, composition, and material presentation techniques and reuse them in your own Projects.
2. Improvements
2.1: Draggable Layers
![]()
Layers can now be reordered by clicking and dragging them into the desired position.
The Layer Visibility Effect will automatically update to reflect the new Layer order, making it easier to organize Scenes and manage visibility workflows without manual adjustments.
This Effect has also seen a nice improvemnent in the interface to scrollable and listing of each Layer name. See Section 3.2: Photo Mode, Movie Mode & Panorama Mode.
2.2: Rotation Gizmo Snapping

Object rotation using the Gizmo now snaps in 90° increments, making it faster and easier to align assets with architectural geometry. You can temporarily disable snapping by holding the SHIFT key while rotating for precise free-angle adjustments.
2.3: More Panorama Slots

Projects can now store up to 10 Panorama sets with 30 Panoramas each, for a total of 300 Panoramas per Project.

You can also select which Panoramas to render/upload, similar to the workflow used for Photos and Clips, giving you more control over large presentation exports.
3. Other Changes and Fixes
3.1: Build Mode
- Scene Inspector: You can now toggle Layers on\off directly from the Scene Inspector.
- Scene Inspector: Now shows when a model is missing.
- Groups: Fixed an issue that resulted in elements inside a Group being invisible when placing
a Group while proxies were enabled. - Landscape Mode: Fixed an issue that caused Scatter Objects to disappear after loading a
Project. - Clip Planes: Fixed an issue that would result in Clip Plane Outline having the wrong settings
when disabling Layers in a scene with multiple Clip Planes on different Layers. - IES Profiles: Spotlights now show the correct result after deleting their IES Profiles.
- Mass Placement: It is now possible to close the Library while in Line,
Cluster, Paint, or Area Placement. - Mass Placement: Objects now remain selected after being placed, in case they need further adjustments.
- Spotlights/Omnilights: Medium/High shadows for Spotlight and Omnilights no longer update every frame.
- Transport Objects: Fixed an issue when toggling driver off, then on again.
3.2: Photo Mode, Movie Mode & Panorama Mode
- 360 Panoramas: Fixed a couple of issues that resulted in black thumbnails when storing Panoramas.
- Toggle Effect list: Fixed a bug that caused the following Effects to not be properly enabled/disabled when toggling the Effect List on/off.
● Layer Visibility
● Variation Control
● Phasing
● Real Skies
● Ray tracing - Raytracing Effect: Renamed “Quality” to “Preset” when editing the Effect.
- 2-Point Perspective Effect: This Effect is now disabled when working with Build with Effects.
- Aspect Ratios: Added 1.41:1 Aspect Ratio.
- Layer Visibility Effect: To make this effect more user-friendly, it was changed so it now uses a list of Layers instead of a grid with buttons.

- Move Effect: This Effect is no longer able to move Objects that are part of a Group.
- Clips: The save button now triggers on release instead of on press.
- Focal length: Focal Length is now reset when editing an Effect that requires selecting Objects.
- Move/Advanced Move/Mass Move Effects: Fixed the animation for character Man African 0009 Walk.
- Movie export: The correct Aspect Ratio ofClips is now properly displayed.
- HQ Preview: Fixed an issue that prevented the HQ Preview from resetting when turning Effects on/off.
- HD Preview: The HQ Preview no longer resets when scrolling the Effect List with the mouse wheel.
- HQ Preview: Lumion will now switch to full resolution when calculating HQ Preview.
- Movie Mode: The HQ Preview now resets when dragging the timeline.
- Movie Mode: Button no longer appear in the wrong place when entering Record for the first time.
- Movie Mode: Fixed an issue that resulted in the Aspect Ratio of a Clip being wrongly displayed on the next Clip after double-clicking its thumbnail to edit it.
- Movie and 360 Panoramas Mode: Lumion now remembers the selection made on the export screen for Movie and Panorama Sets.
- Photo Mode: Fixed the Photo Set pagination buttons.
- Styles: Removed Reflection Planes from Day and Morning Styles.
- AI Upscaler: The progress bar will no longer jump back when the AI Upscaling process starts.
- AI Upscaler: Added a reset button.
- Styrofoam effect: Metal and Glass Materials are now properly excluded from this Effect.
3.3: Miscellaneous
- Benchmark: The Benchmark results now properly show the total physical memory instead of installed physical memory.
- User login: Lumion can now detect when there are login issues, and will report as follows:
● The text changes to “A critical error has occurred with the sign-in process. Please contact support.”
● The help button URL will change to the contact Lumion Technical Support page: “Contact Lumion Technical Support”.
● The copy URL button will be disabled, the tooltip says “Could not copy the sign-in URL. Please contact support.” - Quicksave: Fixed a problem that could cause the wrong scene to be displayed or loaded.
3.4 Interface
- Context menus: Fixed a problem with the caching of the context menus that would result in the menu buttons not getting triggered immediately when clicking them.
4. Minor Updates
4.1: Lumion 2026.0.1 Update
March 9, 2026
Fixes
-
Resolved an issue where moving Objects appeared blurry when rendering with Ray Tracing.
-
Fixed an issue where the elapsed render time for Photos using AI Upscaling did not include the time spent processing the image in the AI Upscaler.
-
Fixed an issue where searching for Glass did not return all relevant Glass materials because the material display name was not included in the search tags.
Changes and Improvements
-
Lumion now displays a notification when loading a Project that contains missing scene items. See Section 3. Deprecated Models now for Legacy
-
Knowledge Base: What are the Library model Upgrades being done for Lumion 2026
-
-
Several improvements have been made to the LiveSync Material synchronization process:
-
Lumion now determines whether a full re-sync or a partial update is required and will only update modified elements when possible. This results in faster and smoother LiveSync updates.
-
It is now possible to LiveSync Material changes while working in Material Edit Mode. Lumion will display incoming changes to imported materials in real-time.
-
Note: Since Lumion interprets material properties differently from modeling applications, some values may appear translated when synced. For example, settings such as Roughness, Reflectivity, or other values may be converted to Lumion’s percentage-based controls to maintain consistent visual results.
4.2: Lumion 2026.0.2 Update
April 2nd, 2026
Fixes
-
Resolved an issue that could cause crashes when enabling Ray Tracing on a Project that had a model with line meshes.
-
Adjusting certain Effects settings did not reset the HQ Preview. This has been resolved.
-
Lumion could display an incorrect value for available Cloud Storage. This has been fixed.
-
Fixed an issue that could cause the Performance Center to reported wrong total Objects in the scene.
-
Fixed an issue with reference points unintentionally shifting position in the Photo Matching Effect.
-
Fixed a problem that causes the Origin point of a Group to change when the Group was duplicated.
-
Sycamore Maple 101 and 102 are now correctly labeled as Fine Detail Trees.
- Fixed an issue that caused incorrect transparency on models with Opacity that were imported as .FBX.
Changes and Improvements
-
Several Translations that were missing have been added.
-
The Fine-Detail Nature warning has been moved to the information cards.
-
Improved error logging when signing in.
-
Some example scenes receive a few minor updates.
-
Several other minor UI improvements.
- Added two new American Elm tree variants to the Nature Library that resemble closely in size and shape to the previously replaced American Elms.
5. Features that are still in development/on the Roadmap:
The roadmap has been updated to show what we are currently working on:
-
Lumion website: Lumion Products Roadmap
- Knowledge Base: Transitions from prior versions to using Lumion 2025/2026: Technical Limitations